

Configure Organization Info
The Organization Info tab in Settings allows you to configure essential details about your business. These details ensure Scrut accurately tailors policies and organizes your evidence.
How to Configure Organization Info
Follow these steps to set up your organization's profile:
-
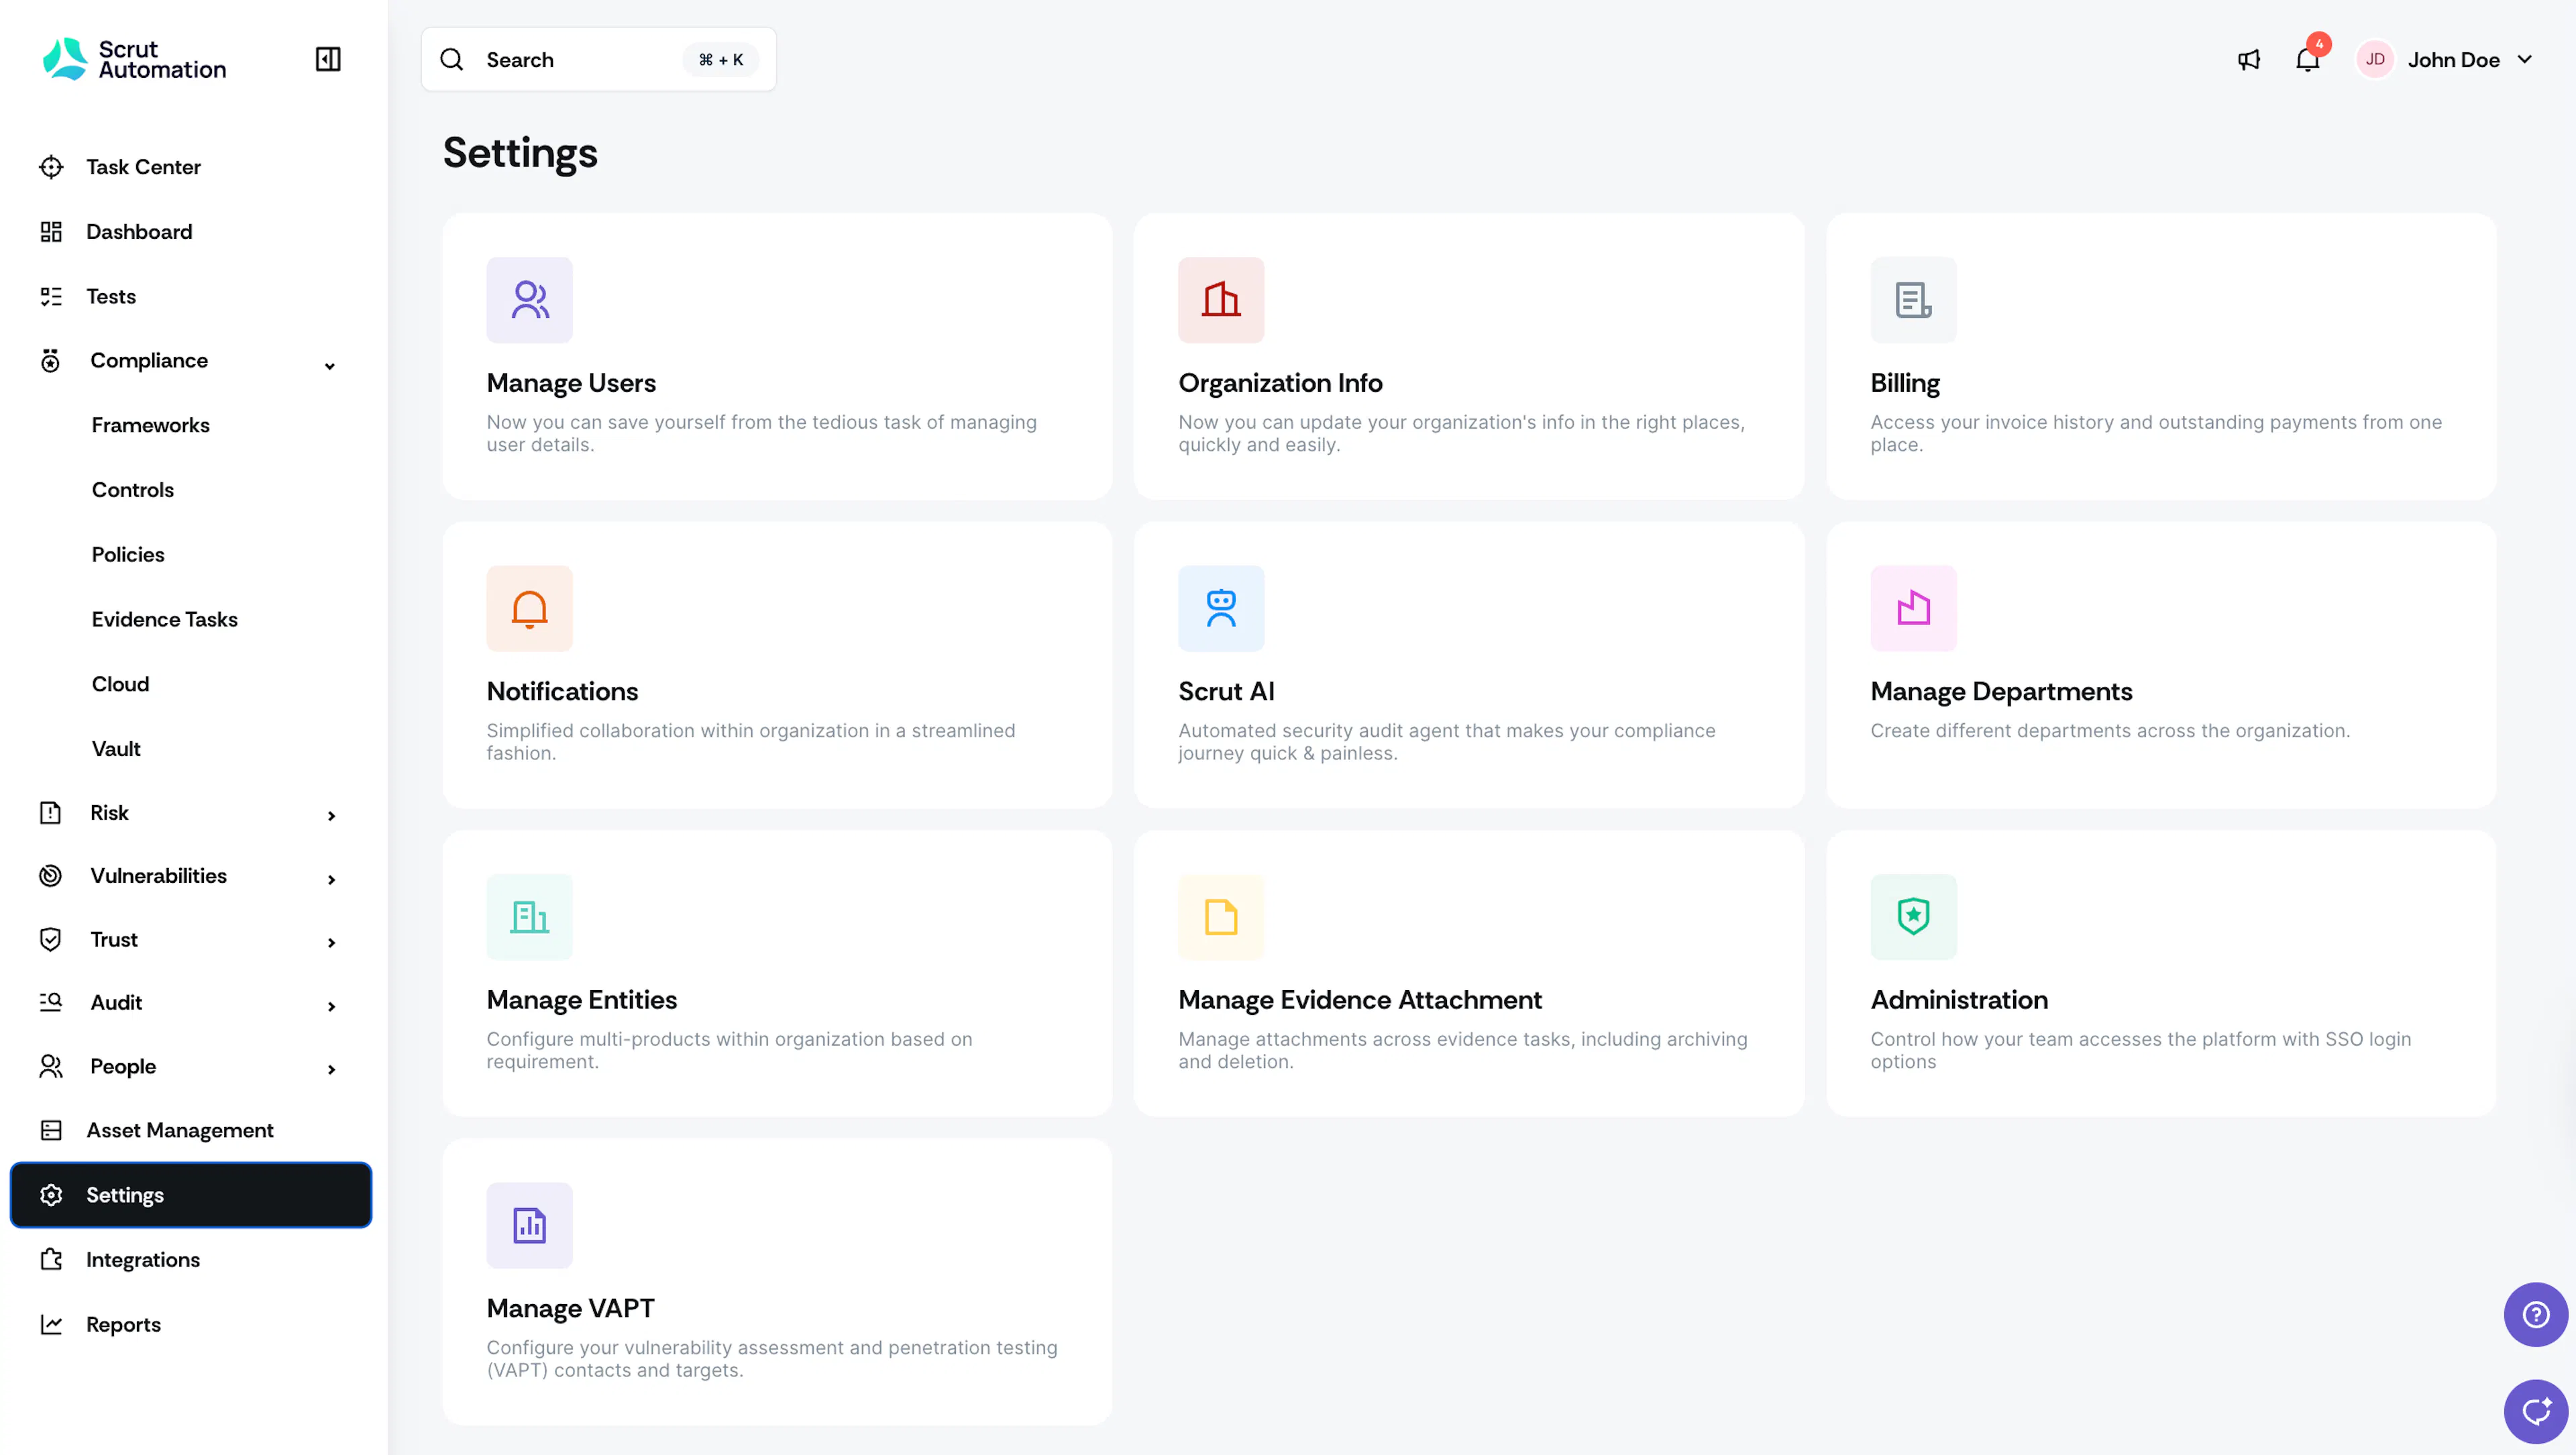
Navigate to the Settings page and click the Organization Info tab.
-
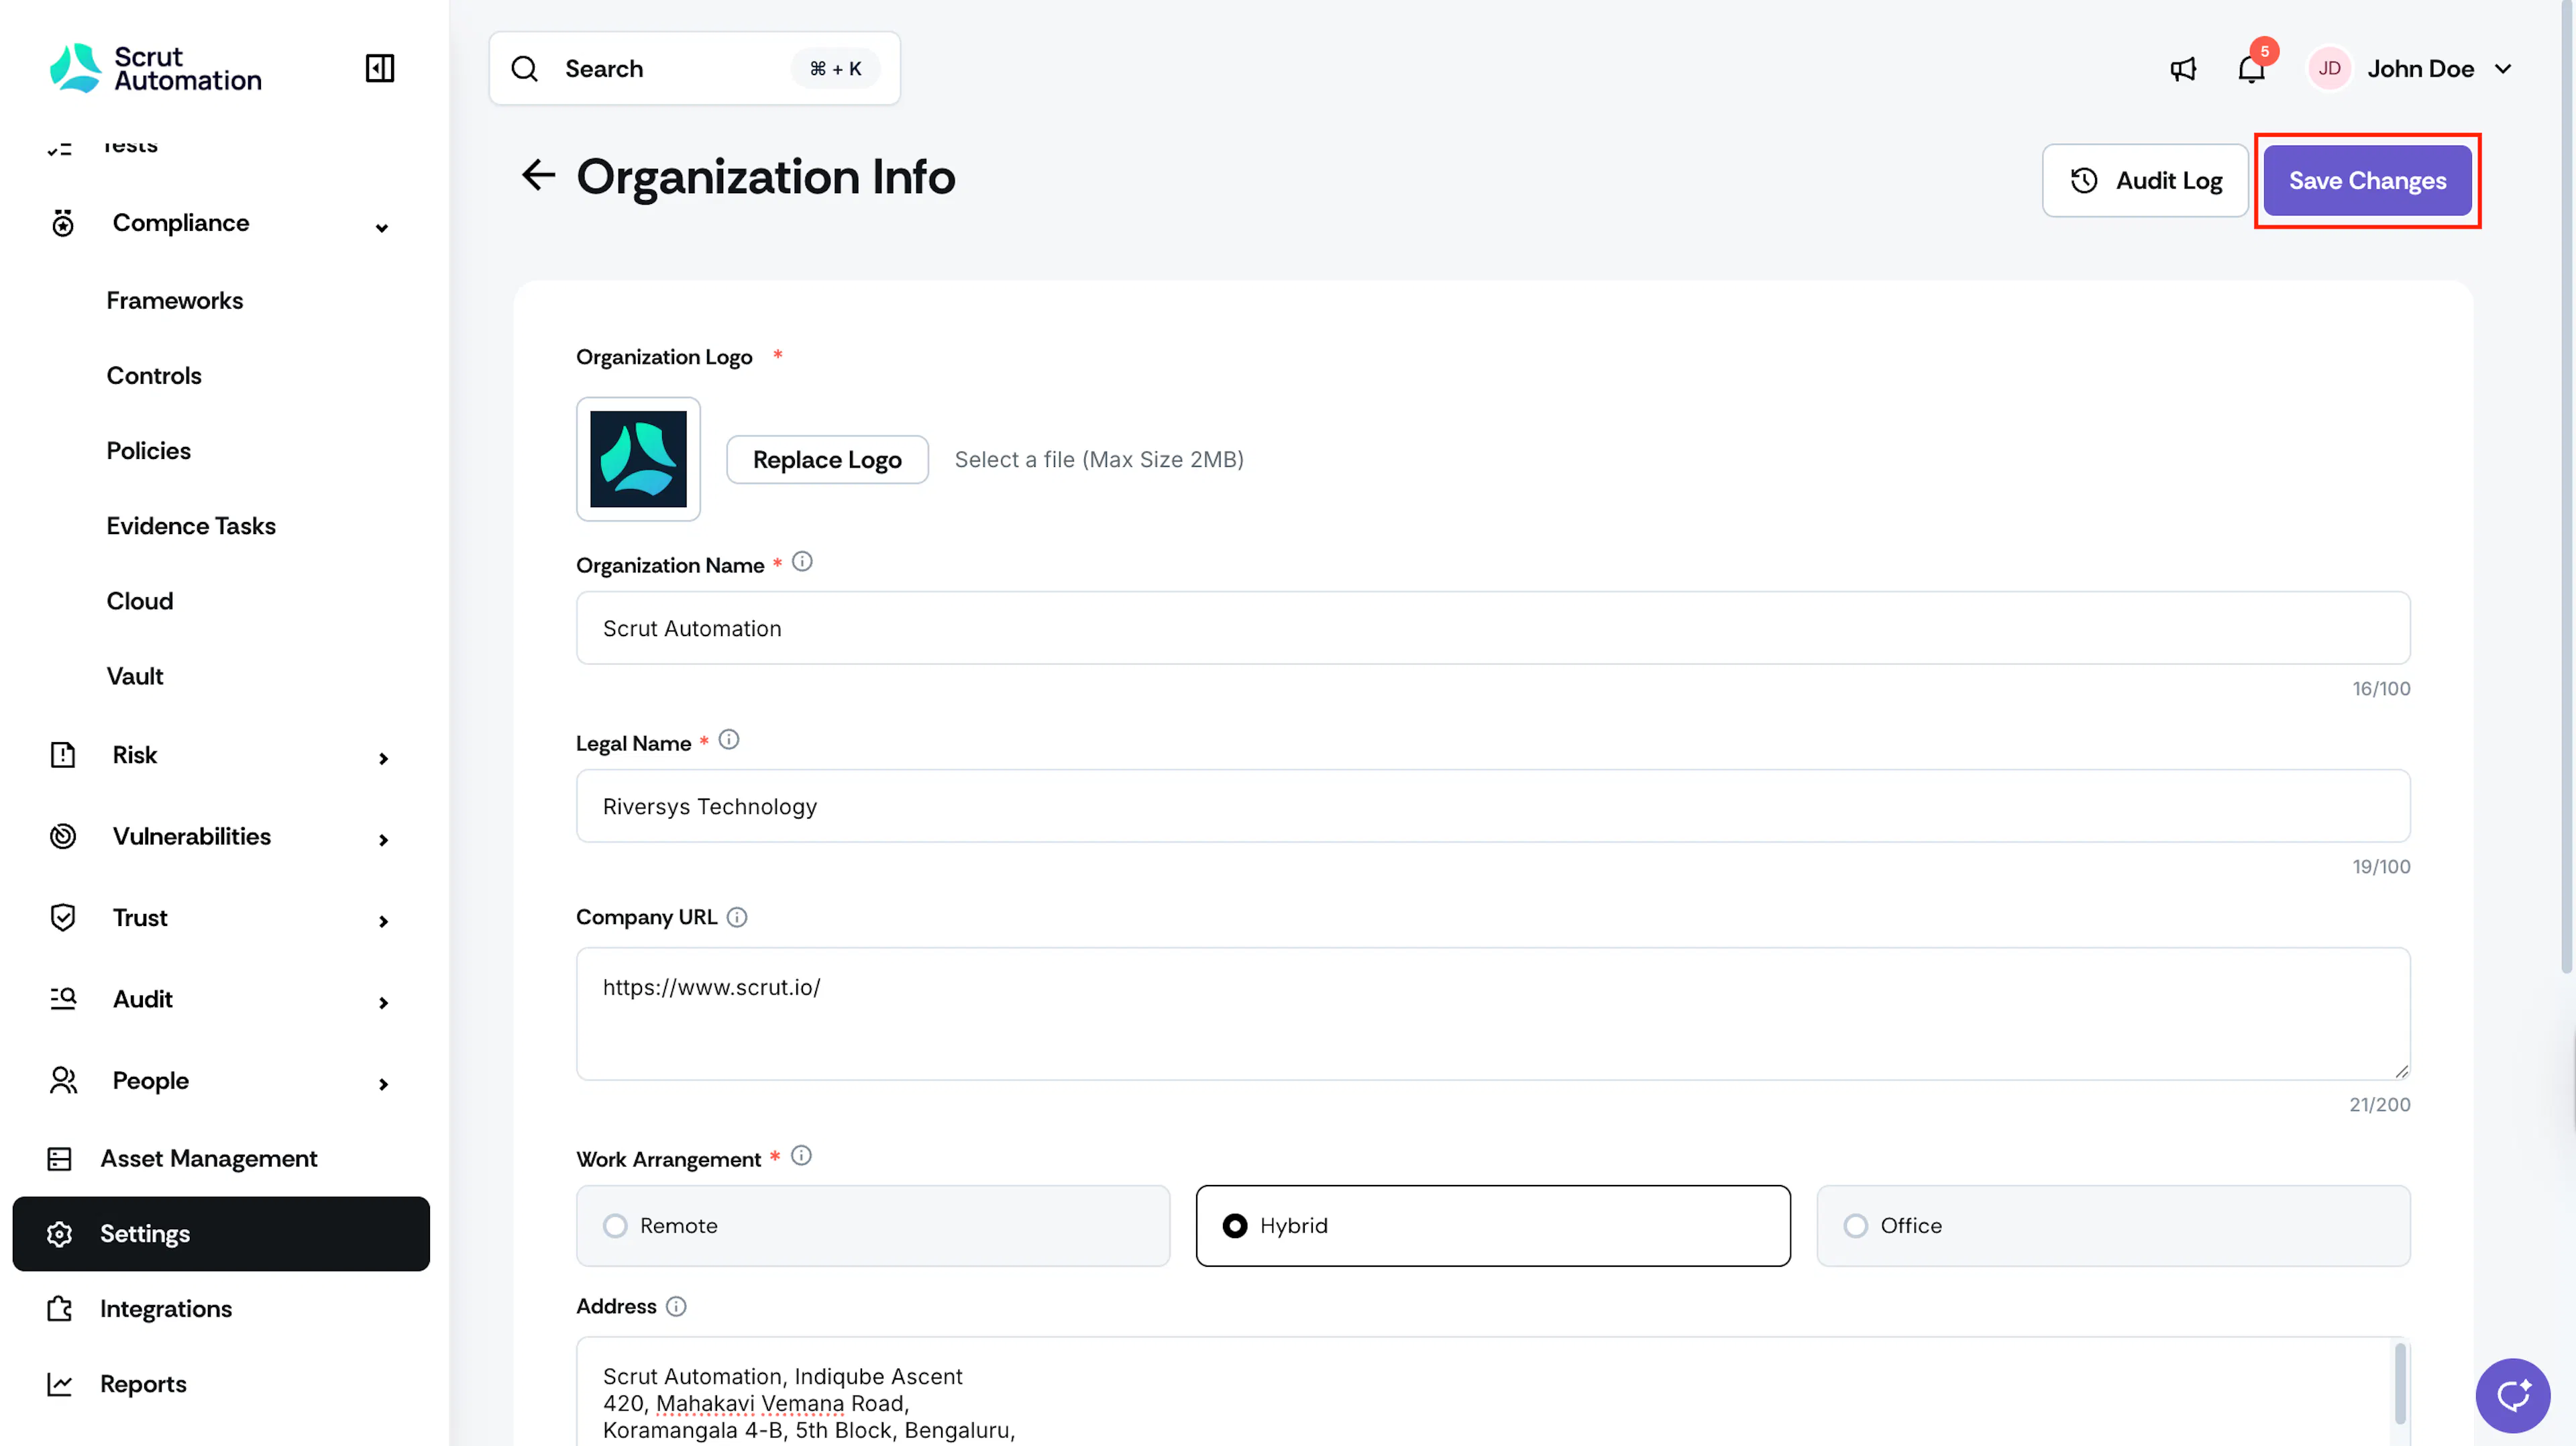
Upload your company Logo.
-
Enter your Organization Name, the public-facing name your organization uses.
-
Enter your organization's legal name. This is the official name of your business, as registered with government authorities.
Note:
Both the Organization Name and Legal Name fields accept letters, numbers, spaces, and the following special characters: . (dot), , (comma), - (hyphen), _ (underscore), & (ampersand), ' (apostrophe), ( ) (parentheses), and / (forward slash). For example: ABC Pvt. Ltd., O'Reilly, or Acme (Asia/Pacific).
-
Enter your website address in the Company URL field.
-
Select your company's Work Arrangement: Remote, Hybrid, or Office. This is essential because, depending on the work arrangement, some policies might not be relevant and are automatically marked as such.
-
Paste your entire office address in the Address field.
-
Choose your Client Industry or vertical from the dropdown menu. If your industry is not listed, select Other and enter it manually.
-
Select your Geographical Scope. This is a multi-select option that lets you choose multiple countries if your business operates across multiple regions.
-
Select your fiscal year format. You can choose between Calendar Year (Jan - Dec) or Financial Year (April - March). This setting is crucial because Scrut uses it to organize your evidence buckets into the corresponding date buckets.
-
Ensure all mandatory fields are filled out.
-
Click Save Changes.
Your changes take effect immediately.
Getting Help
Reach out to support@scrut.io or contact your CSM for further assistance.