Manage VAPT
Who can use this feature
- Available only if you have VAPT services included in your Scrut pricing plan
The Manage VAPT (Vulnerability Assessment and Penetration Testing) section in Settings lets you add, configure, and manage testing targets for your security assessments.
How To Add a New VAPT Target
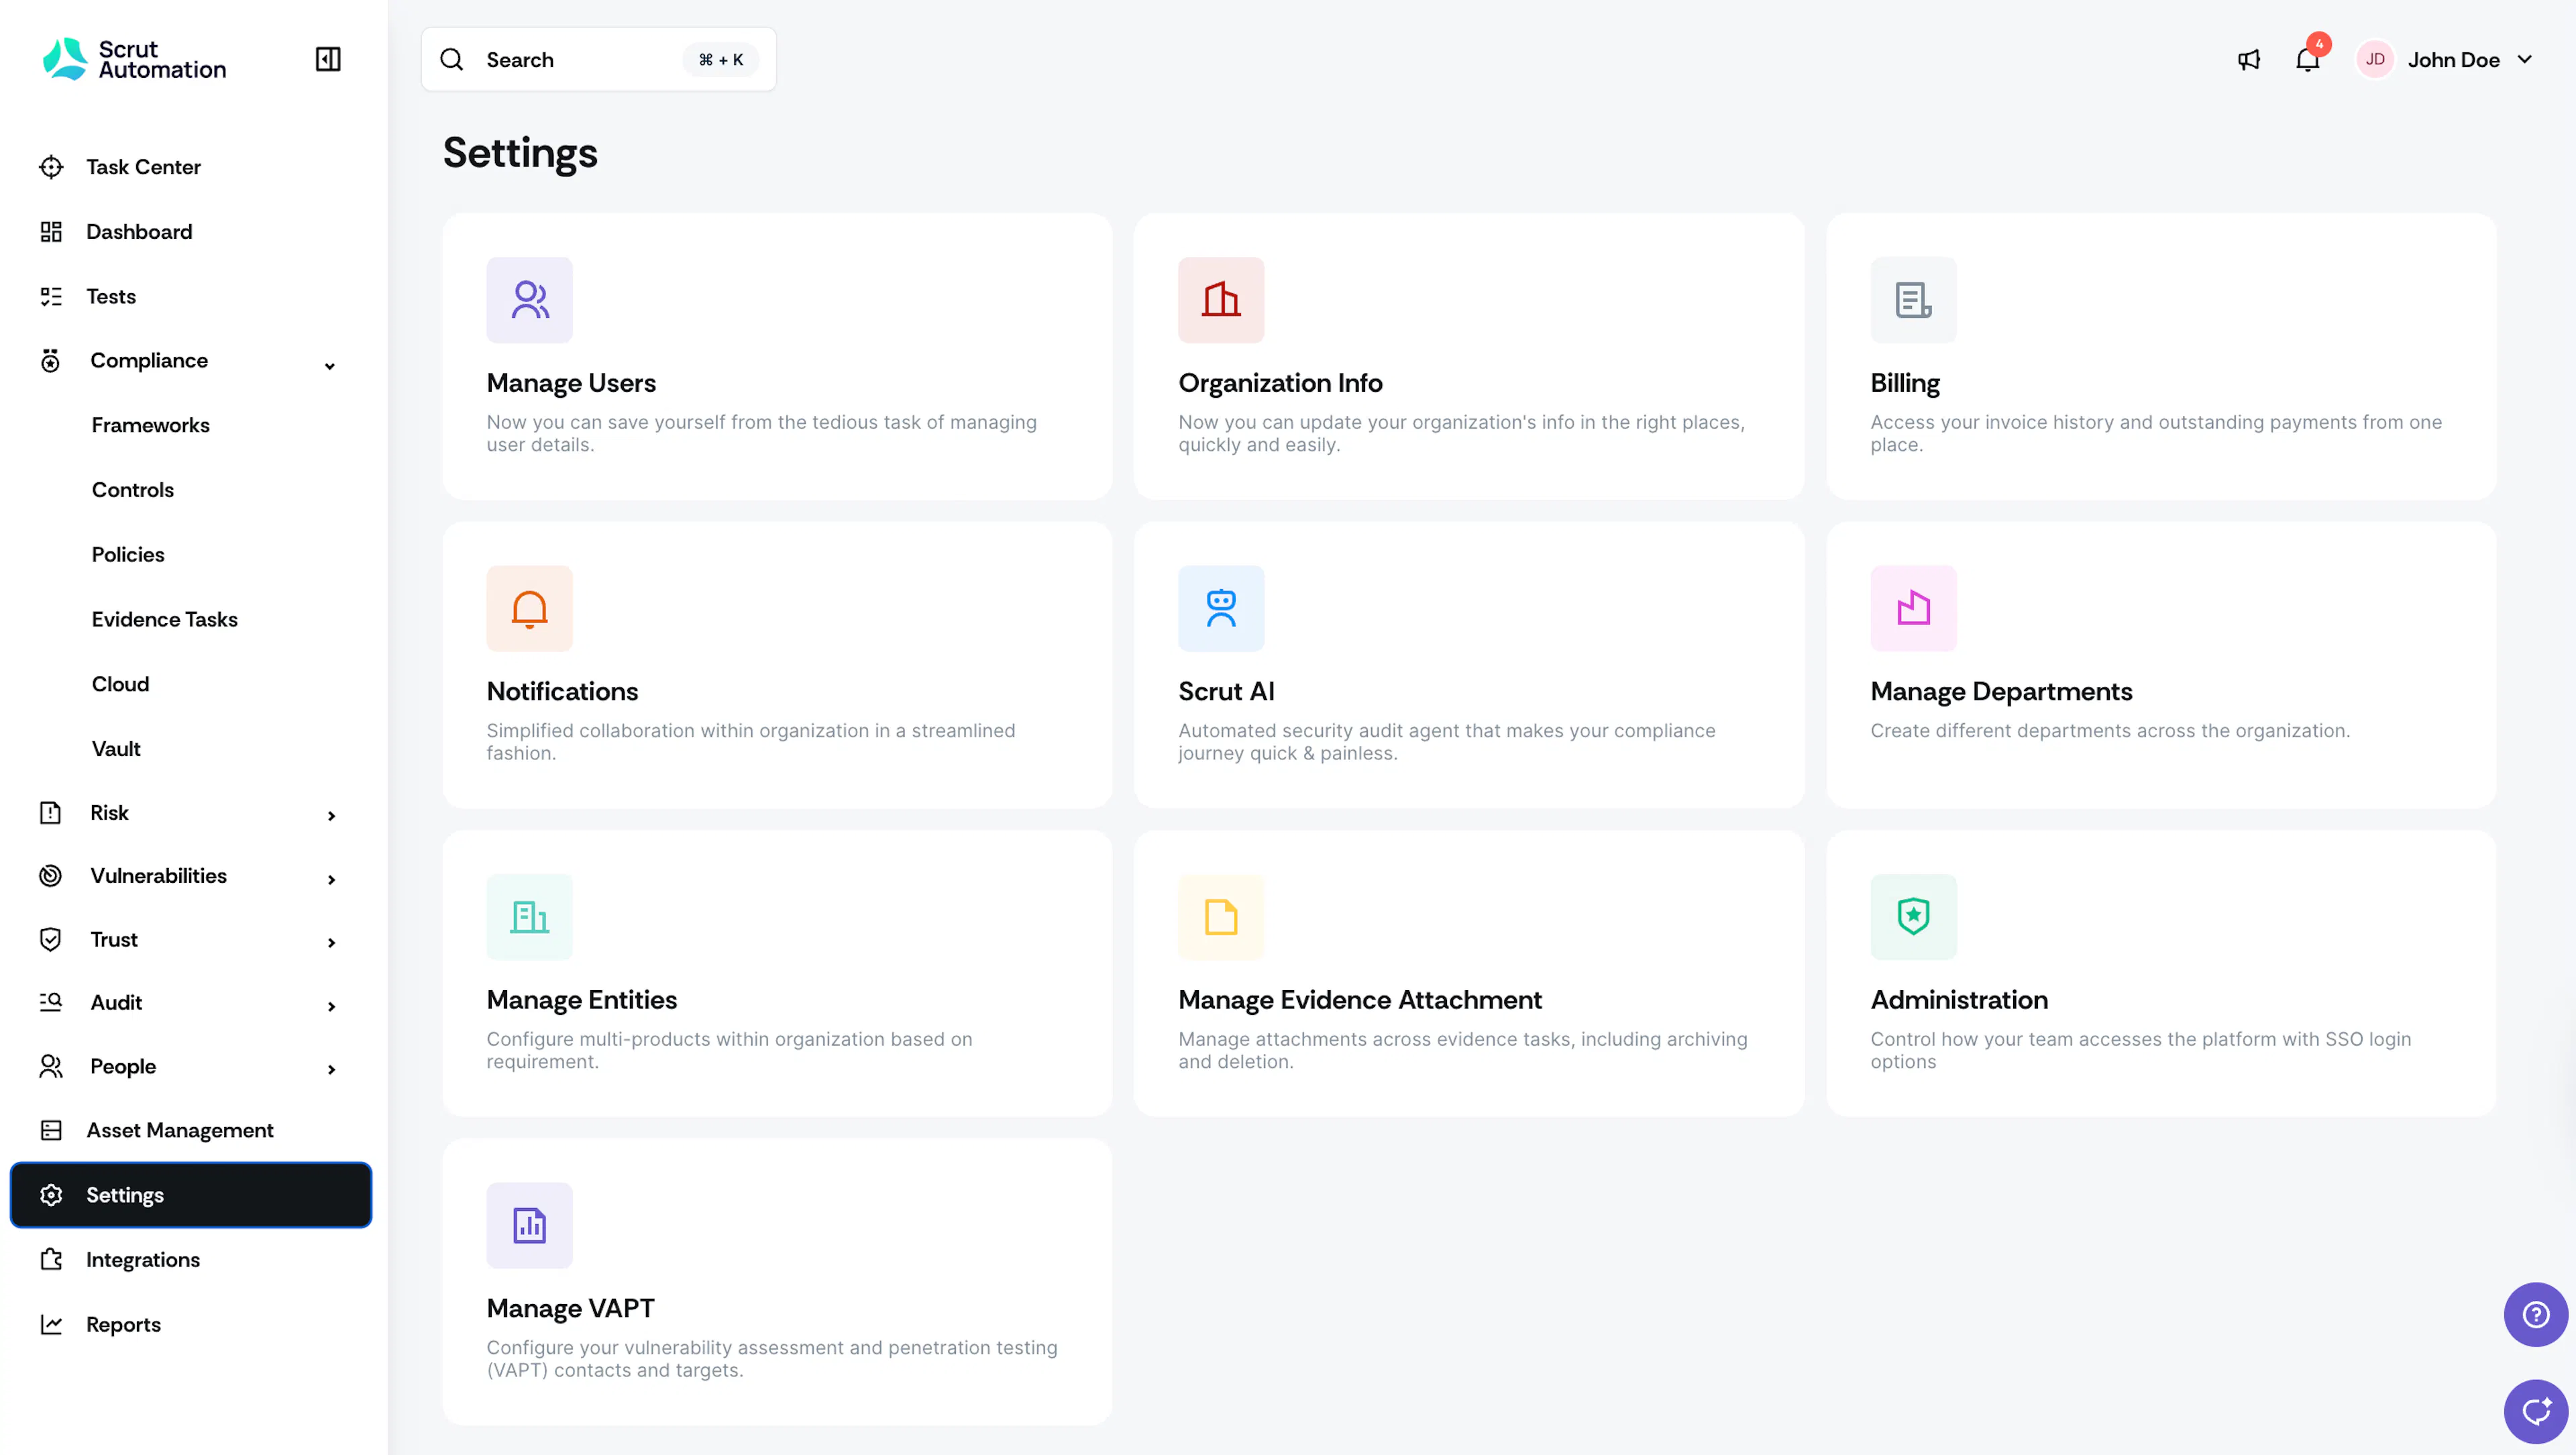
Step 1: Navigate to Settings → Manage VAPT
- Sign in to Scrut, then click Settings in the left navigation menu.
- Click the Manage VAPT tile.
Note:
If you don’t see this option, contact your CSM to enquire about adding VAPT to your account.
Step 2: Add a Target
You can add any of the following types of targets:
1: Web Application
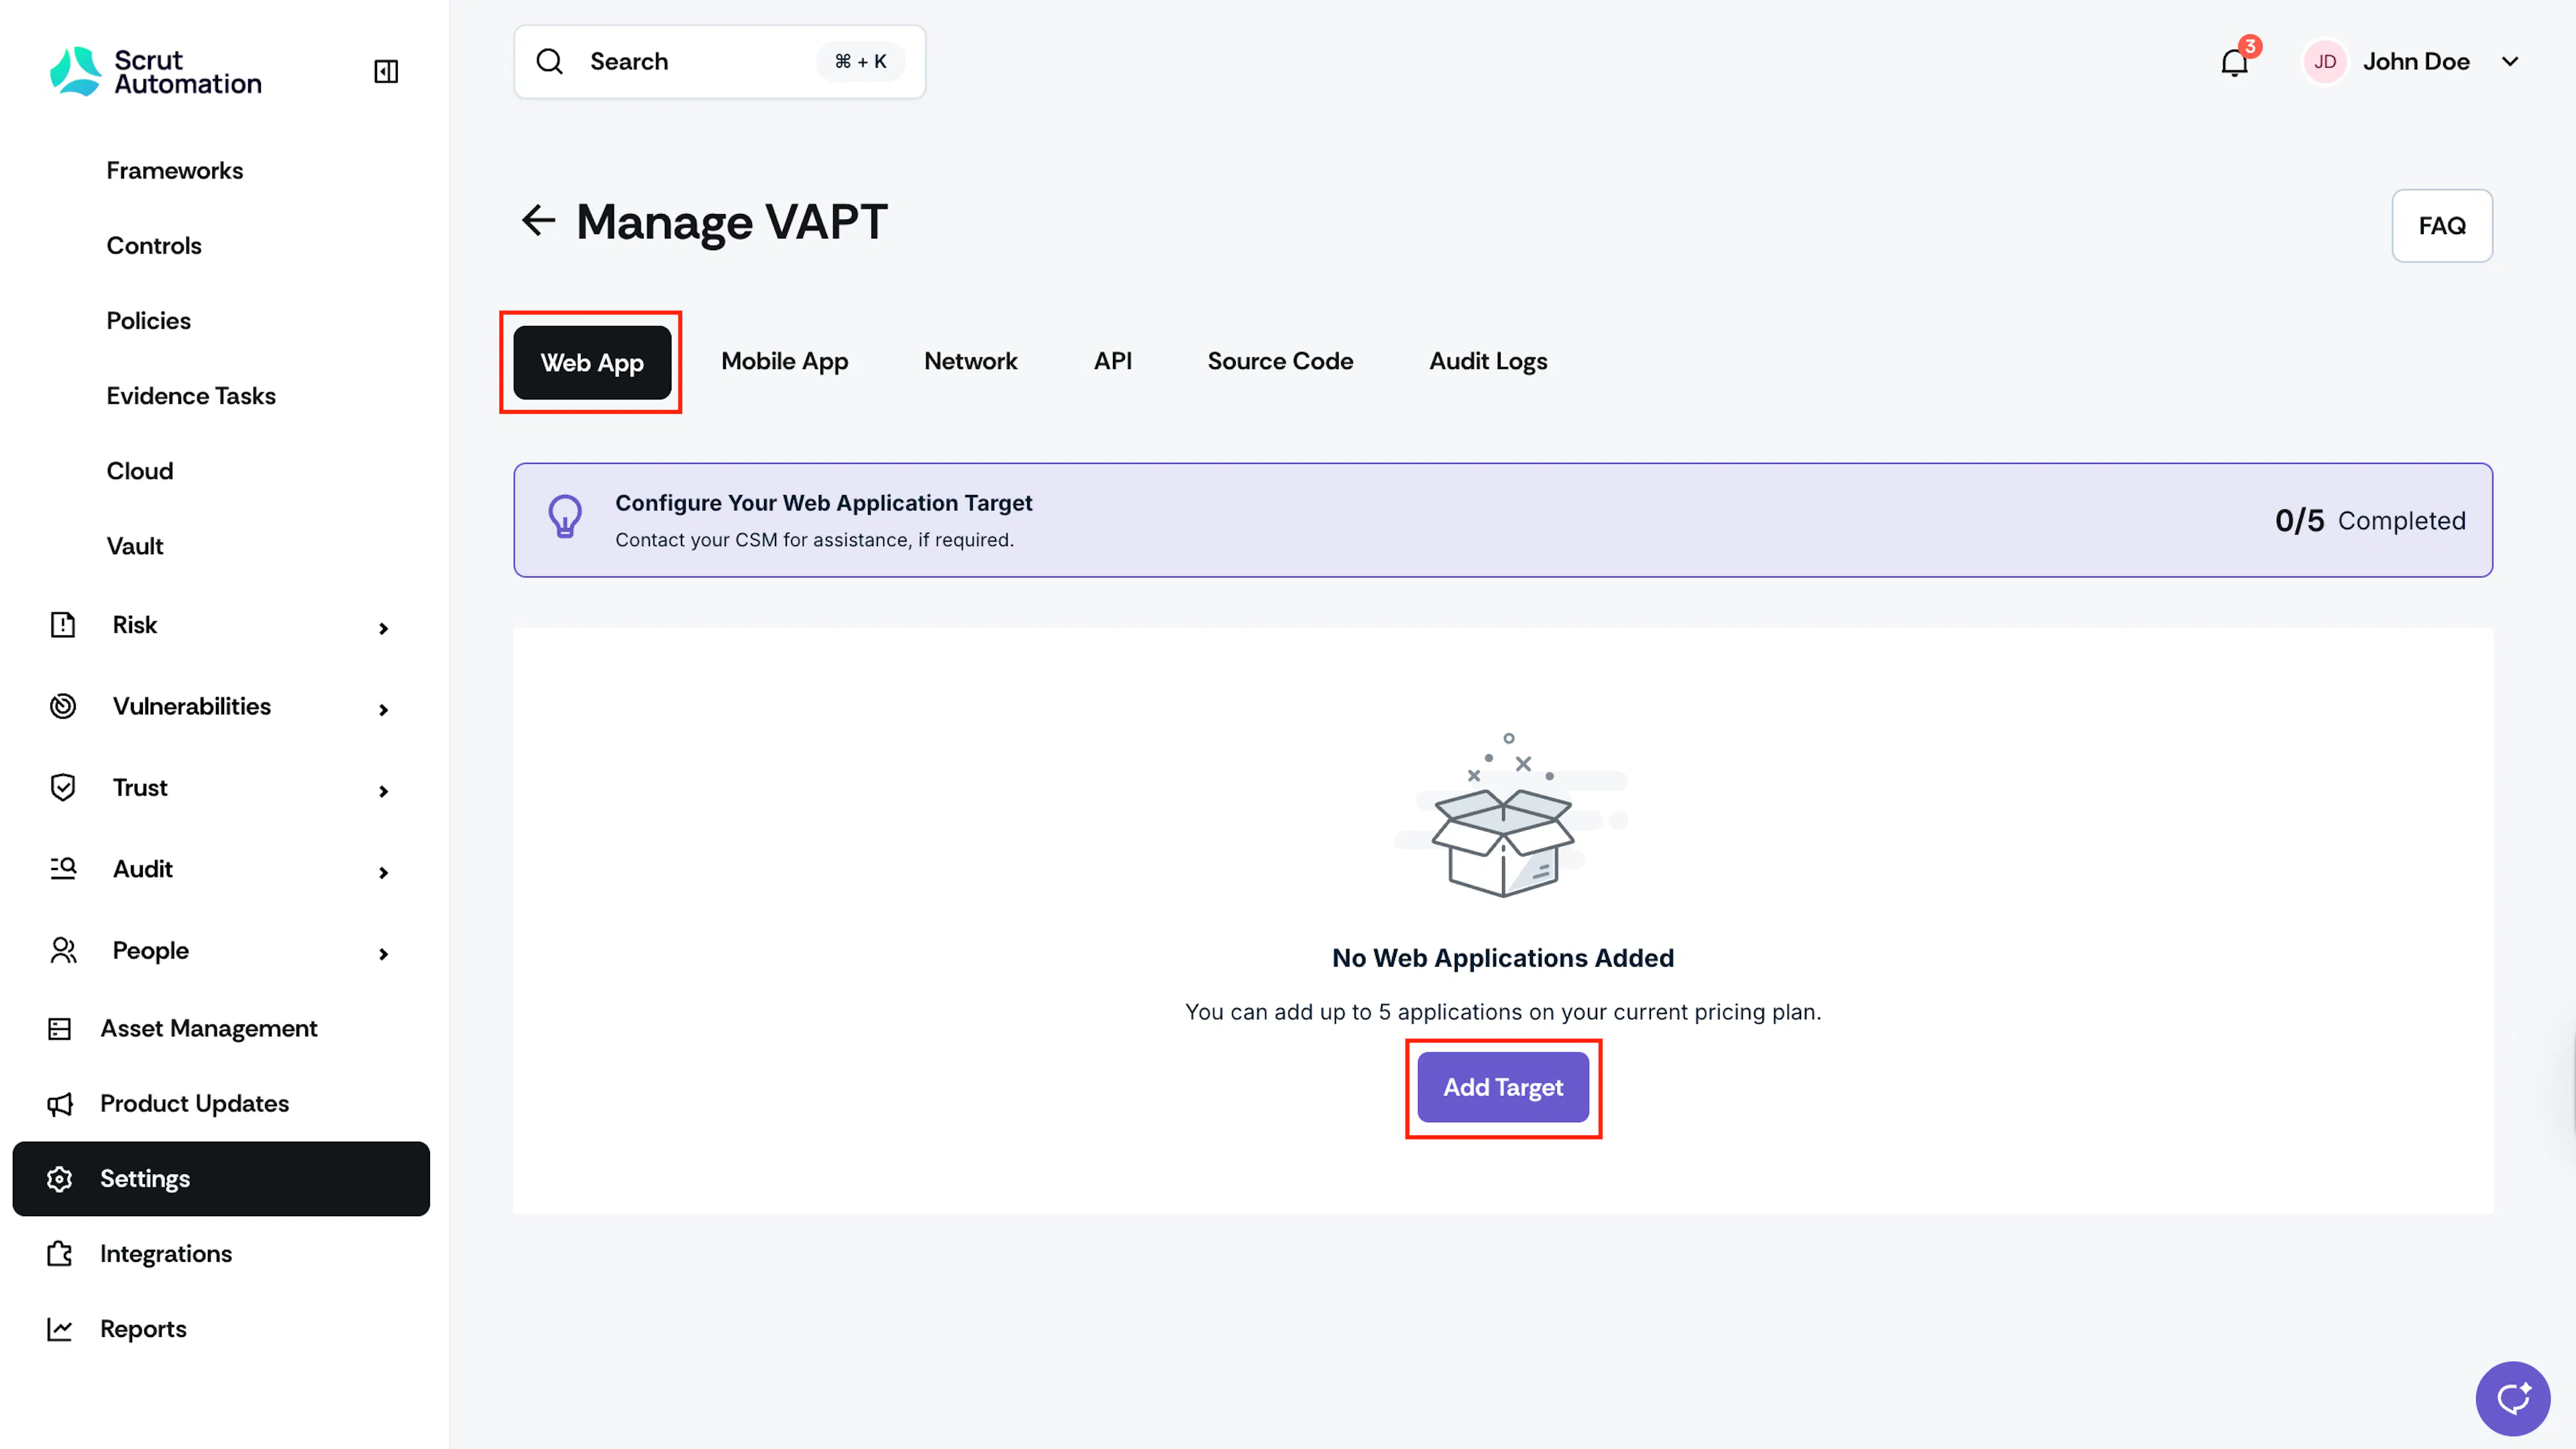
Click the Web App tab for testing web-based applications and websites. Click Add Target and enter the following details:
- Target Name: Enter a descriptive name for your web application
- Target URL: Provide the complete URL of the application to be tested (e.g., https://app.example.com). The URL should not include a trailing slash.
- Environment: Select the environment type. If you select Production (Prod), you'll need to provide:
- Preferred Start Date: Choose when you'd like testing to begin
- Preferred Testing Window: Specify the time frame for conducting tests, e.g. 10 PM - 6 AM EST
- Out of Scope URLs: List any URLs or paths that should be excluded from testing
- Authentication Mechanism: Choose how testers should access your application. You can select either:
- Credentials:
- Username: Enter the login username
- Password: Enter the login password
- Note: Admin user credentials are preferred so that the testing can cover all possible endpoints
- OAuth: Select this if your application uses OAuth authentication
- Credentials:
- Point of Contact (POC): Use the dropdown to set a POC for the VAPT process. You can select up to 5 POCs maximum for a target
- Additional Comments: Add any relevant information or special instructions for the testing team
2: Mobile Application
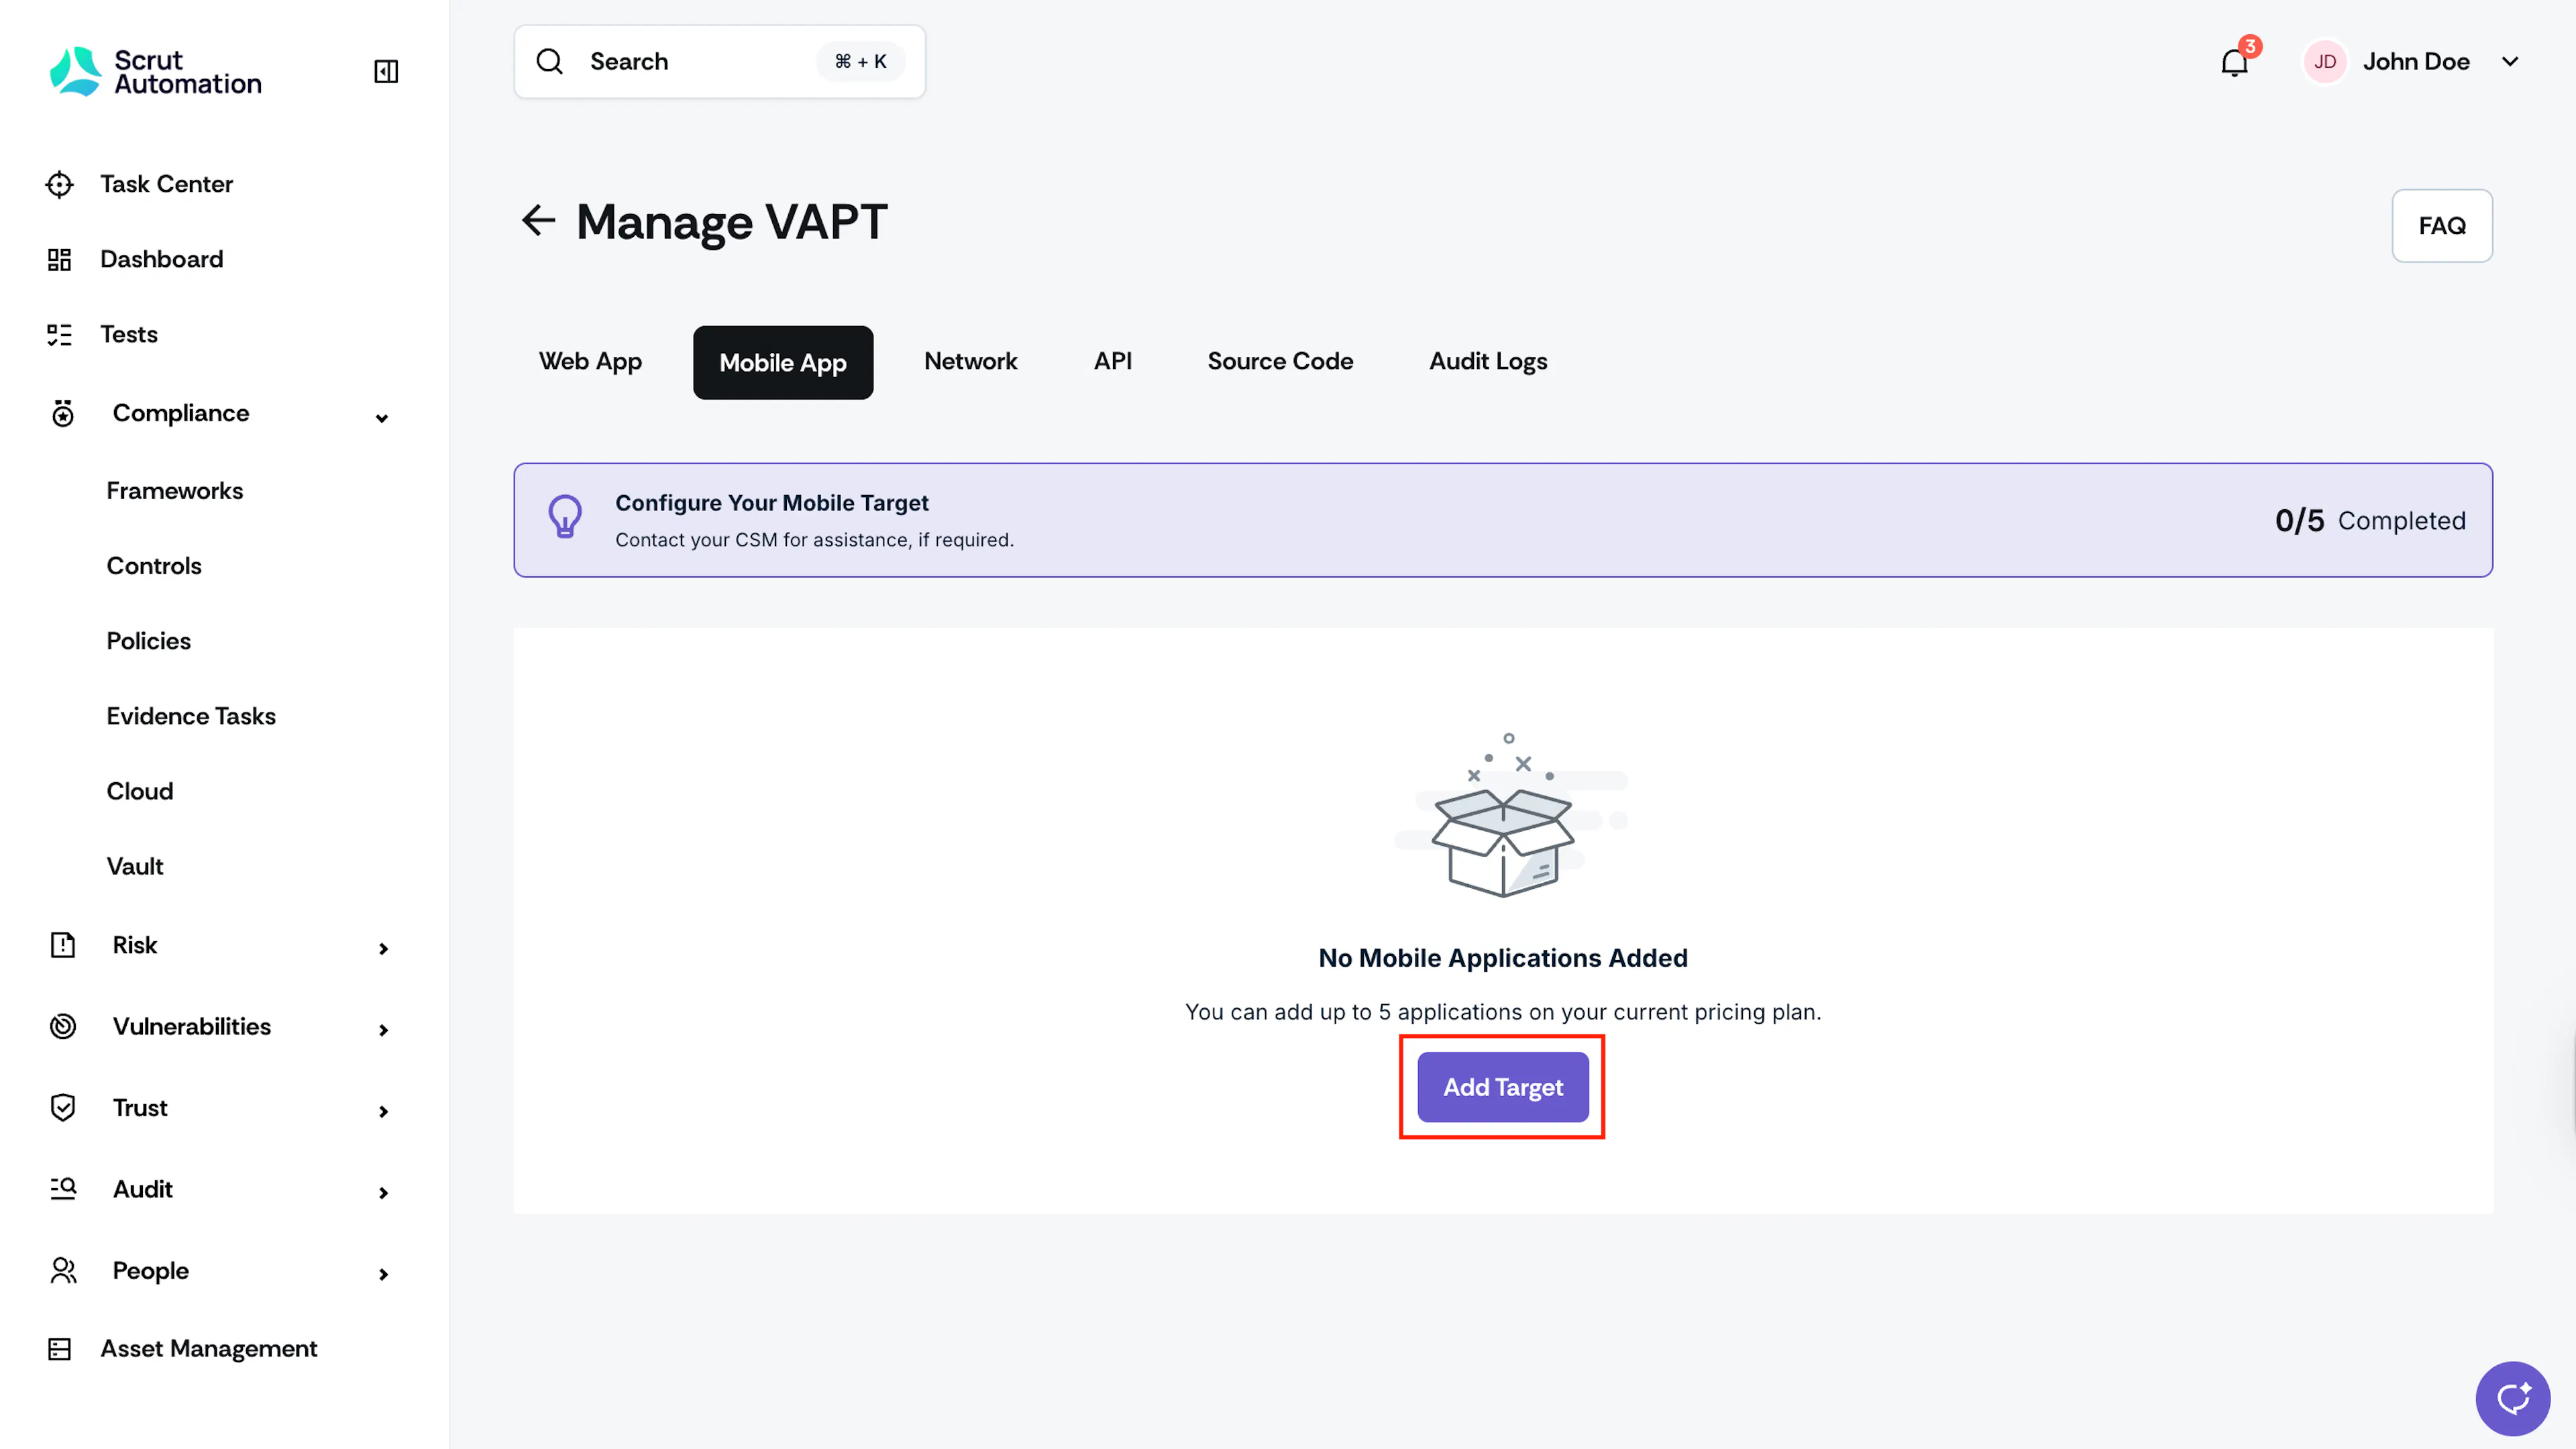
Click the Mobile App tab for testing Android or iOS mobile applications. Click Add Target and enter the following details:
- Target Name: Enter a descriptive name for your mobile application
- OS: Select the operating system
- Android
- iOS
- Method: Choose how you'll provide the application
- Add by Target Link:
- Link: Provide one of the following:
- Play Store or App Store link
- TestFlight link
- Google Drive link
- Link: Provide one of the following:
- Add Package (APK/IPA):
- Upload File: Upload the APK (Android) or IPA (iOS) file directly
- Add by Target Link:
- Environment: Select the environment type. If you select Production (Prod), you'll need to provide:
- Preferred Start Date: Choose when you'd like testing to begin
- Preferred Testing Window: Specify the time frame for conducting tests, e.g. 10 PM - 6 AM EST
- Authentication Mechanism: Choose how testers should access your application
- Credentials:
- Username: Enter the login username
- Password: Enter the login password
- OAuth: Select this if your application uses OAuth authentication
- Credentials:
- Point of Contact (POC): Same as Web Application (You can select up to 5 POCs)
- Additional Comments: Add any relevant information or special instructions for the testing team
3: Network
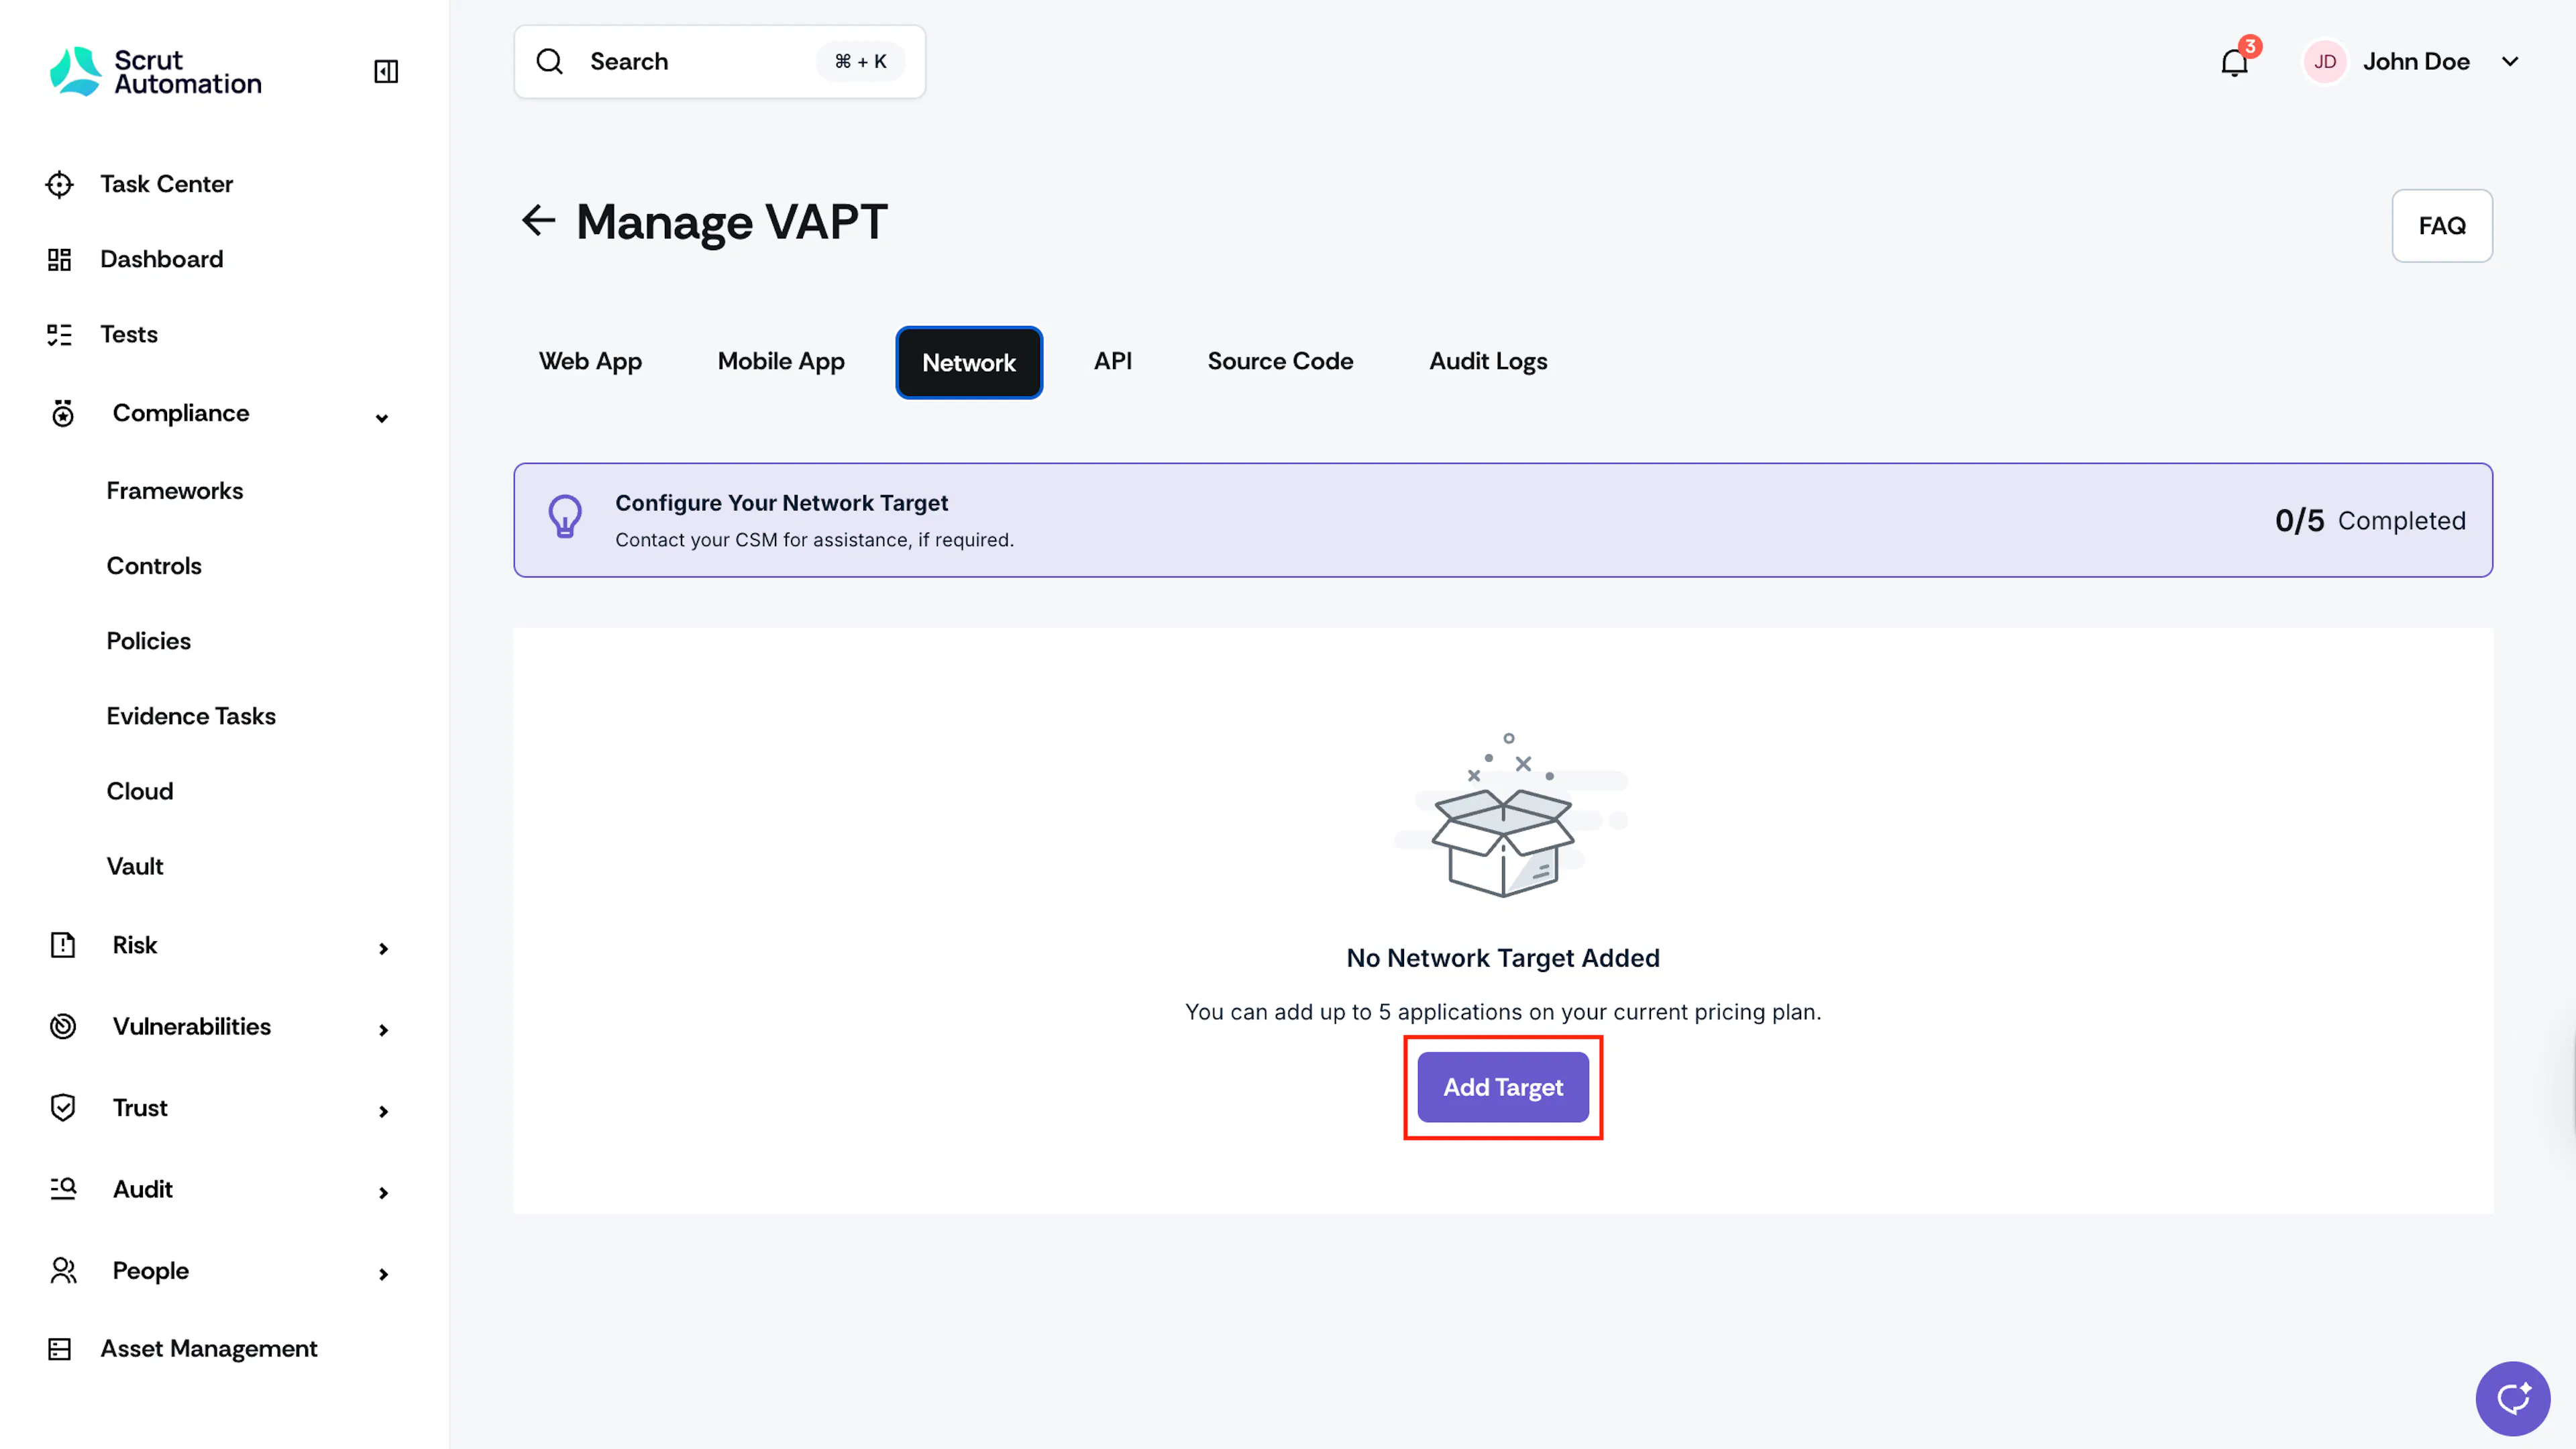
Click the Network tab for testing network infrastructure and IP addresses. Click Add Target and enter the following details:
- IP Type: Select the type of IPs to be tested
- External IPs: Publicly accessible IP addresses
- Internal IPs: Internal network IP addresses
- Upload IPs Sheet: Upload a CSV or XLSX file containing the list of IP addresses to be tested
- Point of Contact (POC): Same as Web Application (You can select up to 5 POCs)
- Additional Comments: Add any relevant information or special instructions for the testing team
4: API
Click the API tab for testing APIs and web services. Click Add Target and enter the following details:
- Target Name: Enter a descriptive name for your API
- JSON / Swagger / Postman Collection: Upload your API documentation file in one of these formats
- Tokens/Headers: Add authentication tokens and custom headers as key-value pairs
- Click "+ Add" to add multiple key-value pairs as needed
- Example: Authorization: Bearer token123
- Point of Contact (POC): Same as Web Application (You can select up to 5 POCs)
- Additional Comments: Add any relevant information or special instructions for the testing team
5: Source Code
Click the Source Code tab for source code review and static analysis. Click Add Target and enter the following details:
- Target Name: Enter a descriptive name for your source code
- Point of Contact (POC): Select or add POCs who will coordinate with the VAPT engineer
- Additional Comments: Add any relevant information or special instructions for the testing team
Heads Up!
The remaining details will be collected directly by the VAPT engineer. They will contact your designated POCs to arrange access to the source code repository and gather any additional information needed for the assessment.
What Next?
Once you add the targets, Scrut will notify the VAPT engineers and your CSM. They’ll start testing and get back to you with any clarifications if needed.
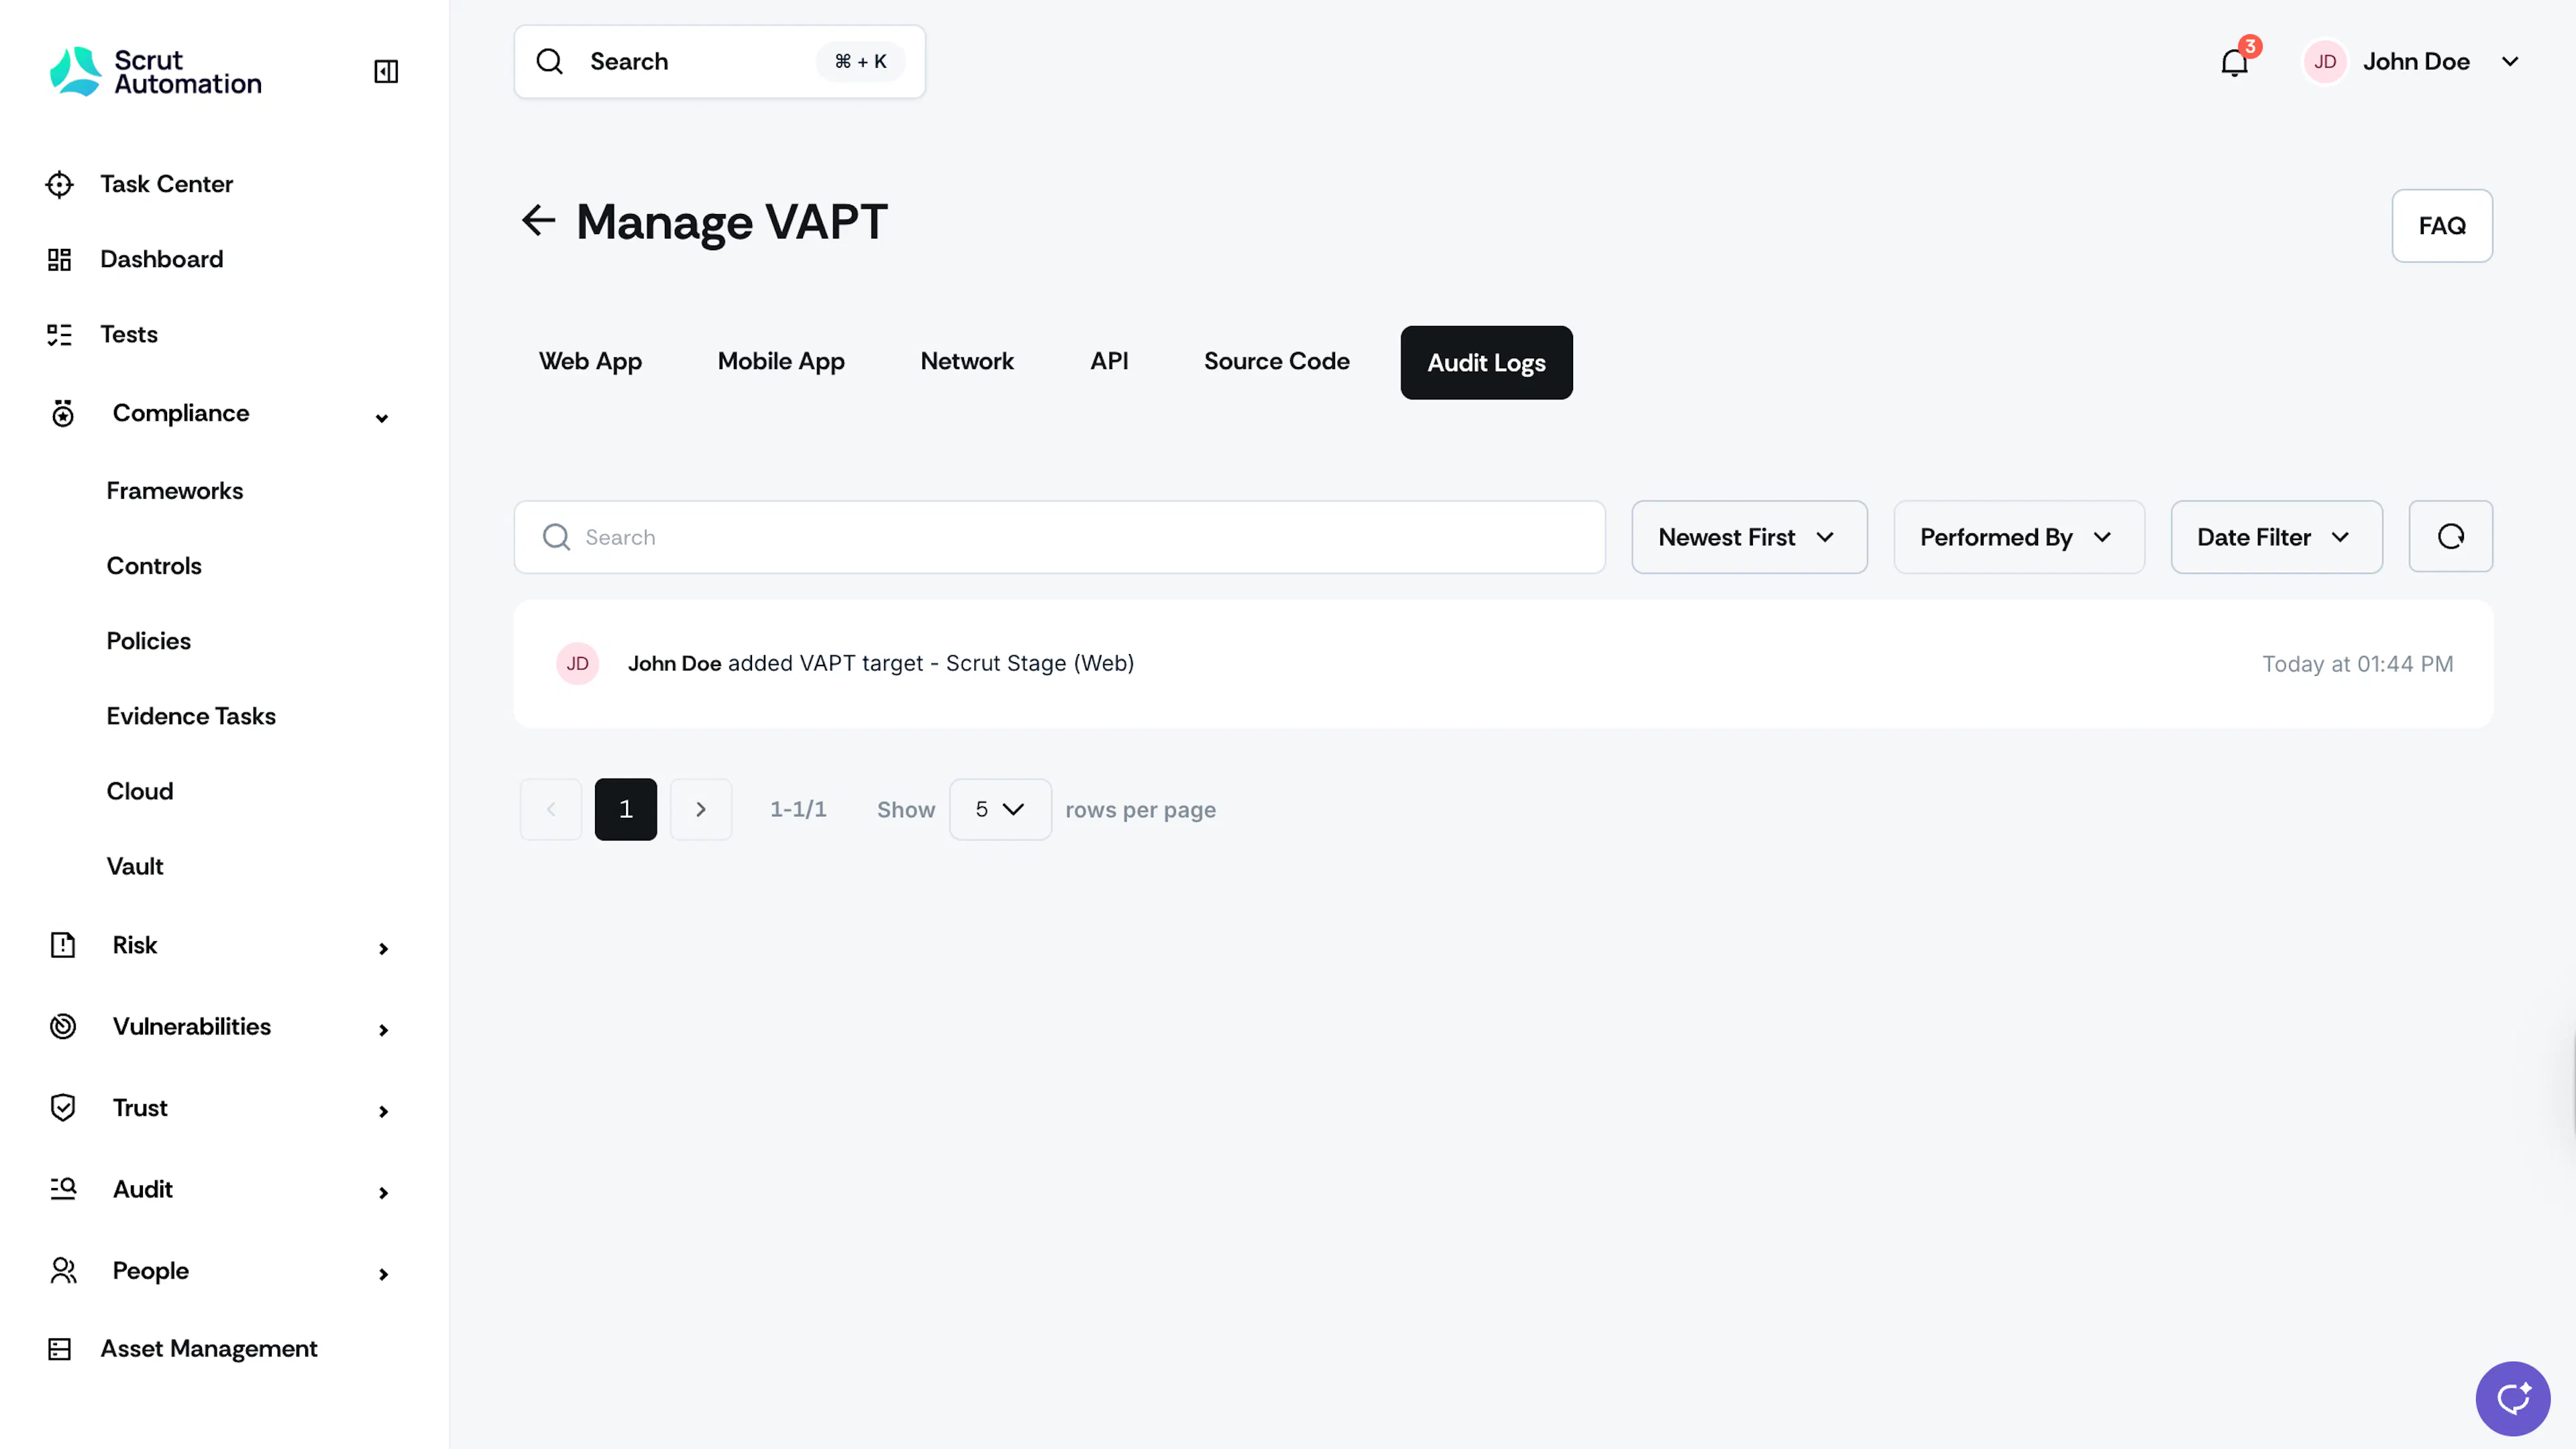
Audit Log
The Audit Logs tab in the Manage VAPT section captures all activities performed in this module.