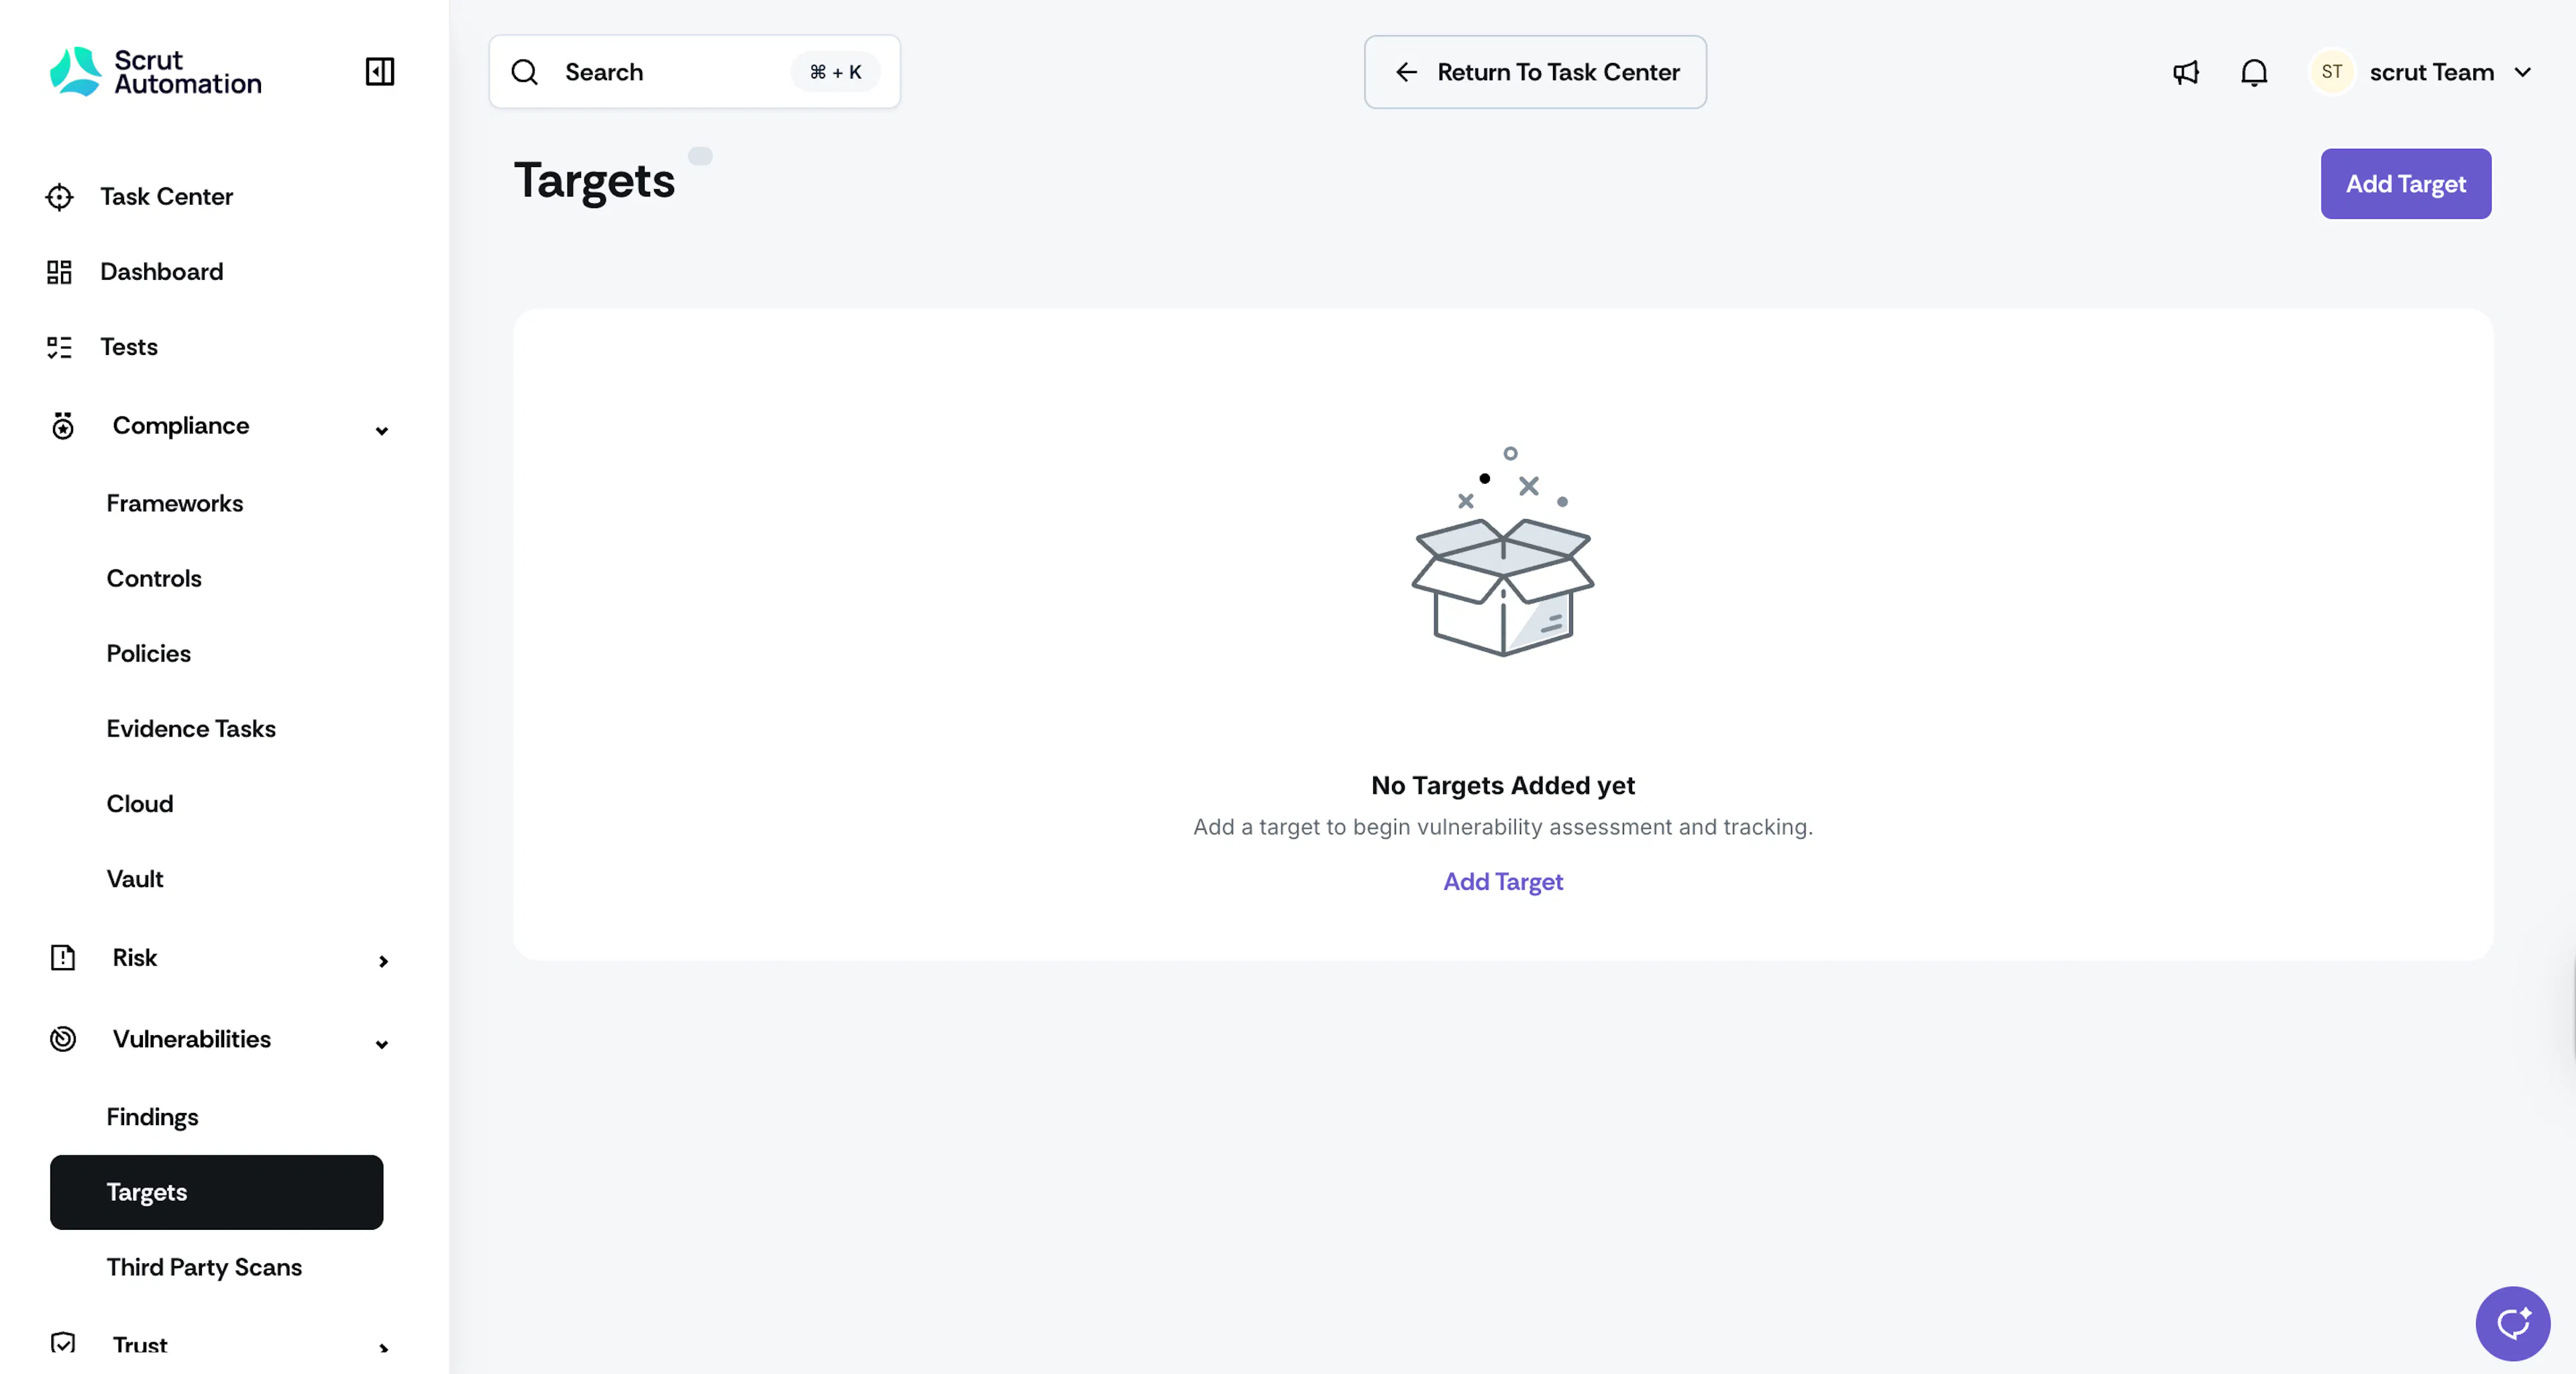
The first step of vulnerability management is to add the URLs for which you want Scrut to run DAST (Dynamic Application Security Testing) scans.
Step 1: Navigate to Vulnerabilities → Targets
Sign in to Scrut and go to Vulnerabilities → Targets using the left sidebar.
Click the Add button on the top right of the page.

Step 2: Enter the Target URL
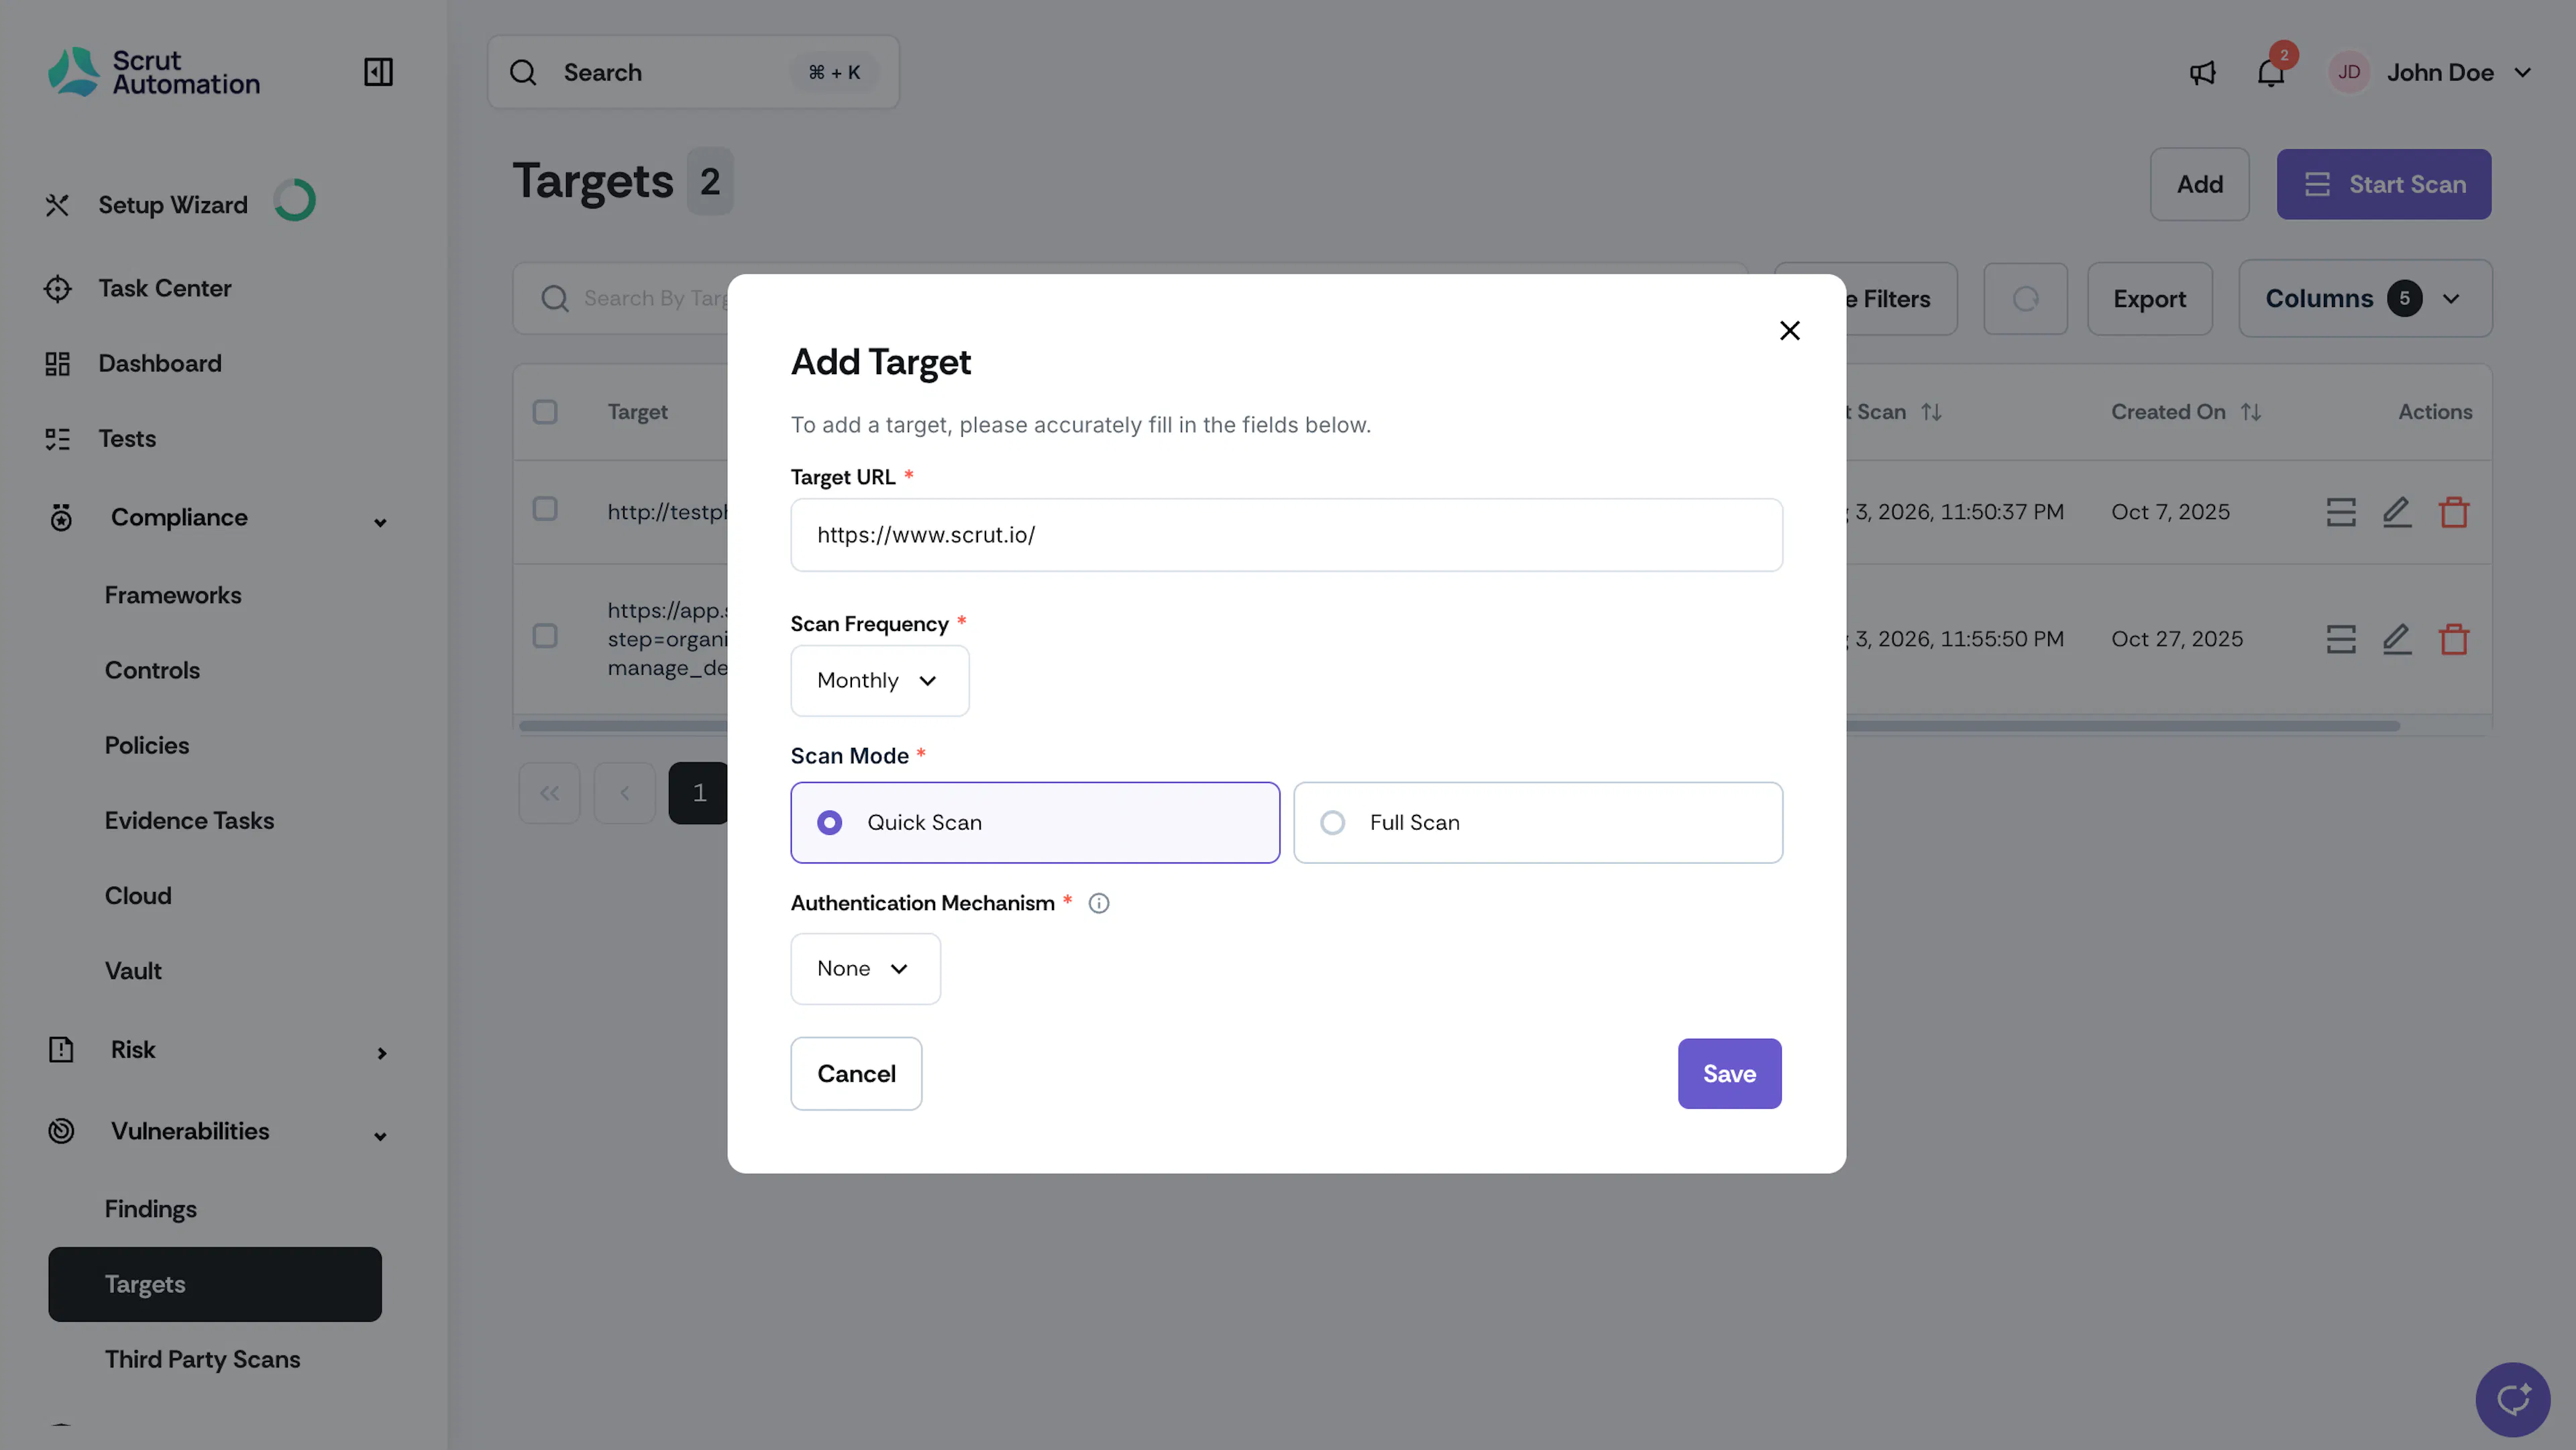
Enter the URL of the website, web application, or code repository you want to scan for vulnerabilities. Enter the full URL of the target domain, such as: https://app.example.com.
Note: The URL must not have a trailing slash.
Step 3: Set Scan Frequency
Choose your desired scanning schedule from:
On-Demand: Run a scan ad hoc whenever you need to
3 days: Schedule a scan once every three days
Weekly: Schedule a scan once every week
Monthly: Schedule a scan once every month
Step 4: Select the Scan Mode
Choose your preferred scan mode from:
Quick Scan: A rapid, non-intrusive scan. Ideal for continuous monitoring, especially in sensitive production environments.
Full Scan: A more intrusive and in-depth scan that simulates attacks by sending crafted requests and analyzing responses to identify weaknesses. May alter or modify data. It is recommended to run this only in staging and other lower environments, and not in your production environment.
Step 5: Configure the Authentication Mechanism
Choose the appropriate authentication mechanism for your target. This is crucial for enhanced scan coverage and access to protected areas. Options include: None, Cookie, Token, and Credentials.
#1: None
Choose this option if you want to perform an unauthenticated scan.
Heads Up!
Unauthenticated scans aren't robust and will not discover vulnerabilities in authenticated pages. Hence, we recommend, using any of the other three authentication mechanisms to improve the coverage and accuracy of the scan findings.
#2: Cookie
Select this option when authentication is handled through a specific cookie rather than a standard login form. You'll need to enter the following details:
Cookie Name: The name (key) of the cookie used for authentication (e.g., sessionid, auth_token)
Cookie Token: The cookie value.
How To Find These Values?
Log in to the application manually.
Open the browser's Developer Tools → Application/Storage → Cookies tab.
Copy the cookie name and value.
Best Practices
Ensure the cookie value remains valid for the scan duration.
Use non-production accounts to avoid data corruption.
#3: Token
Choose this authentication mechanism when the application or API requires an authentication token to be sent with each request, typically in the HTTP headers. It is common for APIs to use OAuth 2.0 bearer tokens, JWTs, or custom API tokens. You will have to enter the following details:
Token Type: Defines how the token will be sent, such as:
Bearer (OAuth 2.0 standard)
JWT (JSON Web Token)
Apikey (Custom)
Token Value: The actual token string provided by your authentication system.
Examples
Bearer Token
Token Type: Bearer
Token Value: eyJhbGciOiJIUzI1NiIsInR5cCI6IkpXVCJ9...
API Key
Token Type: None
Token Value:
Best Practices When Using Tokens
Use Test Tokens with the same permissions as the role you want to scan (e.g., standard user, admin).
Avoid production tokens unless absolutely necessary.
Ensure tokens are valid for the entire scan duration. Short-lived tokens may cause incomplete scans.
If the application refreshes tokens automatically, configure ZAP scripts or the automation framework to handle token renewal before they expire.
How To Find Tokens
For browser-based apps: Log in manually, then check the DevTools → Network tab and inspect any request to view the Authorization header or token in the cookies.
For APIs: Check the authentication documentation or your API gateway configuration.
#4: Credentials (Form-Based)
Enter the following details:
Username and Password: The scanner will use these credentials to log into the application.
Login Path: This is the URL of the login form. You can obtain the login path by attempting to log in from the target URL. For example, the Login Path from Scrut is https://app.scrut.io/.
Logged-in Indicator: It's a mechanism used to determine if the scanner has successfully authenticated a user with the above credentials. You can leave it as the default value.
Step 6: Save the Target
Once you add values for all fields, click Save to add the target.

Note:
Repeat steps 2 to 6 to add multiple targets, as required.
FAQs & Troubleshooting
1: Which authentication mechanism should I choose while adding a target?
The authentication mechanism depends on your target. Here are a few ways to help you determine which one to use:
Check your browser's developer tools after logging in. Review the Network tab to view the authentication data being sent, and select the authentication mechanism accordingly.
Consider the target type. Generally, traditional web applications use cookies, while APIs and Single-Page Applications (SPAs) use tokens.
Test manually. Try accessing a page in your target and see whether it works with cookies or requires specific headers.
The choice you make affects how thoroughly the scanner tests authenticated areas of your target. Therefore, ensure that you select the correct authentication method for comprehensive vulnerability detection.
2: What are the different scan statuses?
Initializing Scan: Setting up scanner
Discovering Pages: Crawling the site to map all pages and endpoints
Quick Scan in Progress: Running quick vulnerability checks on discovered pages
Full Scan in Progress: Performing comprehensive security analysis on discovered pages
Scan Completed: Scan finished, findings available
Scan Failed: Scan encountered errors (check logs)
3: How to edit a target?
Heads Up!
You cannot edit a target while a scan is in progress.
Navigate to Vulnerabilities → Targets using the left navigation panel.
Select the DAST target that you want to edit.
Once you're on the target page, click the three-dot icon on the top-right and click Edit.
Make the required changes and click Save.

4: How to delete a target?
Heads Up!
You cannot delete a target when the scan is in progress.
Navigate to Vulnerabilities → Targets using the left navigation panel.
Select the target you want to delete.
Once you're on the target page, click the three-dot icon on the top-right and click Delete.


5: What happens to findings that are remediated?
If fixed correctly, Scrut will not resurface the vulnerability as a finding in subsequent scans.
6: What is a DAST scan?
DAST (Dynamic Application Security Testing) scans for vulnerabilities in a running application. It's like a hacker trying to break in. It tests the application by simulating attacks on its user interface, APIs, and other exposed components. It's best for finding runtime issues, such as configuration errors and authentication flaws.
Ideal for: Applications that are already running (in a testing, staging, or production environment), live websites, etc.
What it finds: Vulnerabilities such as broken links, authentication issues, and server misconfigurations
7: Can I add a Shopify website as a target in DAST?
Yes, there are no restrictions, unless the Shopify website has any explicit blockers or WAF rules in place.
8: Does the DAST scan follow deep links and test dynamically generated endpoints?
Yes, the DAST implementation uses both traditional and AJAX-based crawling to ensure comprehensive coverage of dynamically generated and client-side endpoints. The configuration includes AJAX Spider functionality, which leverages a headless browser to:
Execute client-side JavaScript
Detect and follow deep links
Capture internal XHR (XML HTTP Request) calls
Capture fetch API calls initiated by the web application
This approach ensures that dynamic content and endpoints generated through client-side scripts are properly tested during the scan.
9: What's the difference between quick and full scans?
Quick Scans:
They are non-intrusive, low-impact checks designed for safe use in production environments.
Perform lightweight tests to flag surface issues such as exposed endpoints, missing security headers, or obvious misconfigurations.
They don't use exploit payloads or fuzzing, so they generate minimal load on the target application.
Full Scans:
They are deeper, more intrusive tests best suited for staging or controlled environments.
They include all quick-scan checks, as well as advanced tests such as fuzzing, injection payloads (SQLi, XSS), parameter variation, and authenticated endpoint coverage, to identify vulnerabilities.
They simulate common attacker techniques.
10: Can Scrut scan an application that is behind a VPN?
Yes. If your application restricts inbound traffic through a VPN, you can still run DAST scans by whitelisting Scrut's scanner IP address for inbound traffic. This allows the scanner to reach your application without changes to your VPN configuration. Contact your CSM or reach out to support@scrut.io to get the specific IP address to add to your allowlist.