Create a Standalone Corrective Action
Who can use this feature
- Supported on Foundation, Growth, and Scale plans
You can create a standalone corrective action that is not linked to any audits. For instance, if you spot a non-conformity or problem during regular operations, you can create a corrective action to fix it and prevent it from happening again.
This article explains how to create a standalone corrective action.
How To Create a Standalone Corrective Action
-
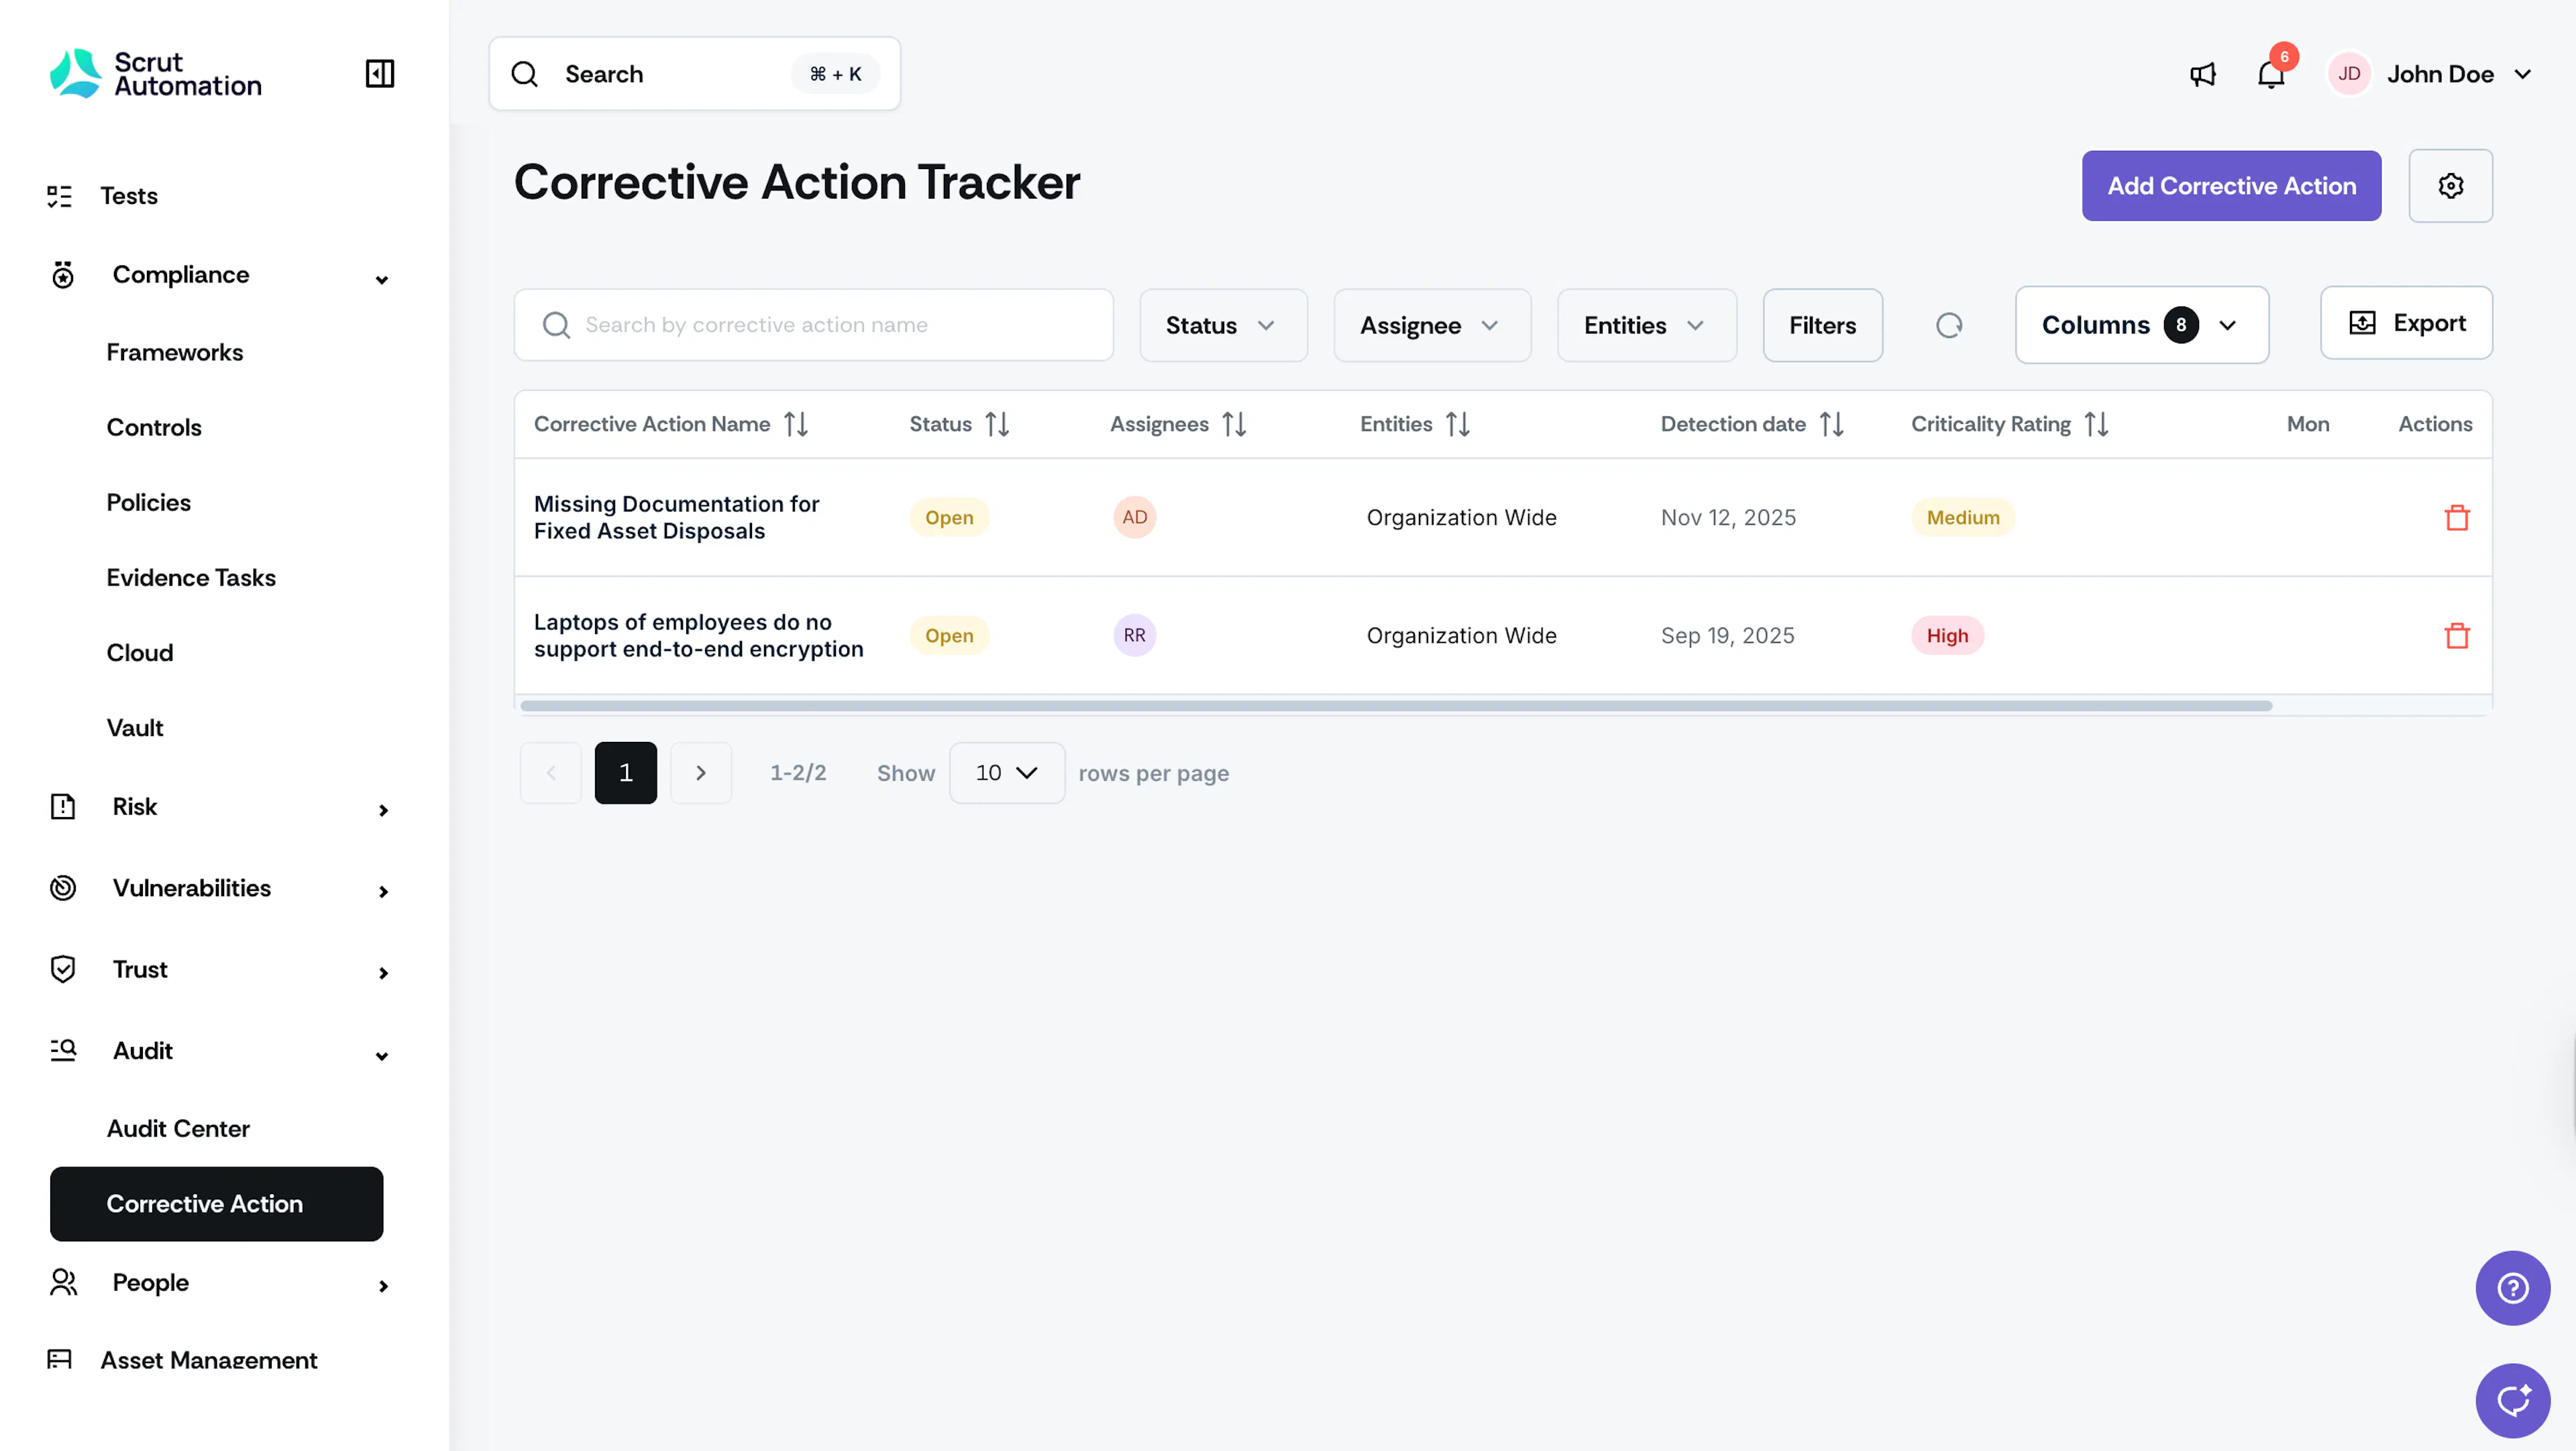
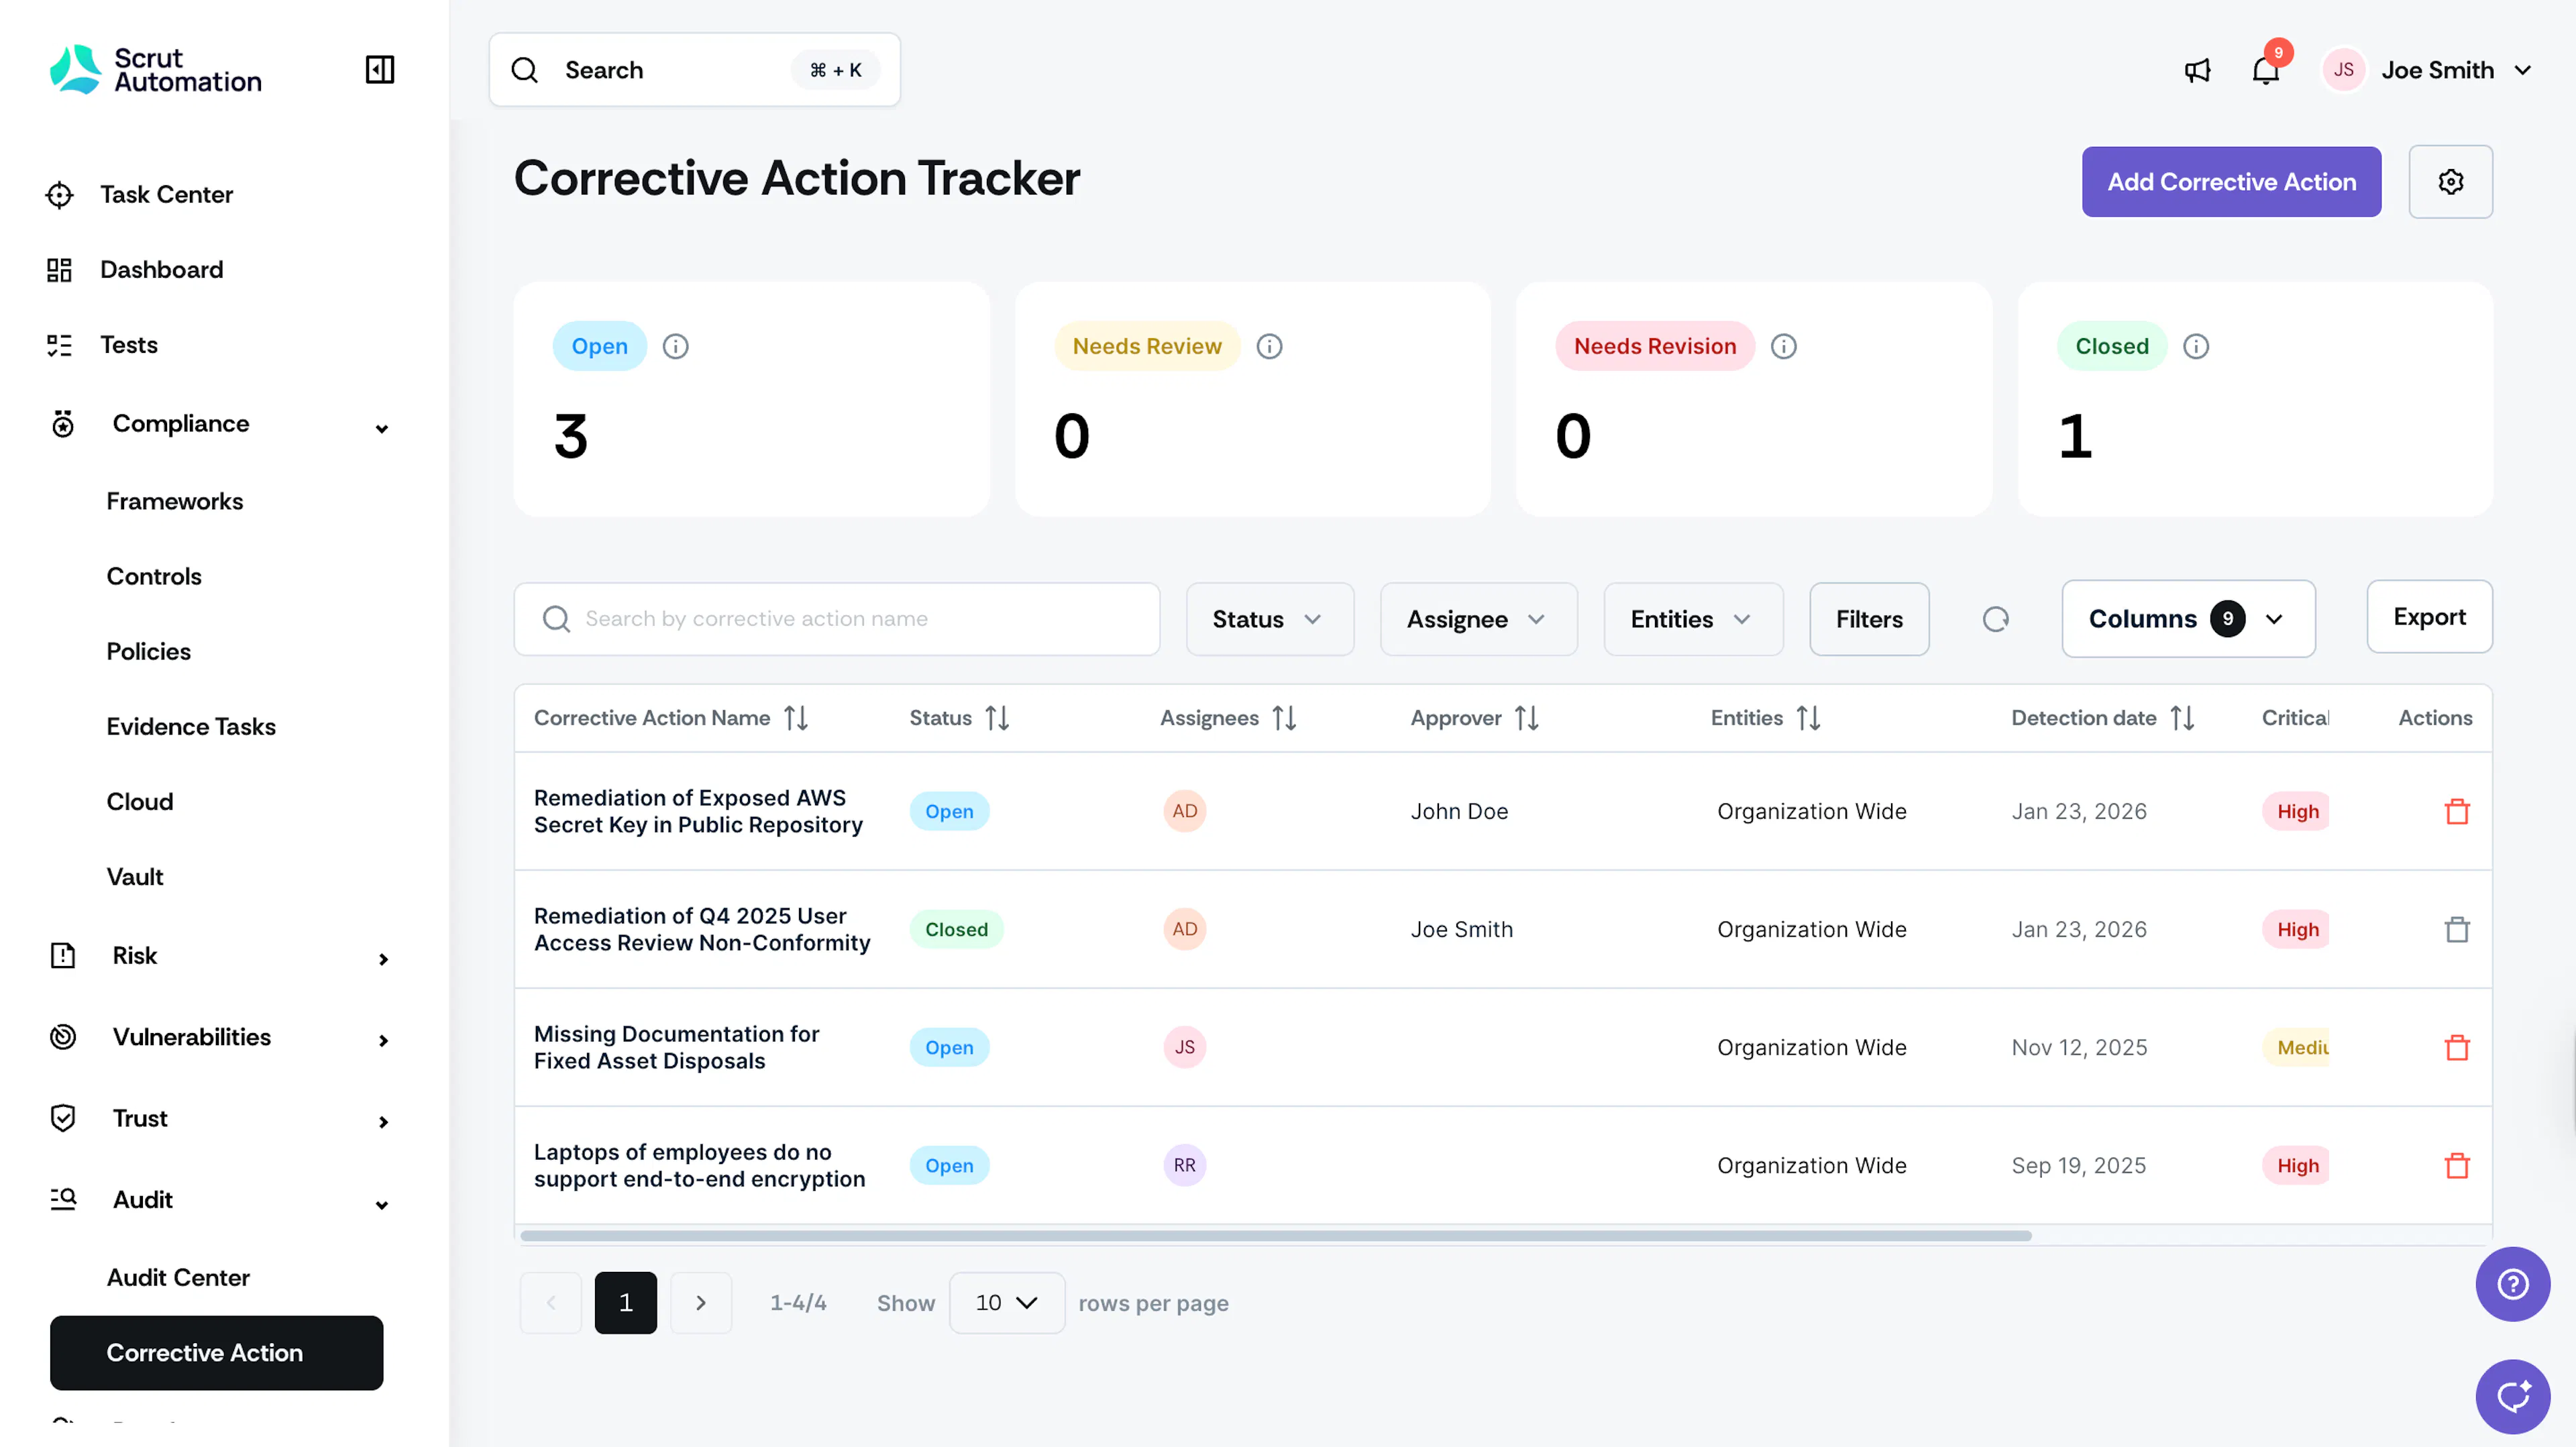
Sign in to Scrut, click Audit → Corrective Action on the left navigation panel. This brings you the Corrective Action Tracker page, which shows all corrective actions created to date. It includes actions linked to audit requests/findings and standalone corrective actions.
-
Click Add Corrective Action.
-
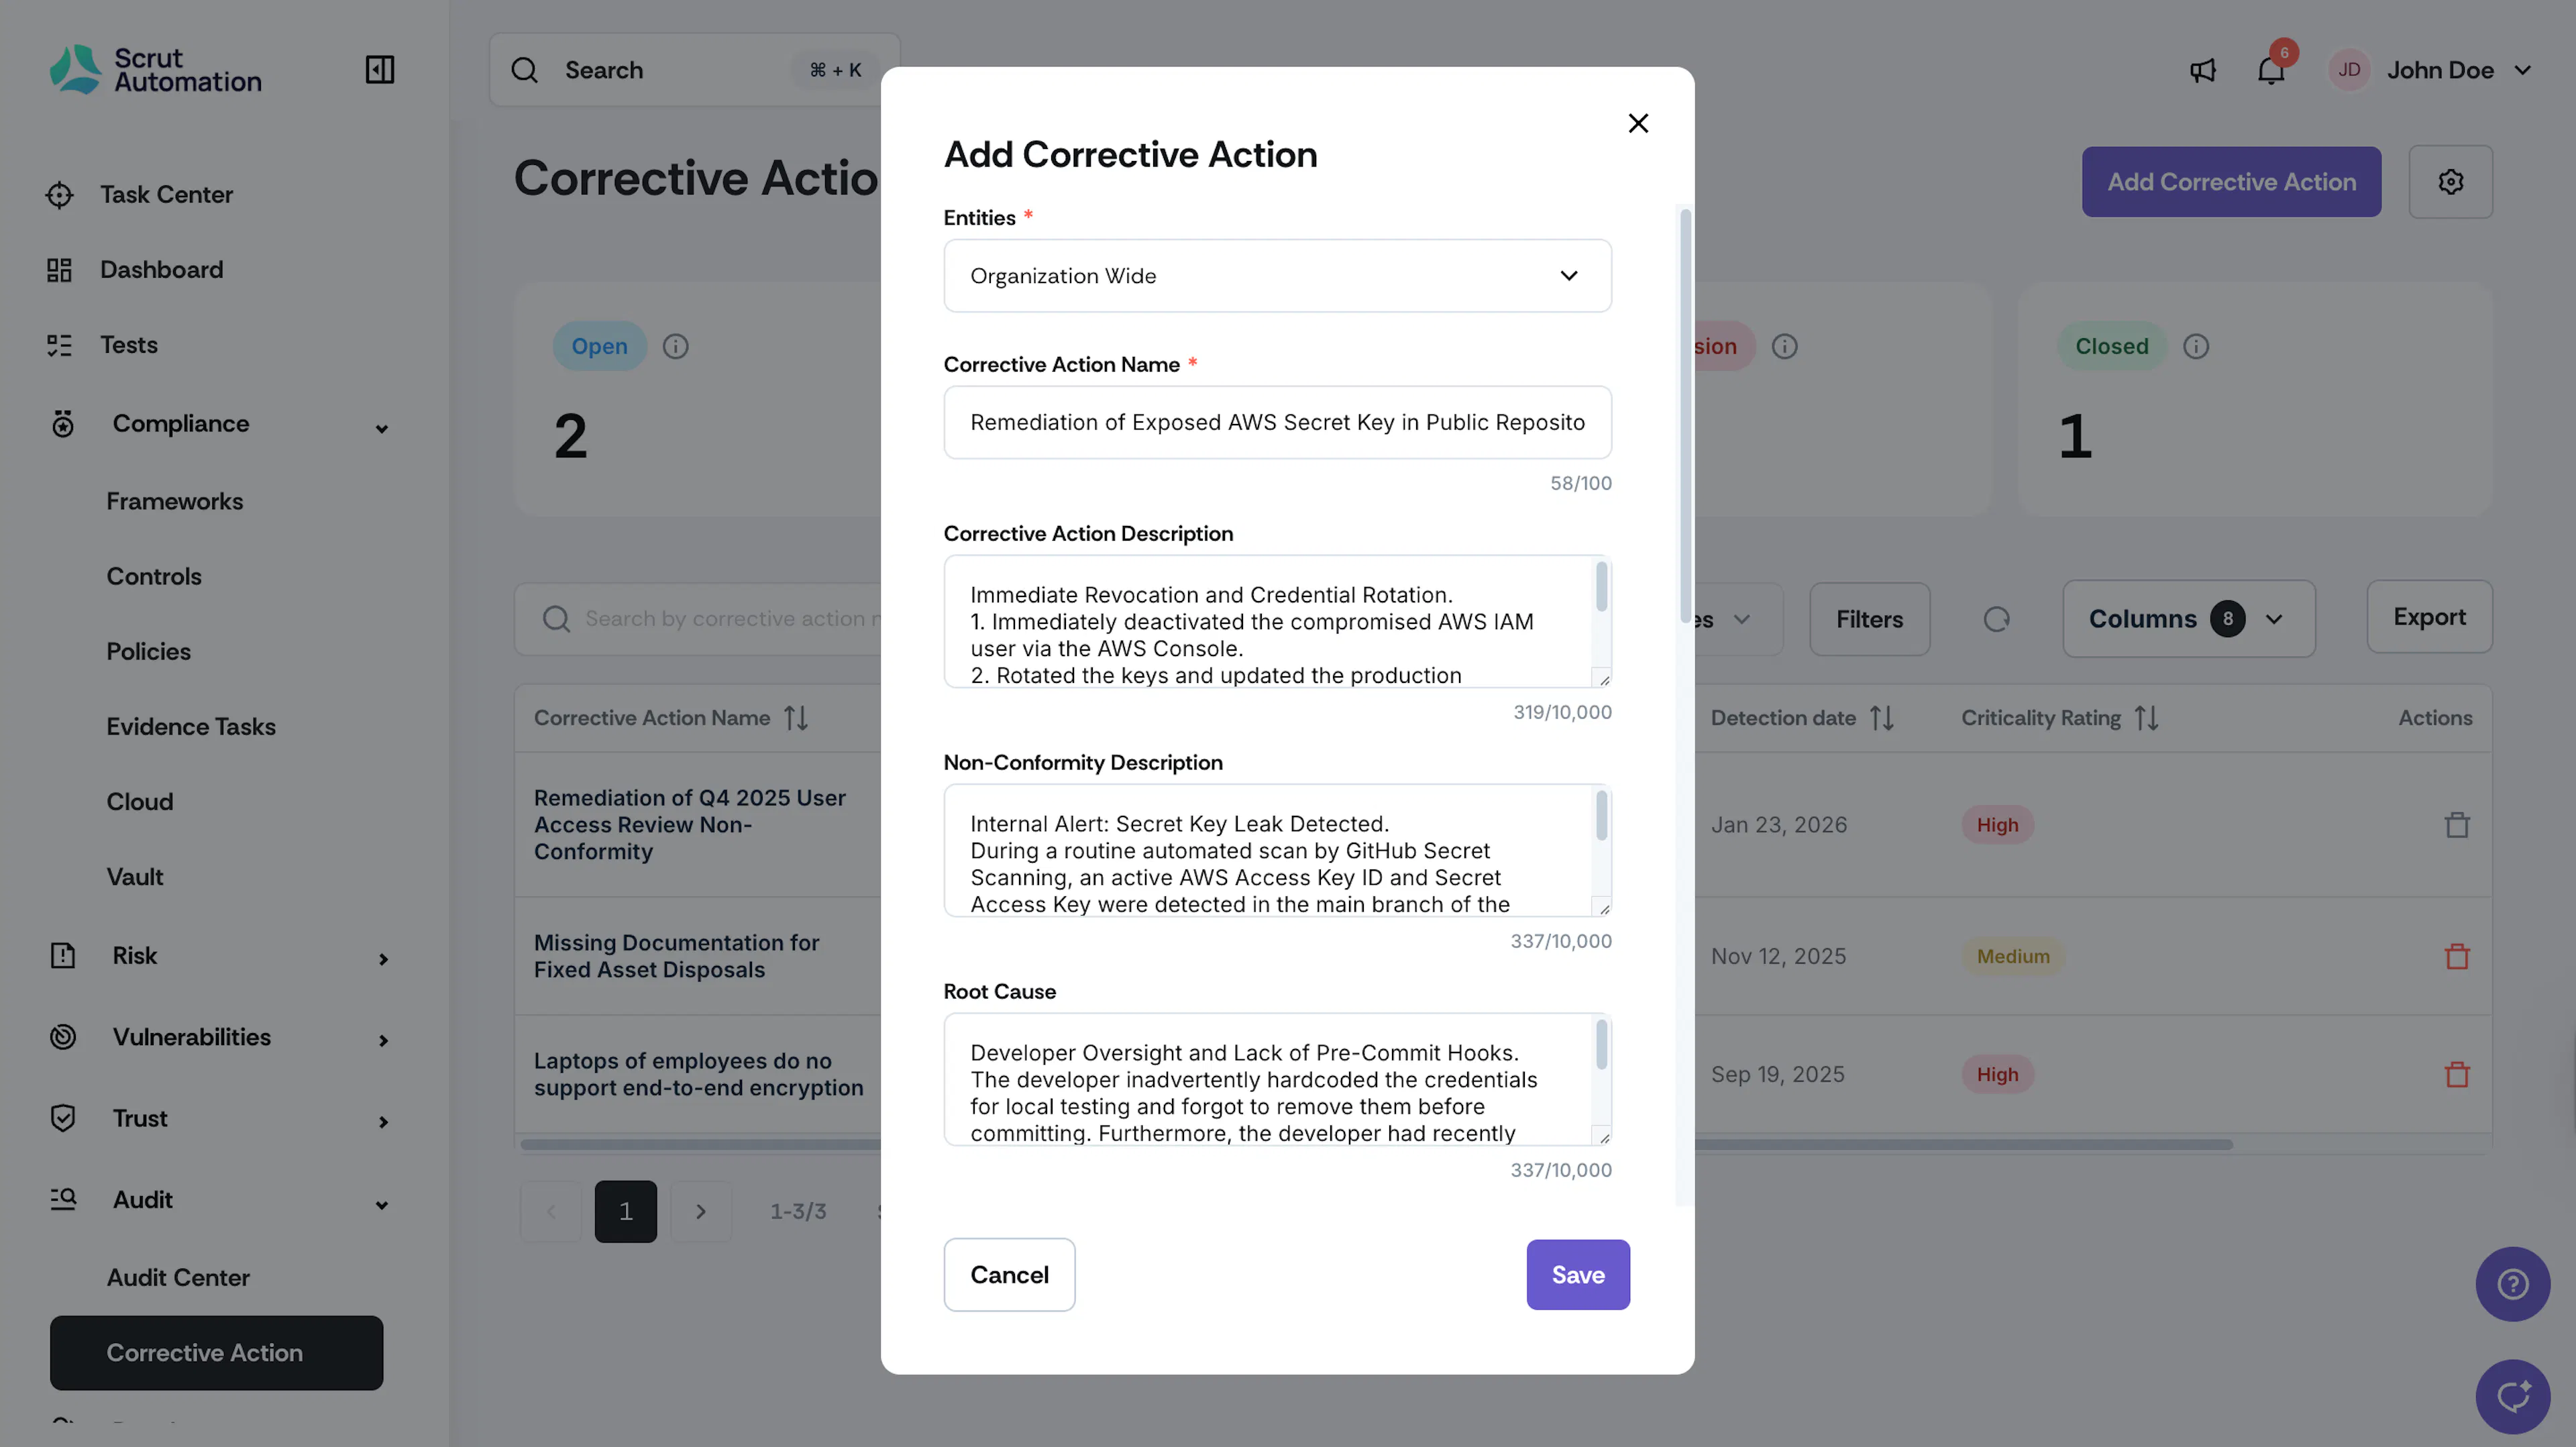
Fill in the required details such as:
-
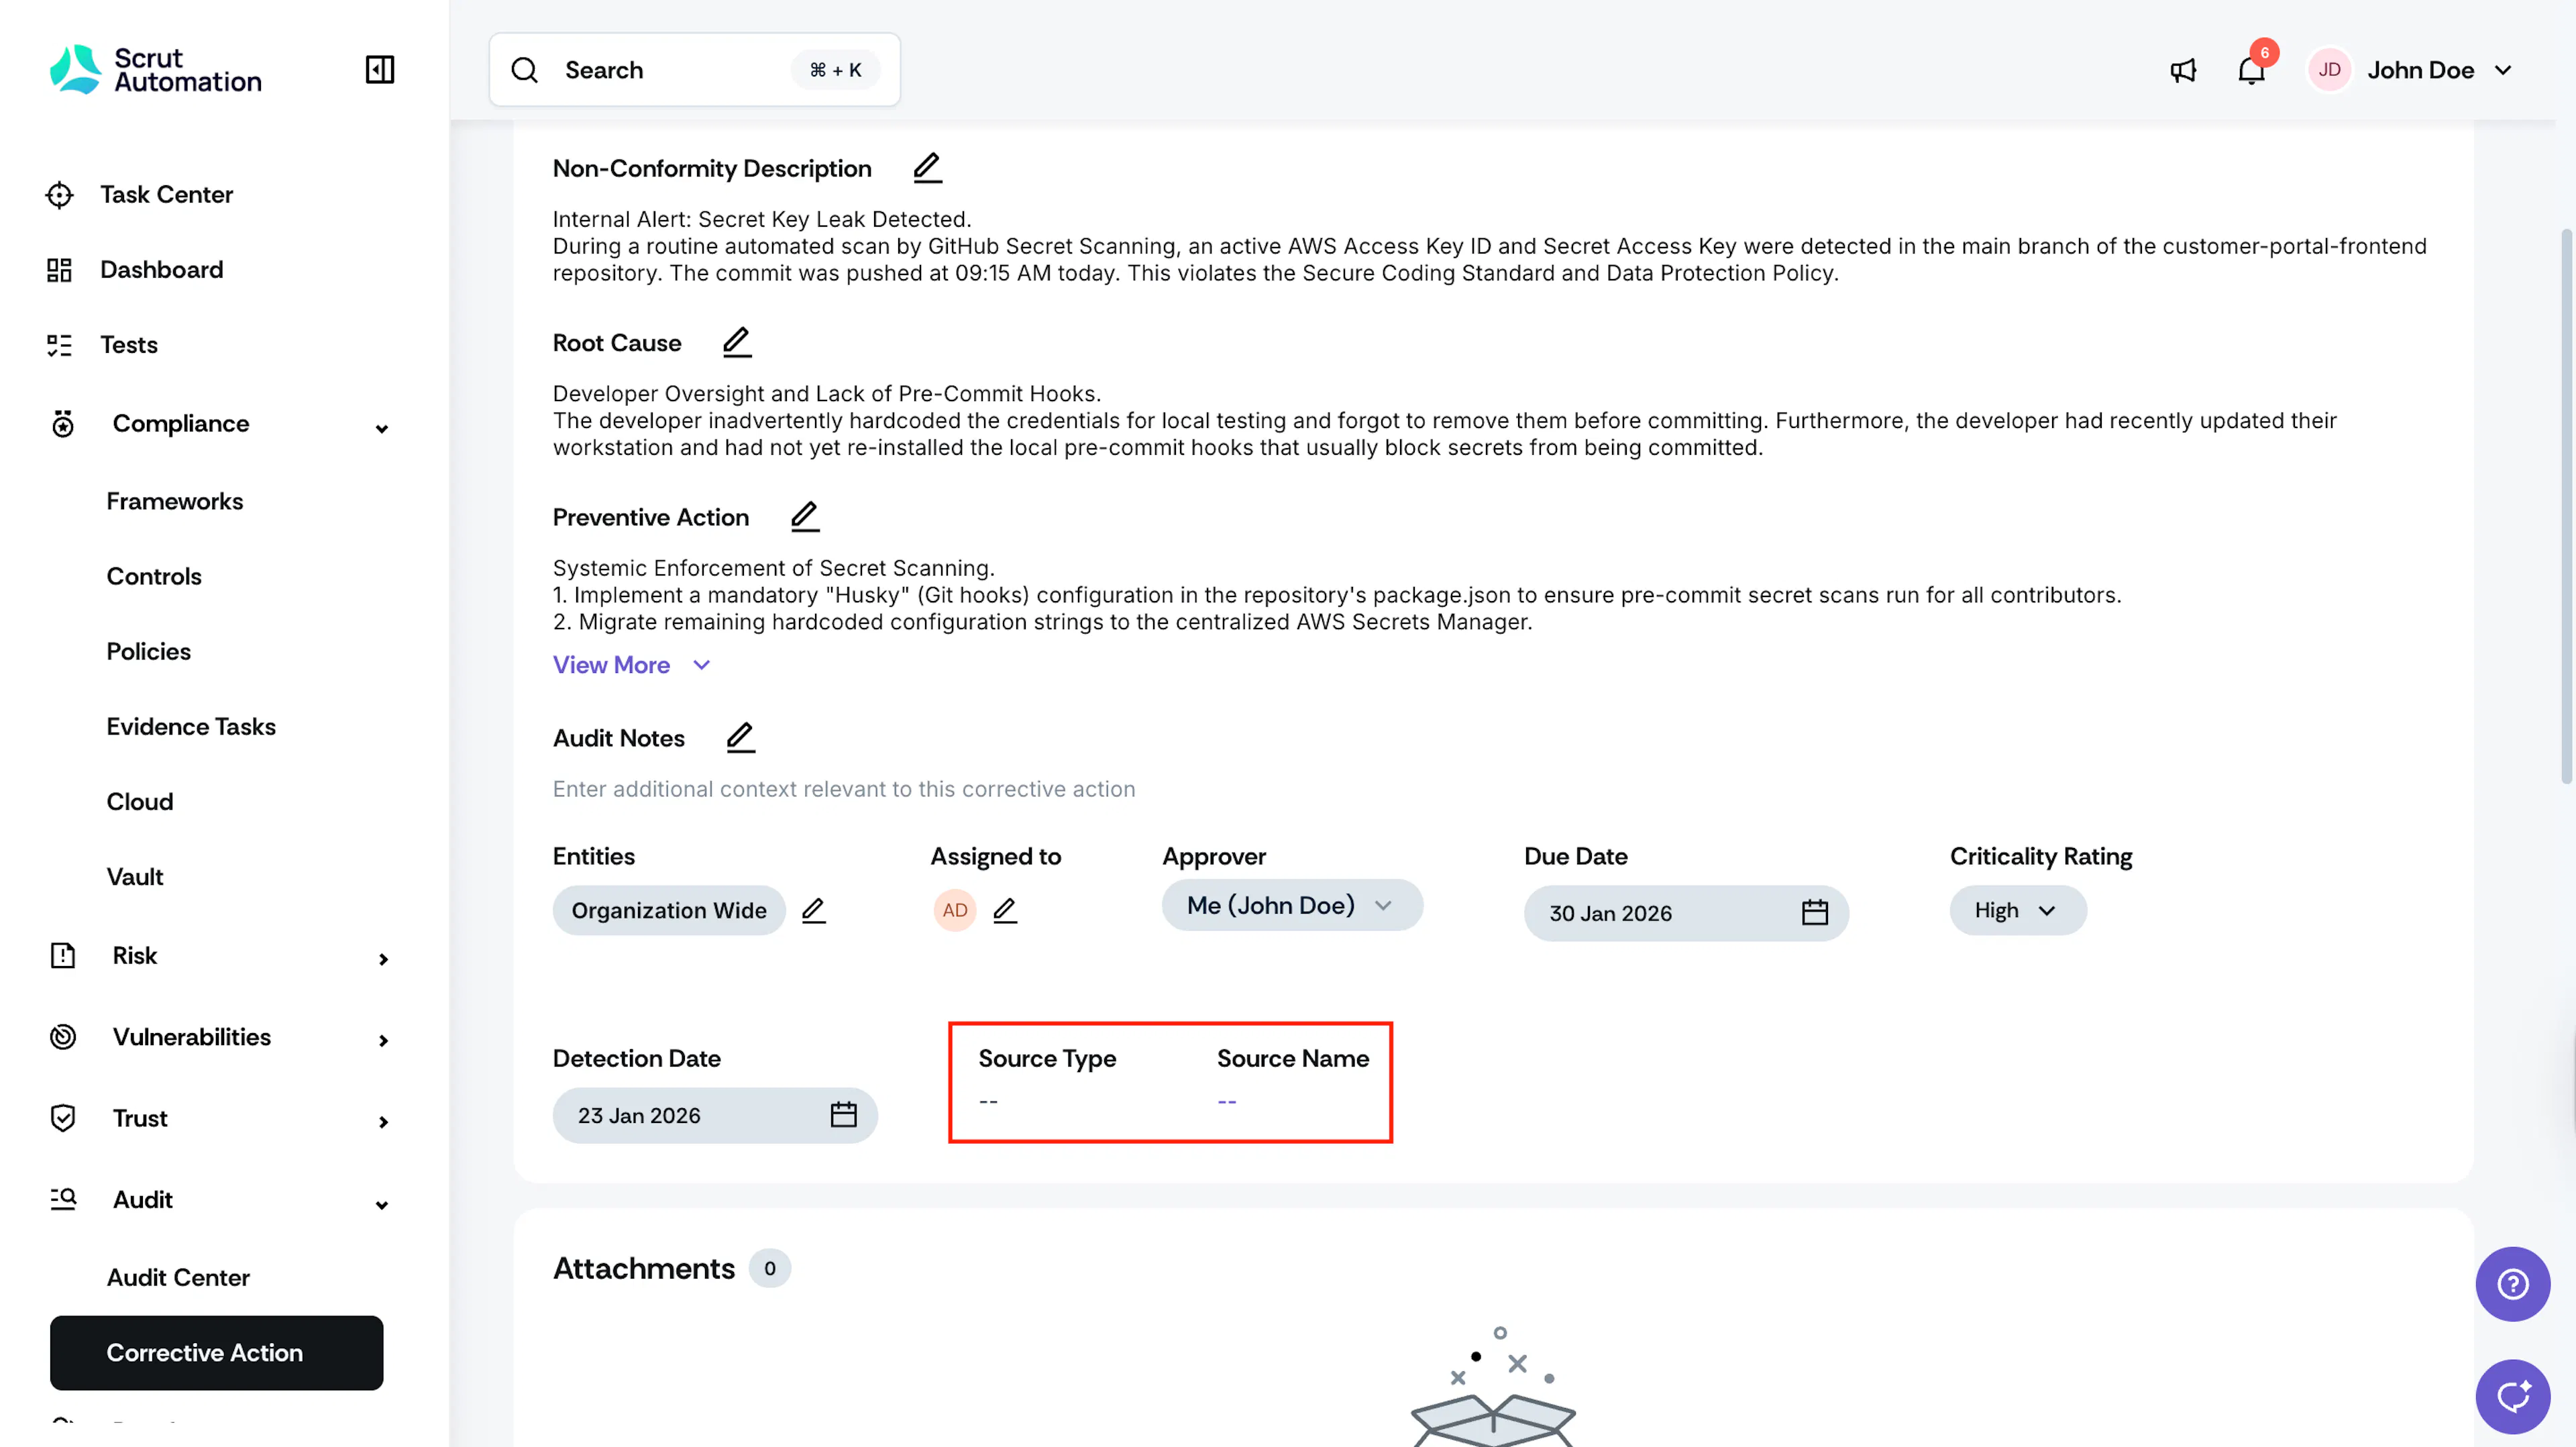
Corrective Action Name: Enter a relevant name for the corrective action.
-
Corrective Action Description: Briefly describe the short-term fix to address the non-conformity. This should outline the immediate steps taken to rectify the issue and ensure compliance.
-
Non-Conformity Description: Scrut auto-fills this field with the finding name and description when you create a corrective action from an audit finding. This provides context for the issue being addressed. You can edit it if needed.
-
Root Cause: Explain the underlying cause of the non-conformity. Explain the factors that led to the issue, which can help in determining effective preventive measures.
-
Preventive Action: Describe the long-term preventive measures to address the root cause and prevent recurrence. This should include strategies or changes to be implemented to ensure the non-conformity does not occur again.
-
Detection Date: Select the date the non-conformity was detected.
-
Assignees: Choose the users responsible for taking corrective action.
-
Approver: Select the user responsible for reviewing and approving the corrective action.
Note: Scrut recommends that the assignee and approver be different to ensure an independent review.
-
Due Date: Set the deadline for completing the corrective action.
-
Criticality Rating: Assign a rating based on the severity of the non-conformity. You can choose from: Low, Medium, or High.
-
Add Attachments: Attach relevant documents or evidence related to the corrective action.
-
Custom Fields: Enter the values for custom fields, if any.
-
-
Click Save.
Note:
The fields Source Type and Source Name will be blank for standalone corrective actions not tied to any audits.