Add Custom Fields to Vulnerability Findings
Who can use this feature
- Supported on Foundation, Growth, and Scale plans
By default, Scrut captures third-party scan data using standard fields such as severity, CVE ID, CVSS Score, Source, First Seen, Last Scanned On, Assigned To, SLA, and Report Link. Additionally, you can also capture org-specific scan metadata using custom fields. In this article, we explain how to configure custom fields for third-party scans in the vulnerabilities module.
How to Add a Custom Field
-
Navigate to Vulnerabilities → Third Party Scans.
-
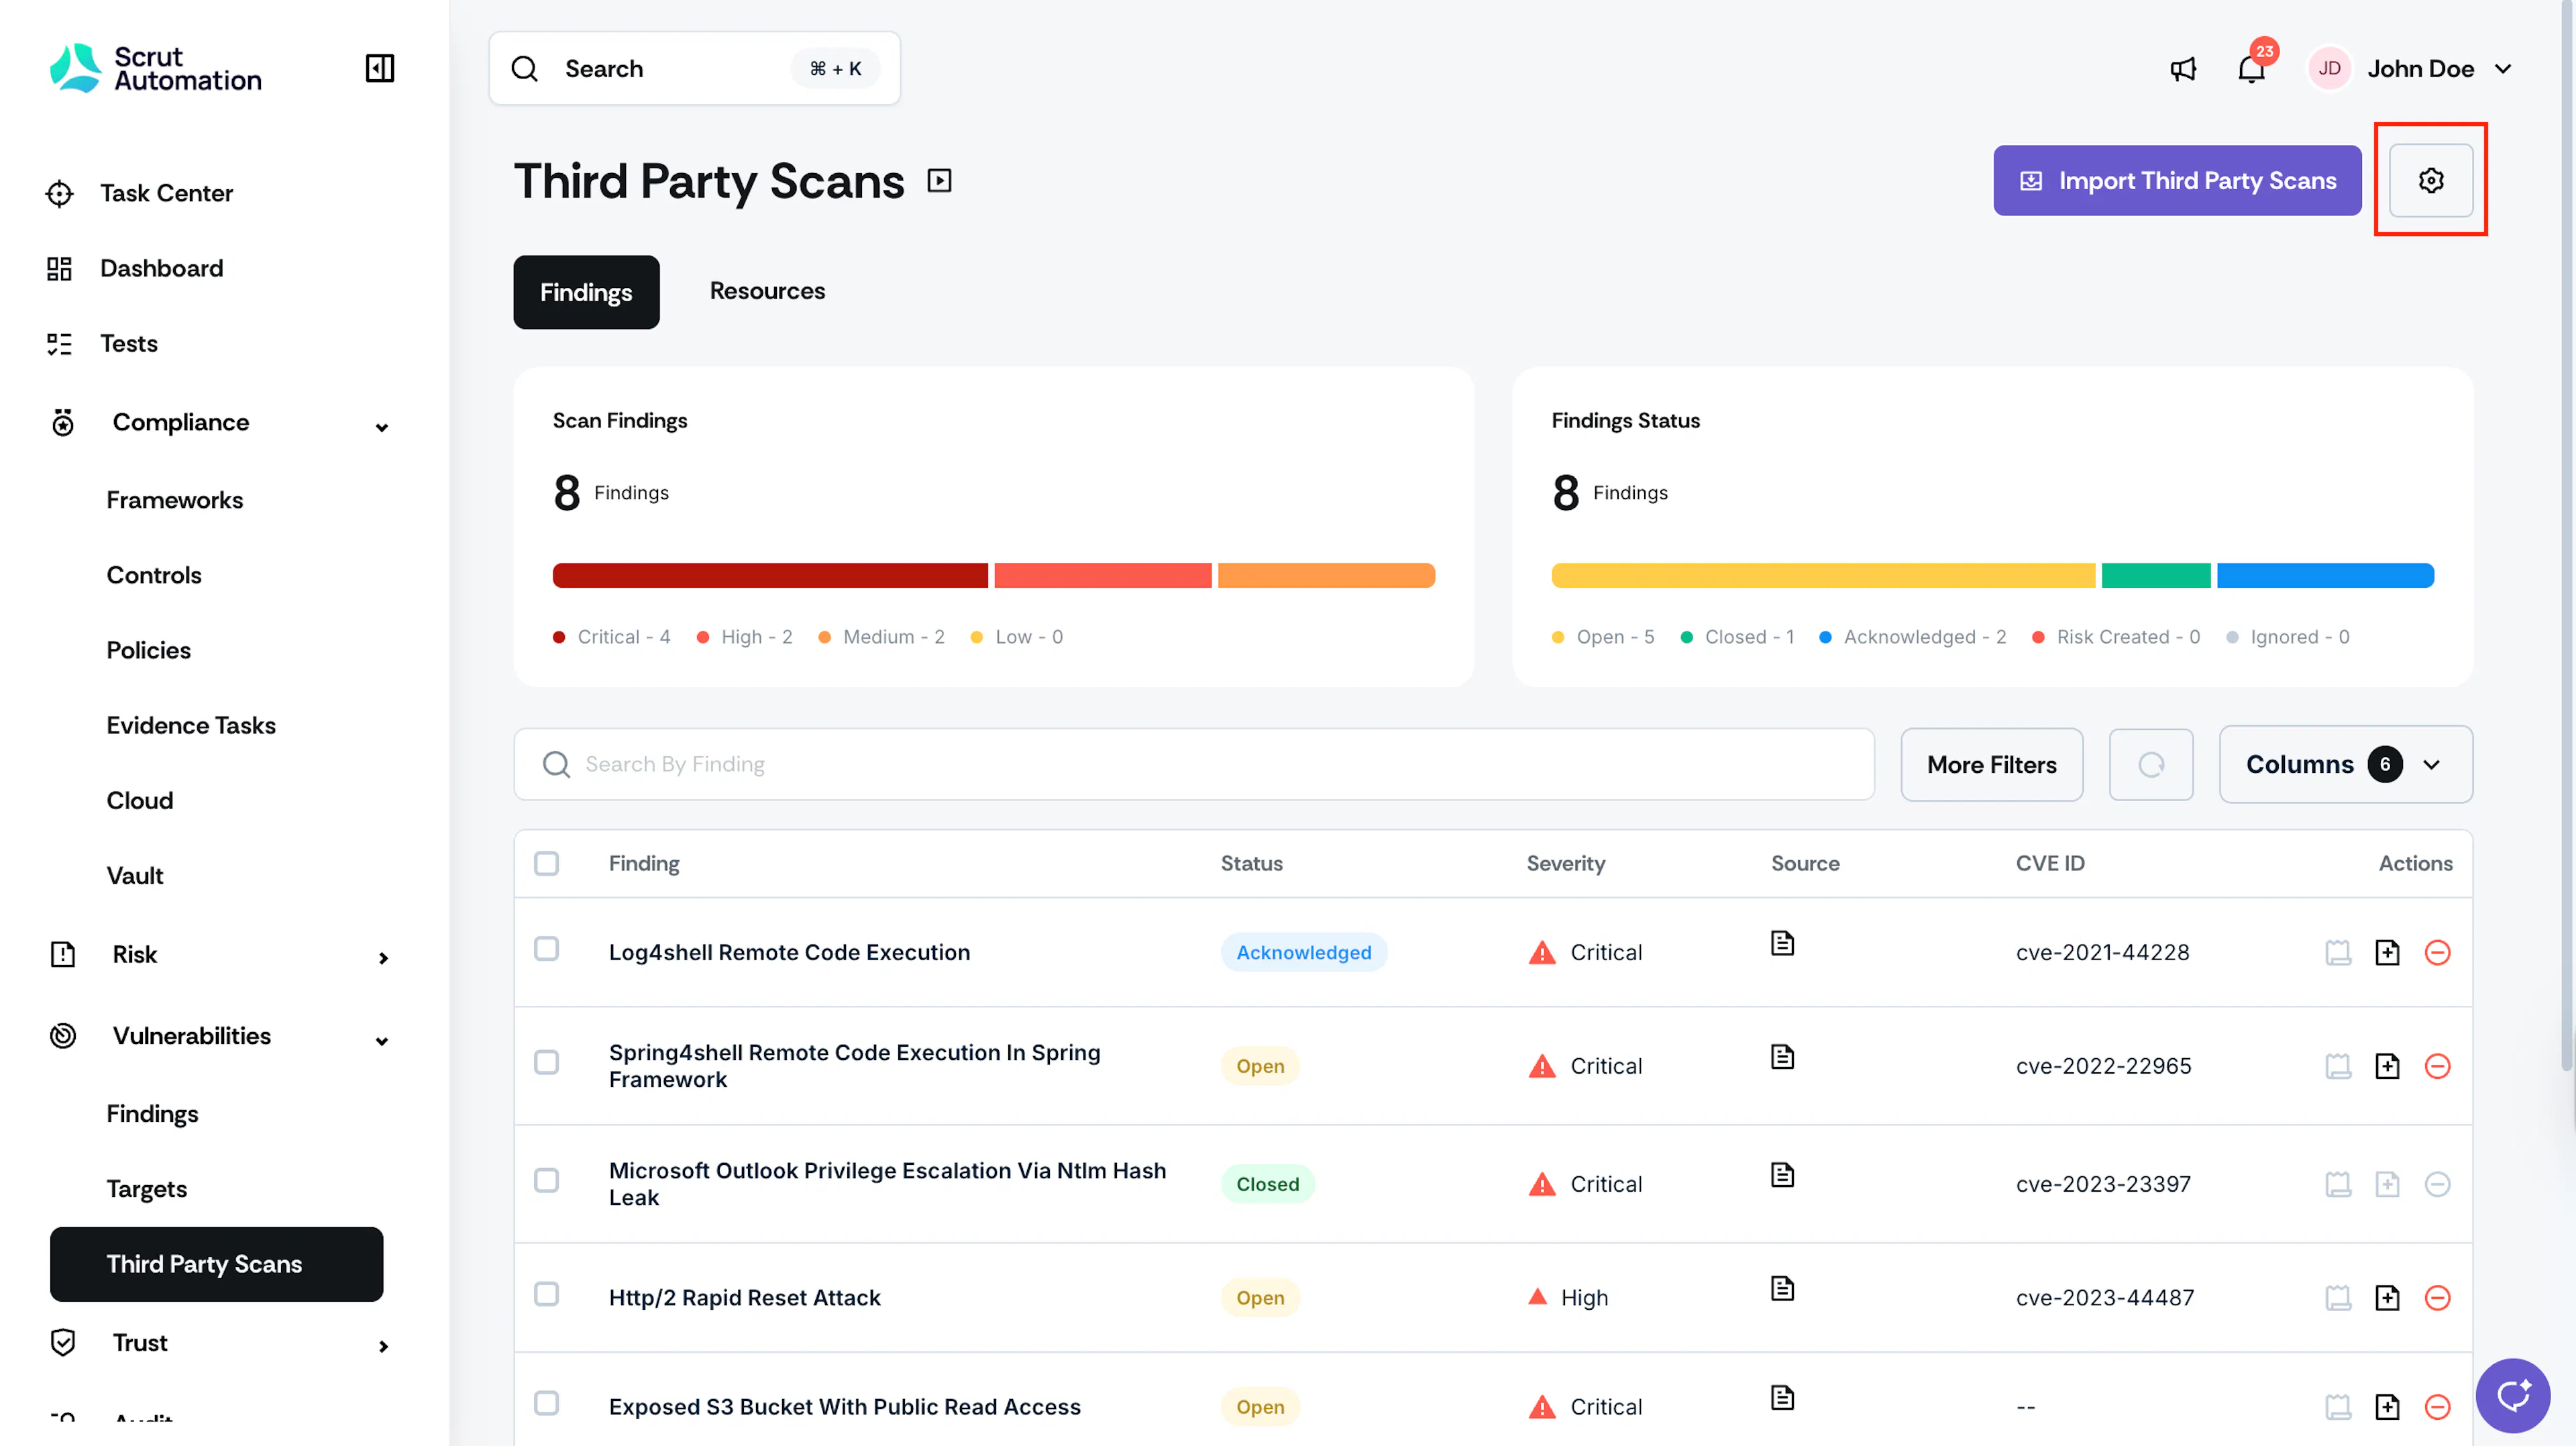
Click the Settings icon at the top right of the page.
-
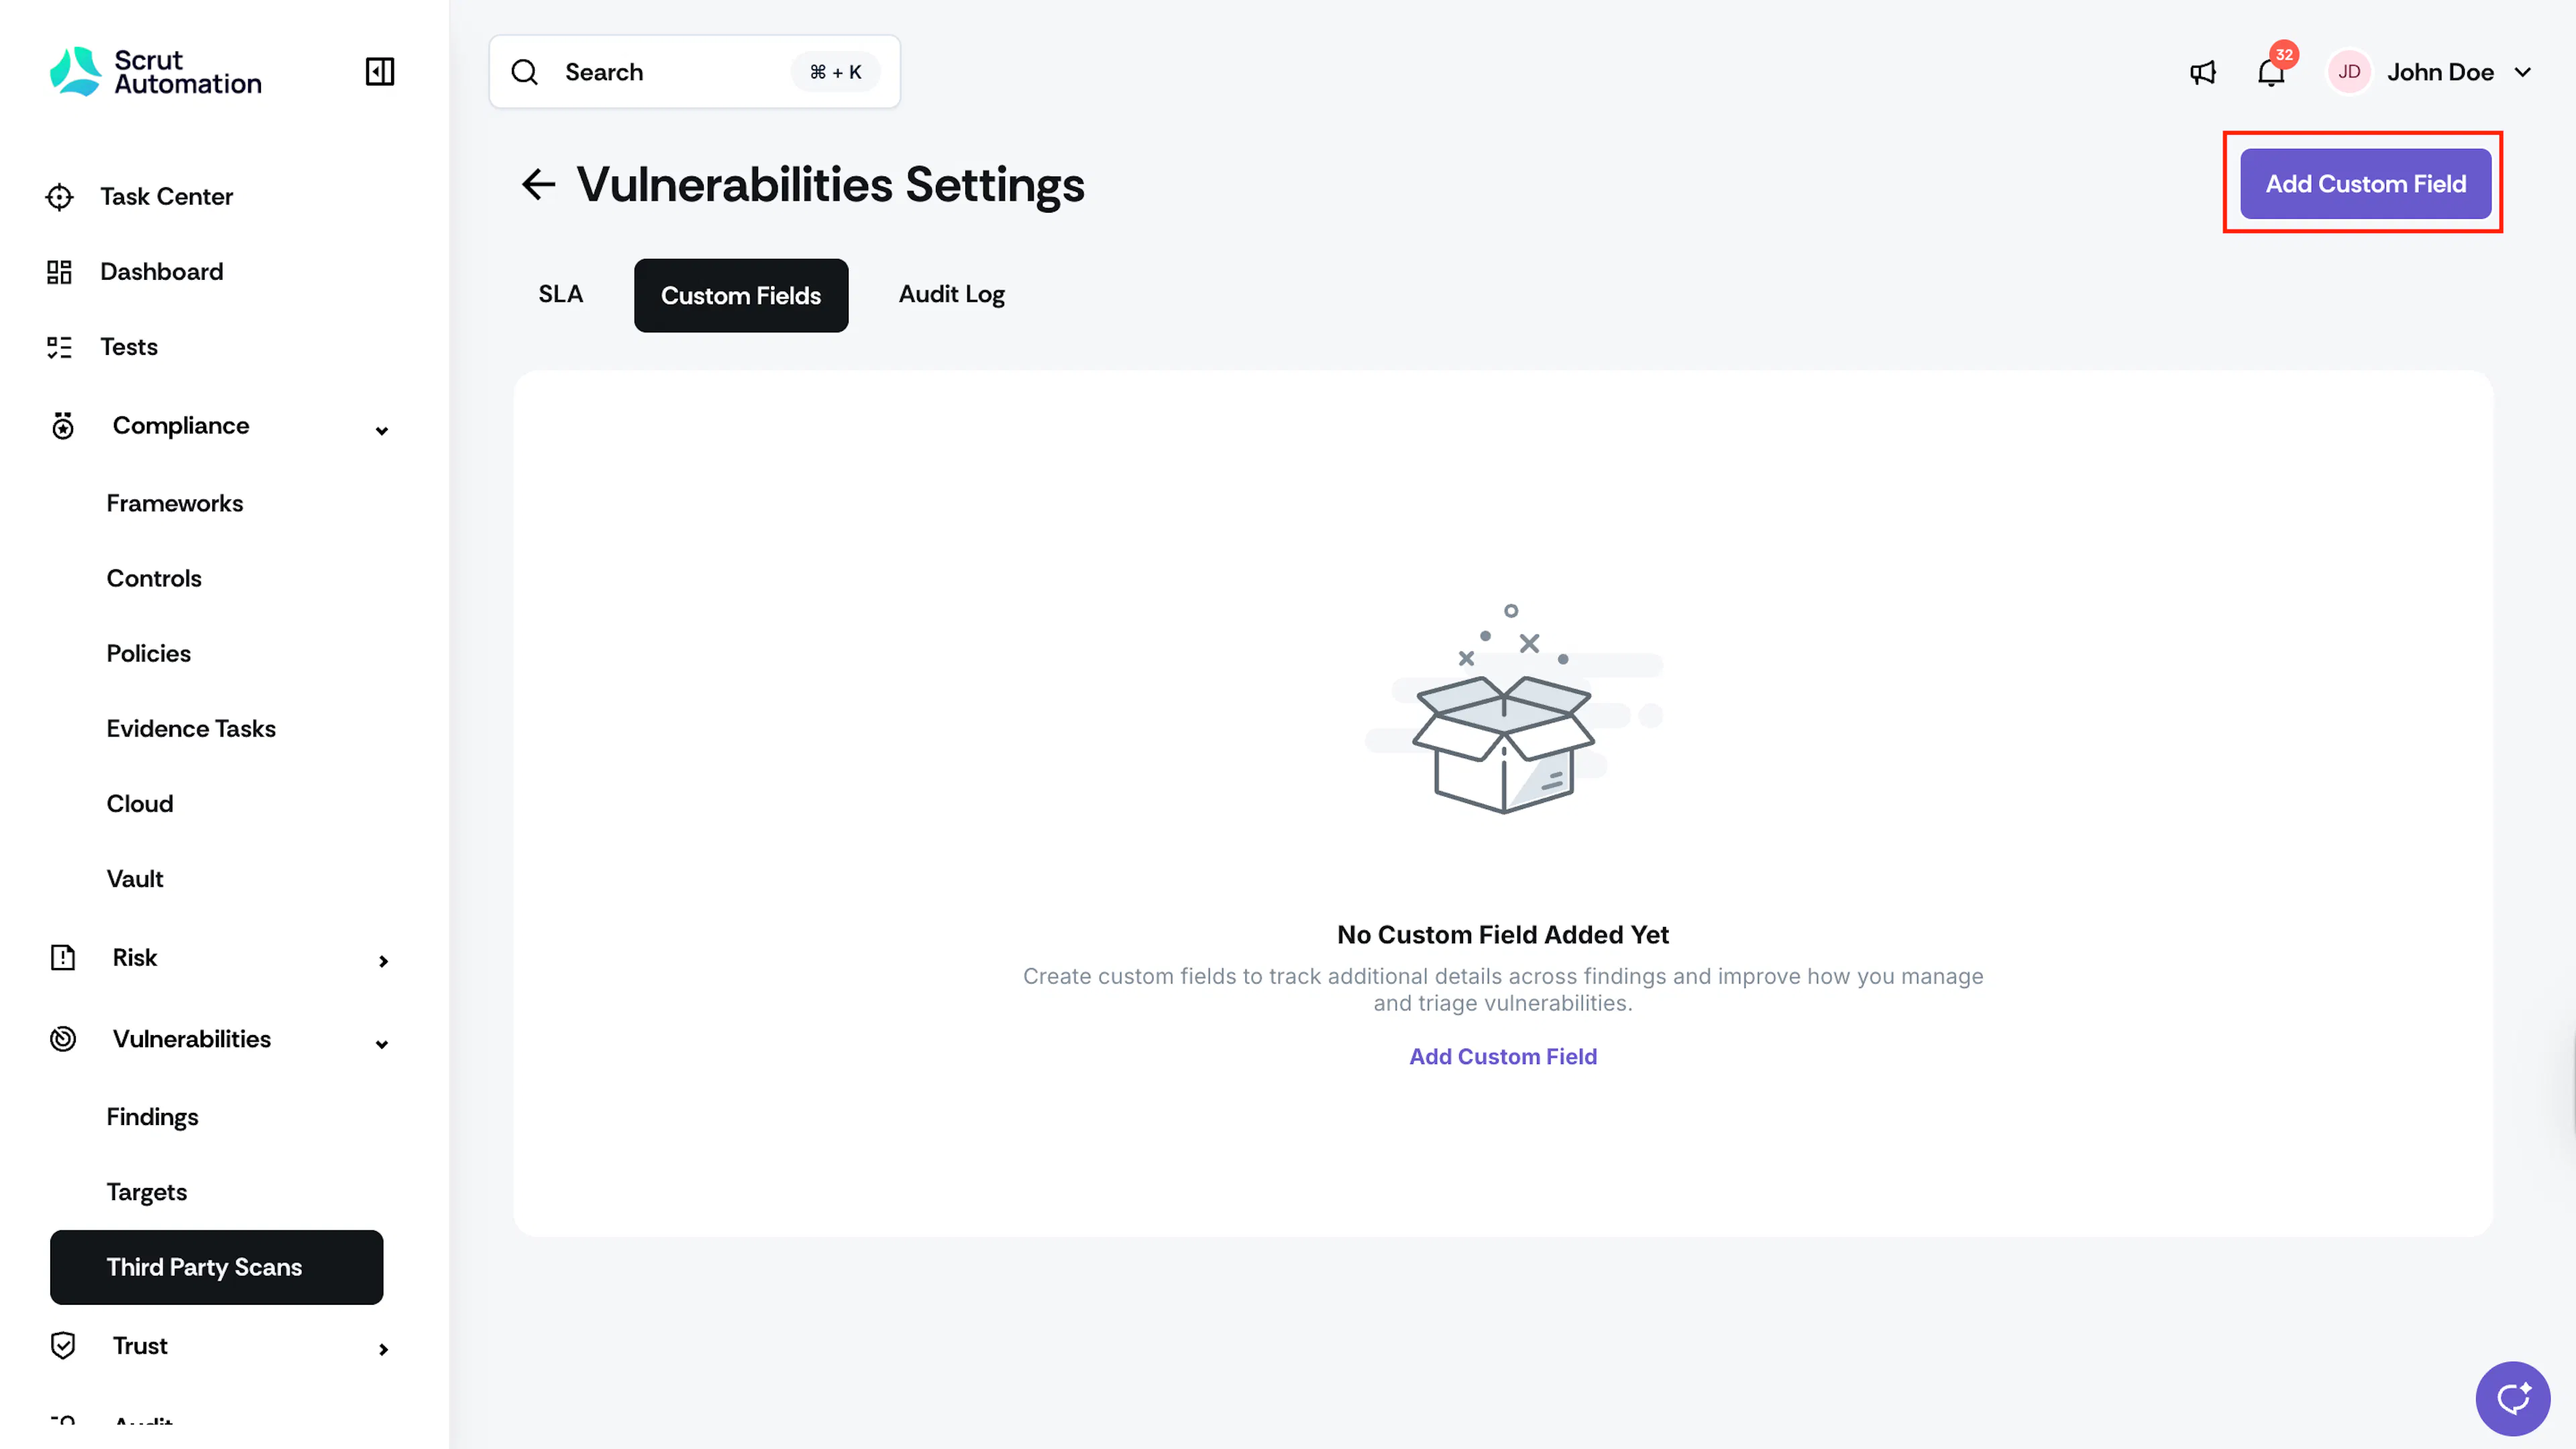
Navigate to the Custom Fields tab and click Add Custom Field.
-
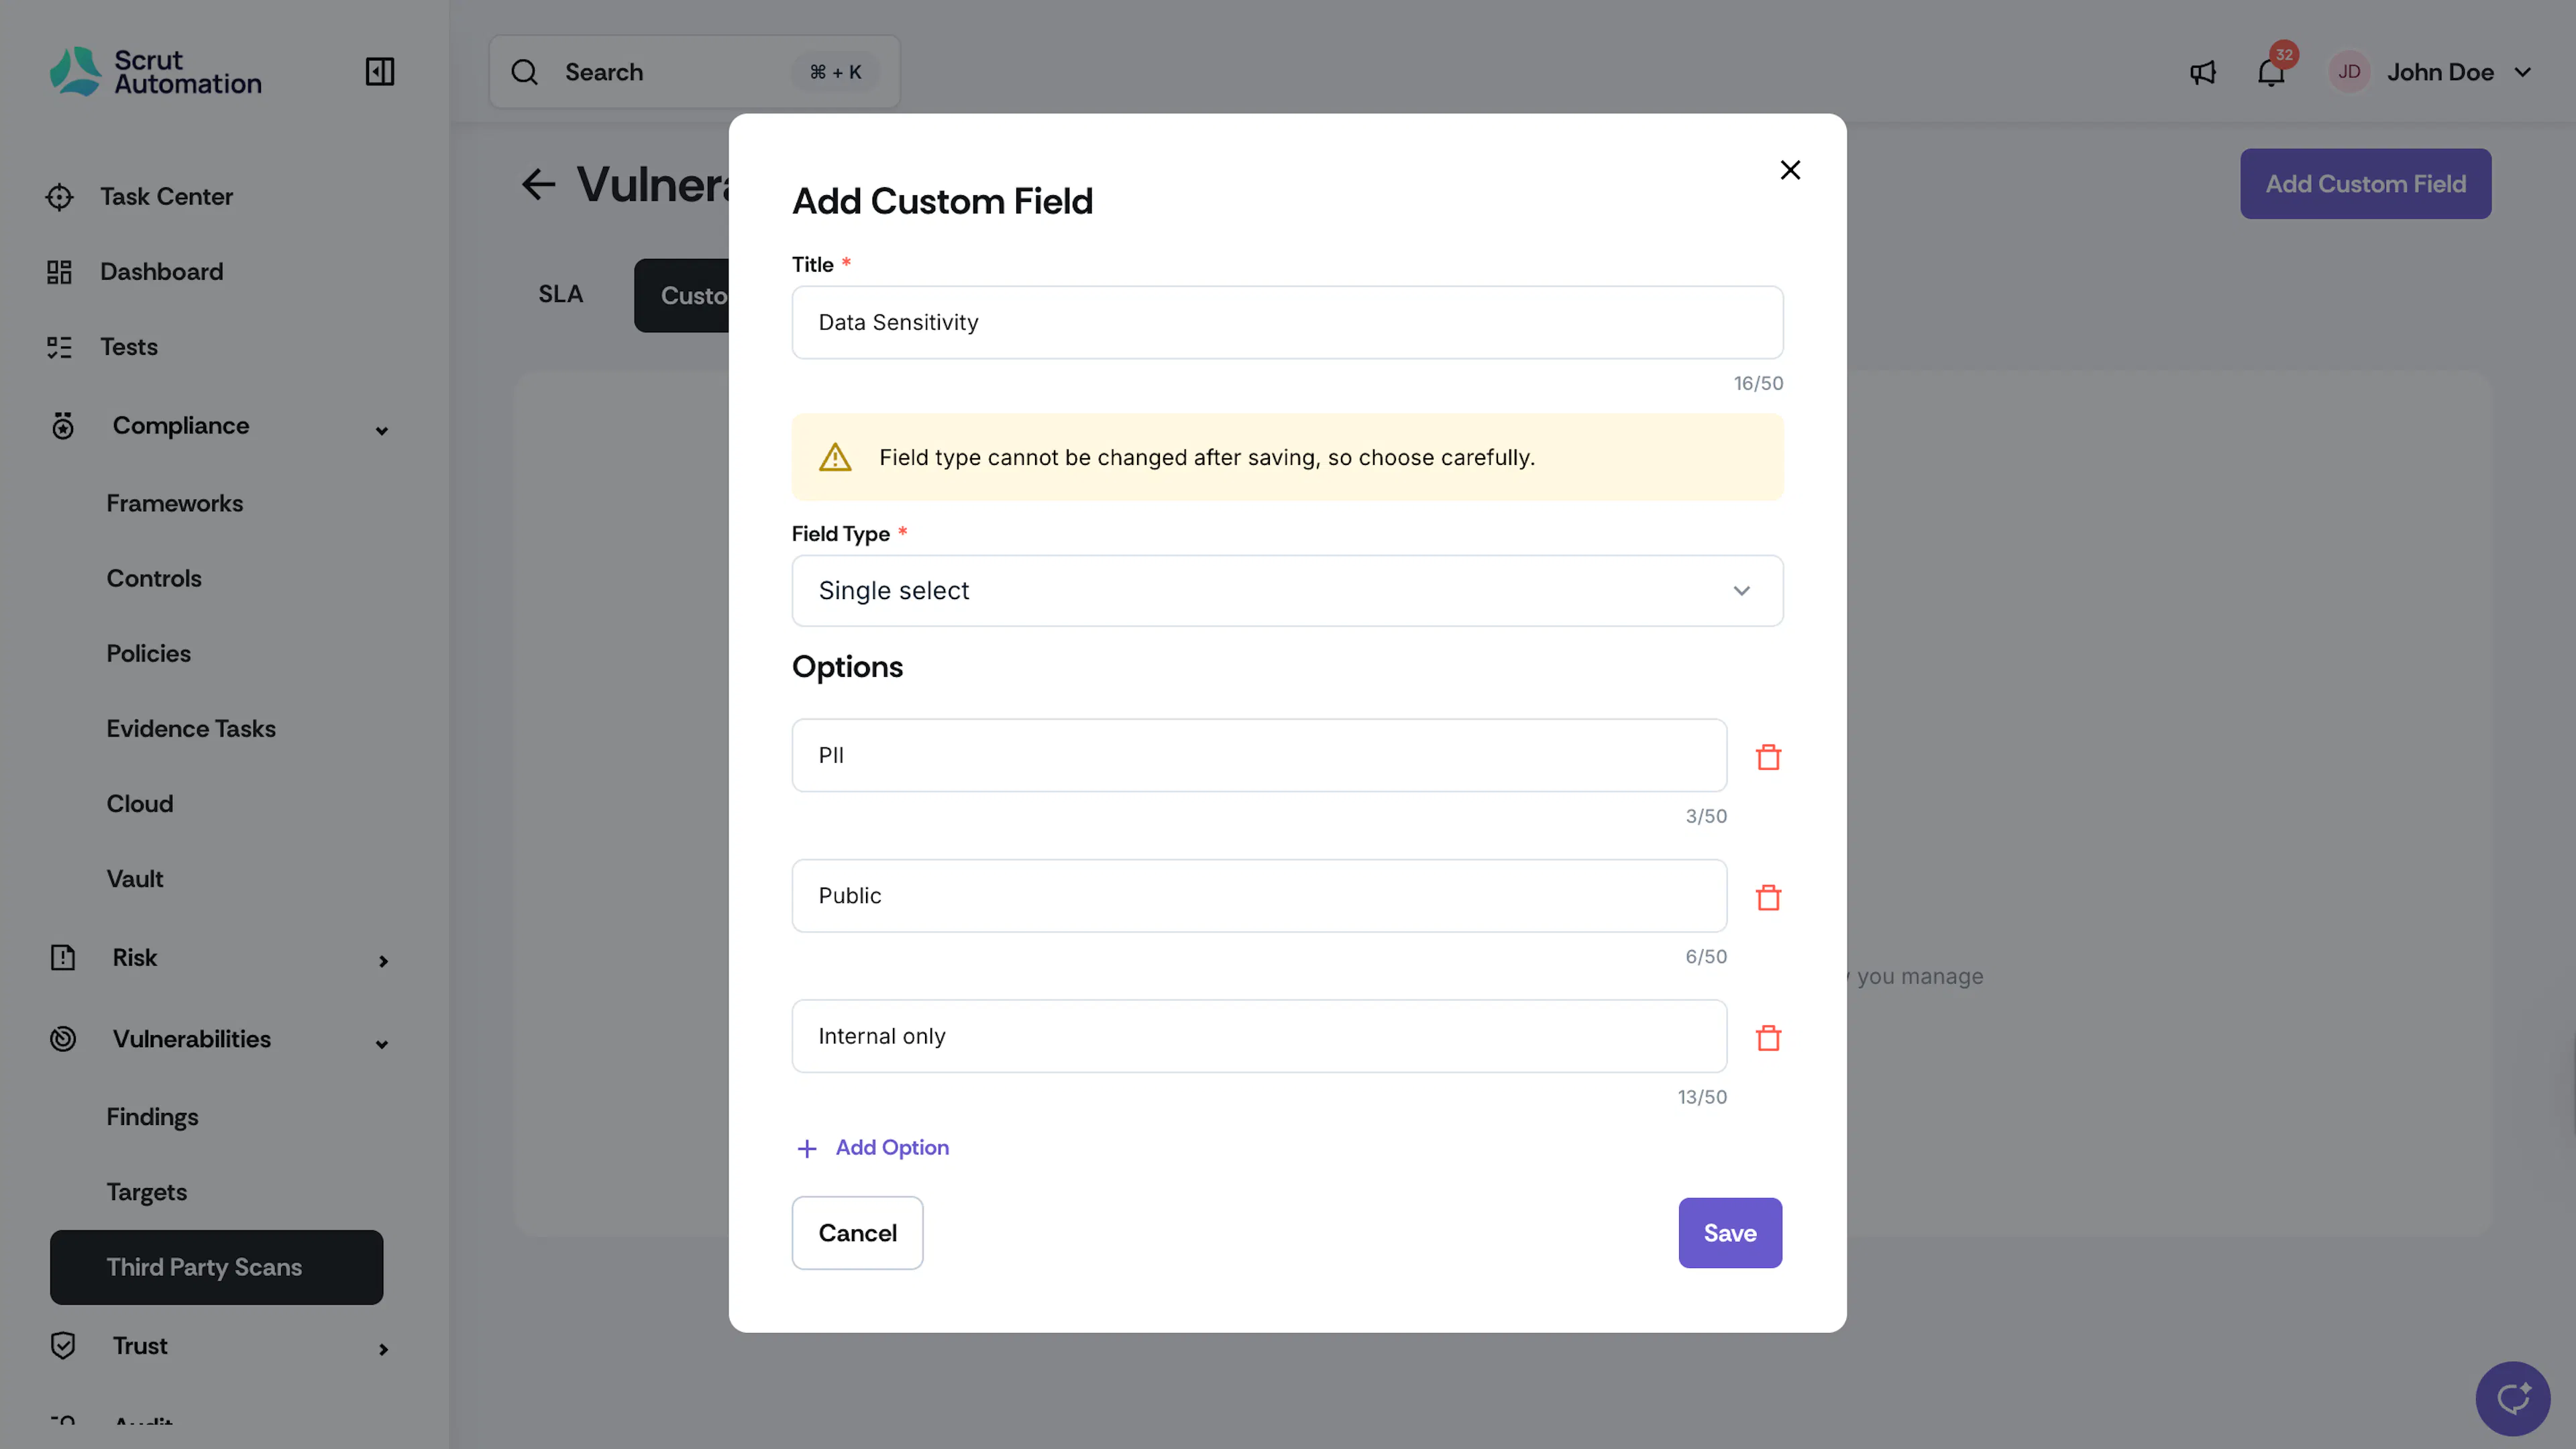
Enter a name for the field and select a field type.
-
If you selected Single Select or Multi Select, add the options you want to make available.
Heads Up! Field type cannot be changed after saving. Make sure you select the correct type before clicking Save.
-
Click Save.
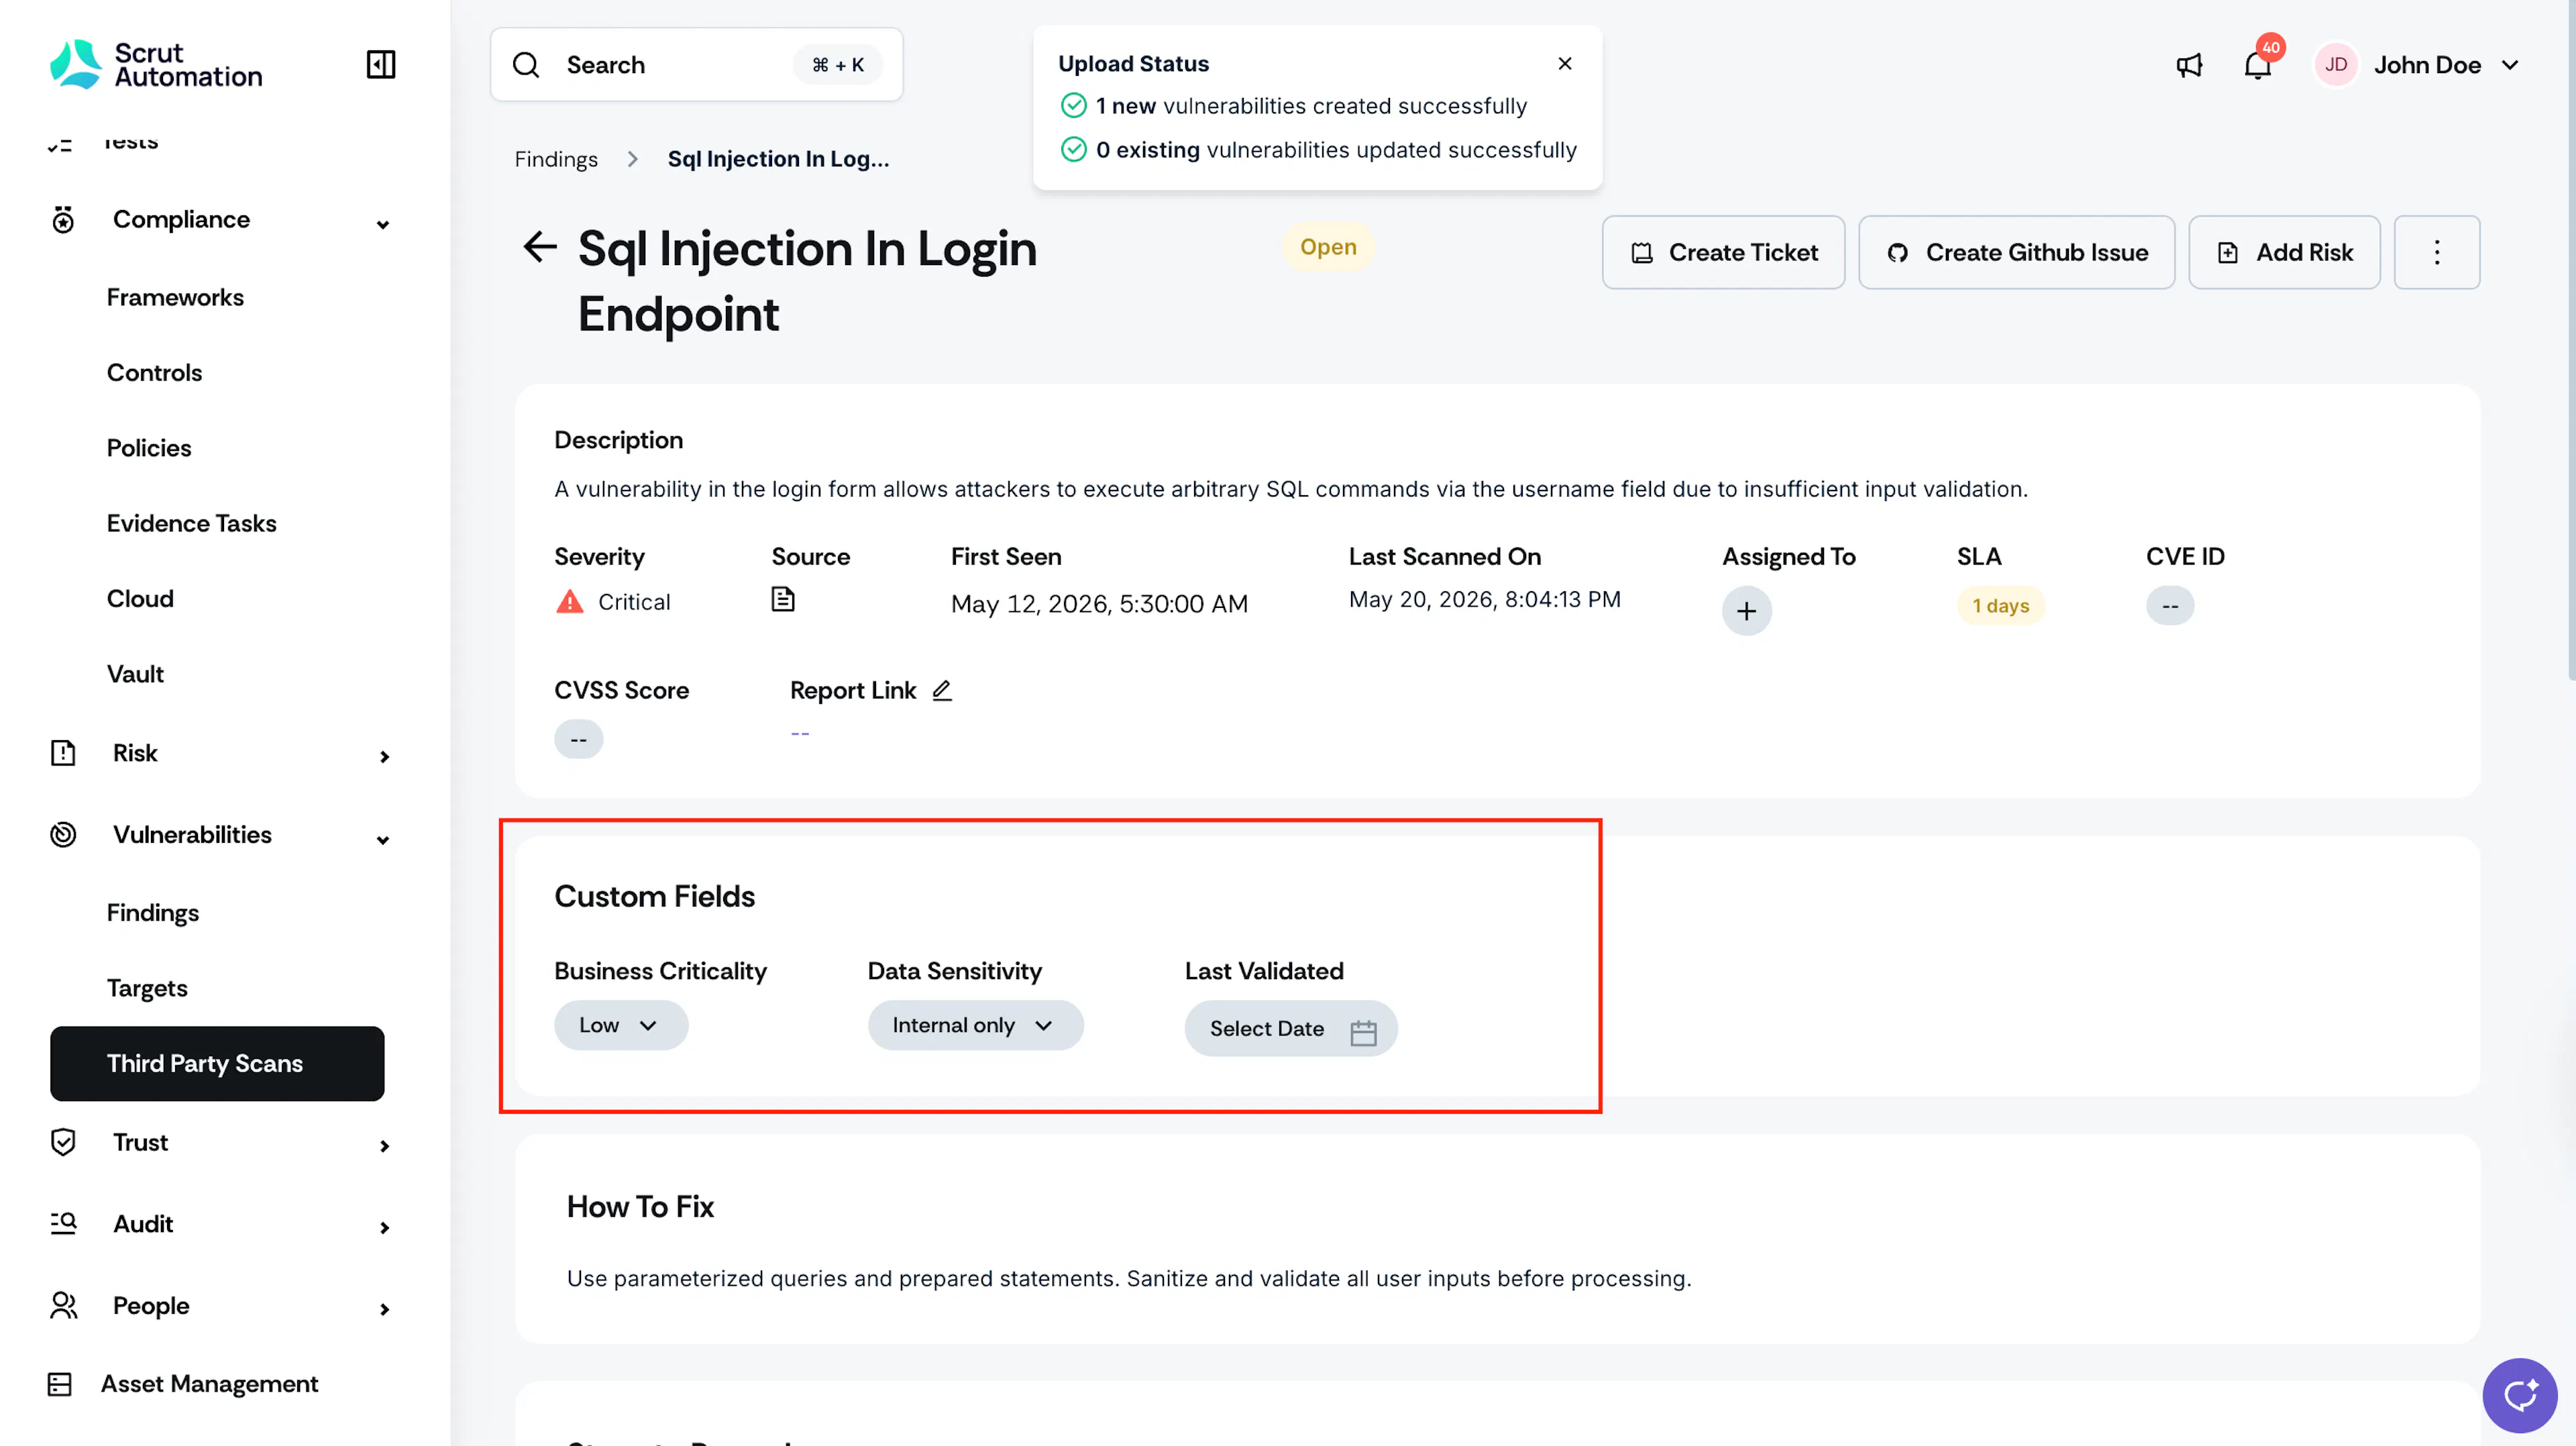
The custom field is now available across Third Party Scans: on the finding detail page, in the column selector for the Findings and Resources tables, and in the import template.
Available Field Types
| Field Type | What it does |
|---|---|
| Text box | Accepts a single line of text |
| Text area | Accepts multi-line free text |
| Currency | Accepts a numeric amount with currency selection |
| Single Select | Presents a dropdown where the user can select one option |
| Multi Select | Presents a dropdown where the user can select multiple options |
| Date | Accepts a date selection |
Edit a Custom Field
- Navigate to Vulnerabilities → Third Party Scans → Settings → Custom Fields.
- Click the edit icon next to the field you want to update.
- Update the field name or, for Single Select and Multi Select fields, add, edit, or remove options.
- Click Save.
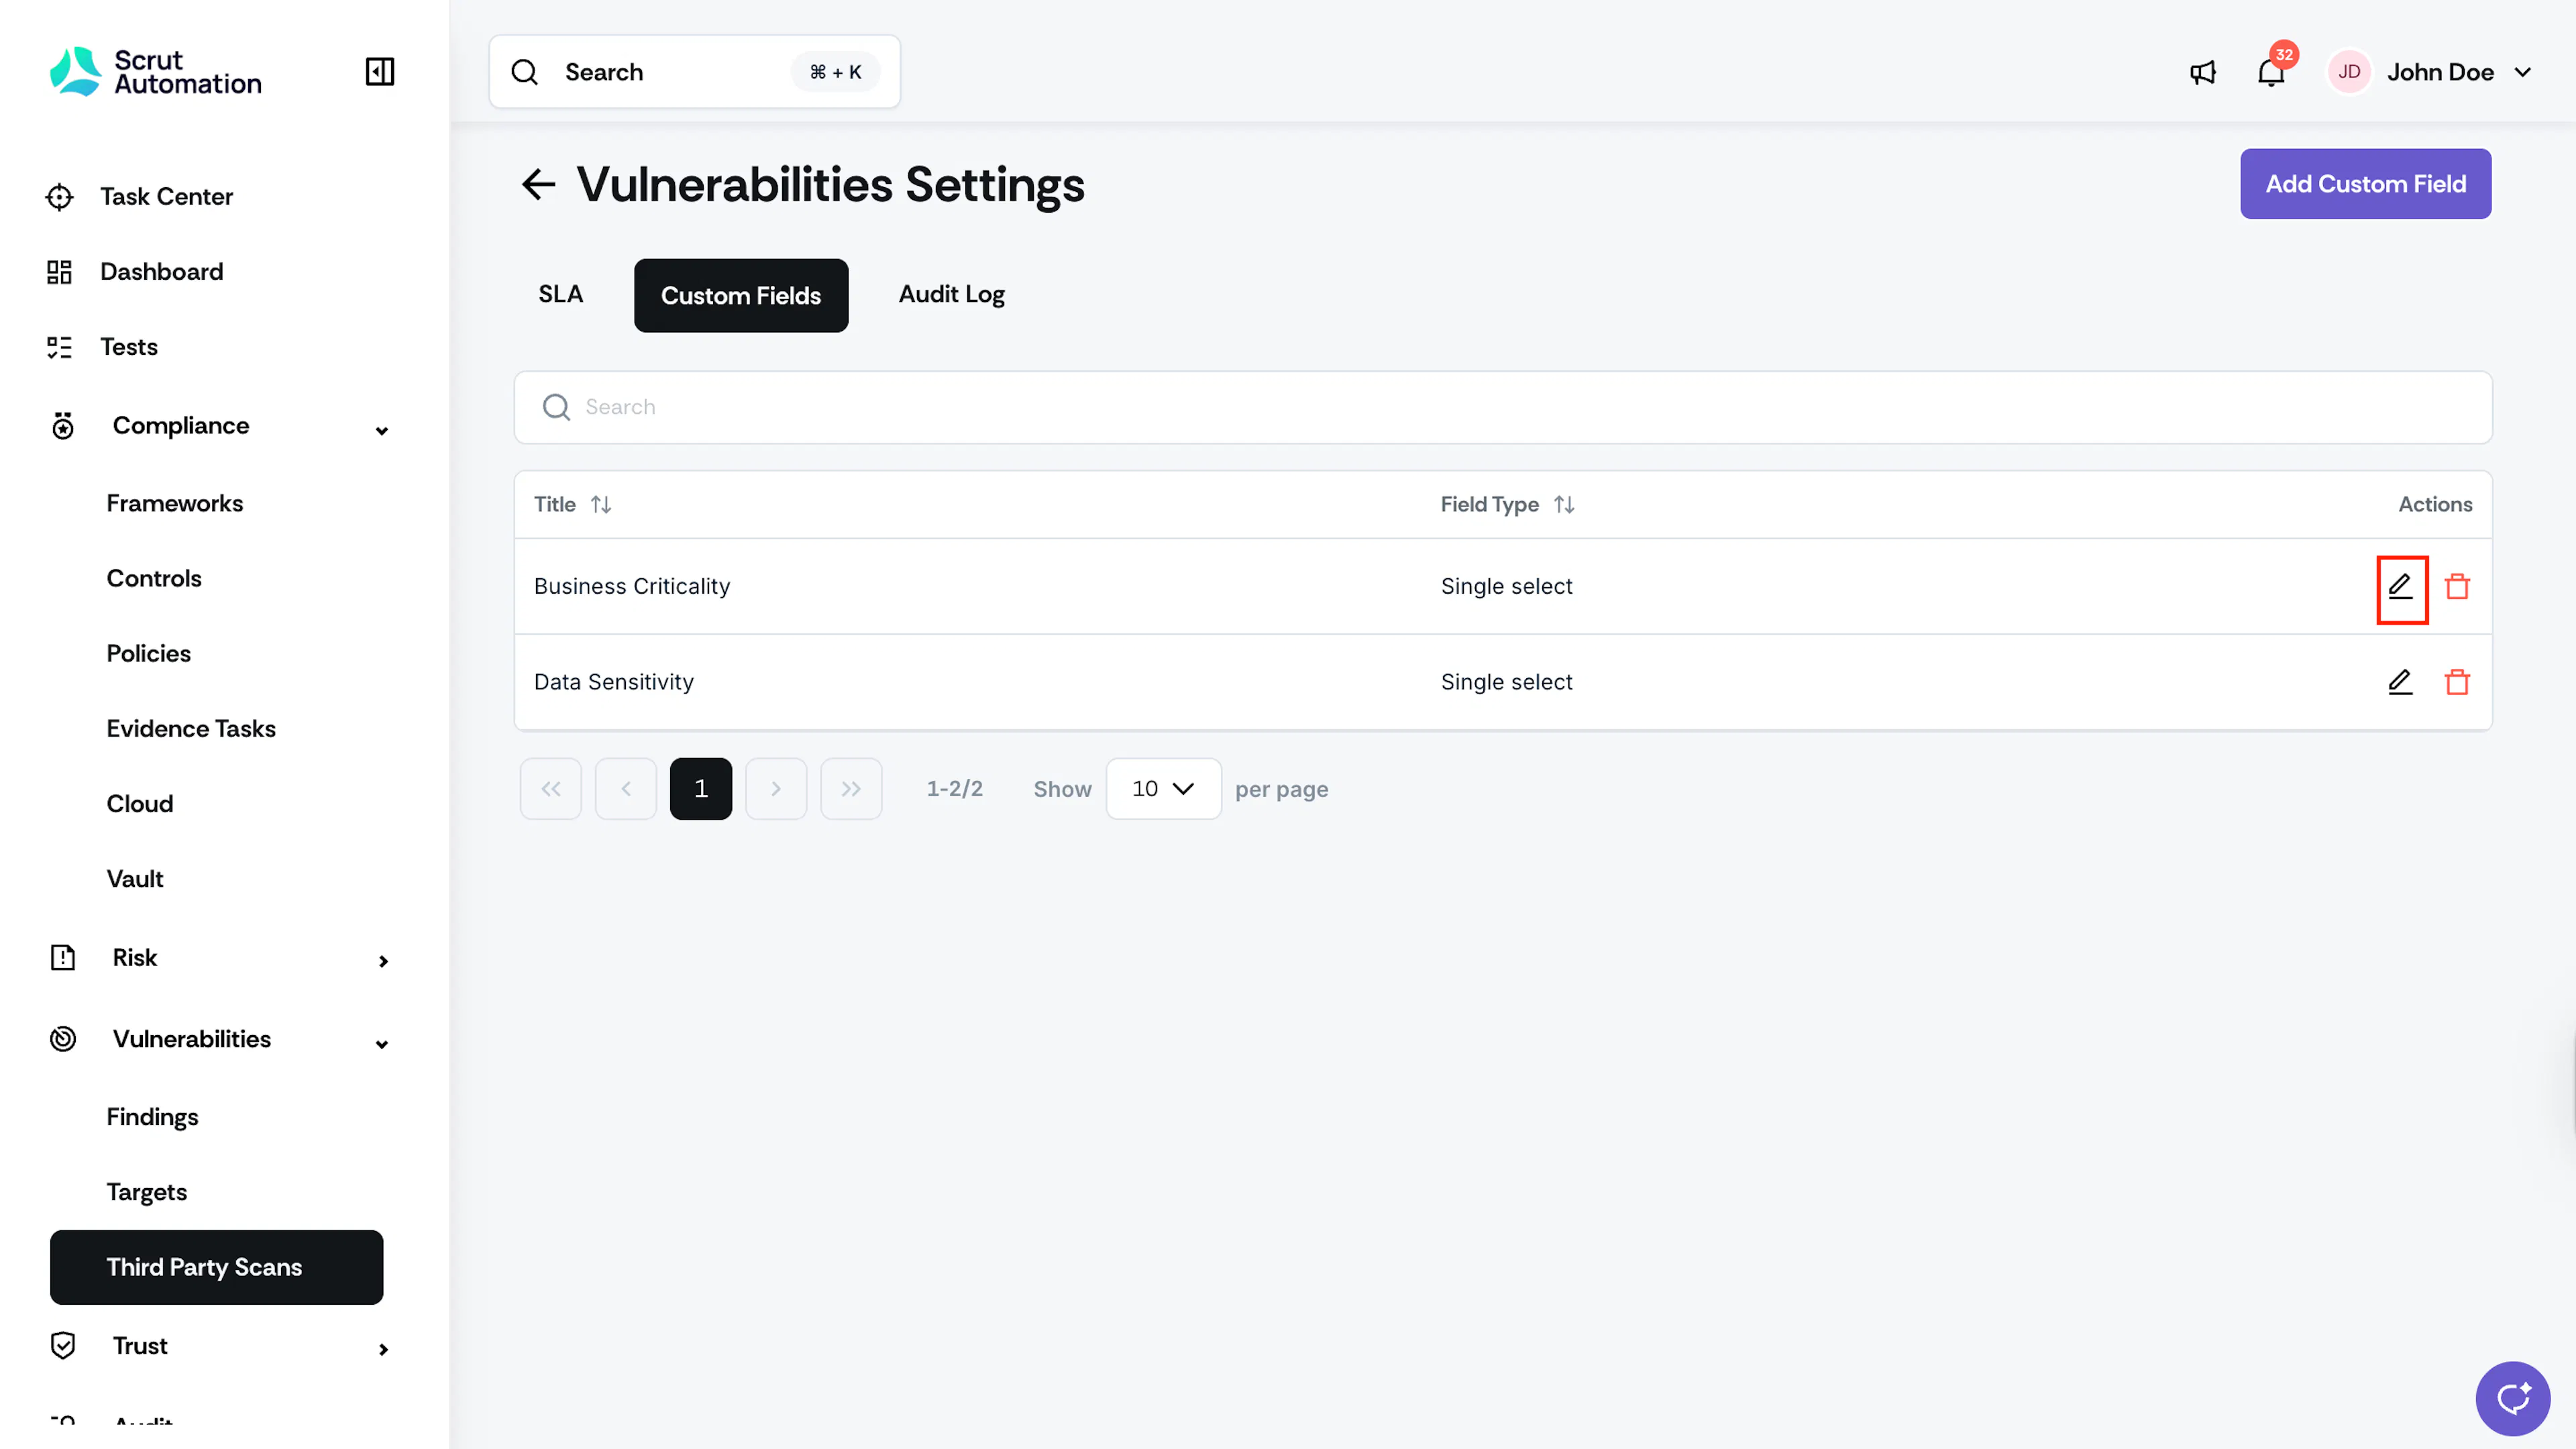
Heads Up!
You cannot change a field's type after it has been saved. If you need a different type, delete the existing field and create a new one.
Delete a Custom Field
- Navigate to Vulnerabilities → Third Party Scans → Settings → Custom Fields.
- Click the delete icon next to the field you want to remove.
- Confirm the deletion.
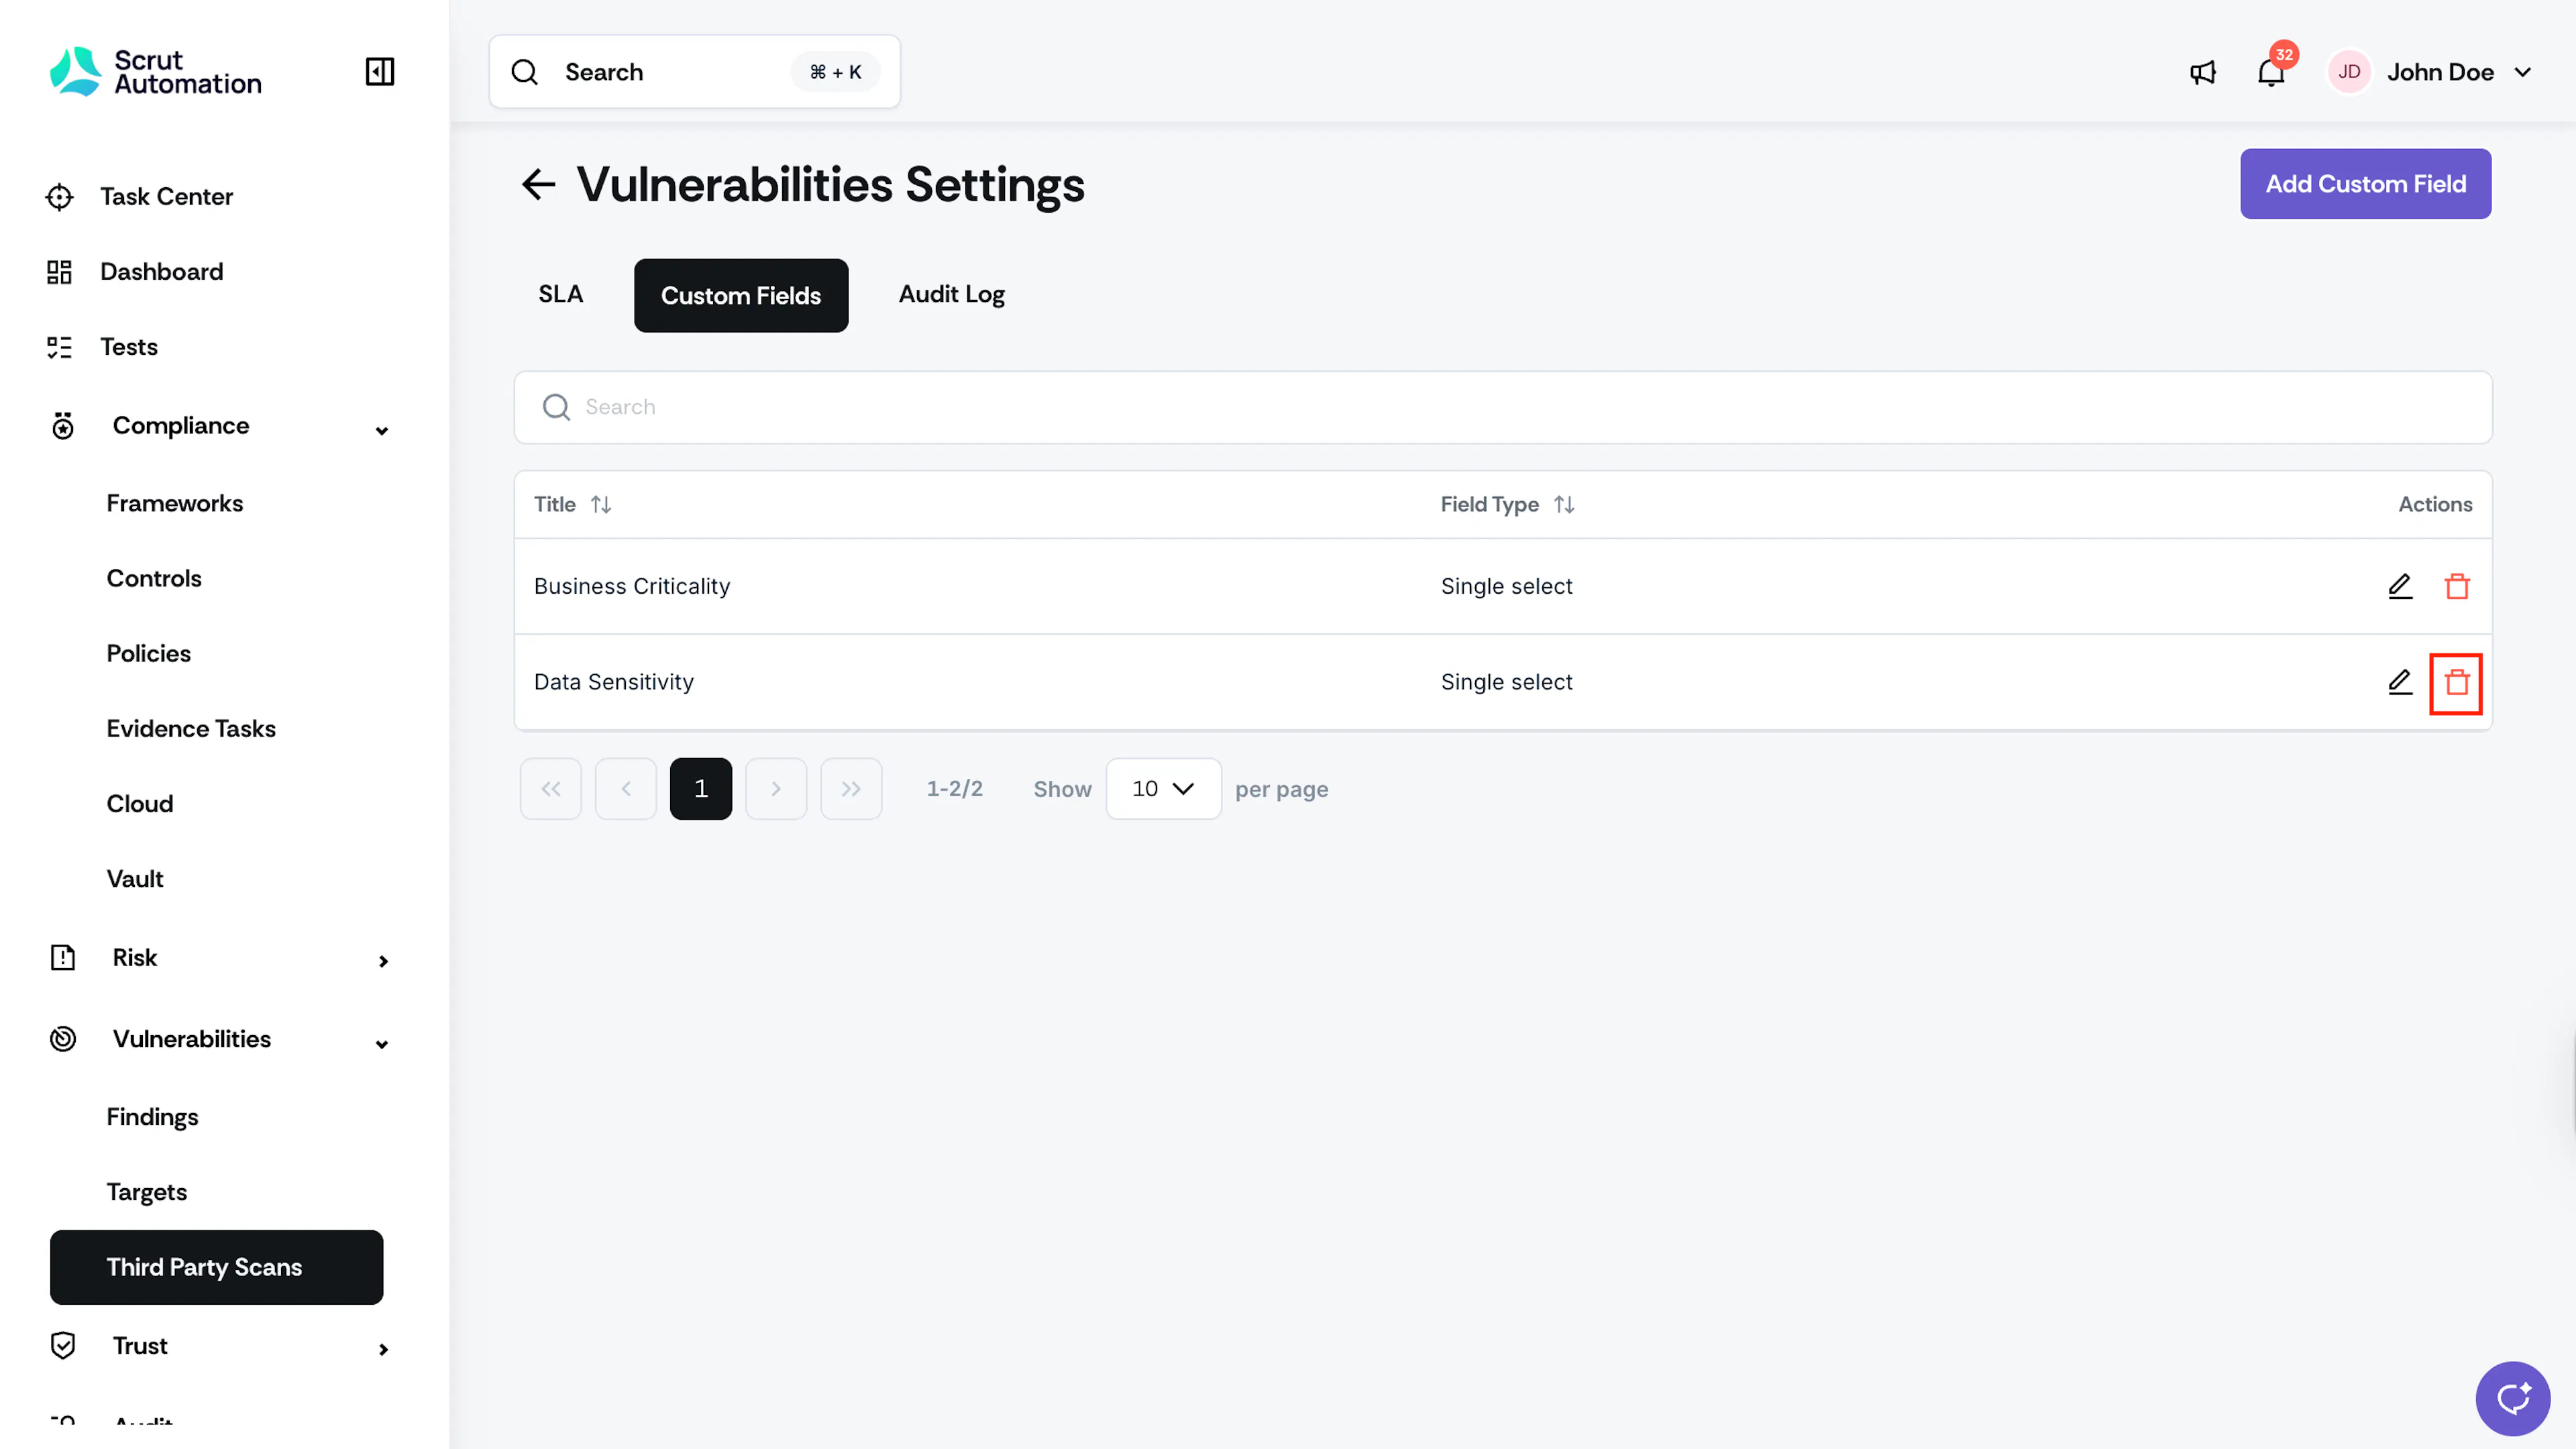
Important:
Deleting a custom field removes it and all its values from every finding in Third Party Scans. This action cannot be undone.
Add Custom Field Values for a Finding
- Navigate to Vulnerabilities → Third Party Scans.
- Click any finding to open its detail page.
- Locate the Custom Fields section on the detail page.
- Click the edit icon or the dropdown box and enter or select the value.
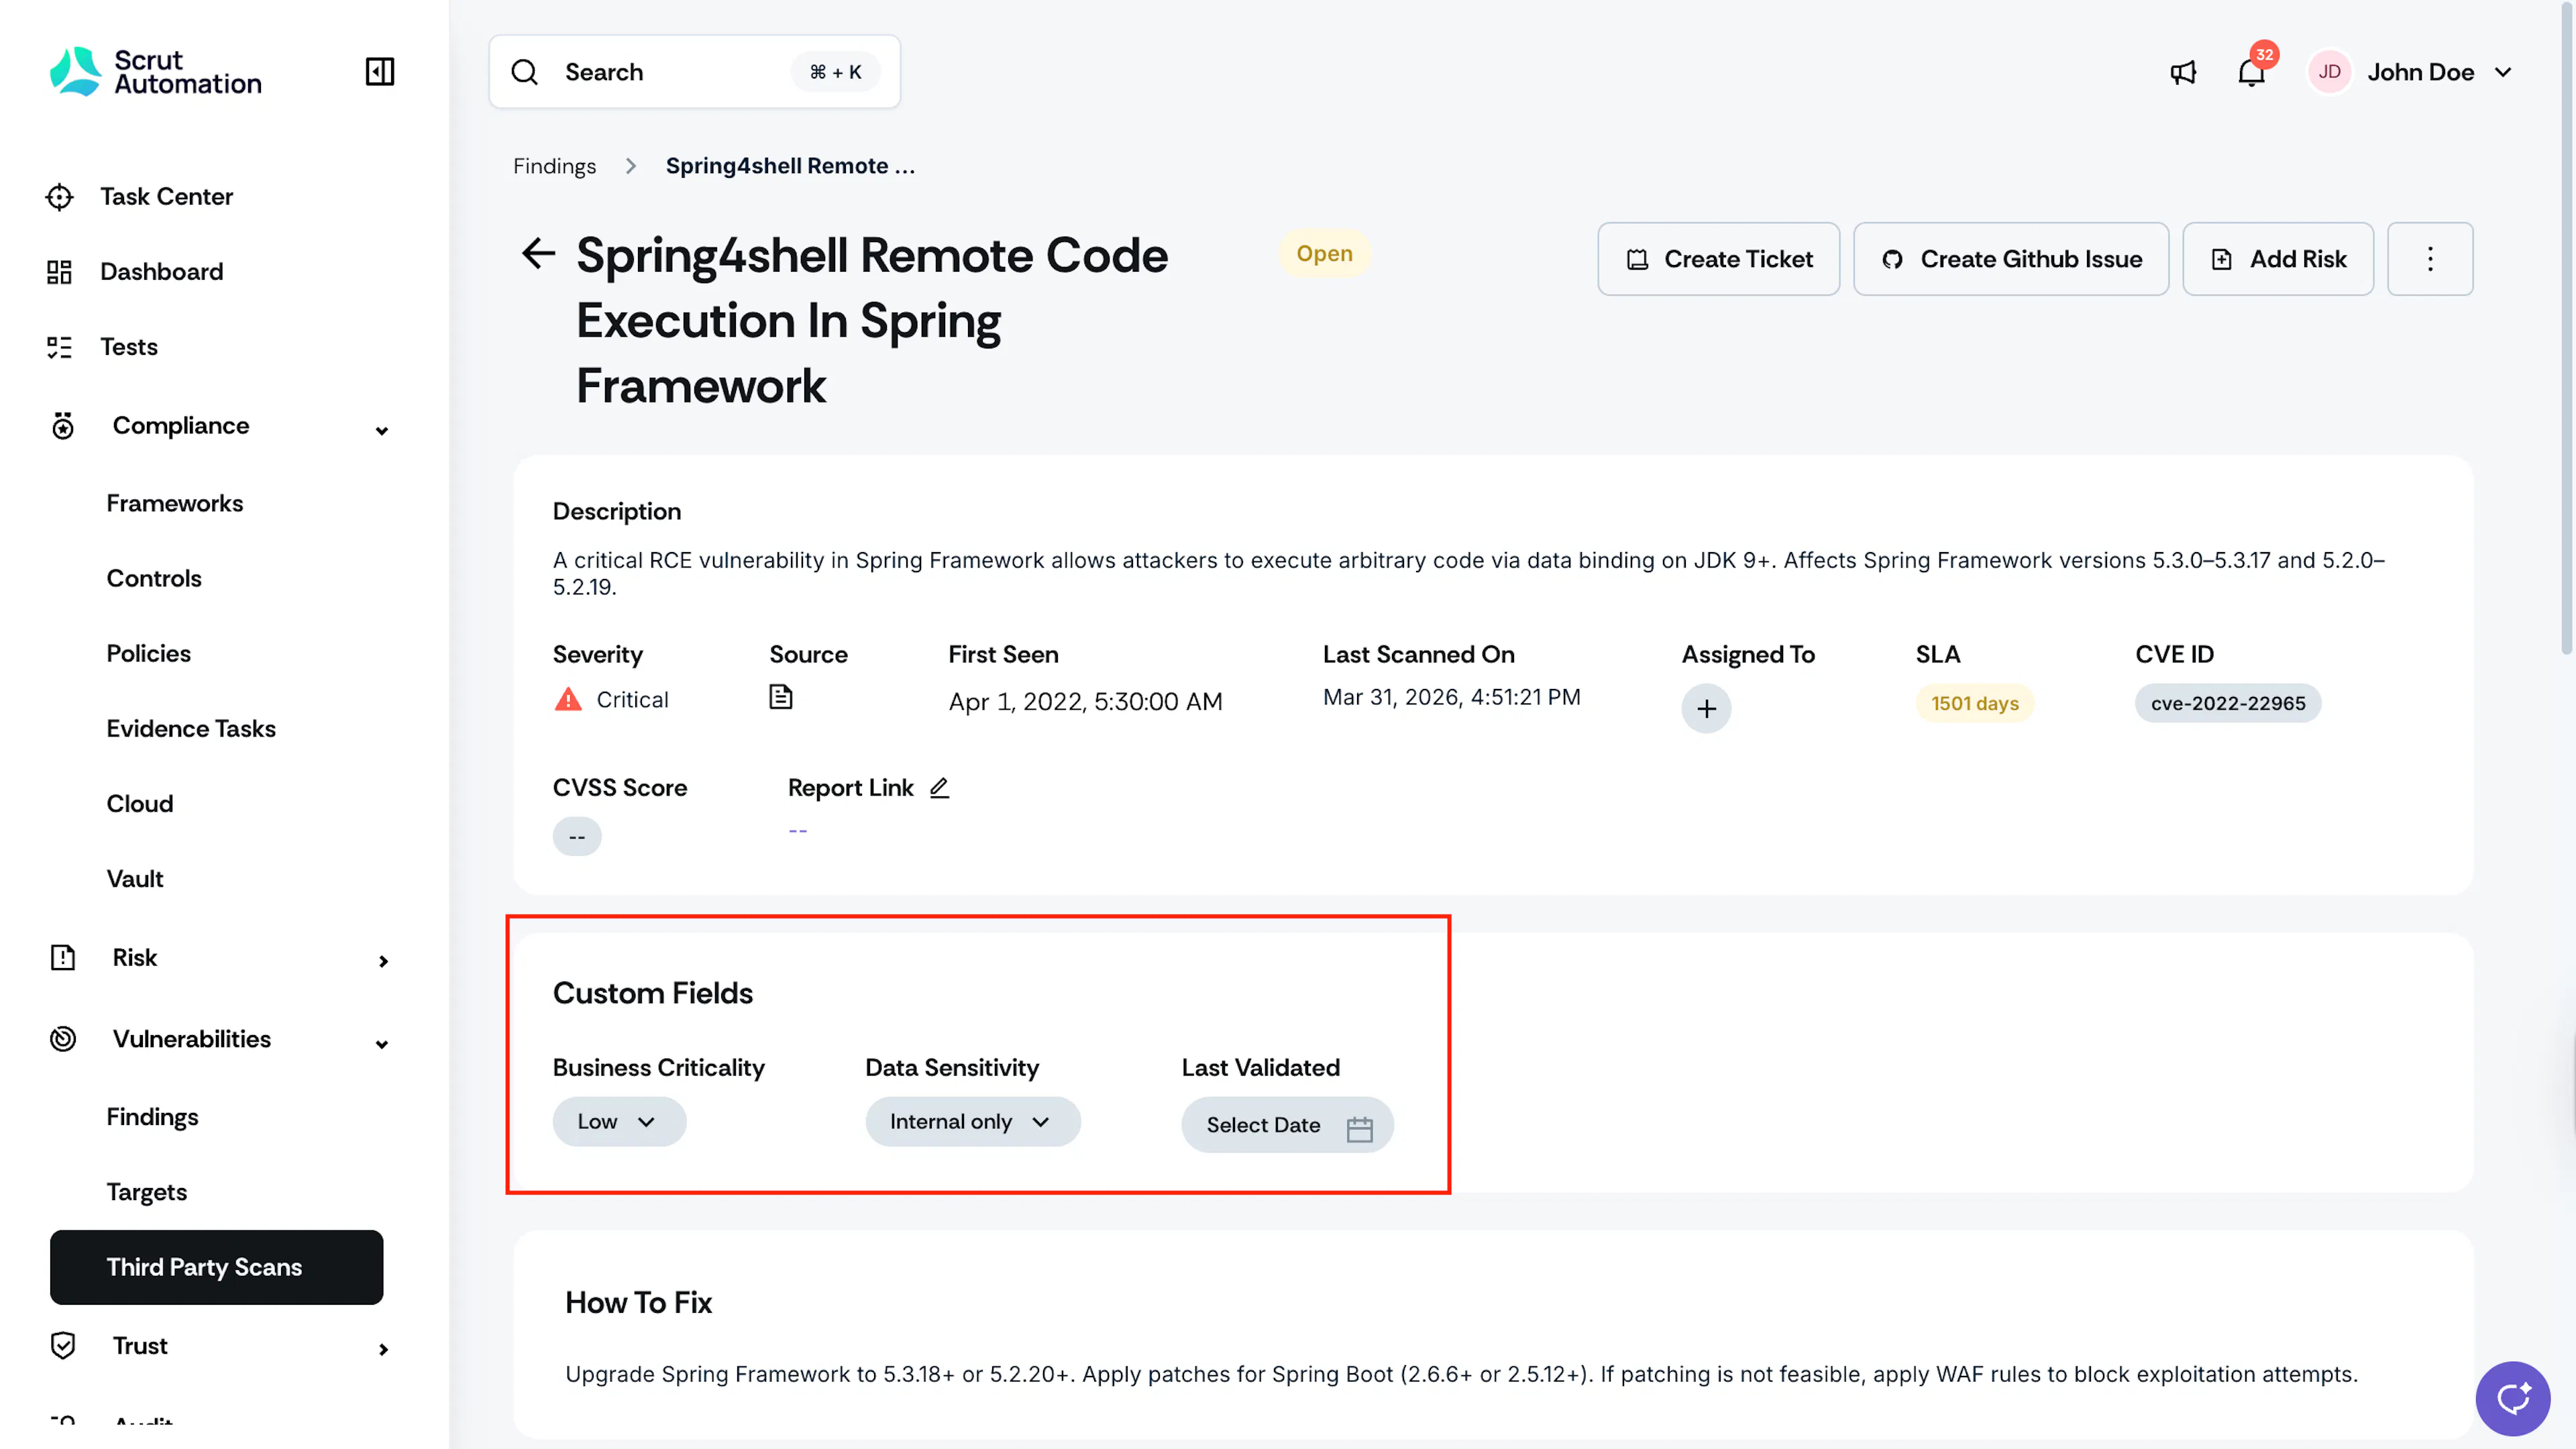
View and Filter Custom Fields
You can add any configured custom field as a column in the Findings or Resources table.
- Navigate to Vulnerabilities → Third Party Scans.
- Click Columns to open the column selector.
- Toggle on the custom fields you want to display. The selected columns appear in the findings table.
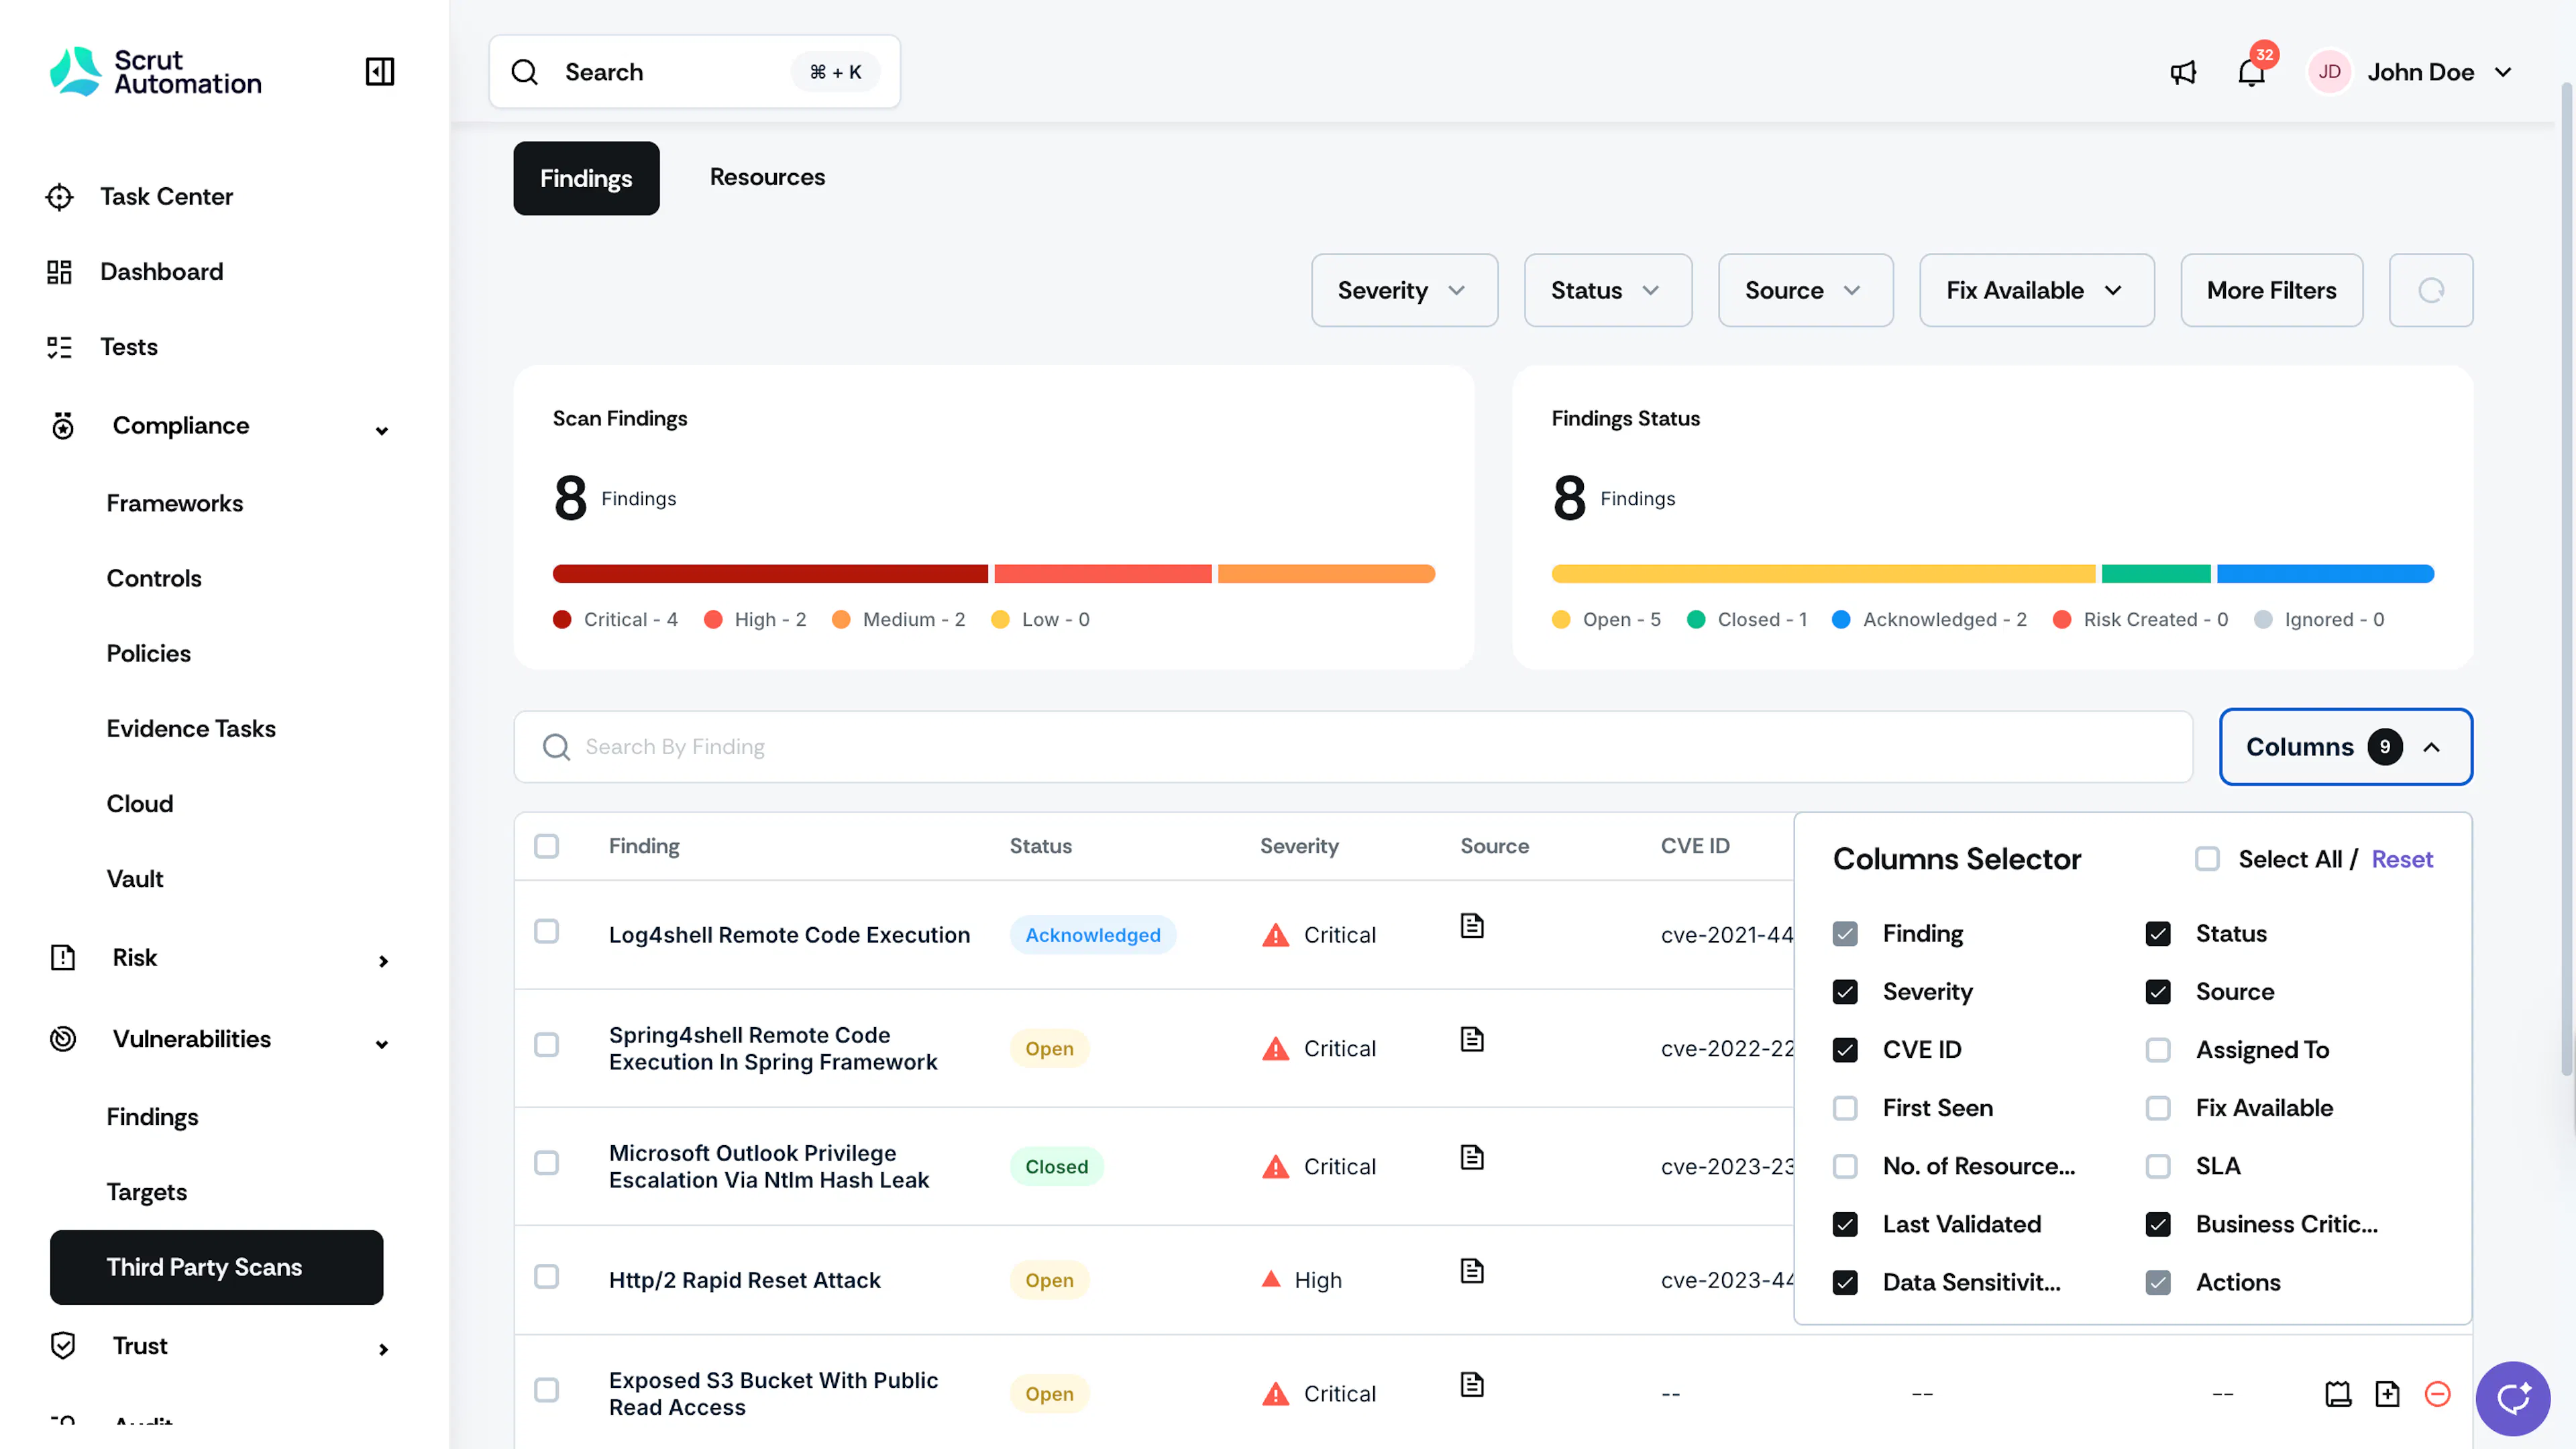
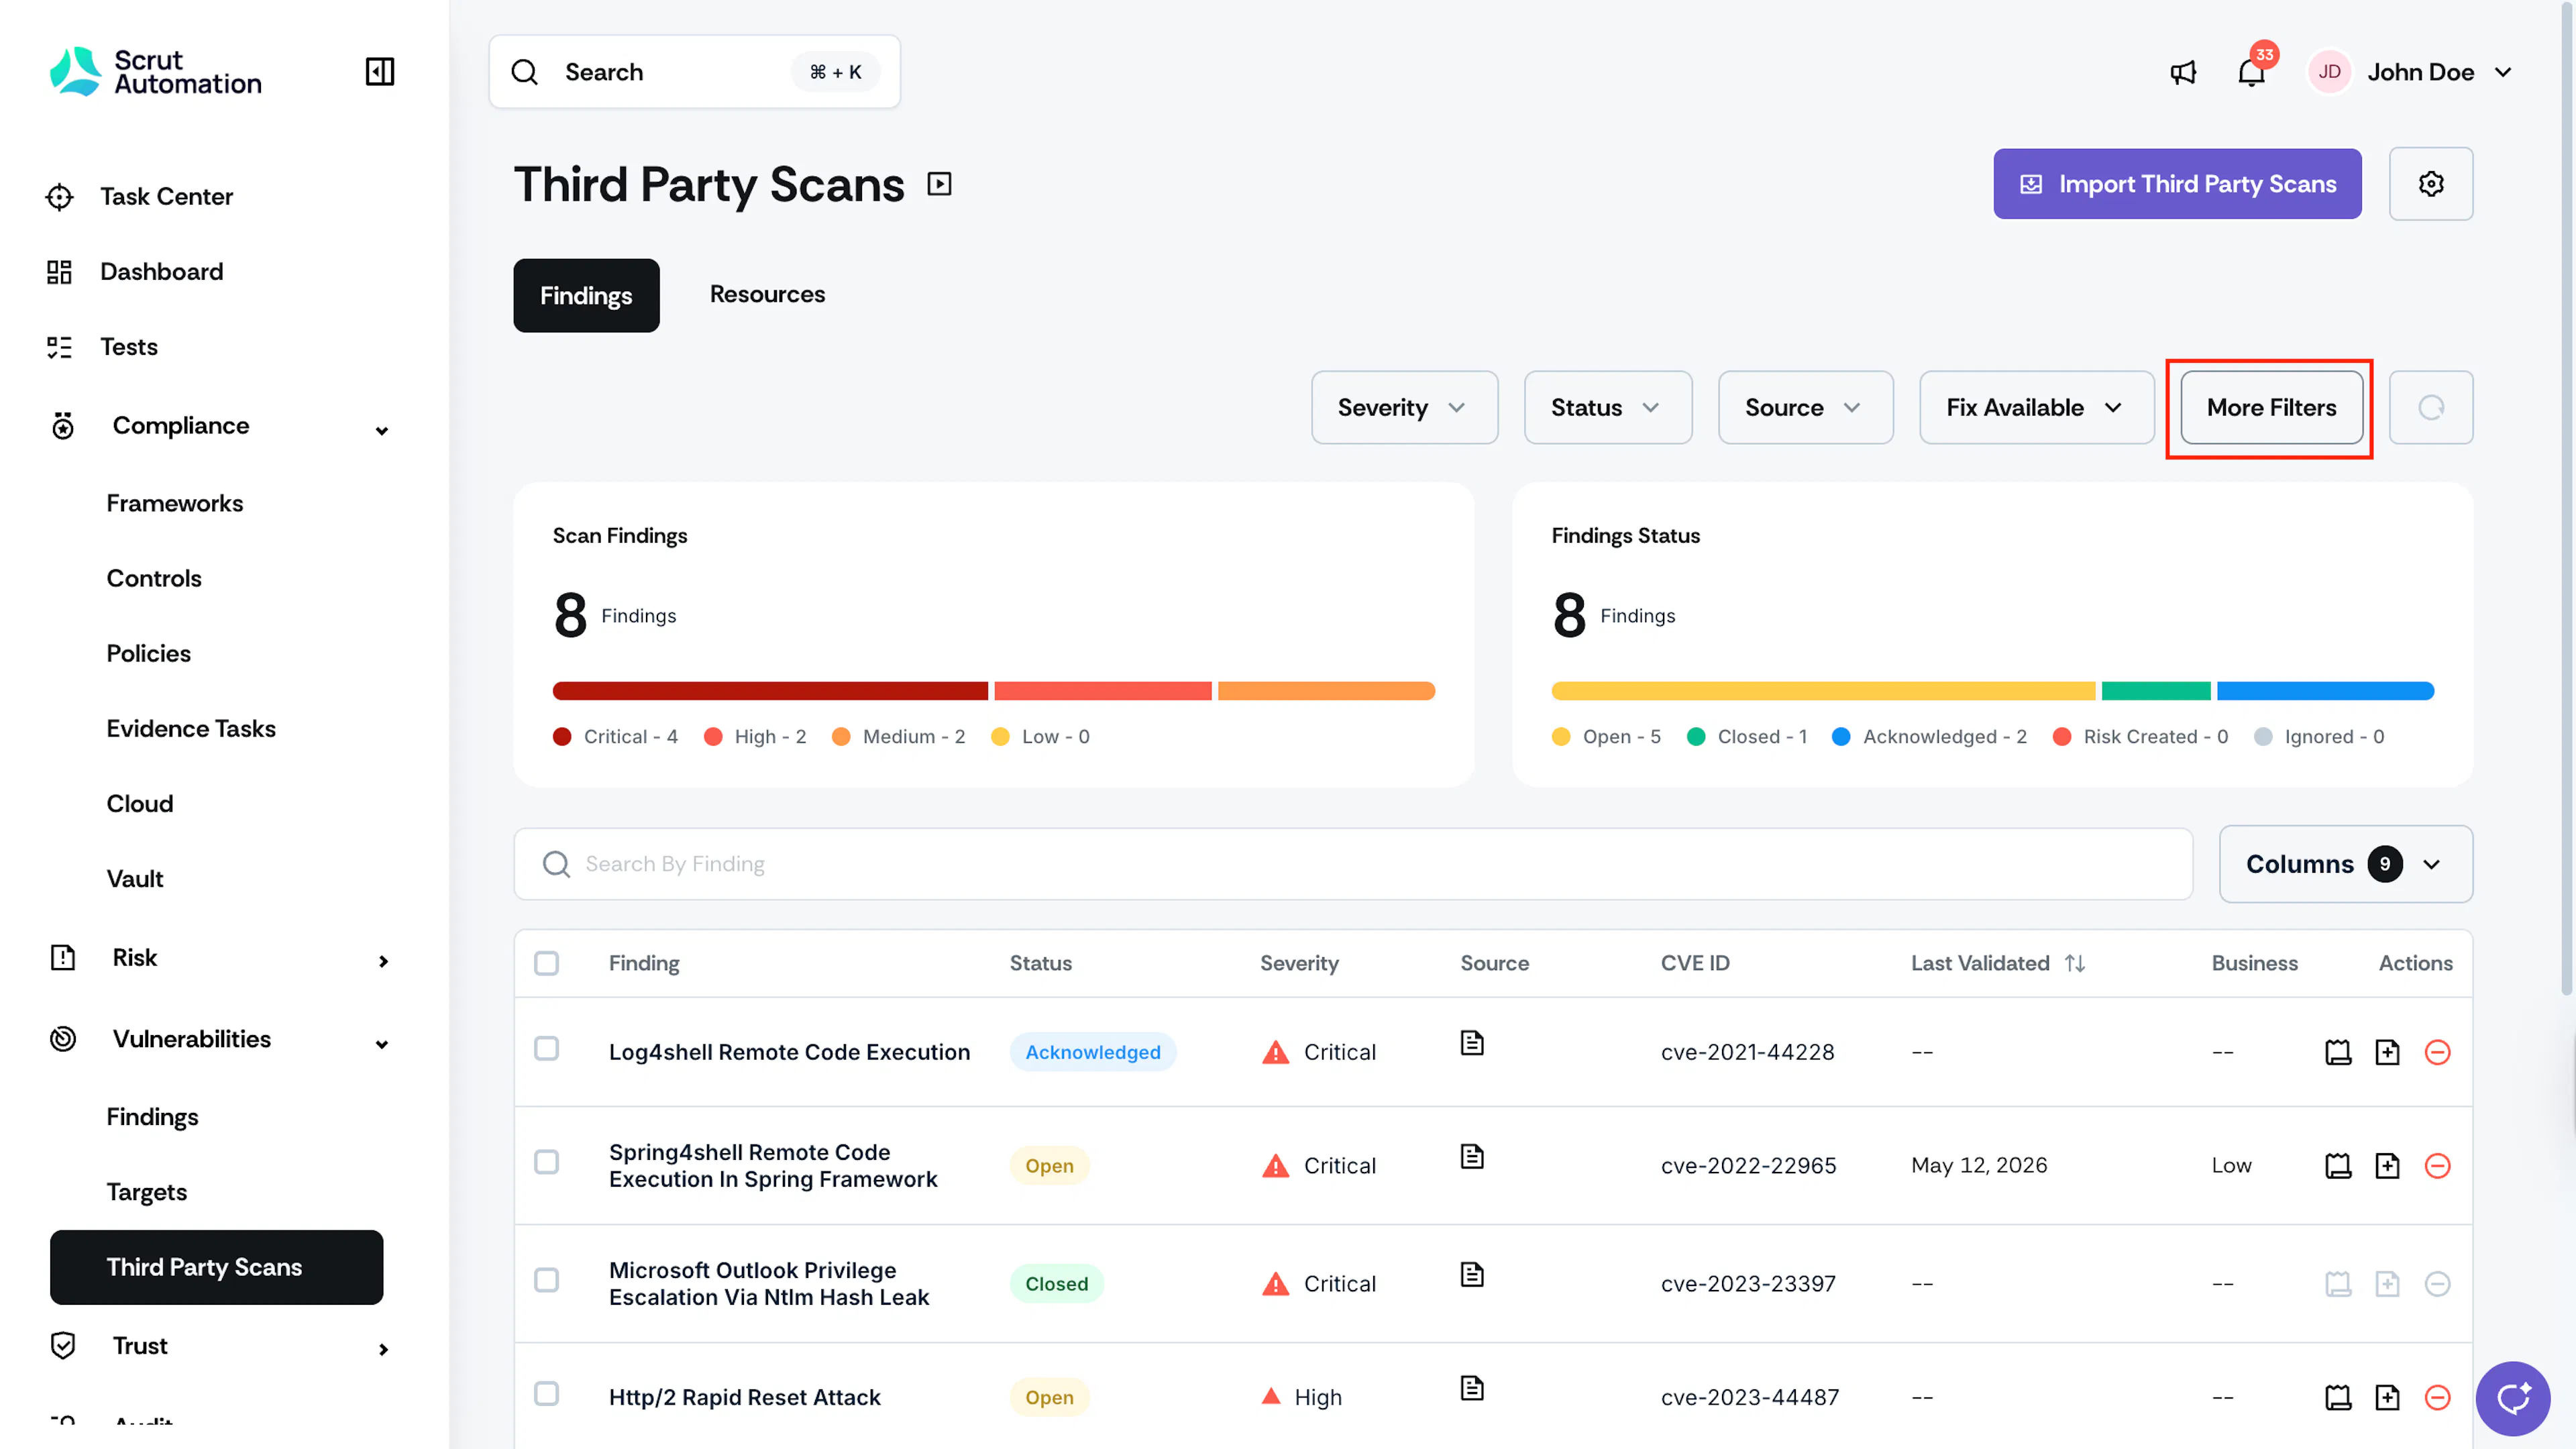
- To filter findings by a custom field, click More Filters. Single-Select, Multi-Select, and Date type custom fields are available as filter options. Text box, Text area, and Currency fields are not filterable.
Import Findings with Custom Field Values
- Navigate to Vulnerabilities → Third-Party Scans.
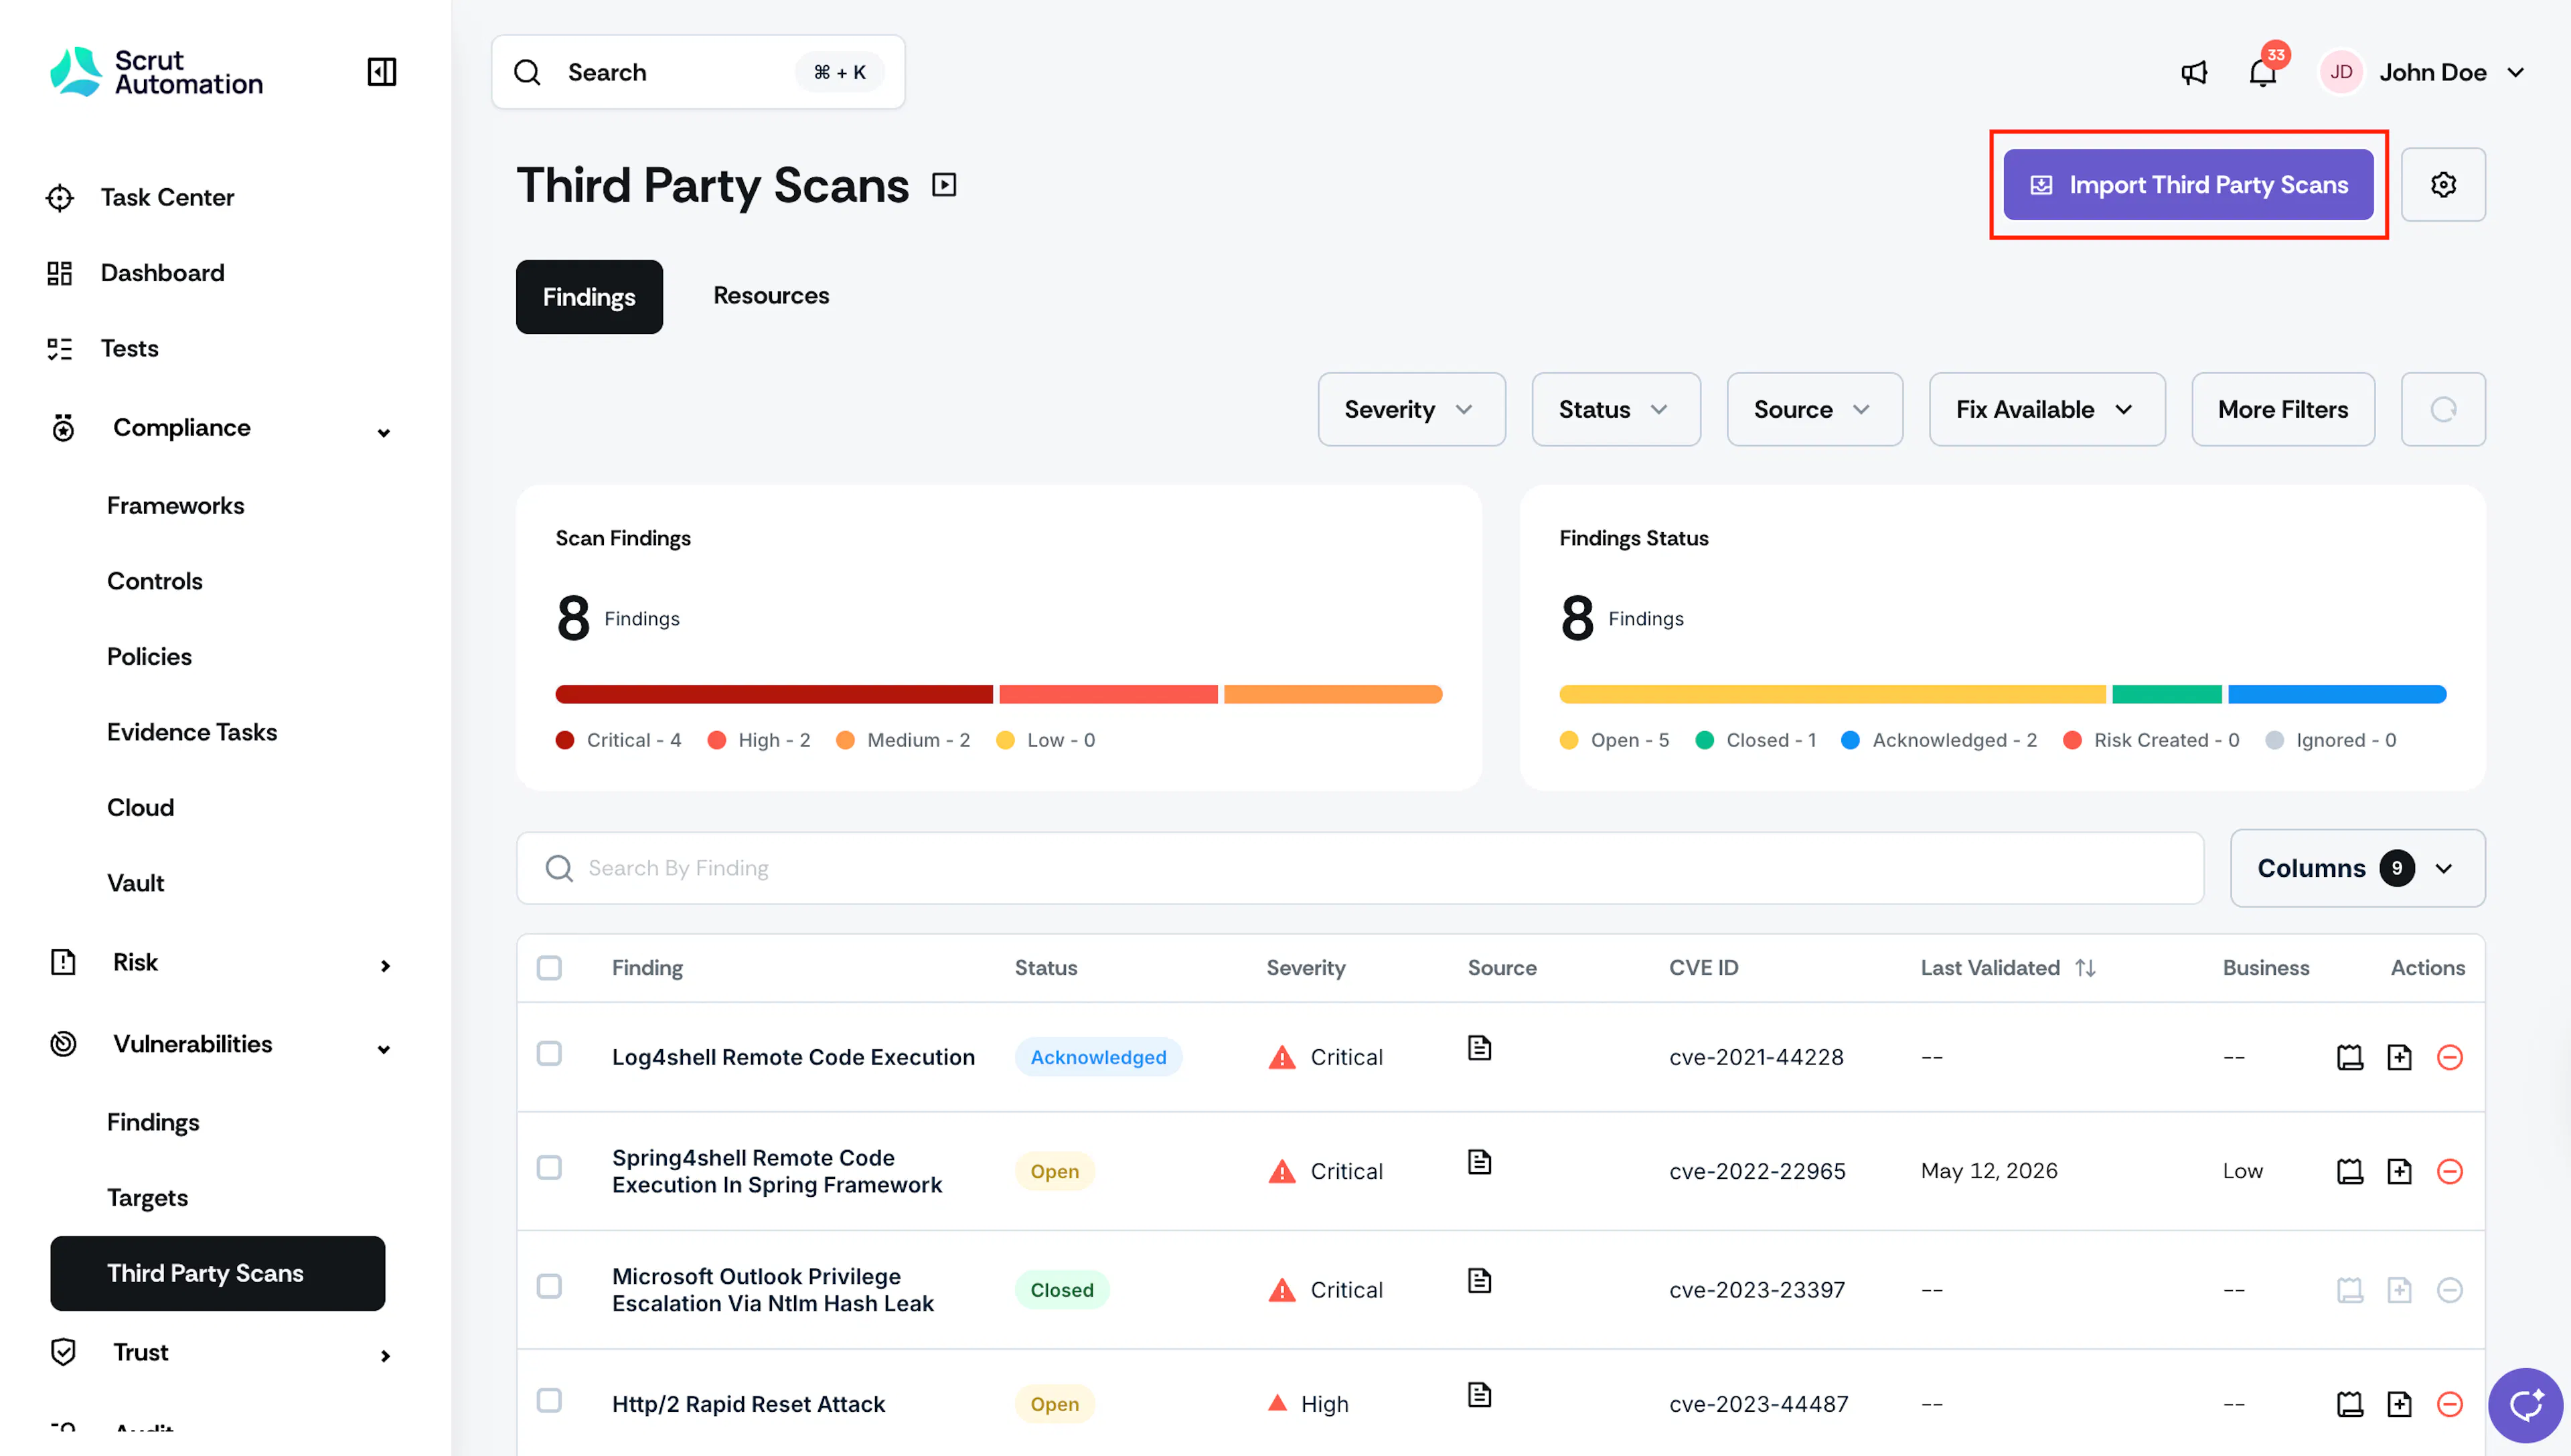
- Click Import Third-Party Scans.
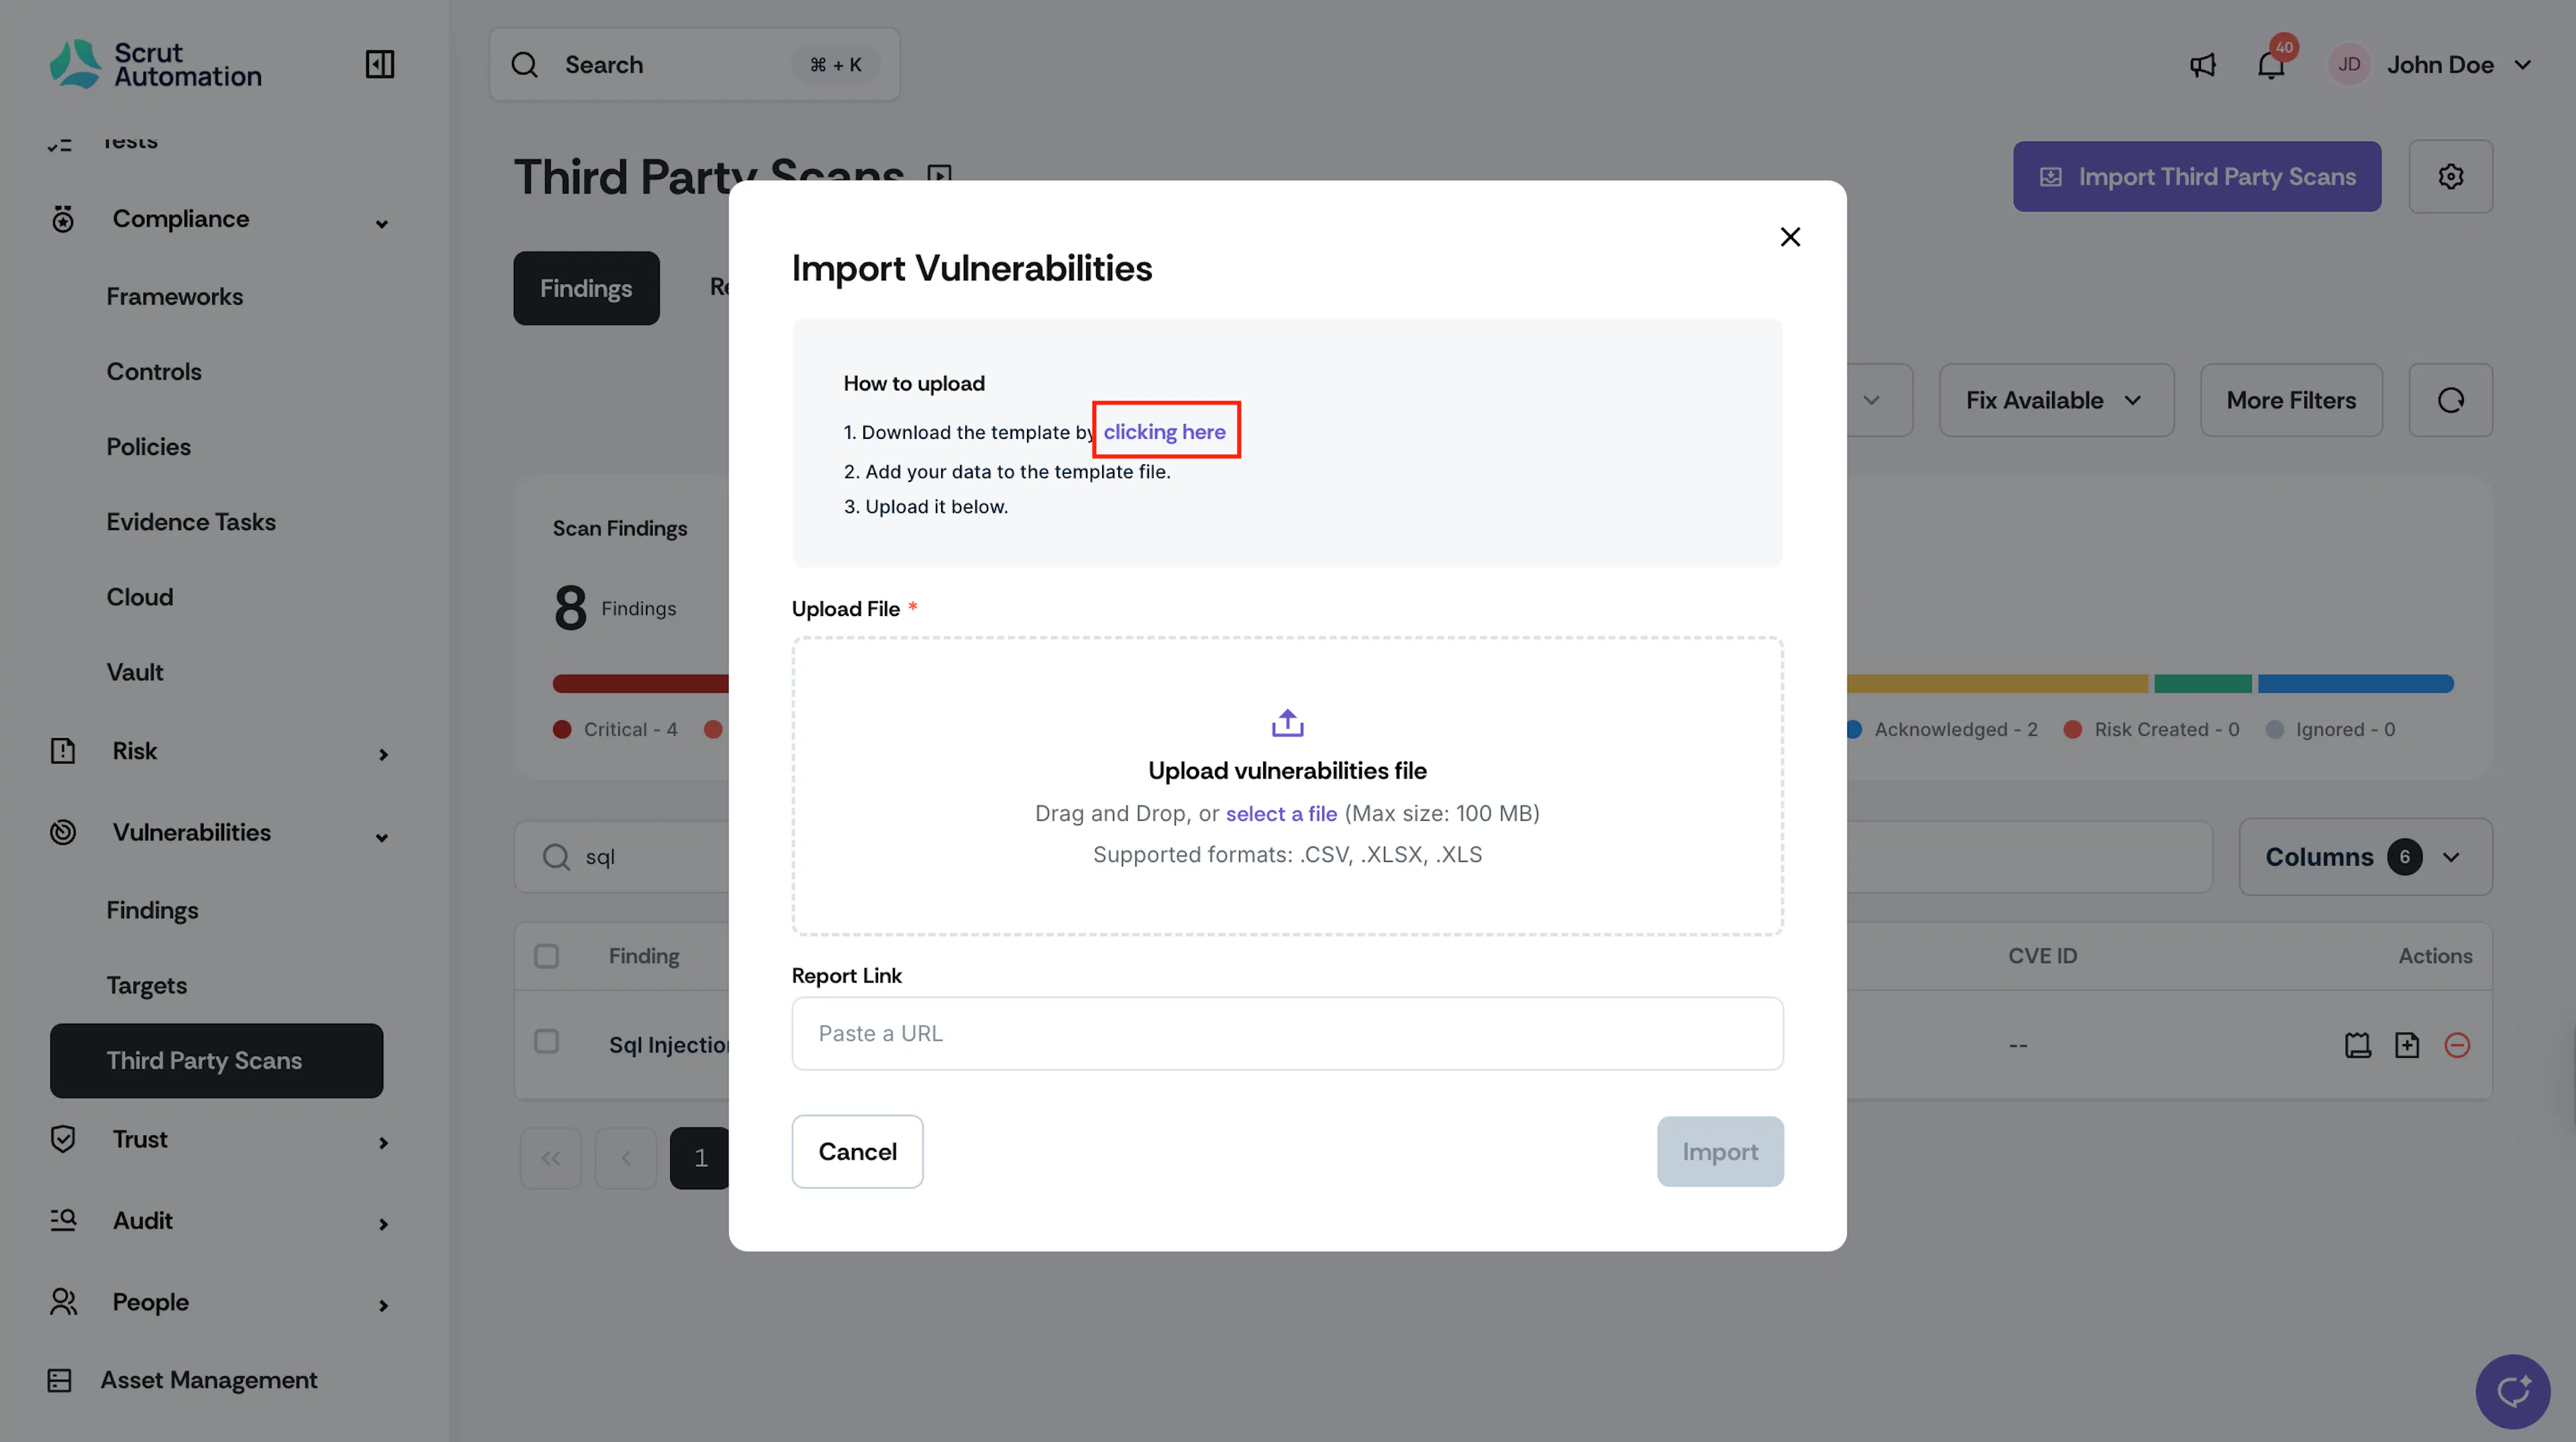
- Download the import template from the pop-up window.
- Fill in values for custom fields from Column N.
- Custom field columns are optional and can be left blank.
- The column header for each custom field in the template must match the field name exactly as configured in Vulnerabilities Settings. Do not rename these headers, or the import will not map the values correctly.
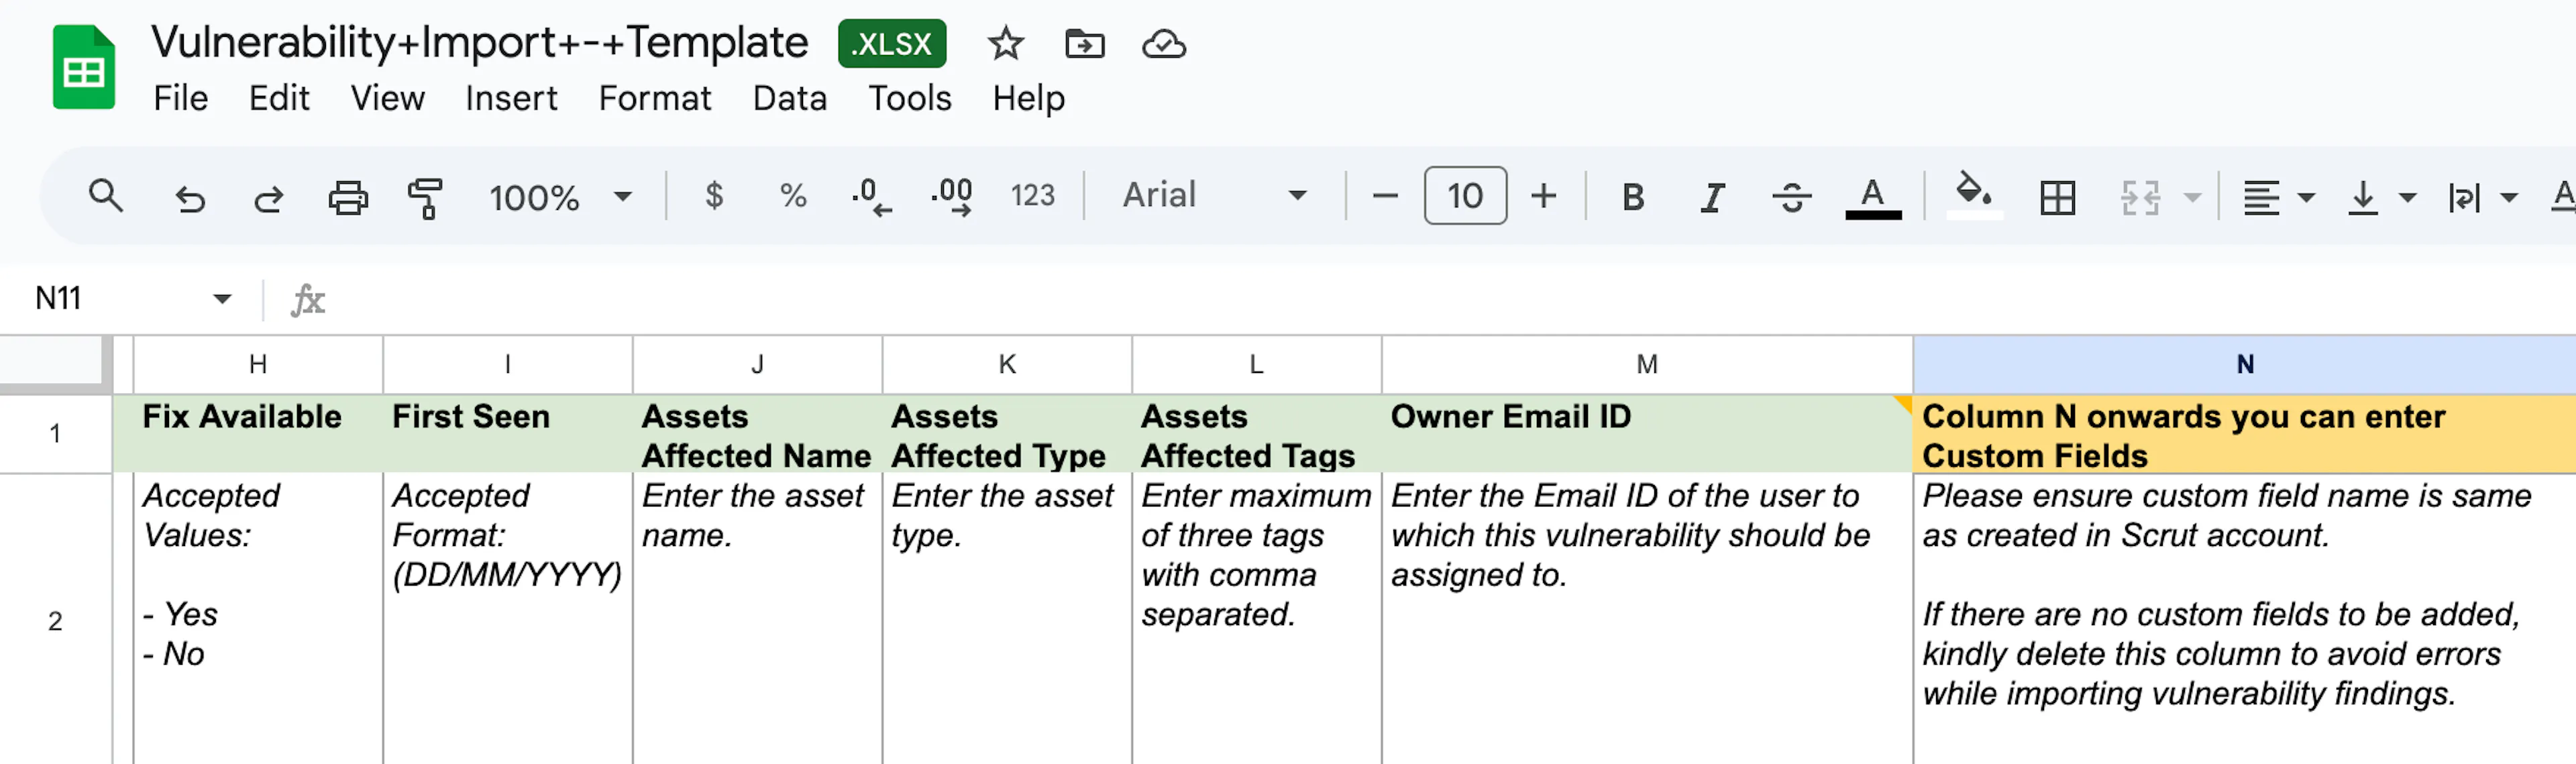
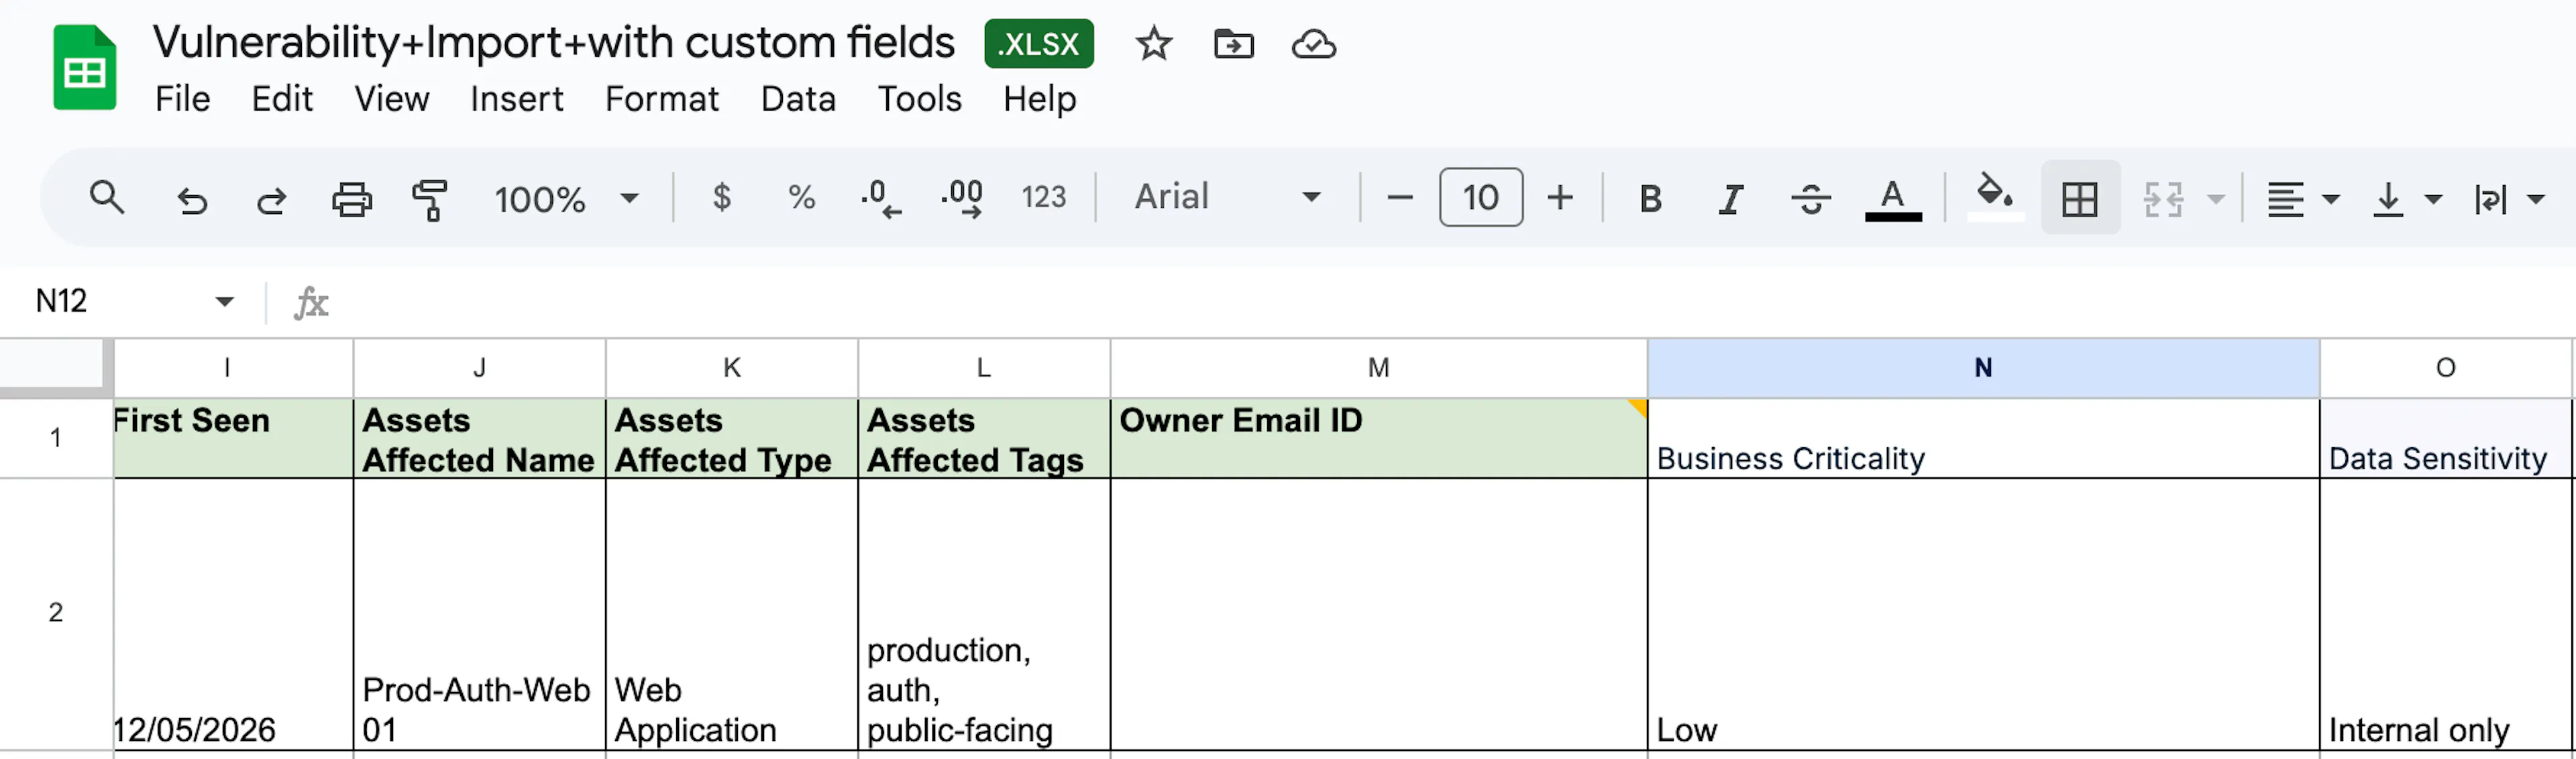
Custom field values entered in Column N and O - Upload the completed file and click Import.
Custom field values in the uploaded file are saved on the imported findings.