Access Request Workflow: Walkthrough
This guide walks you through the visitor's POV (point of view) when requesting access to your Trust Portal.
Who can use this feature
- Supported on Foundation, Growth, and Scale plans
When a visitor lands on your Trust Portal, they can view all public sections without logging in, including:
- Organization description
- Compliances
- Public documents
- Controls and categories
- FAQs
- Updates
Requesting Access to Private Documents
If visitors want to view private documents, they need to request access by clicking the Login/Get Access button.
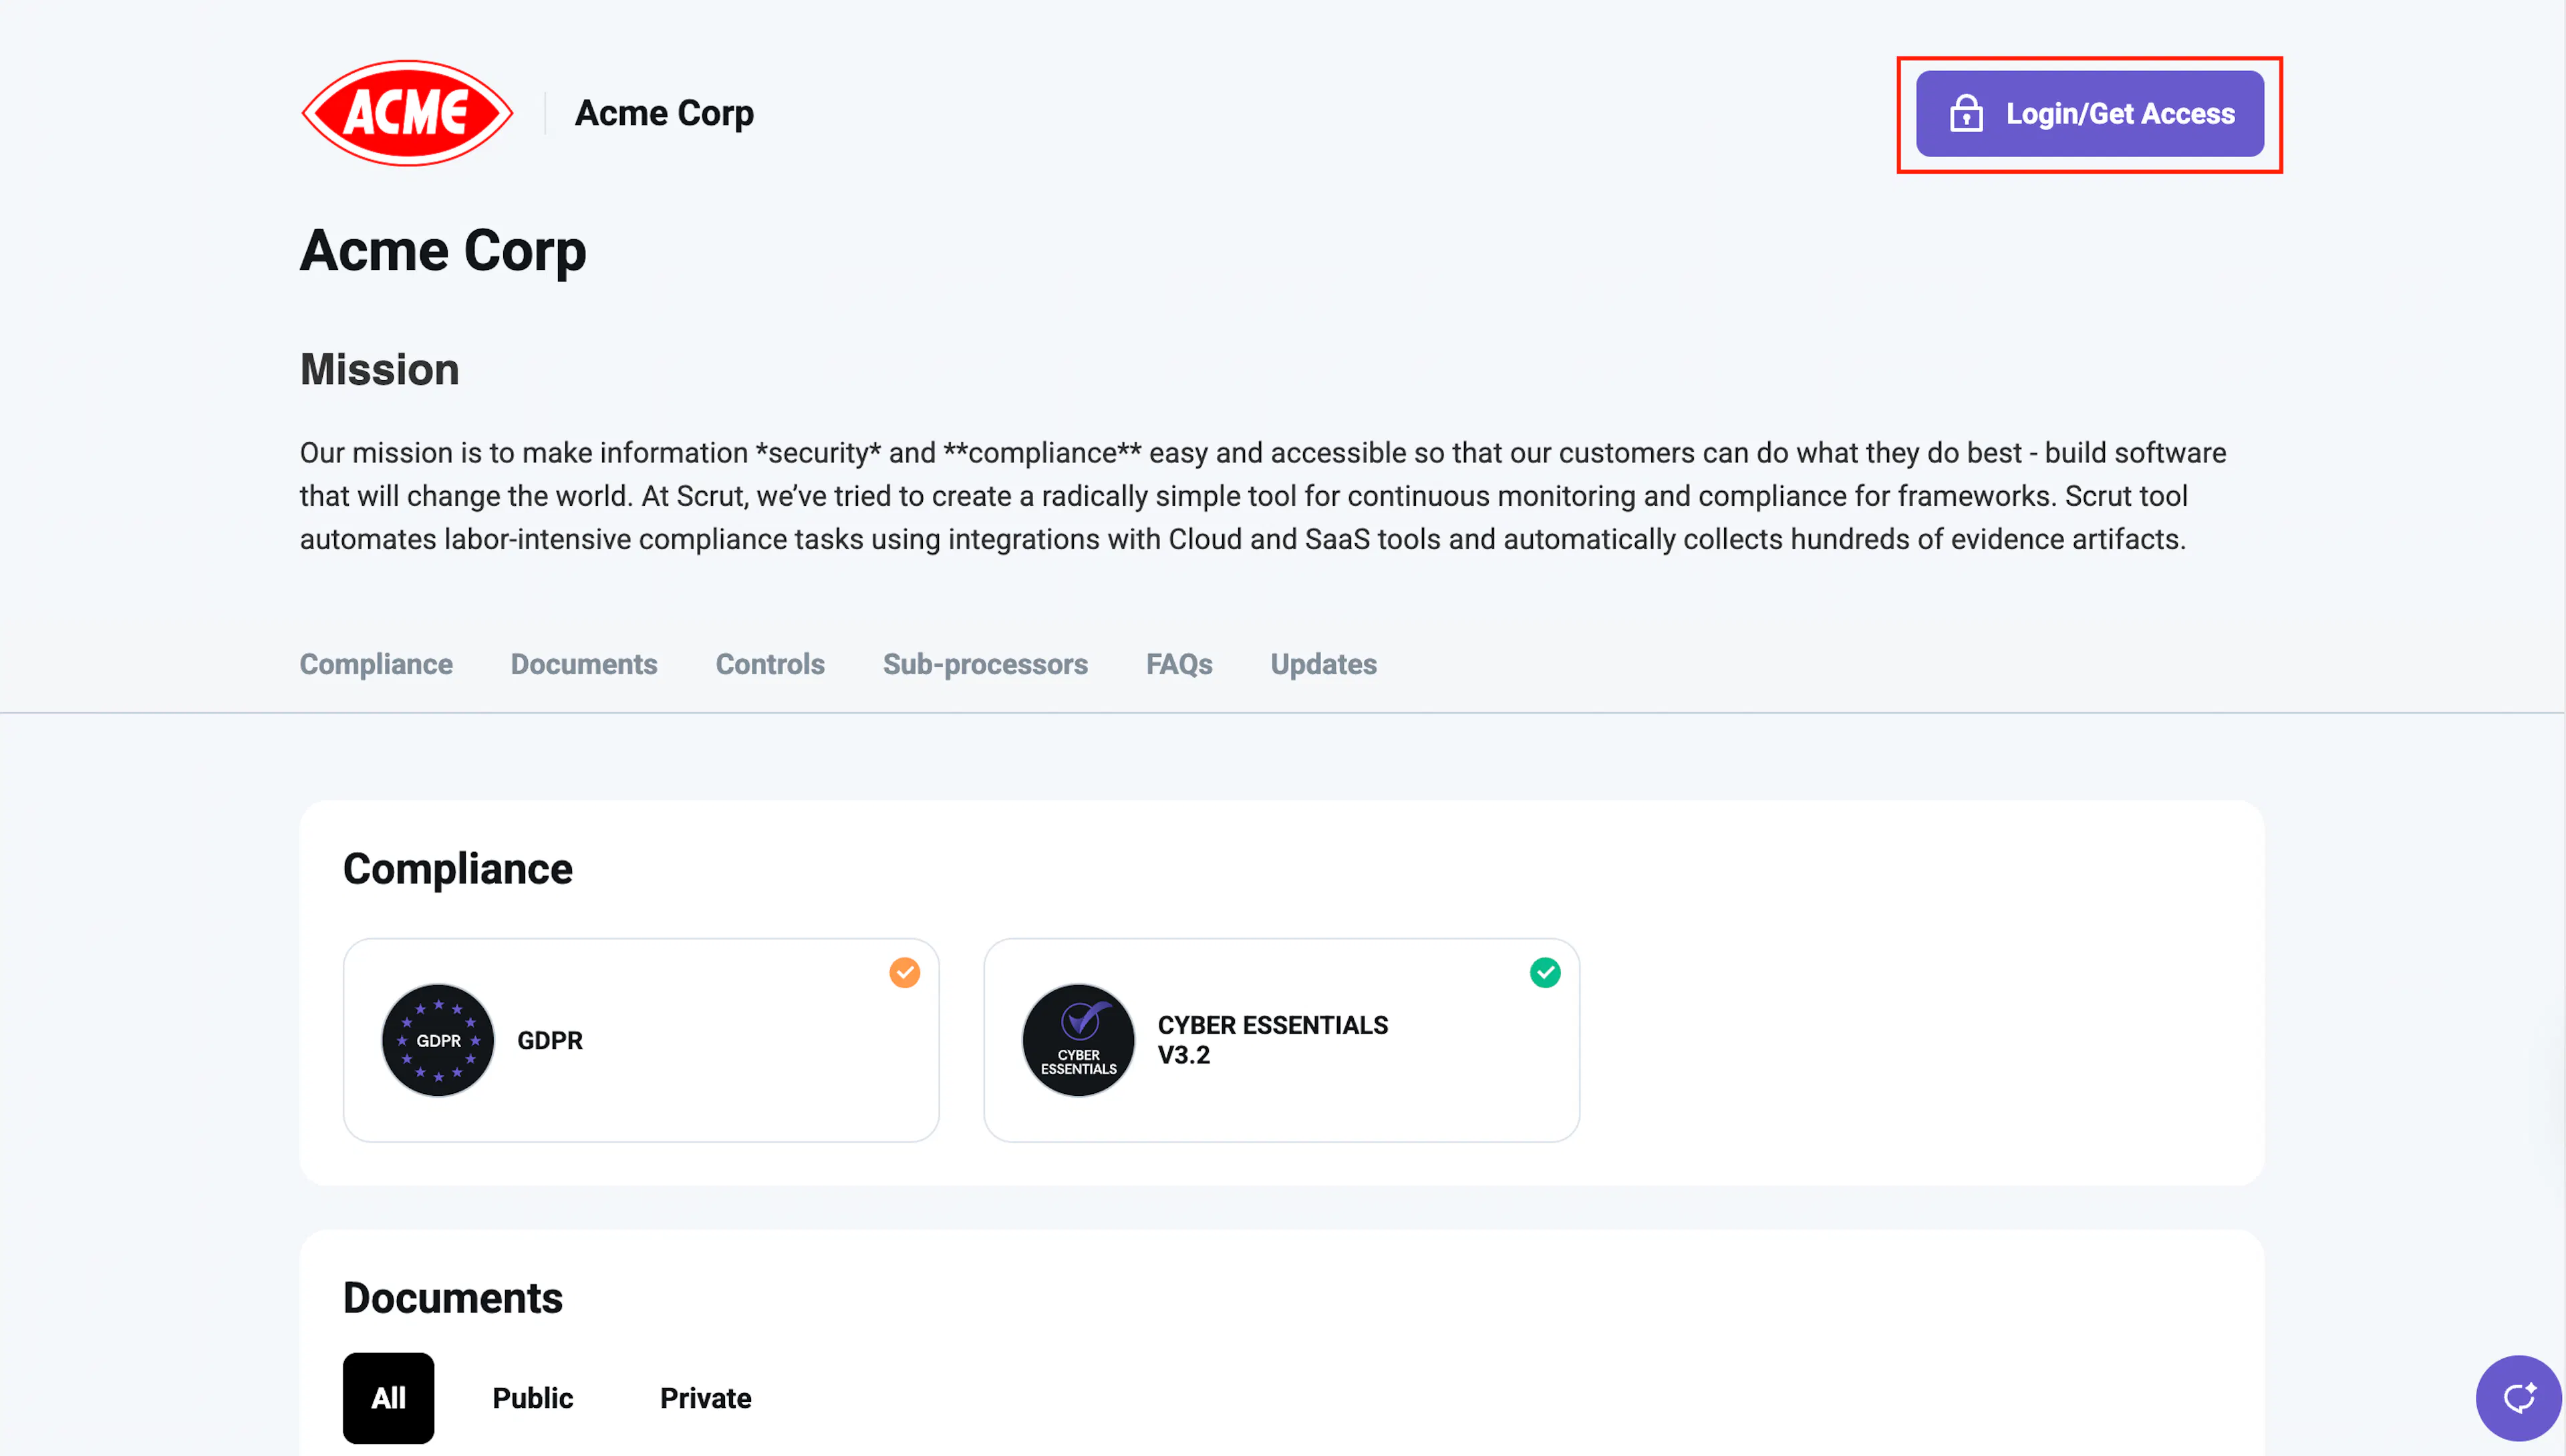
Here's what happens next:
-
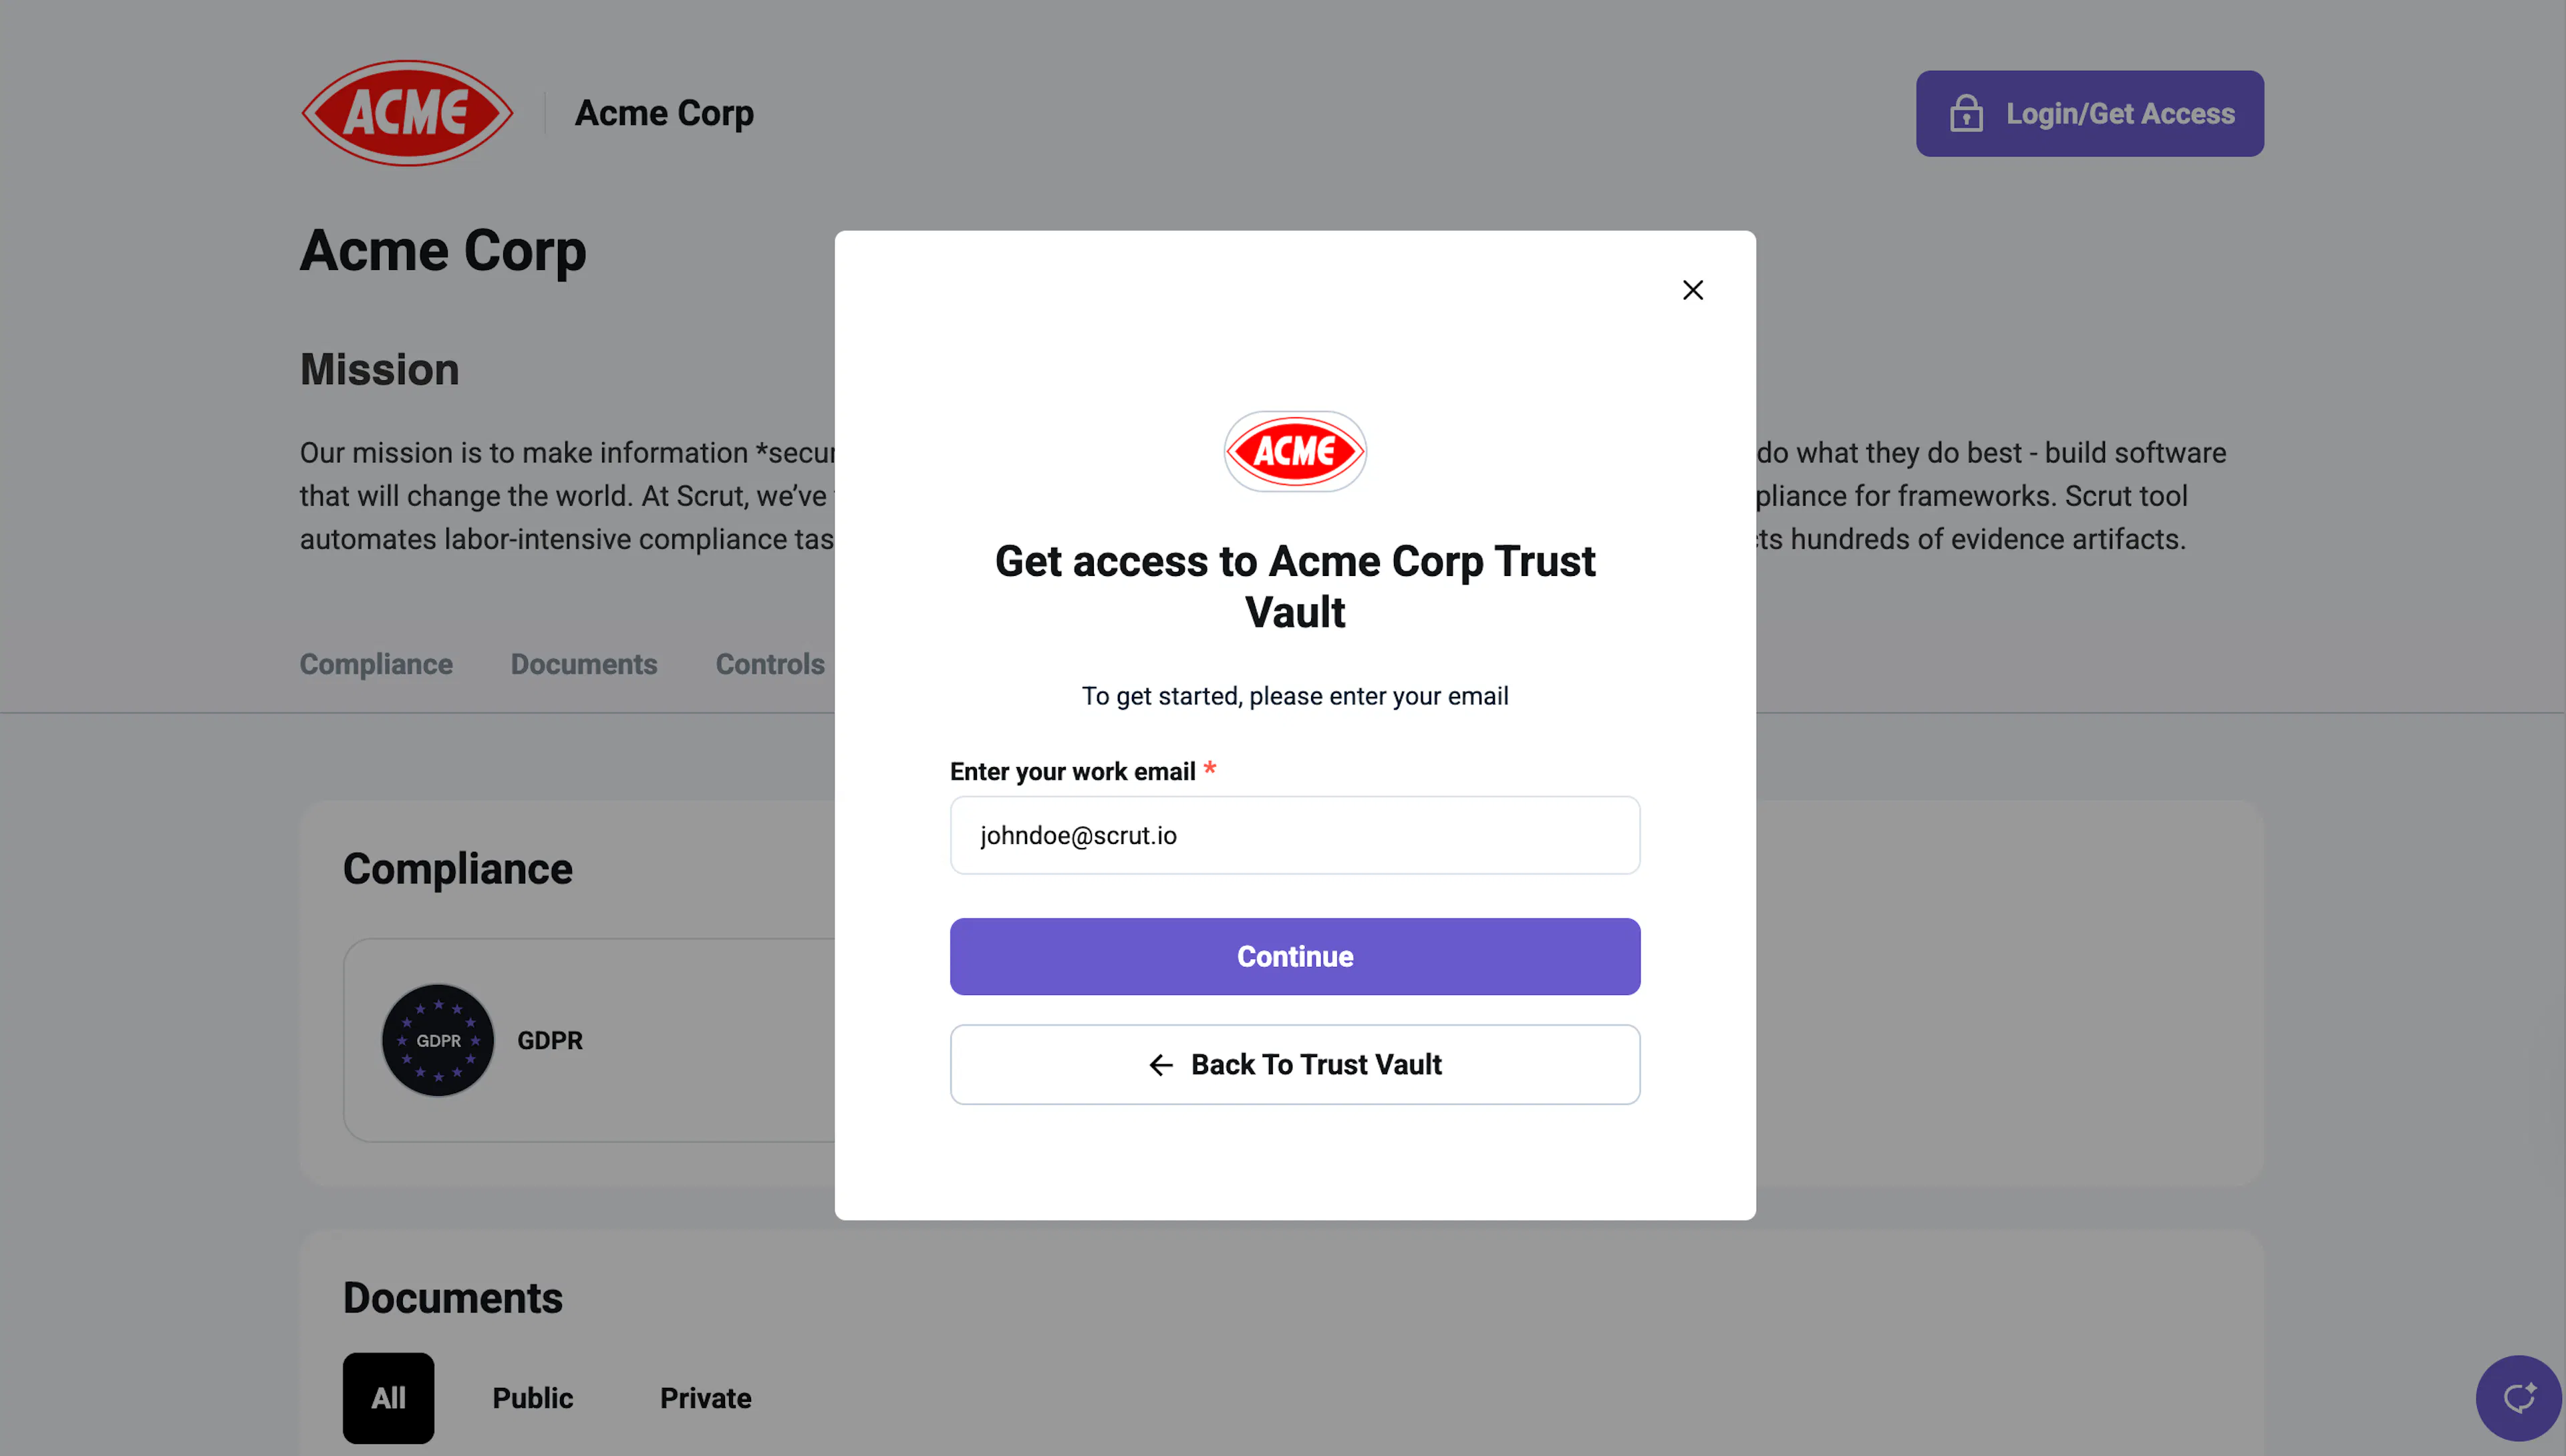
The visitor will be prompted to enter their work email address and click Continue.
-
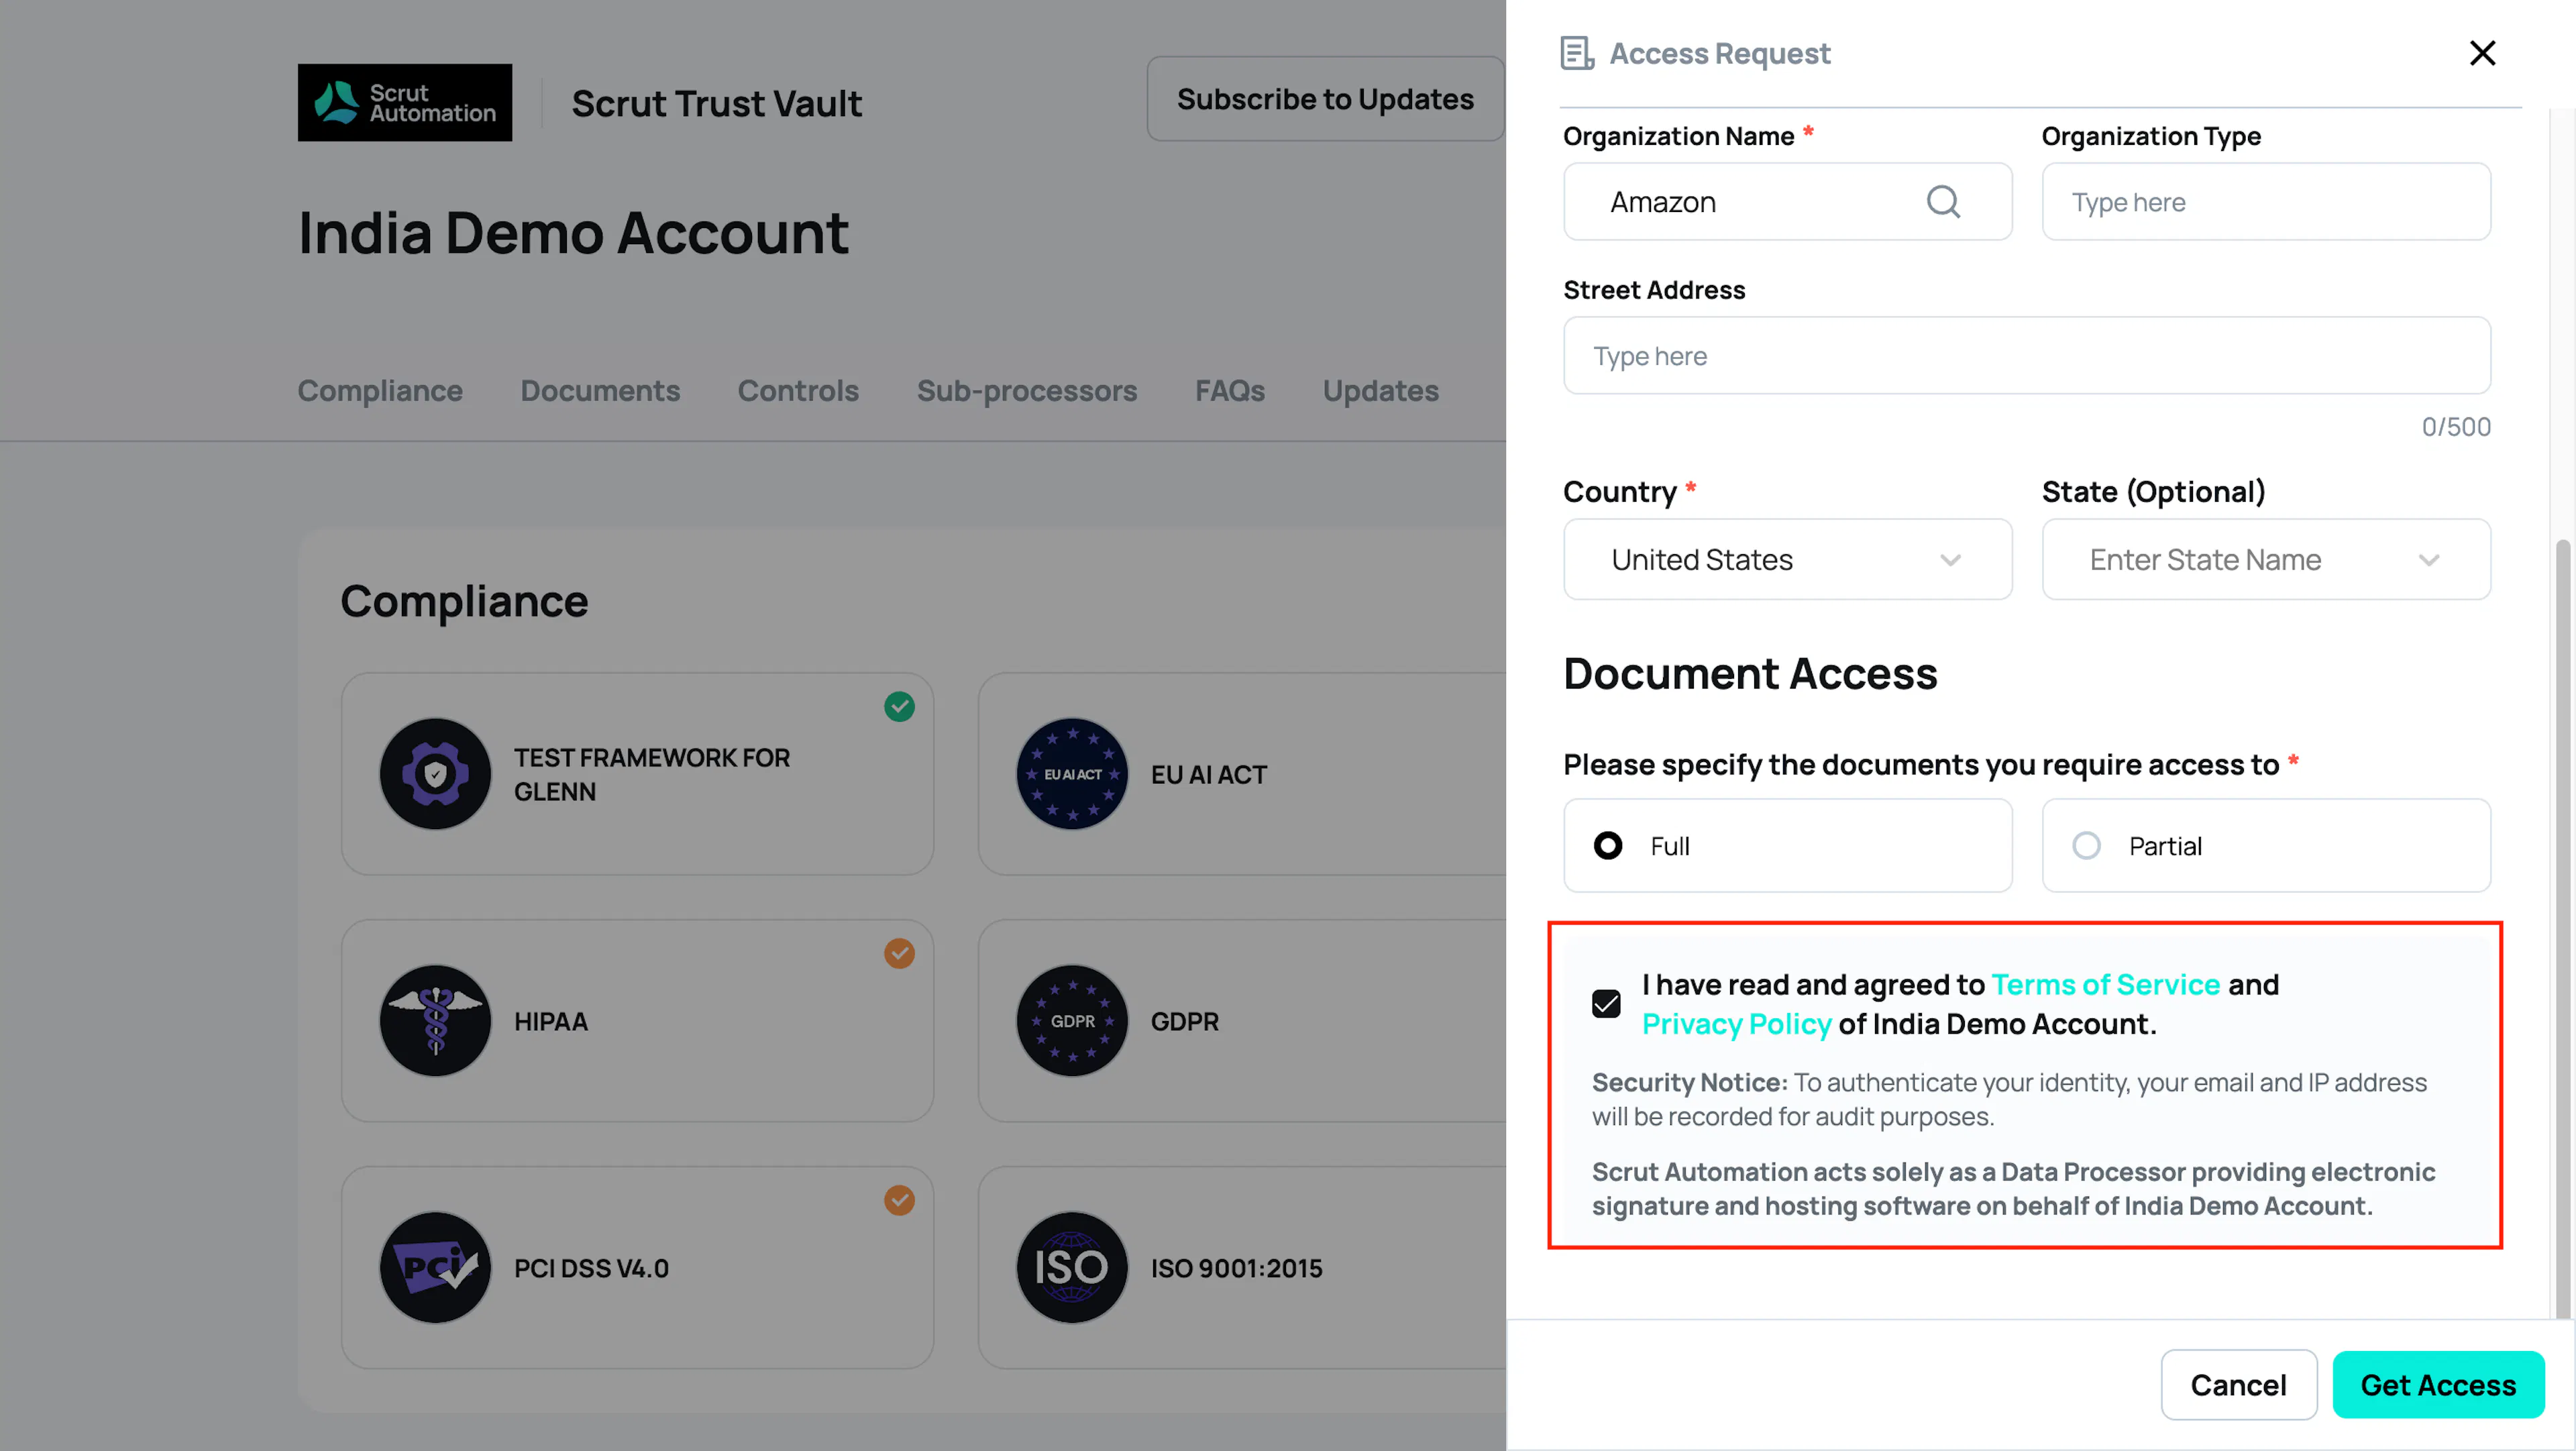
If this is the visitor's first time requesting access, they'll be prompted to fill out an access request form with the following information:
-
Personal Information: First Name, Last Name
-
Organization Details: Name, Type, Address, State, and Country
-
Access Level: Visitors choose one of the following:
- Full Access: Grants access to all documents in the Controls and Framework sections
- Partial Access: Allows them to select specific documents they need to access
-
Terms of Service: Visitors select the checkbox to agree to your organization's Terms of Service and Privacy Policy.
- Below the checkbox, they see a disclaimer confirming that Scrut acts solely as a data processor powering the access request software on your organization's behalf, and that their email and IP address are recorded for audit purposes.
-
-
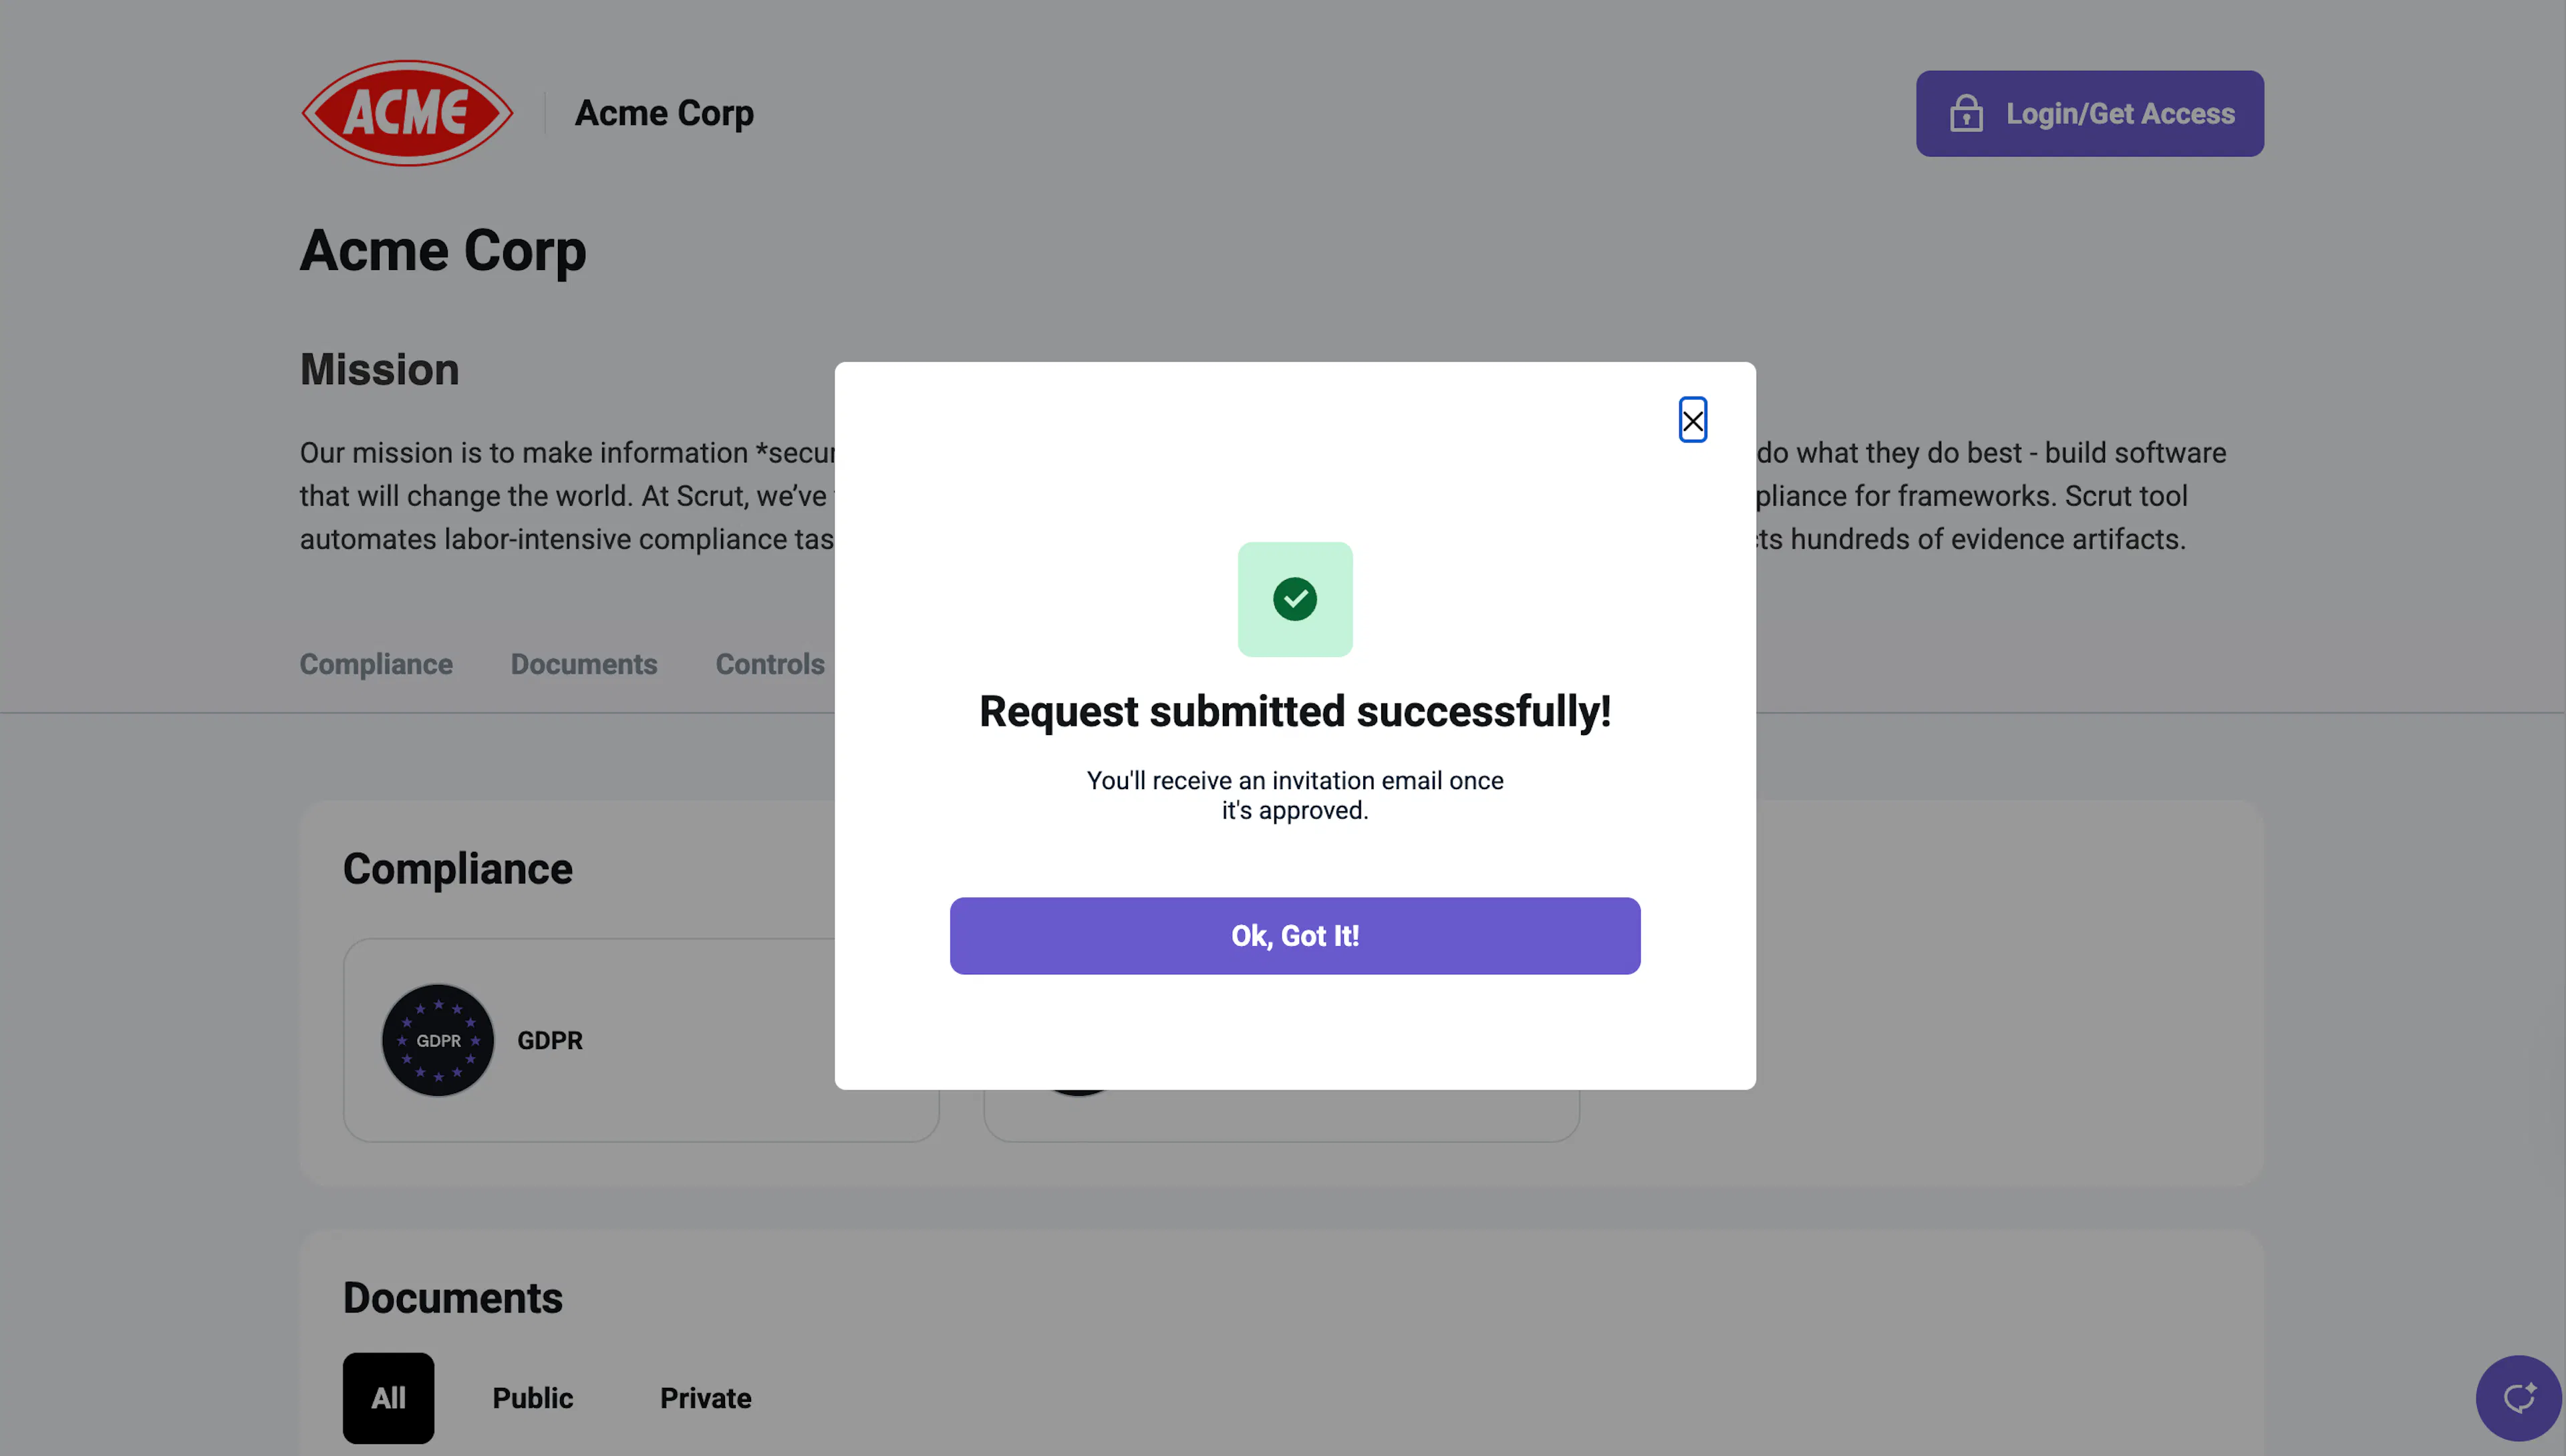
The visitor clicks Request Access to submit their request. They'll see a confirmation message.
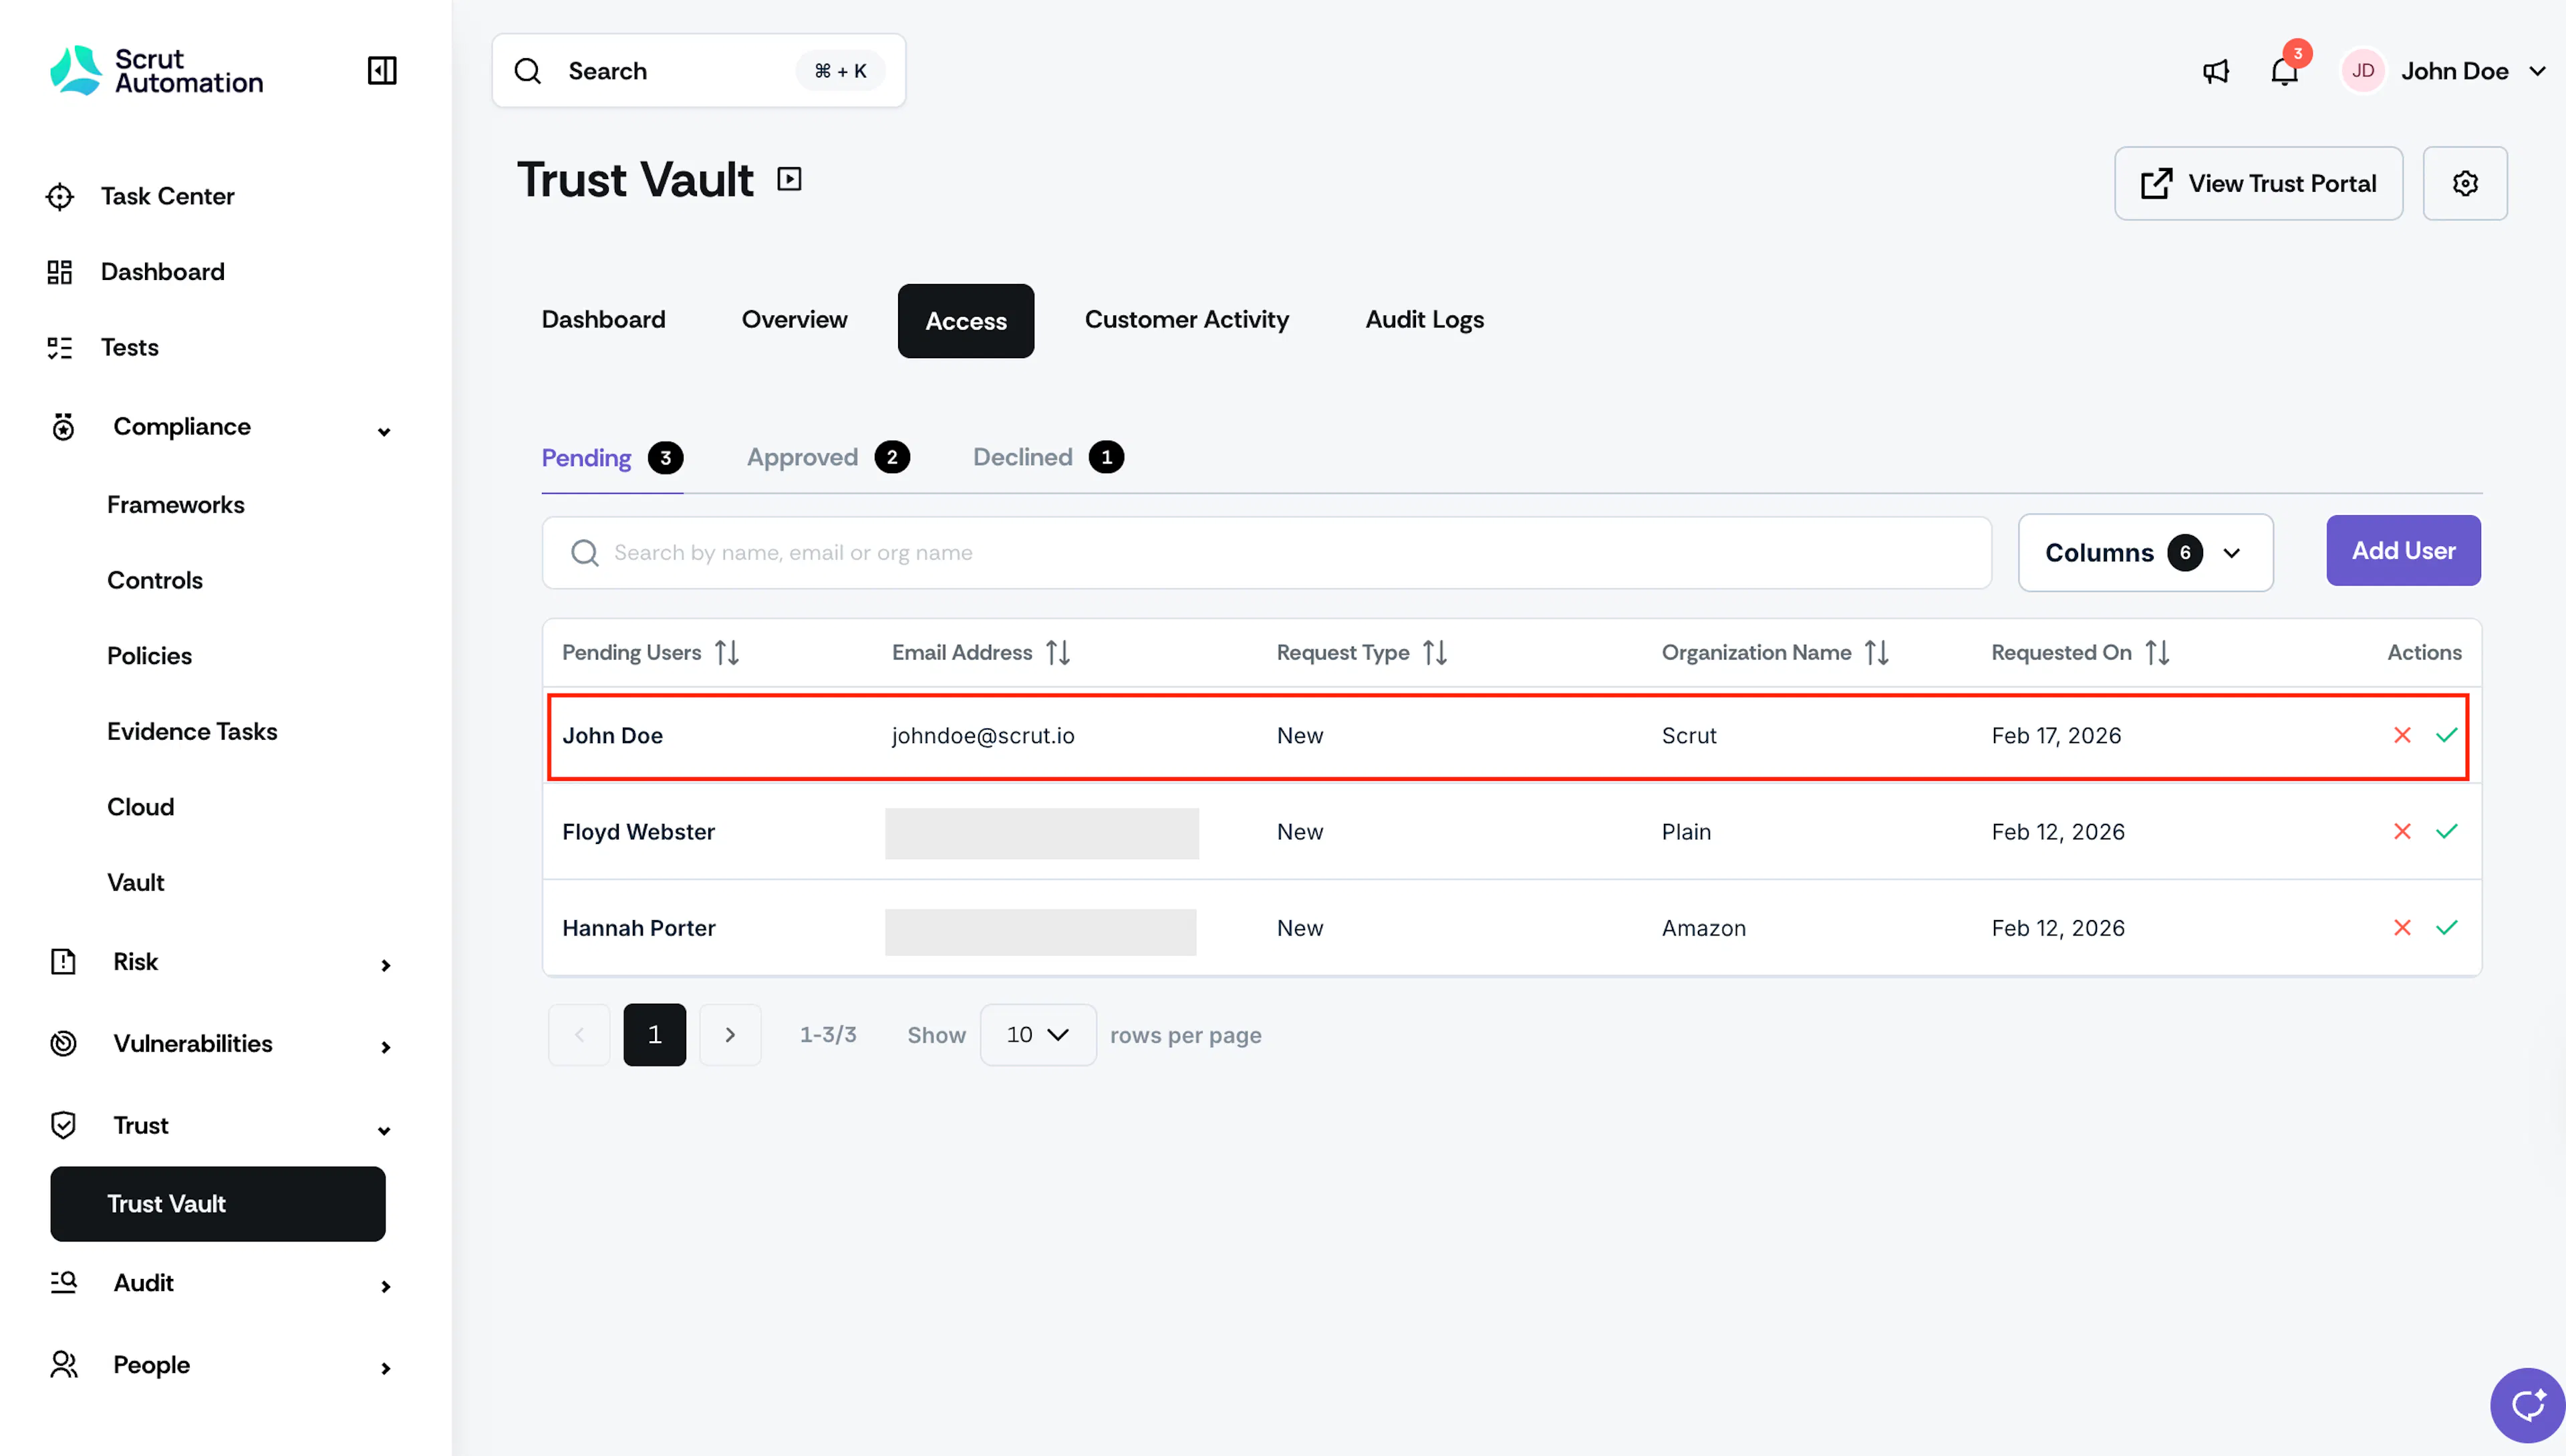
At this point, the request appears in the Trust → Trust Vault → Access → Pending tab in Scrut, where you can review and approve or decline it.
After You Approve the Request
Once you approve an access request:
-
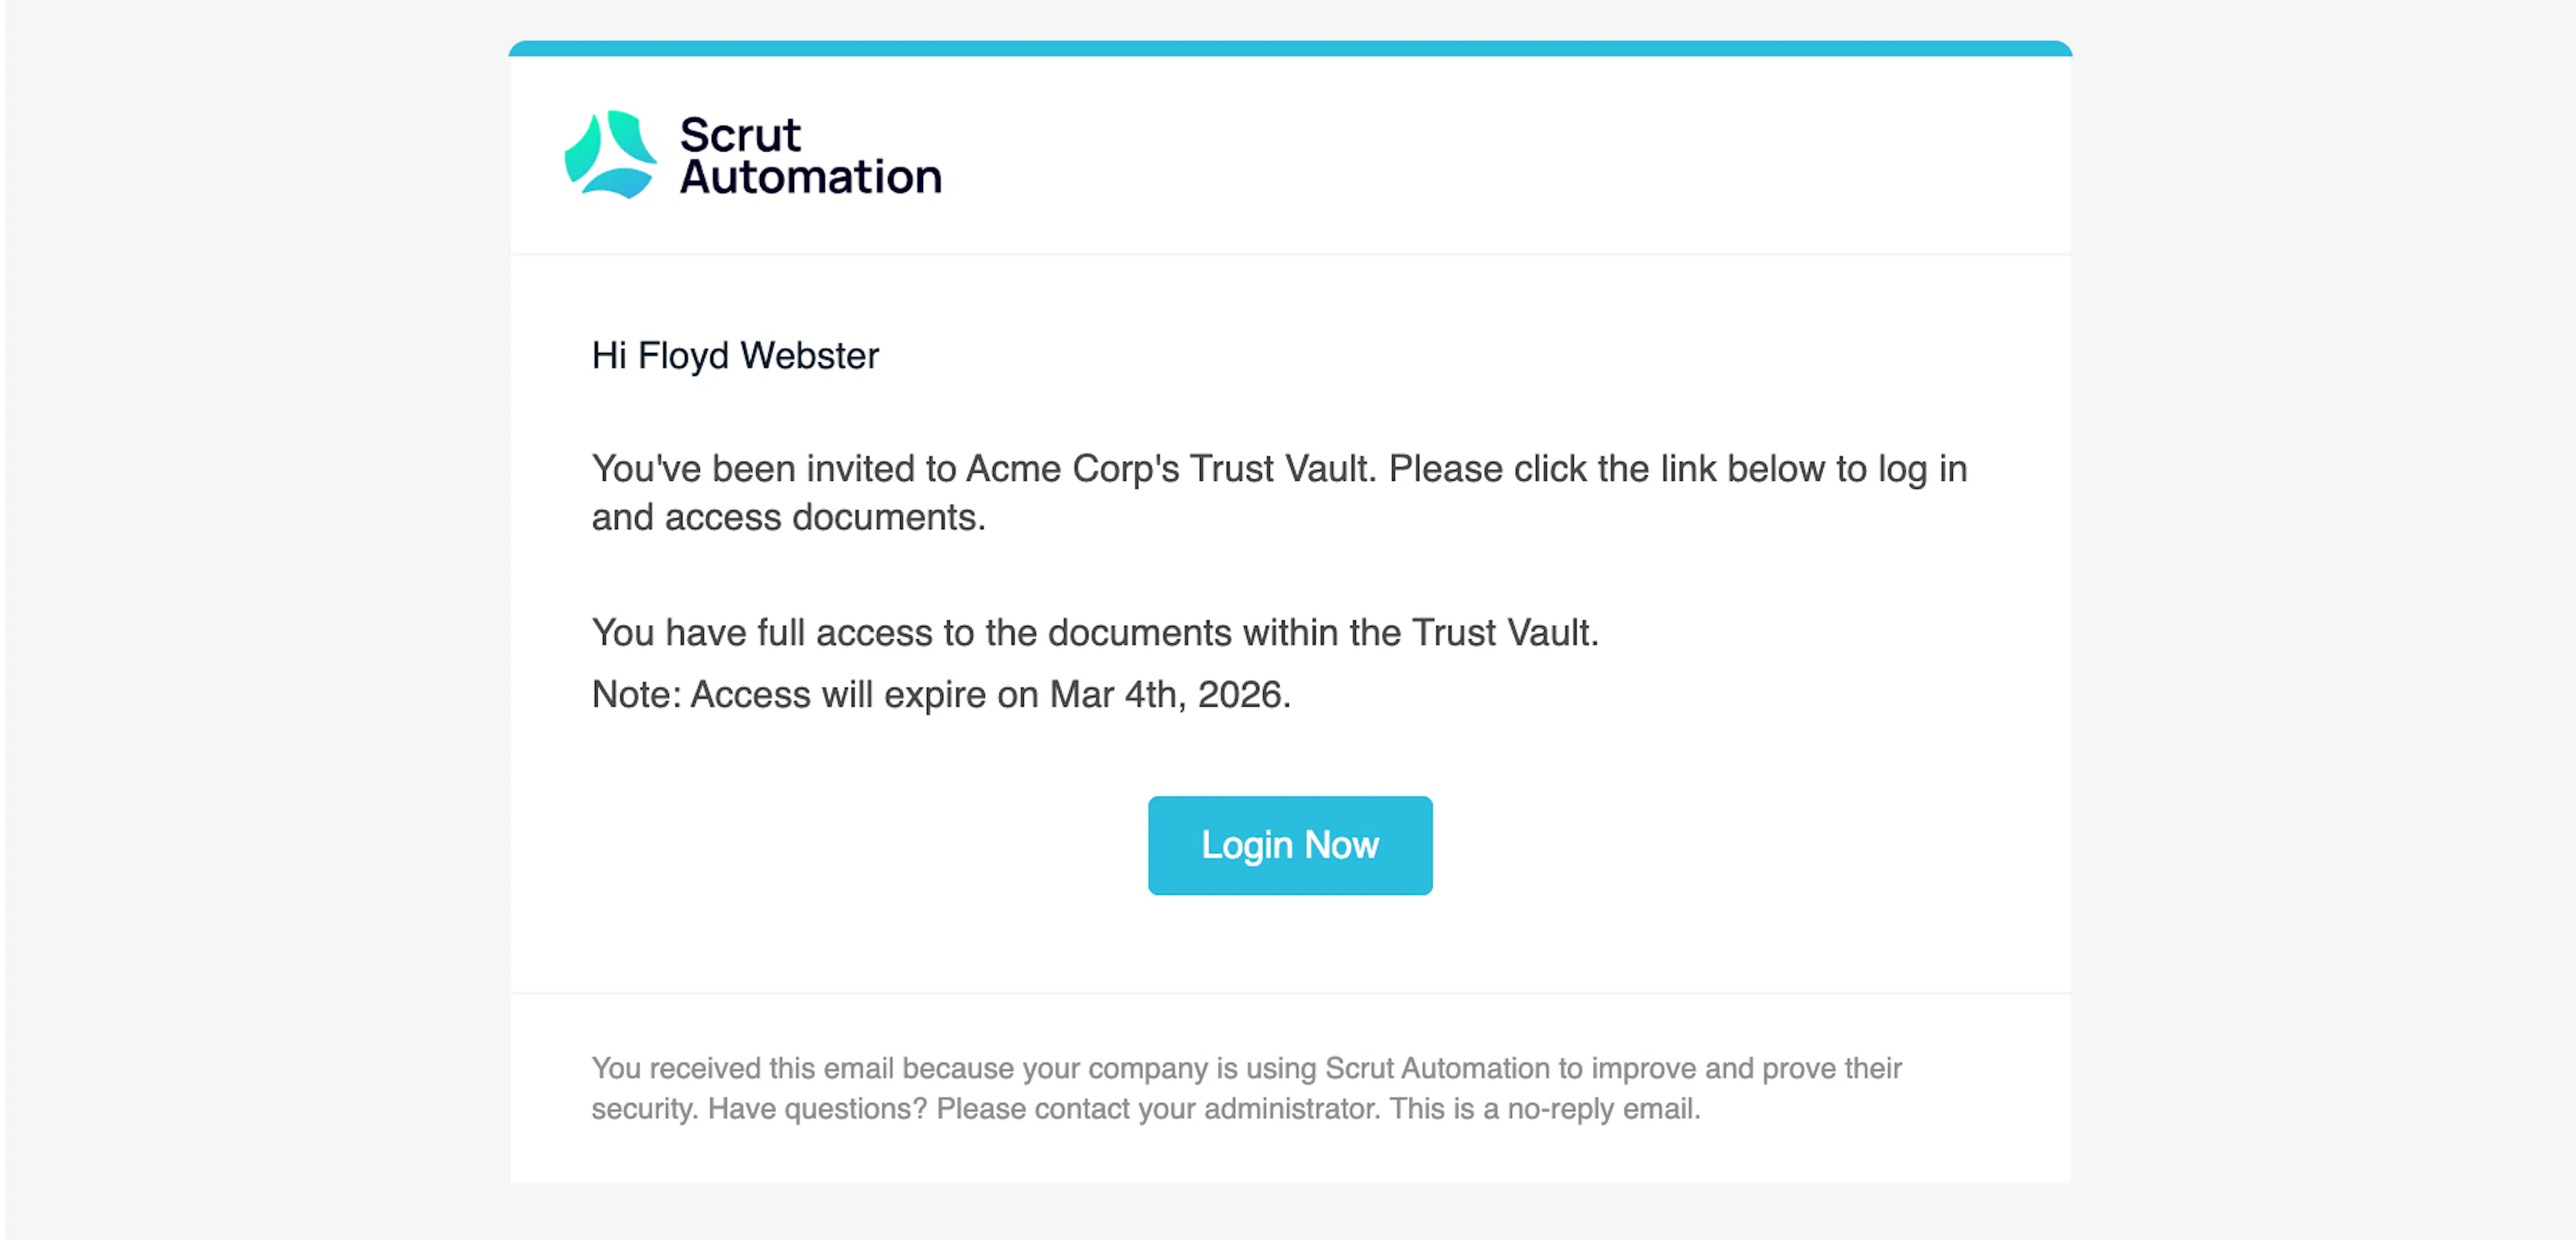
The visitor receives an email invitation to access the Trust Portal.
-
They click the Login Now button in the email.
-
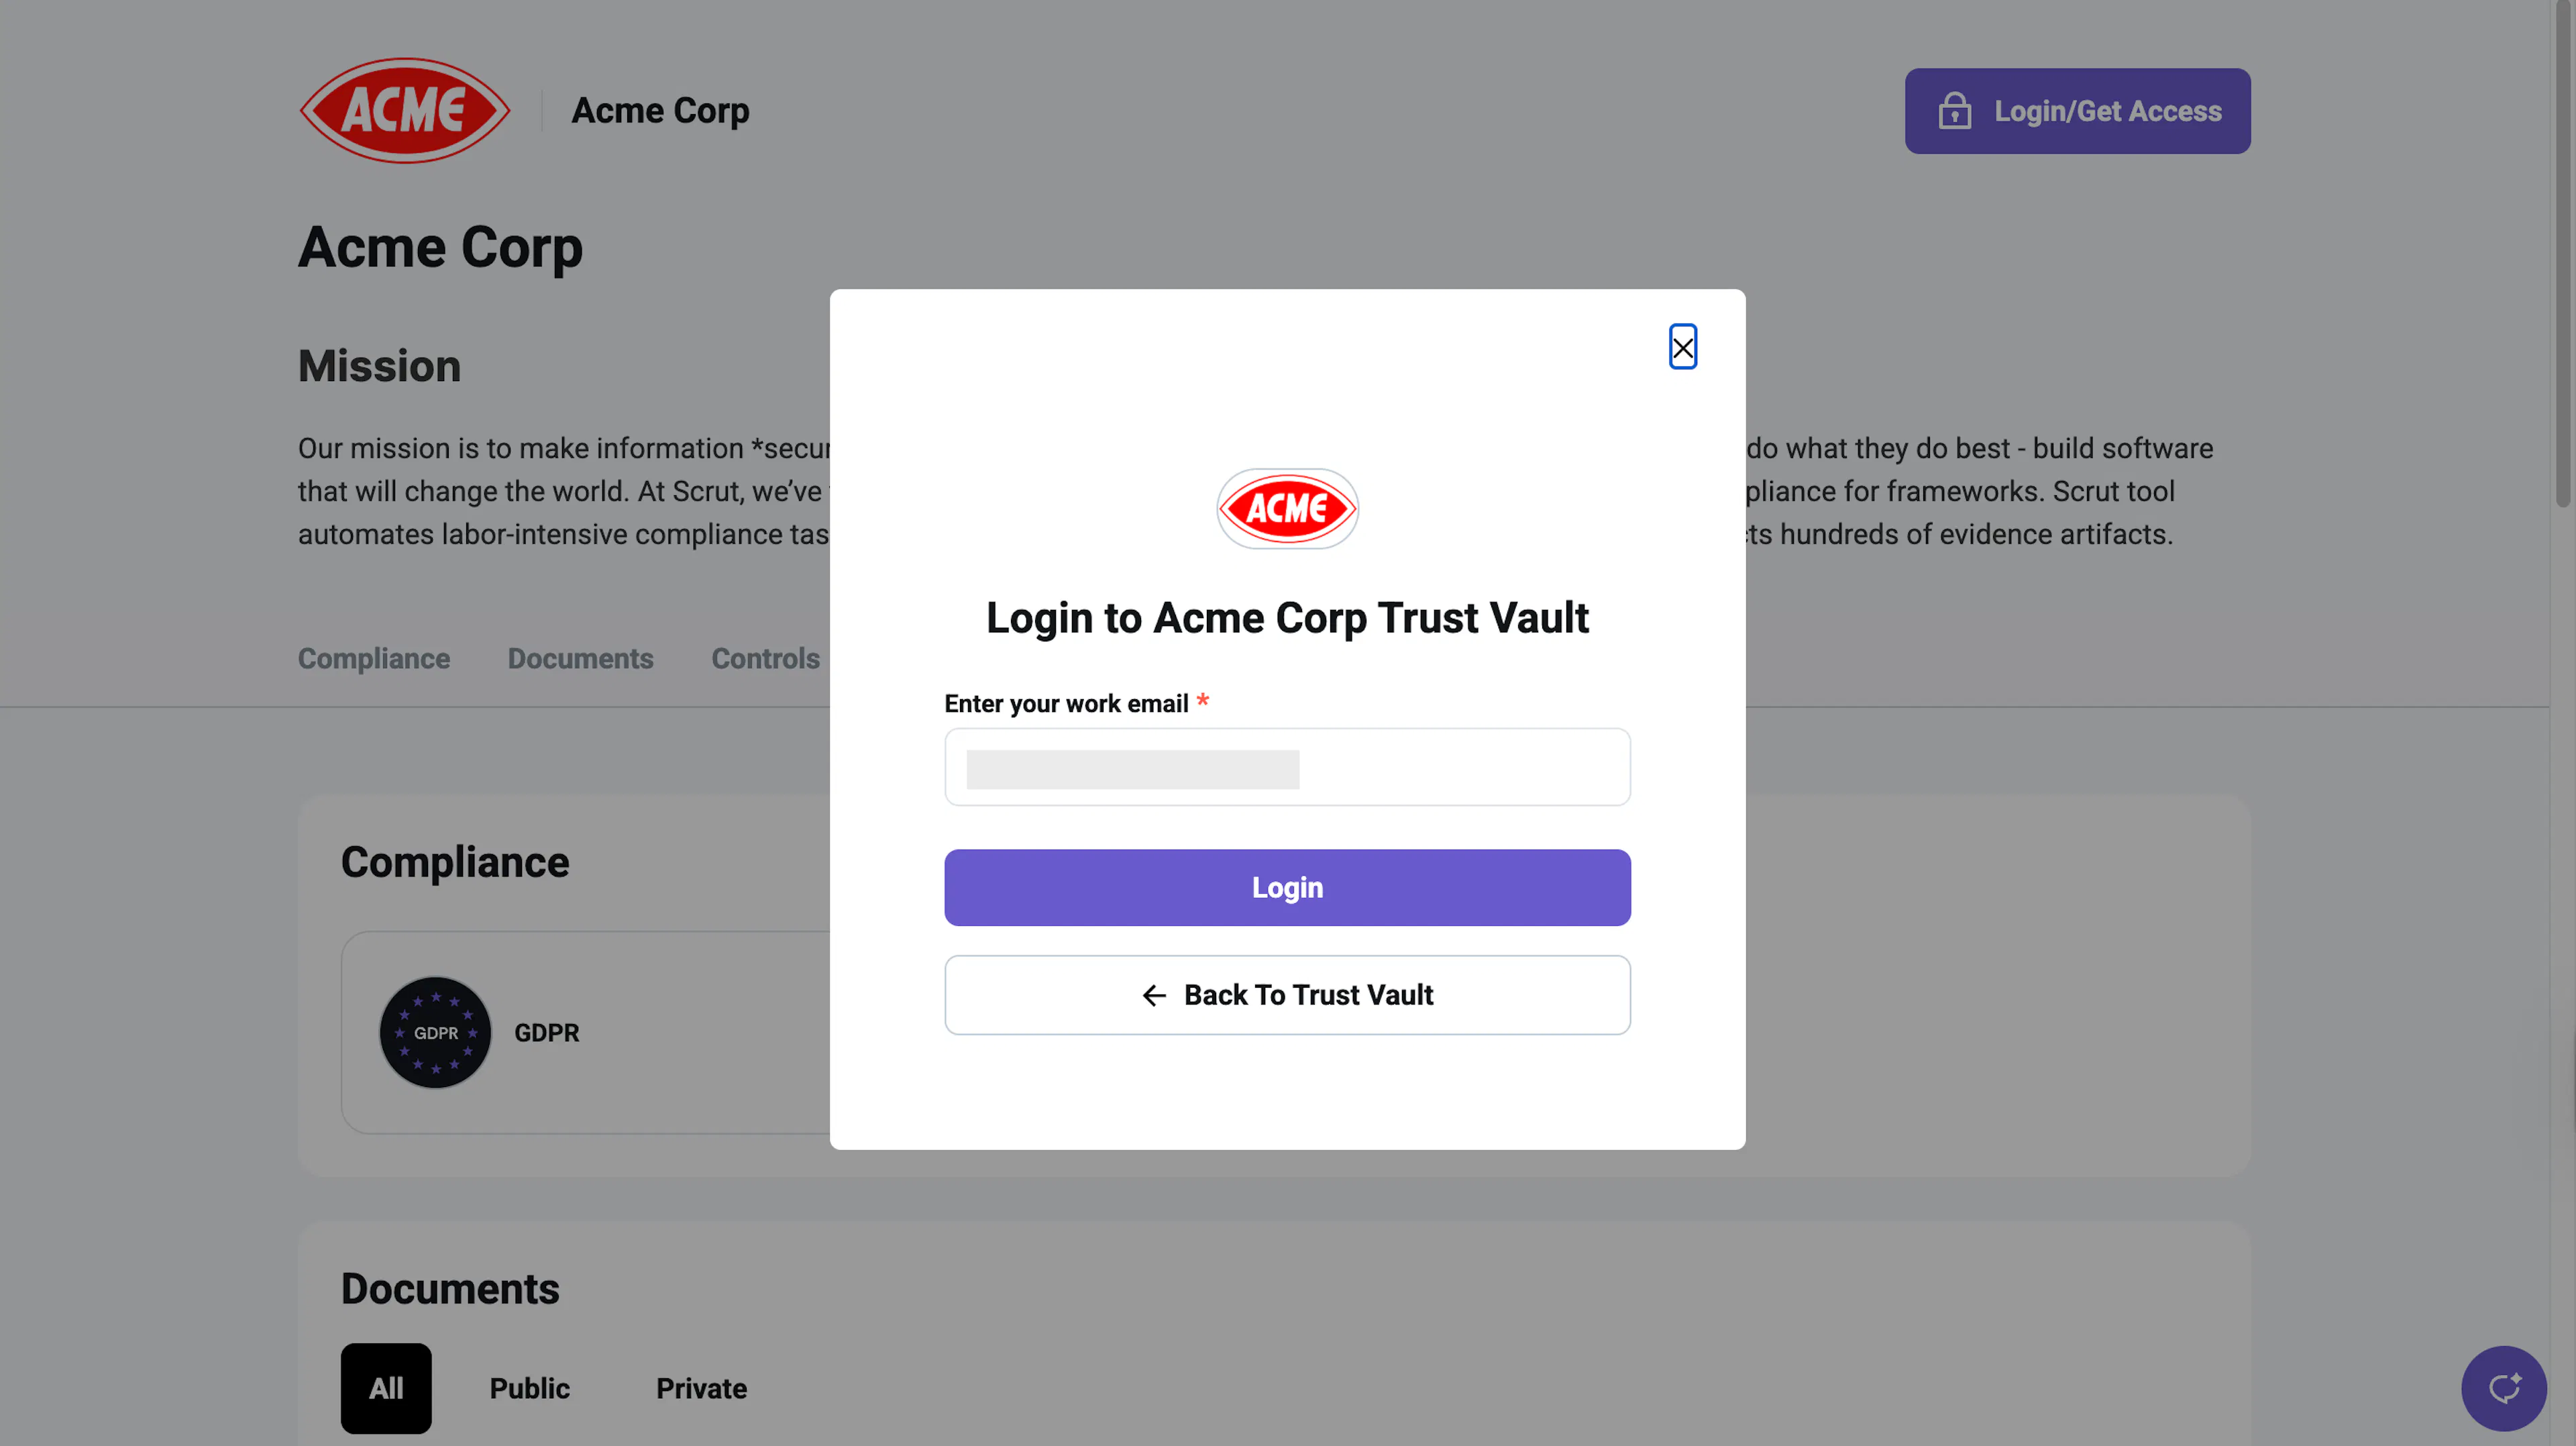
They're redirected to the Trust Vault login page.
-
Their email address is pre-populated based on their access request form.
-
They click Login.
-
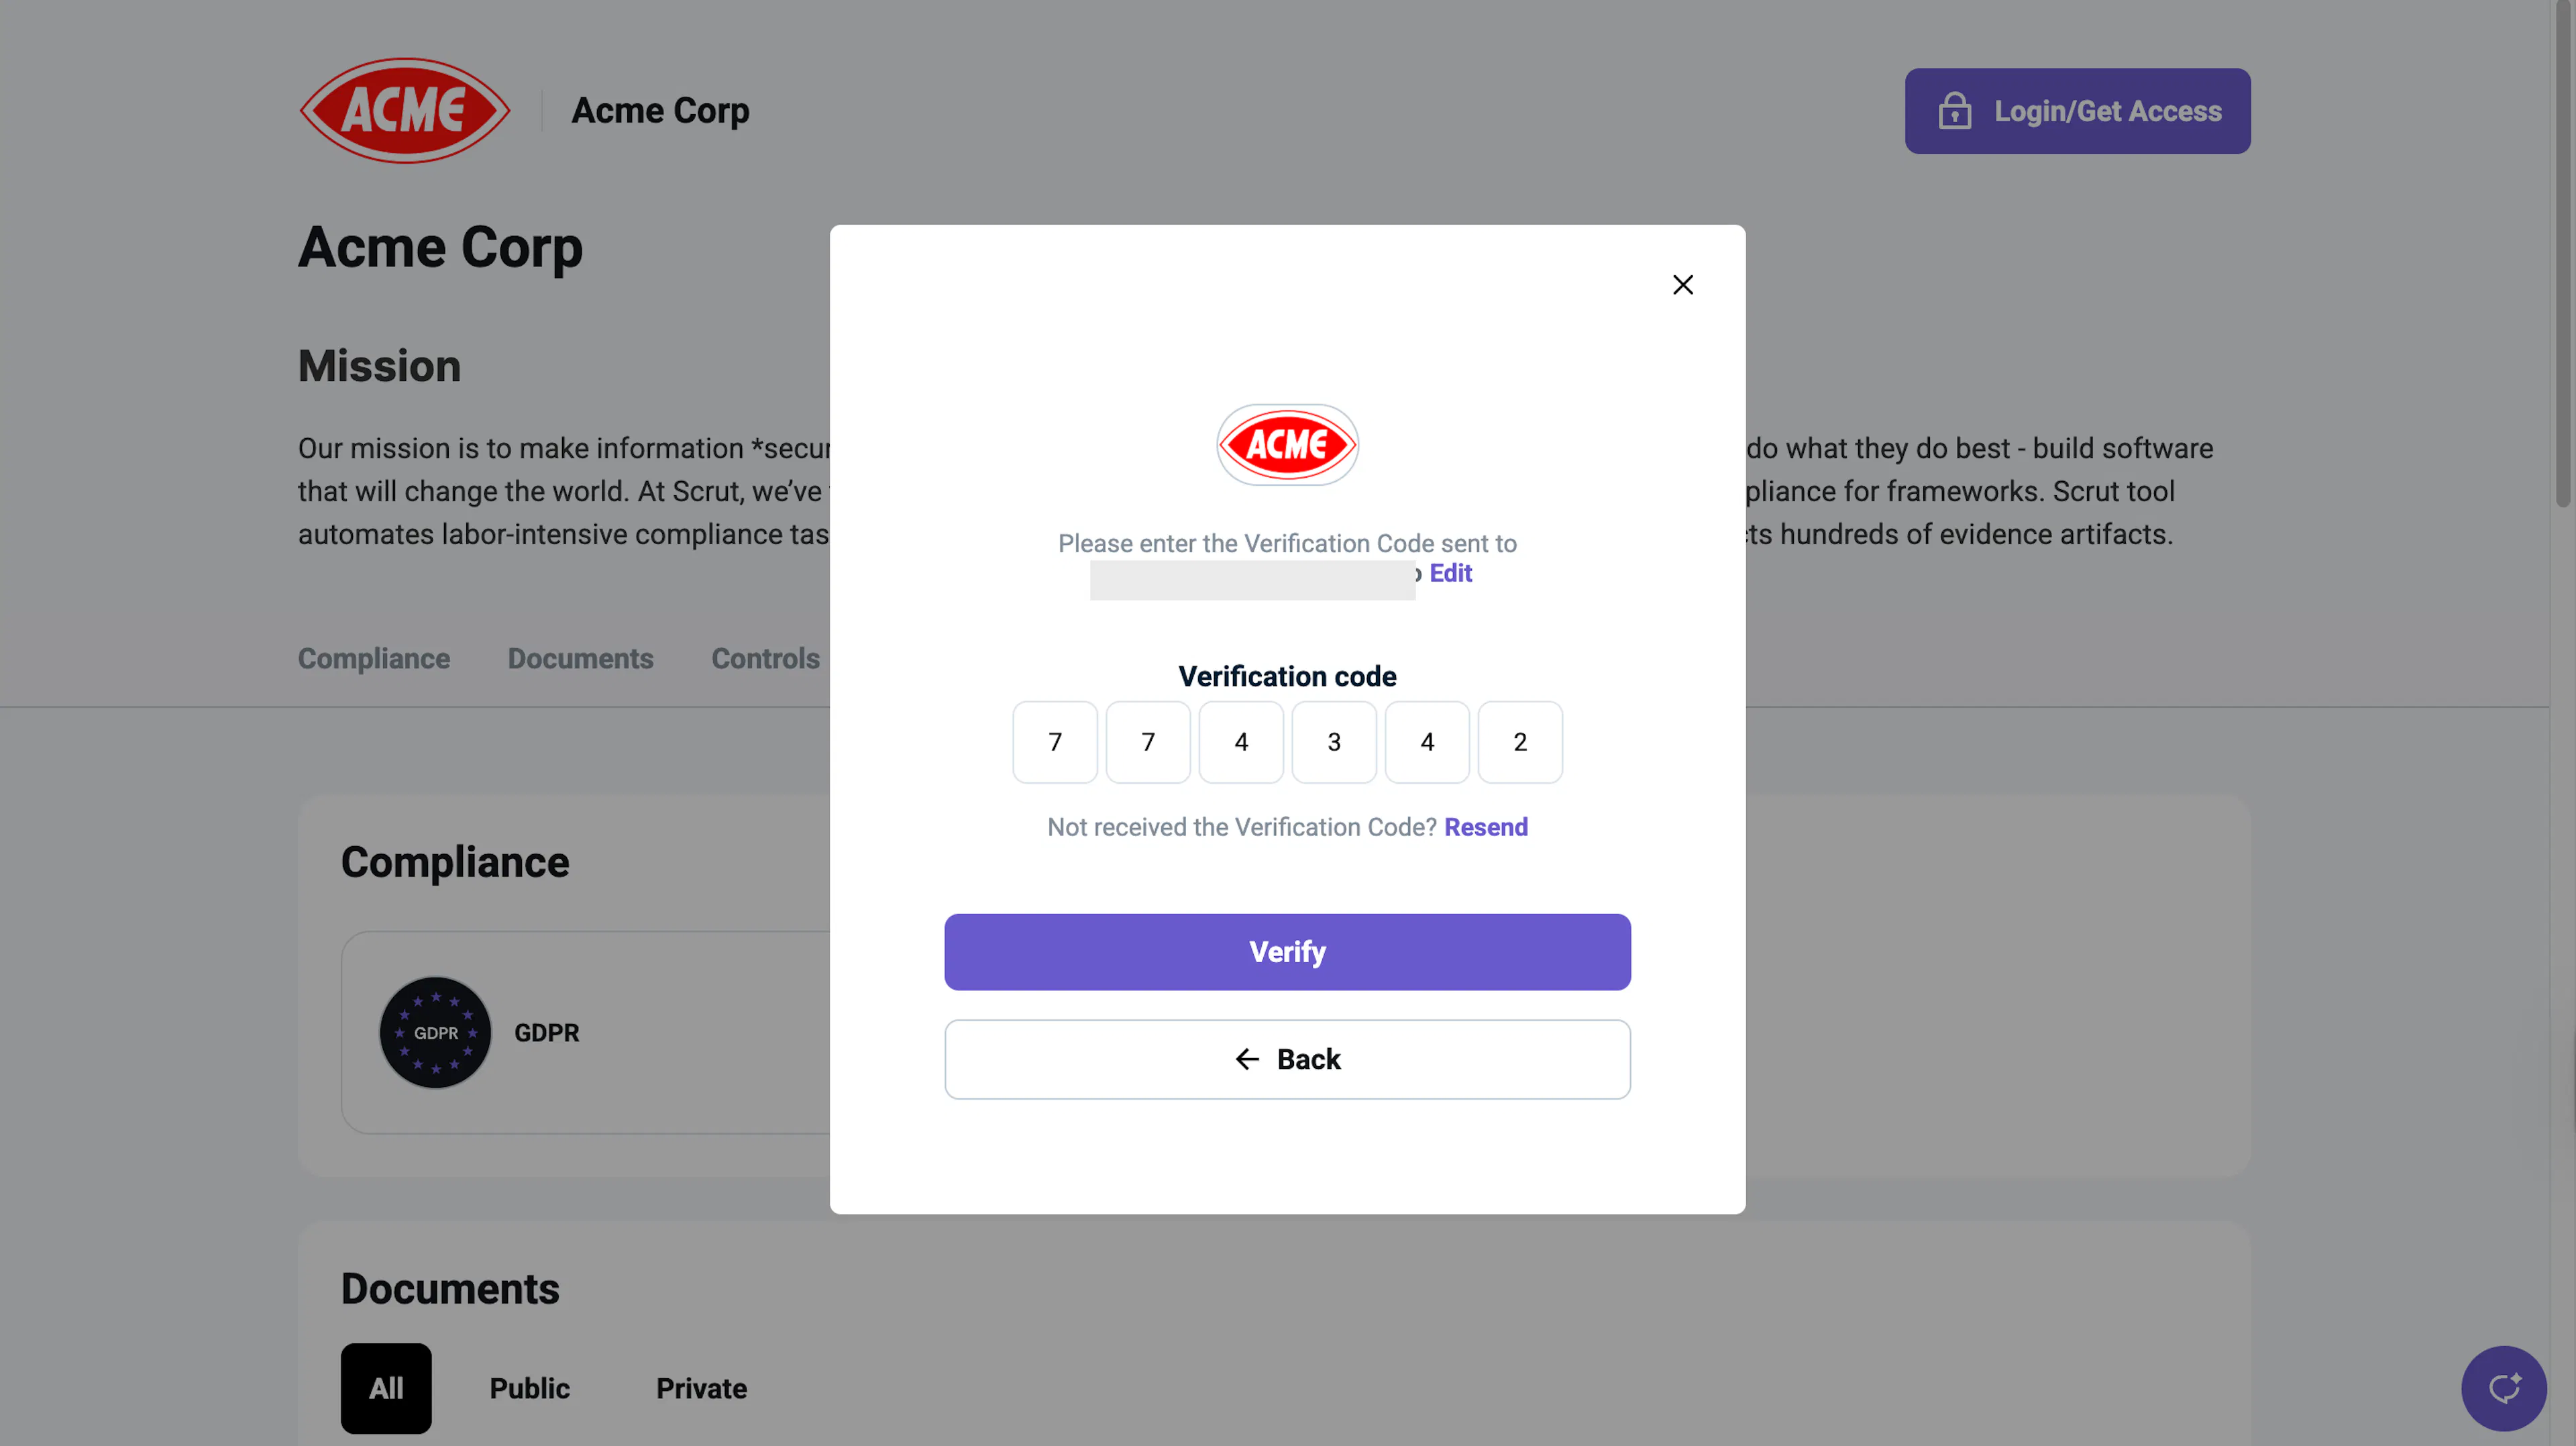
An OTP (one-time password) is sent to their email.
-
They enter the OTP to verify and log in.
Note: Both the invitation and OTP emails display your organization's name and logo.
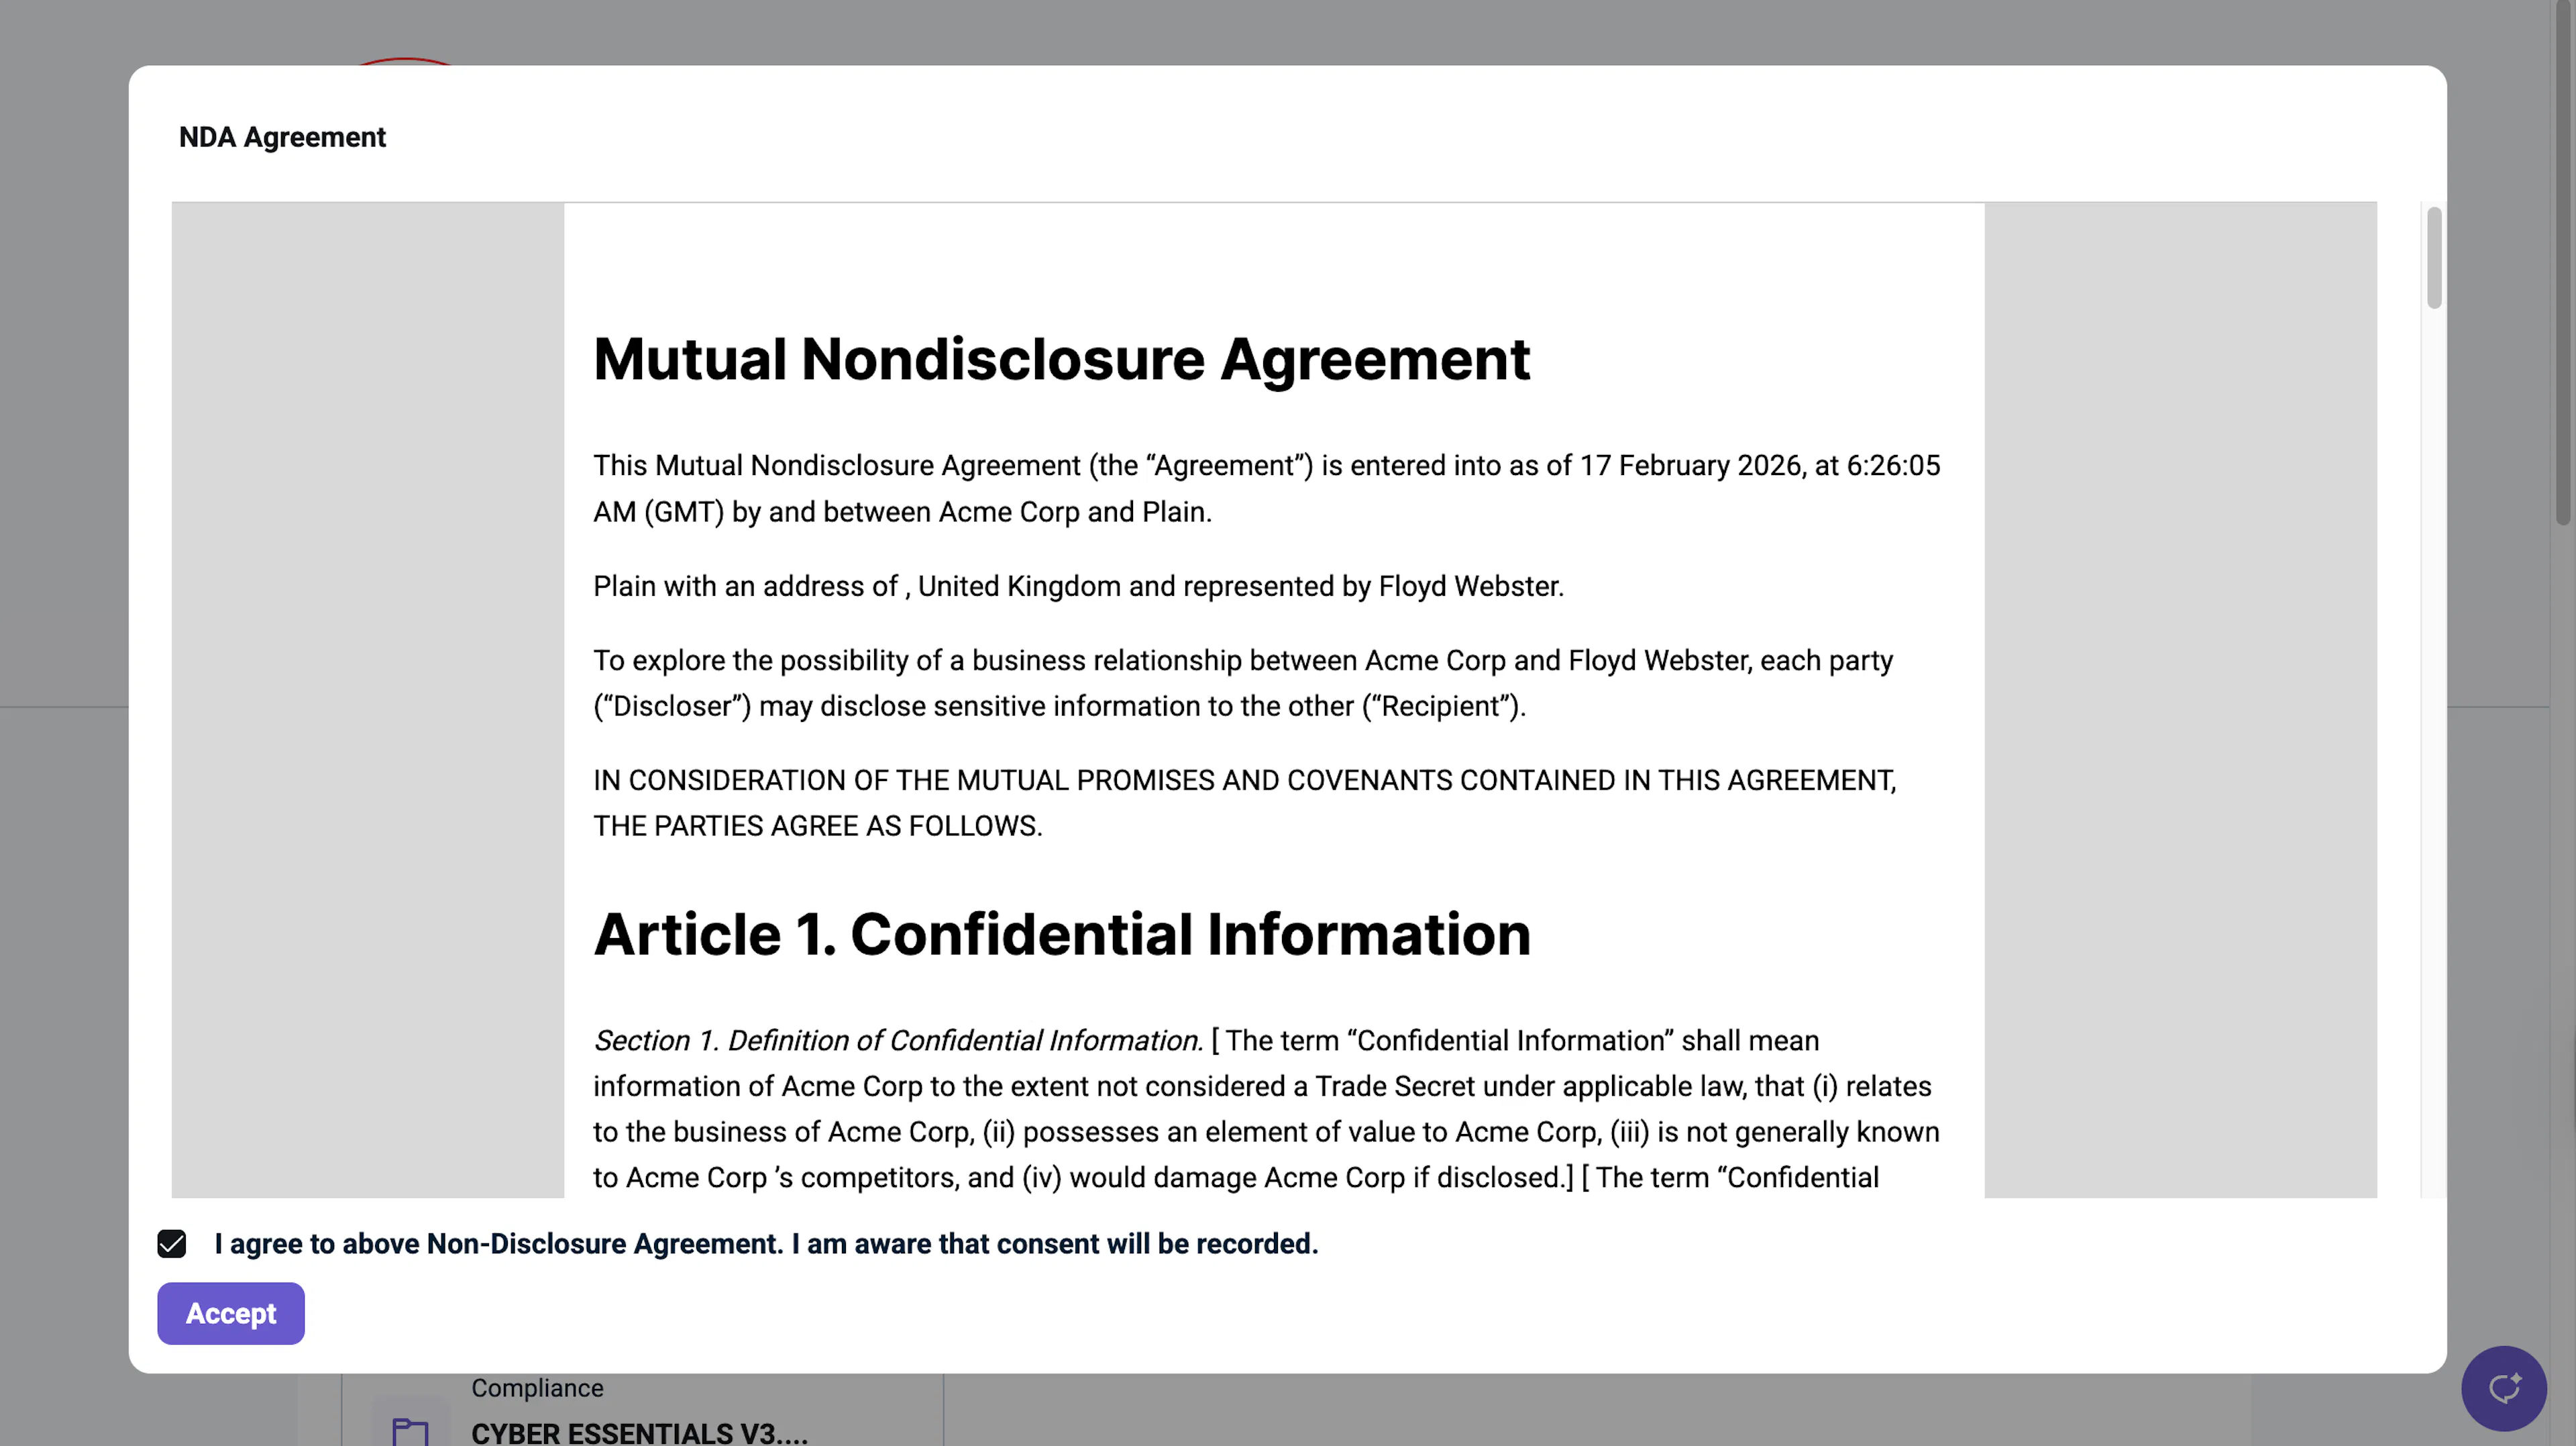
They review and accept the NDA (Non-Disclosure Agreement) by selecting the checkbox and clicking Accept.
The visitor can now access the Trust Vault documents based on the permissions you granted.
Access Expiration
Visitor access to the Trust Vault will expire based on the timeframe you set when approving their request. After expiration, they'll need to submit a new access request following the same steps.
Note:
If a visitor already has active access, they can log in to the Trust Vault using OTP verification without submitting a new request.
Mobile Access
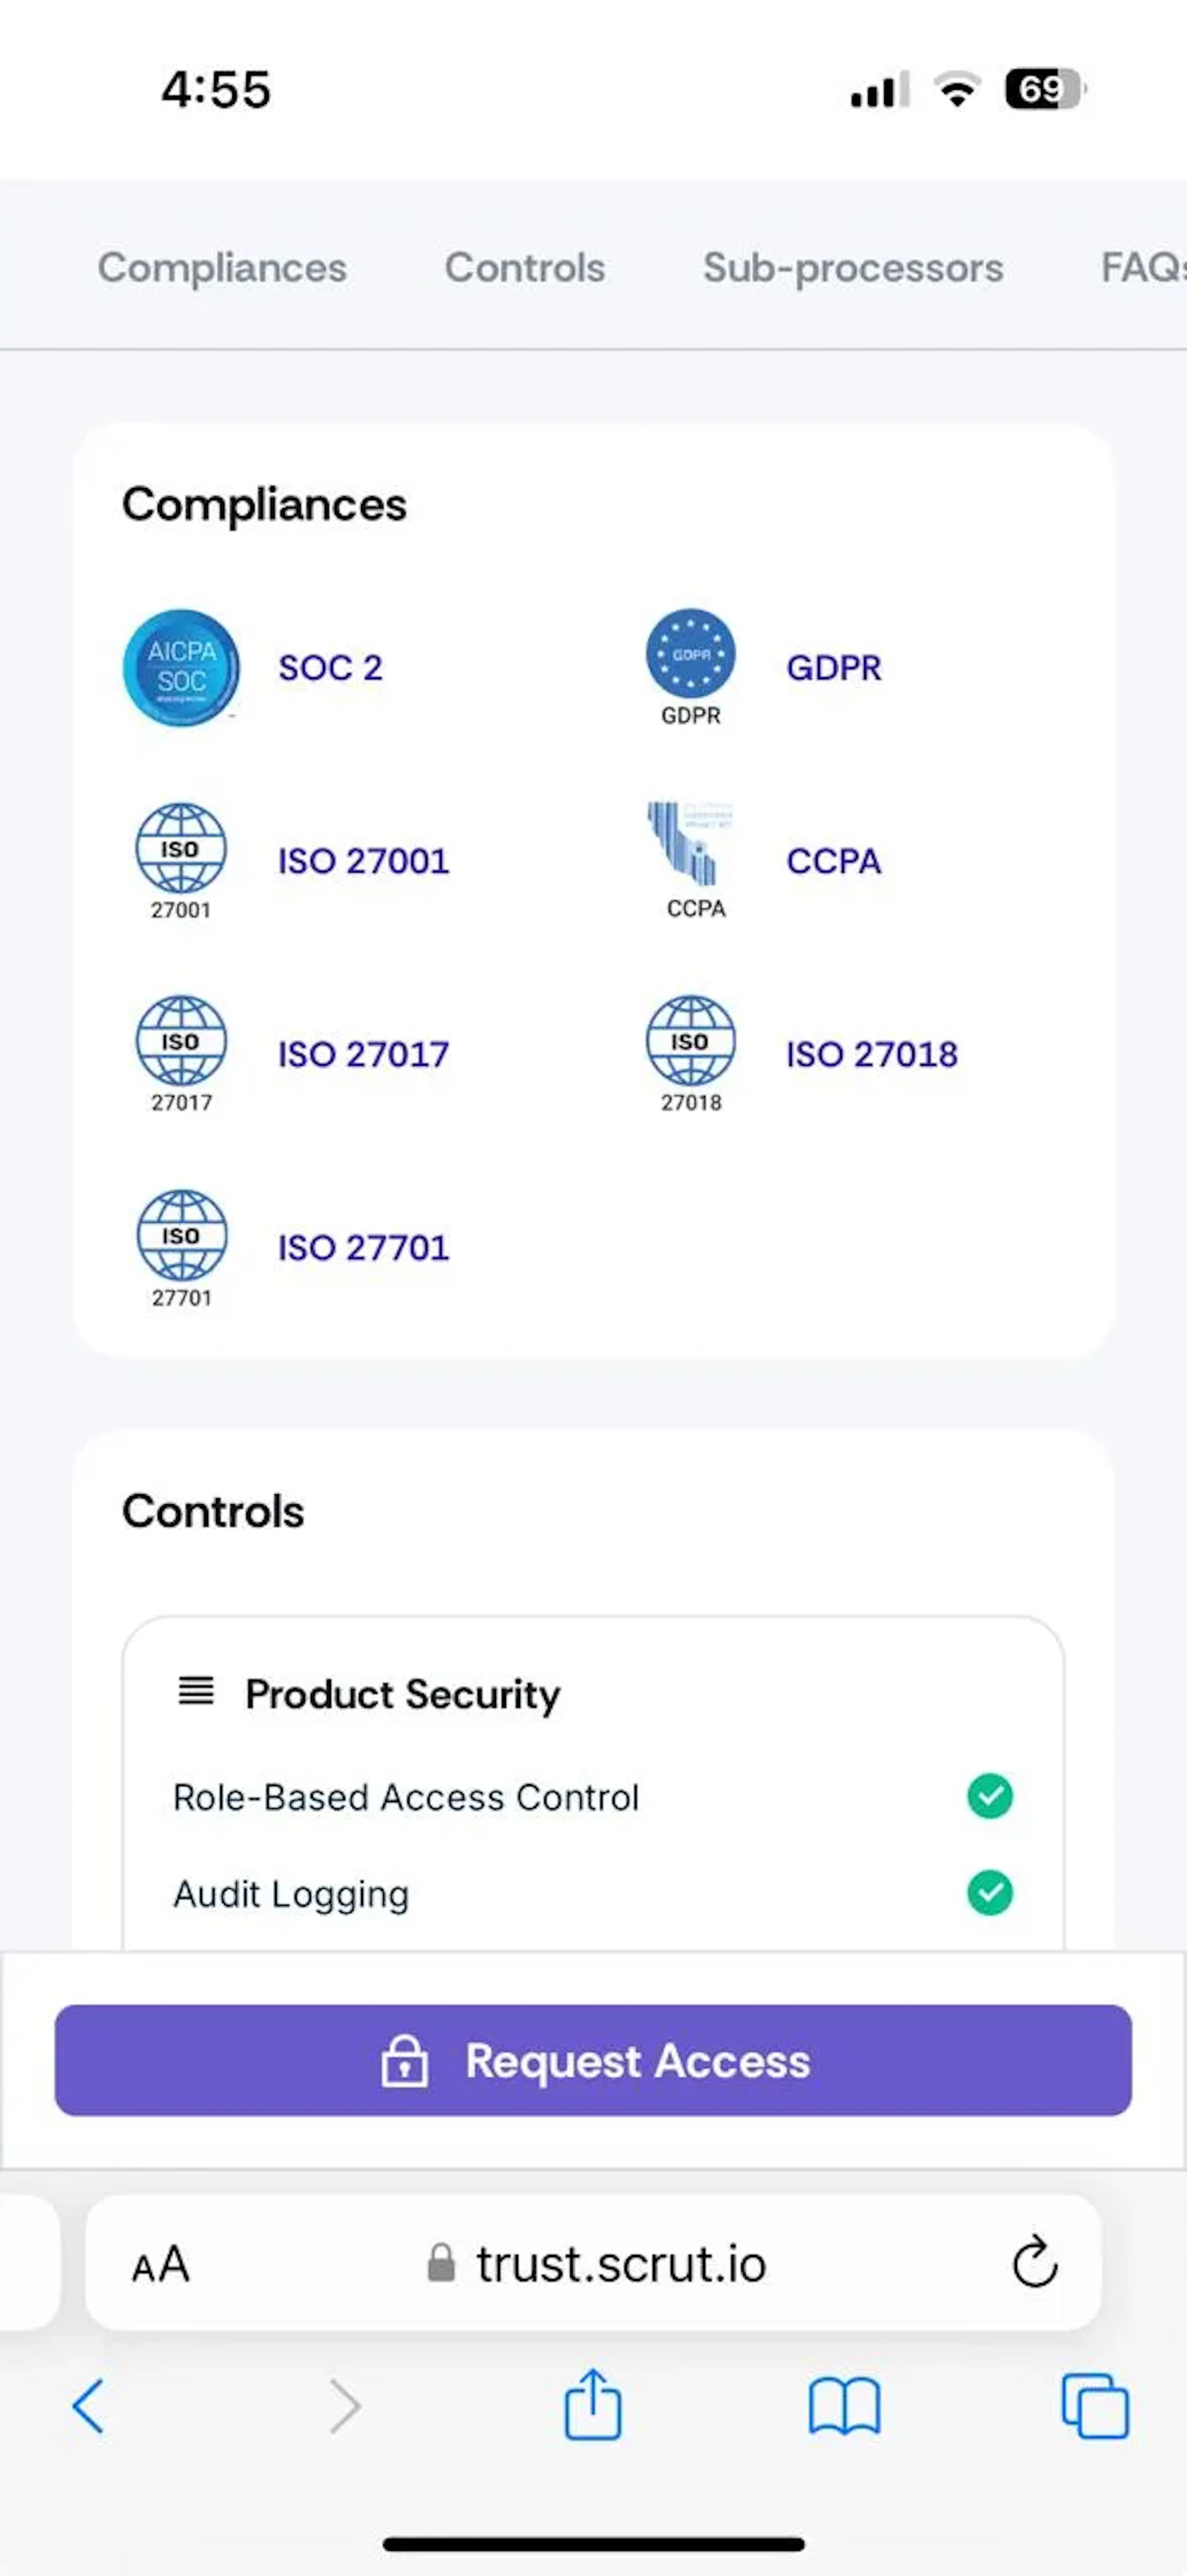
In addition to laptops and desktops, visitors can also access your Trust Portal from mobile devices. They can submit access requests, preview documents, and download documents from any device using the same steps outlined above.
Logging Out
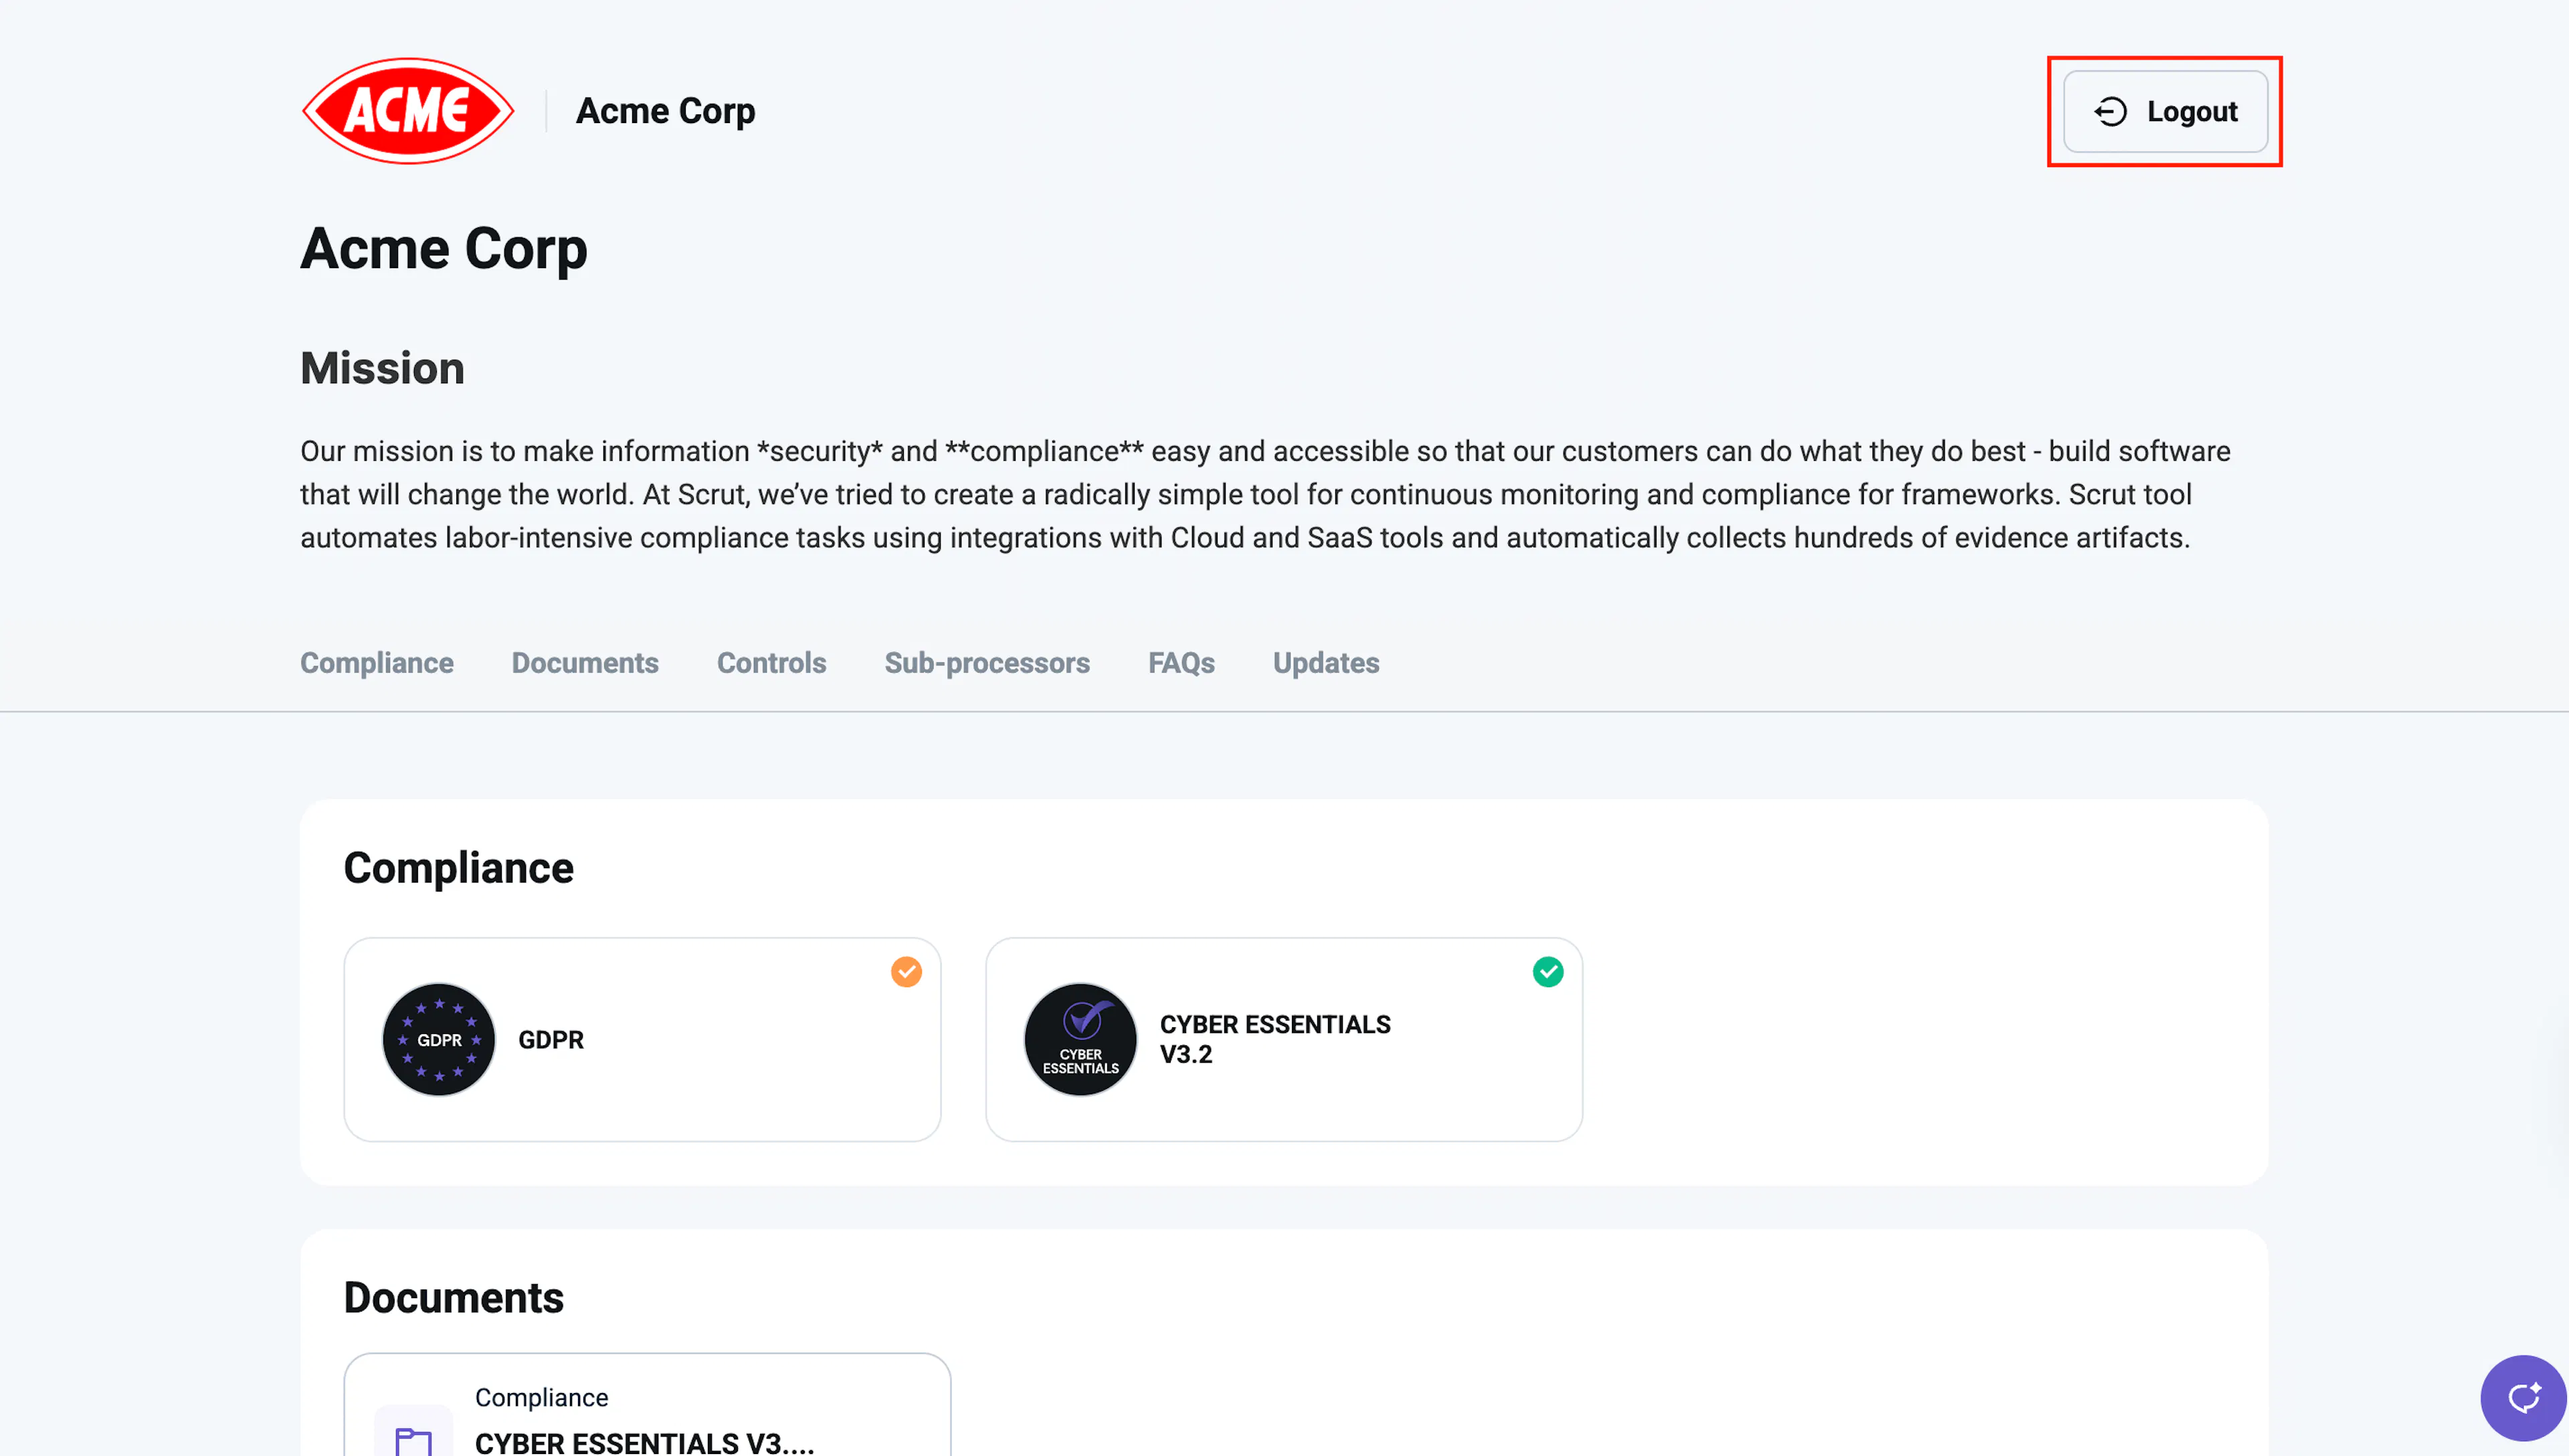
Visitors can log out of the Trust Vault by clicking the Logout button in the top right corner of the page.