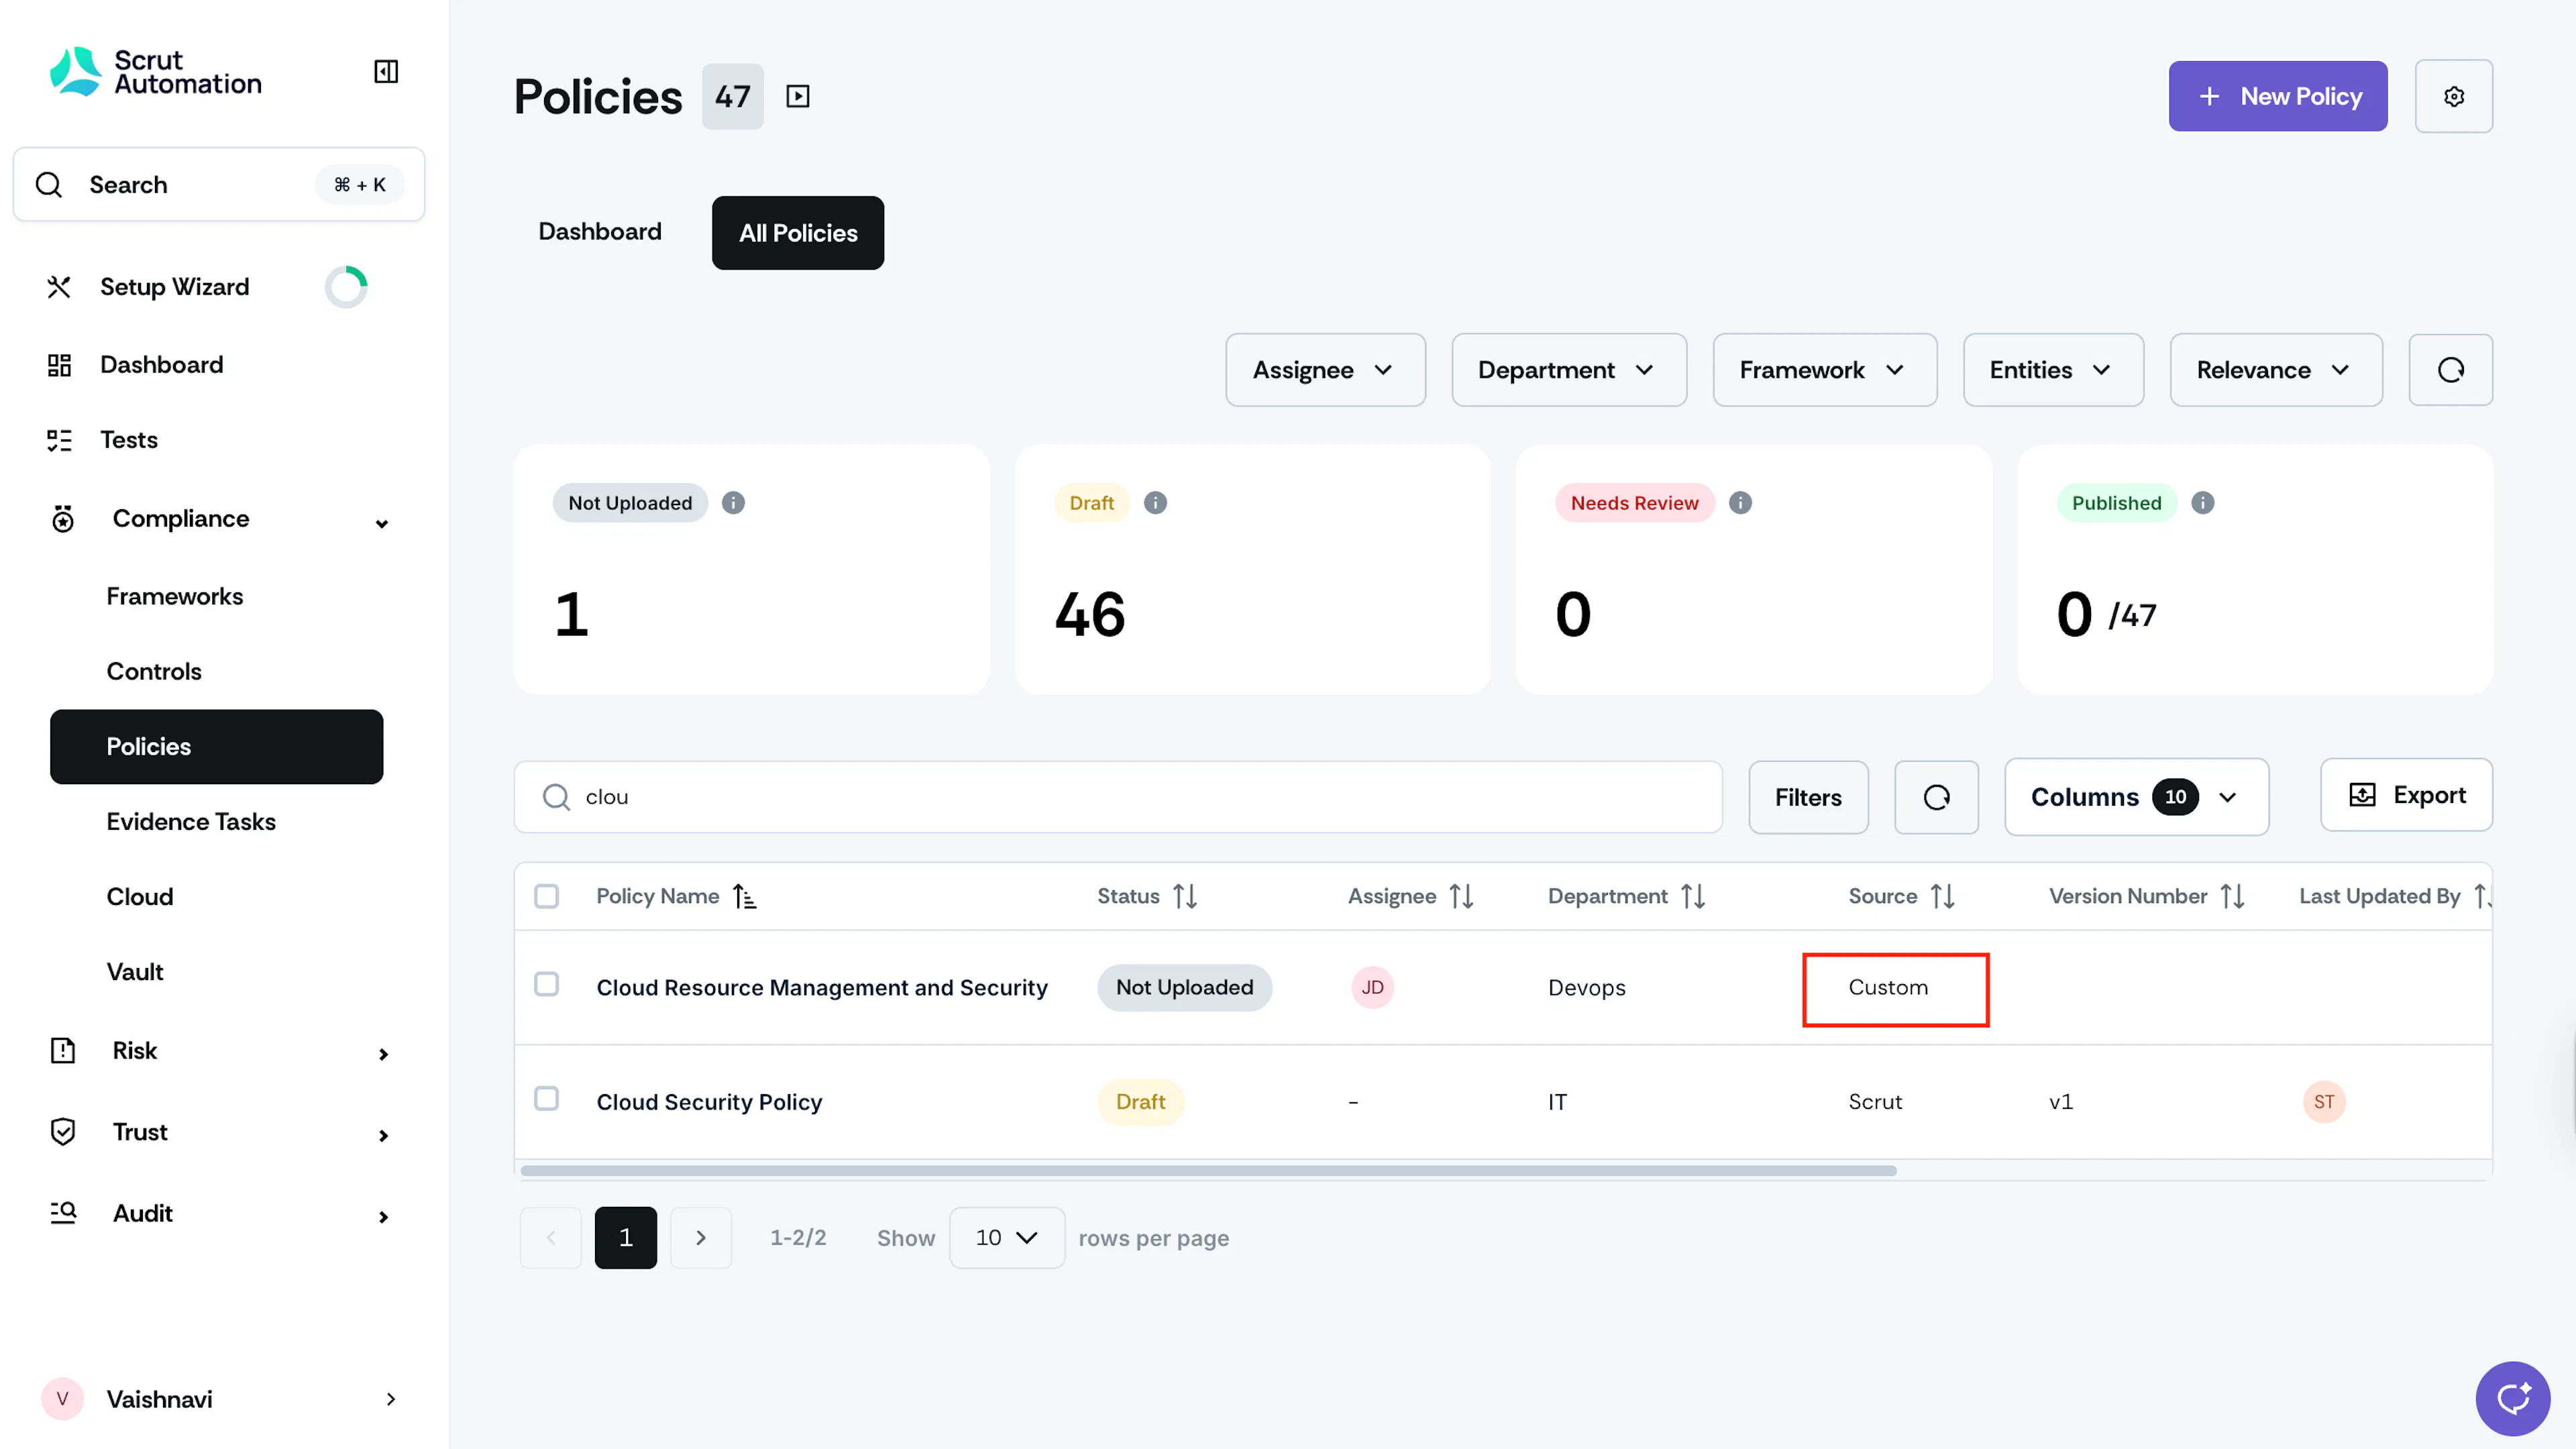
Create a Custom Policy
Who can use this feature
- Supported on Foundation, Growth, and Scale plans
Scrut offers an extensive library of 70+ policies, pre-mapped with various standard requirements such as ISO, SOC2, GDPR and more. For tailored needs, you also have the flexibility to craft custom policies, accommodating unique organizational requirements.
How To Create a Custom Policy
-
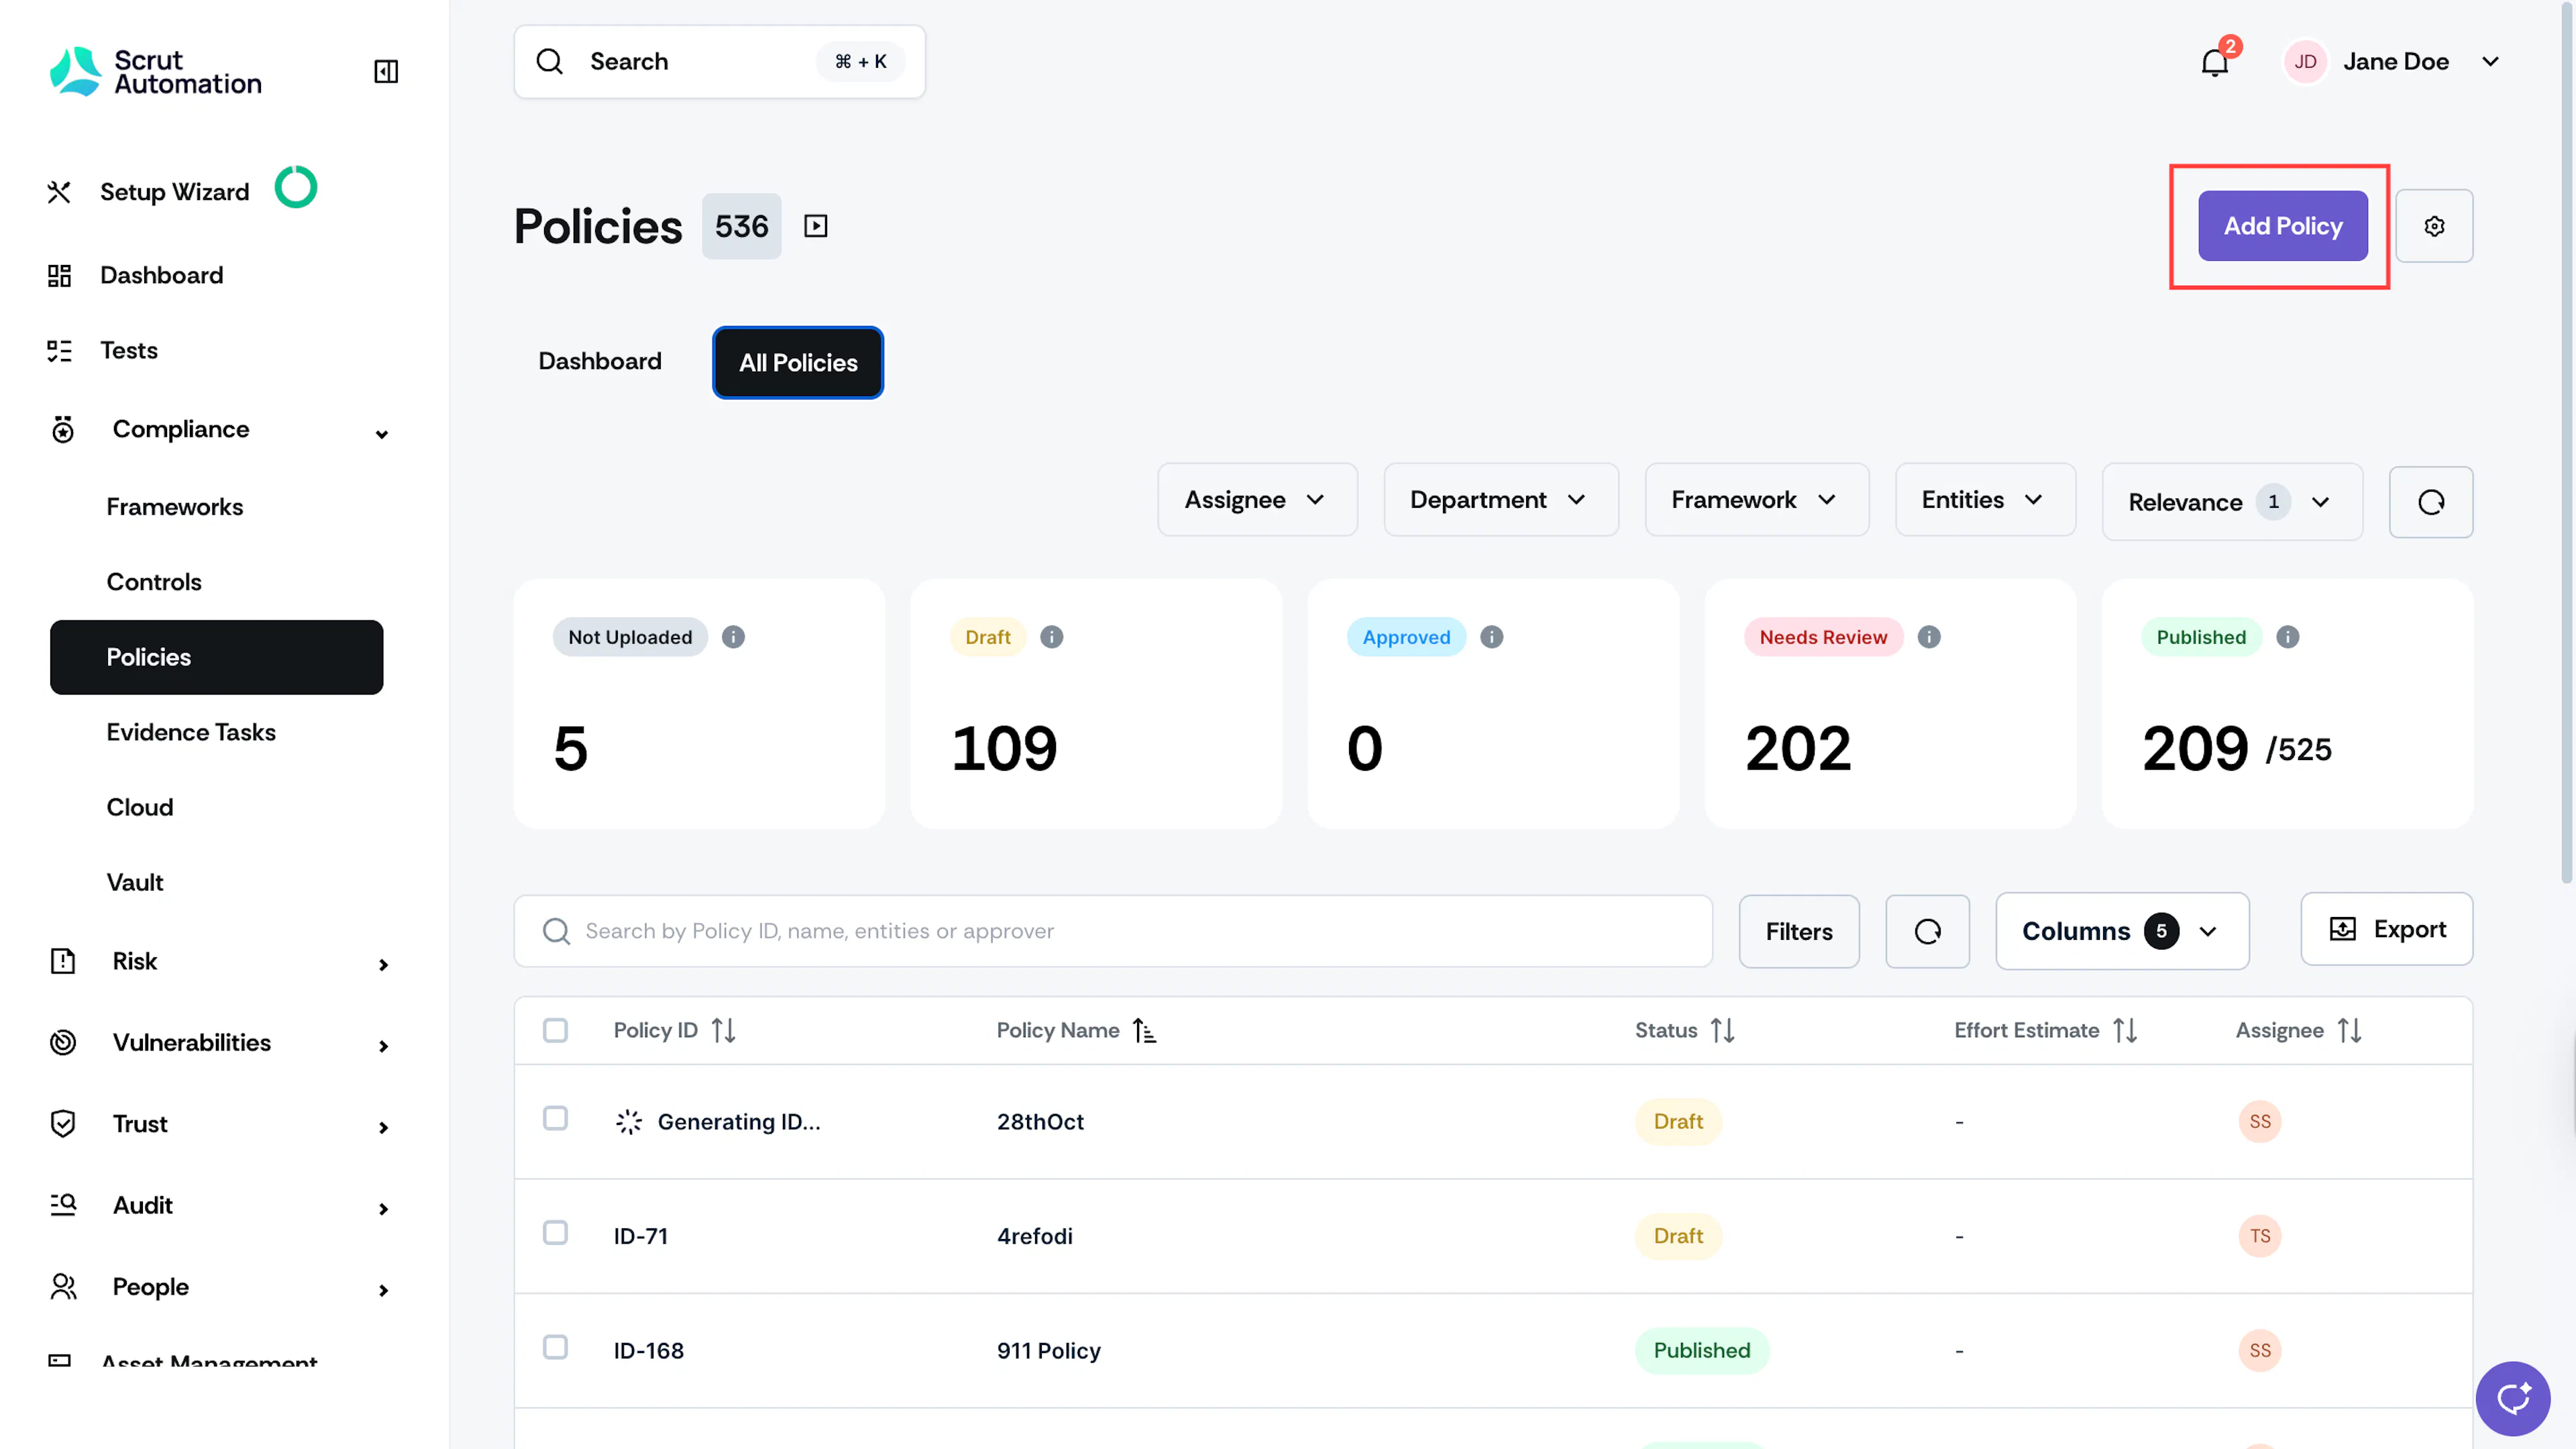
Sign in to Scrut, click Compliance → Policies on the left navigation panel.
-
Click the Add Policy button at the top right of the page.
-
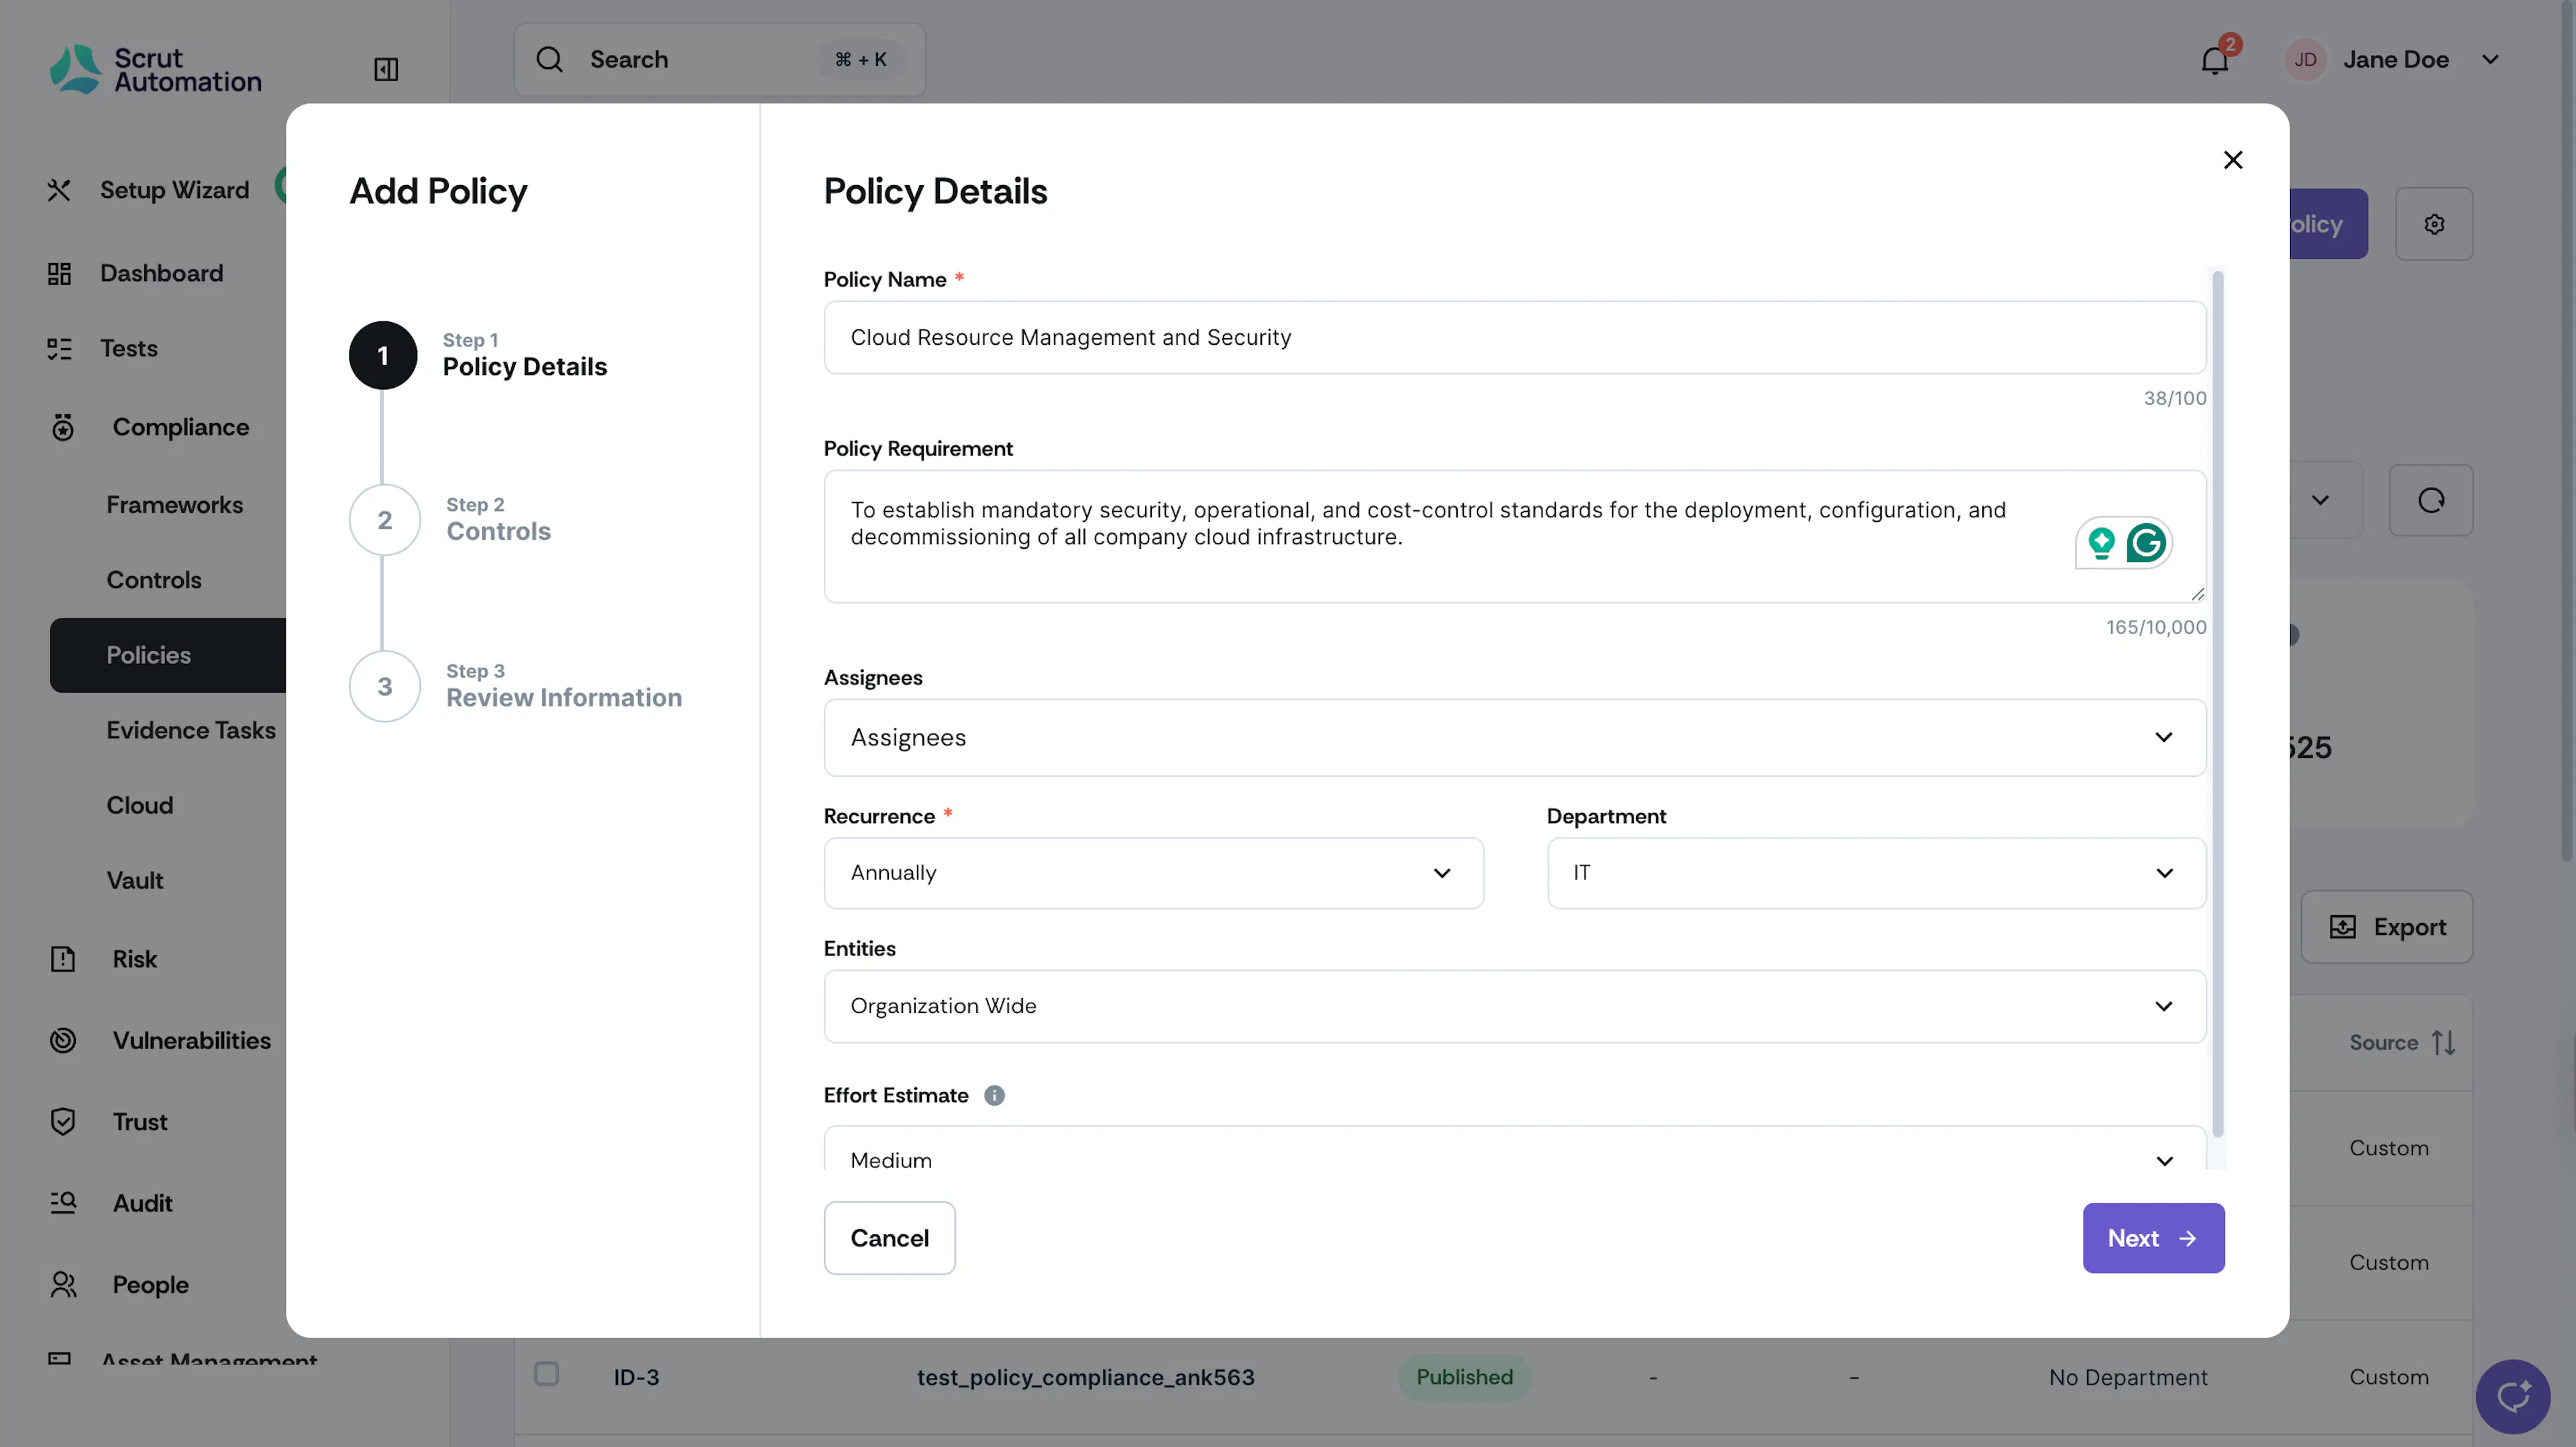
Enter policy details, such as:
-
Name: Enter a suitable name for the policy.
-
Policy Requirement: Optionally, enter a description of the policy.
-
Assignee: Use the dropdown to select one or more users who will be responsible for managing the policy in Scrut.
Note:
The assignee(s) will be notified via email about the assigned policy.
-
Recurrence: Select the policy's frequency. For example, if the policy needs to be reviewed quarterly, select Quarterly.
-
Department: Select the department to which the policy belongs.
-
Entity: Select the organizational entities to which the policy belongs. By default, all policies are linked to “Organization Wide.”
-
Effort Estimate: Optionally, you can also select the effort required to implement this policy. You can classify it as Low, Medium, or High.
-
-
Click Next.
-
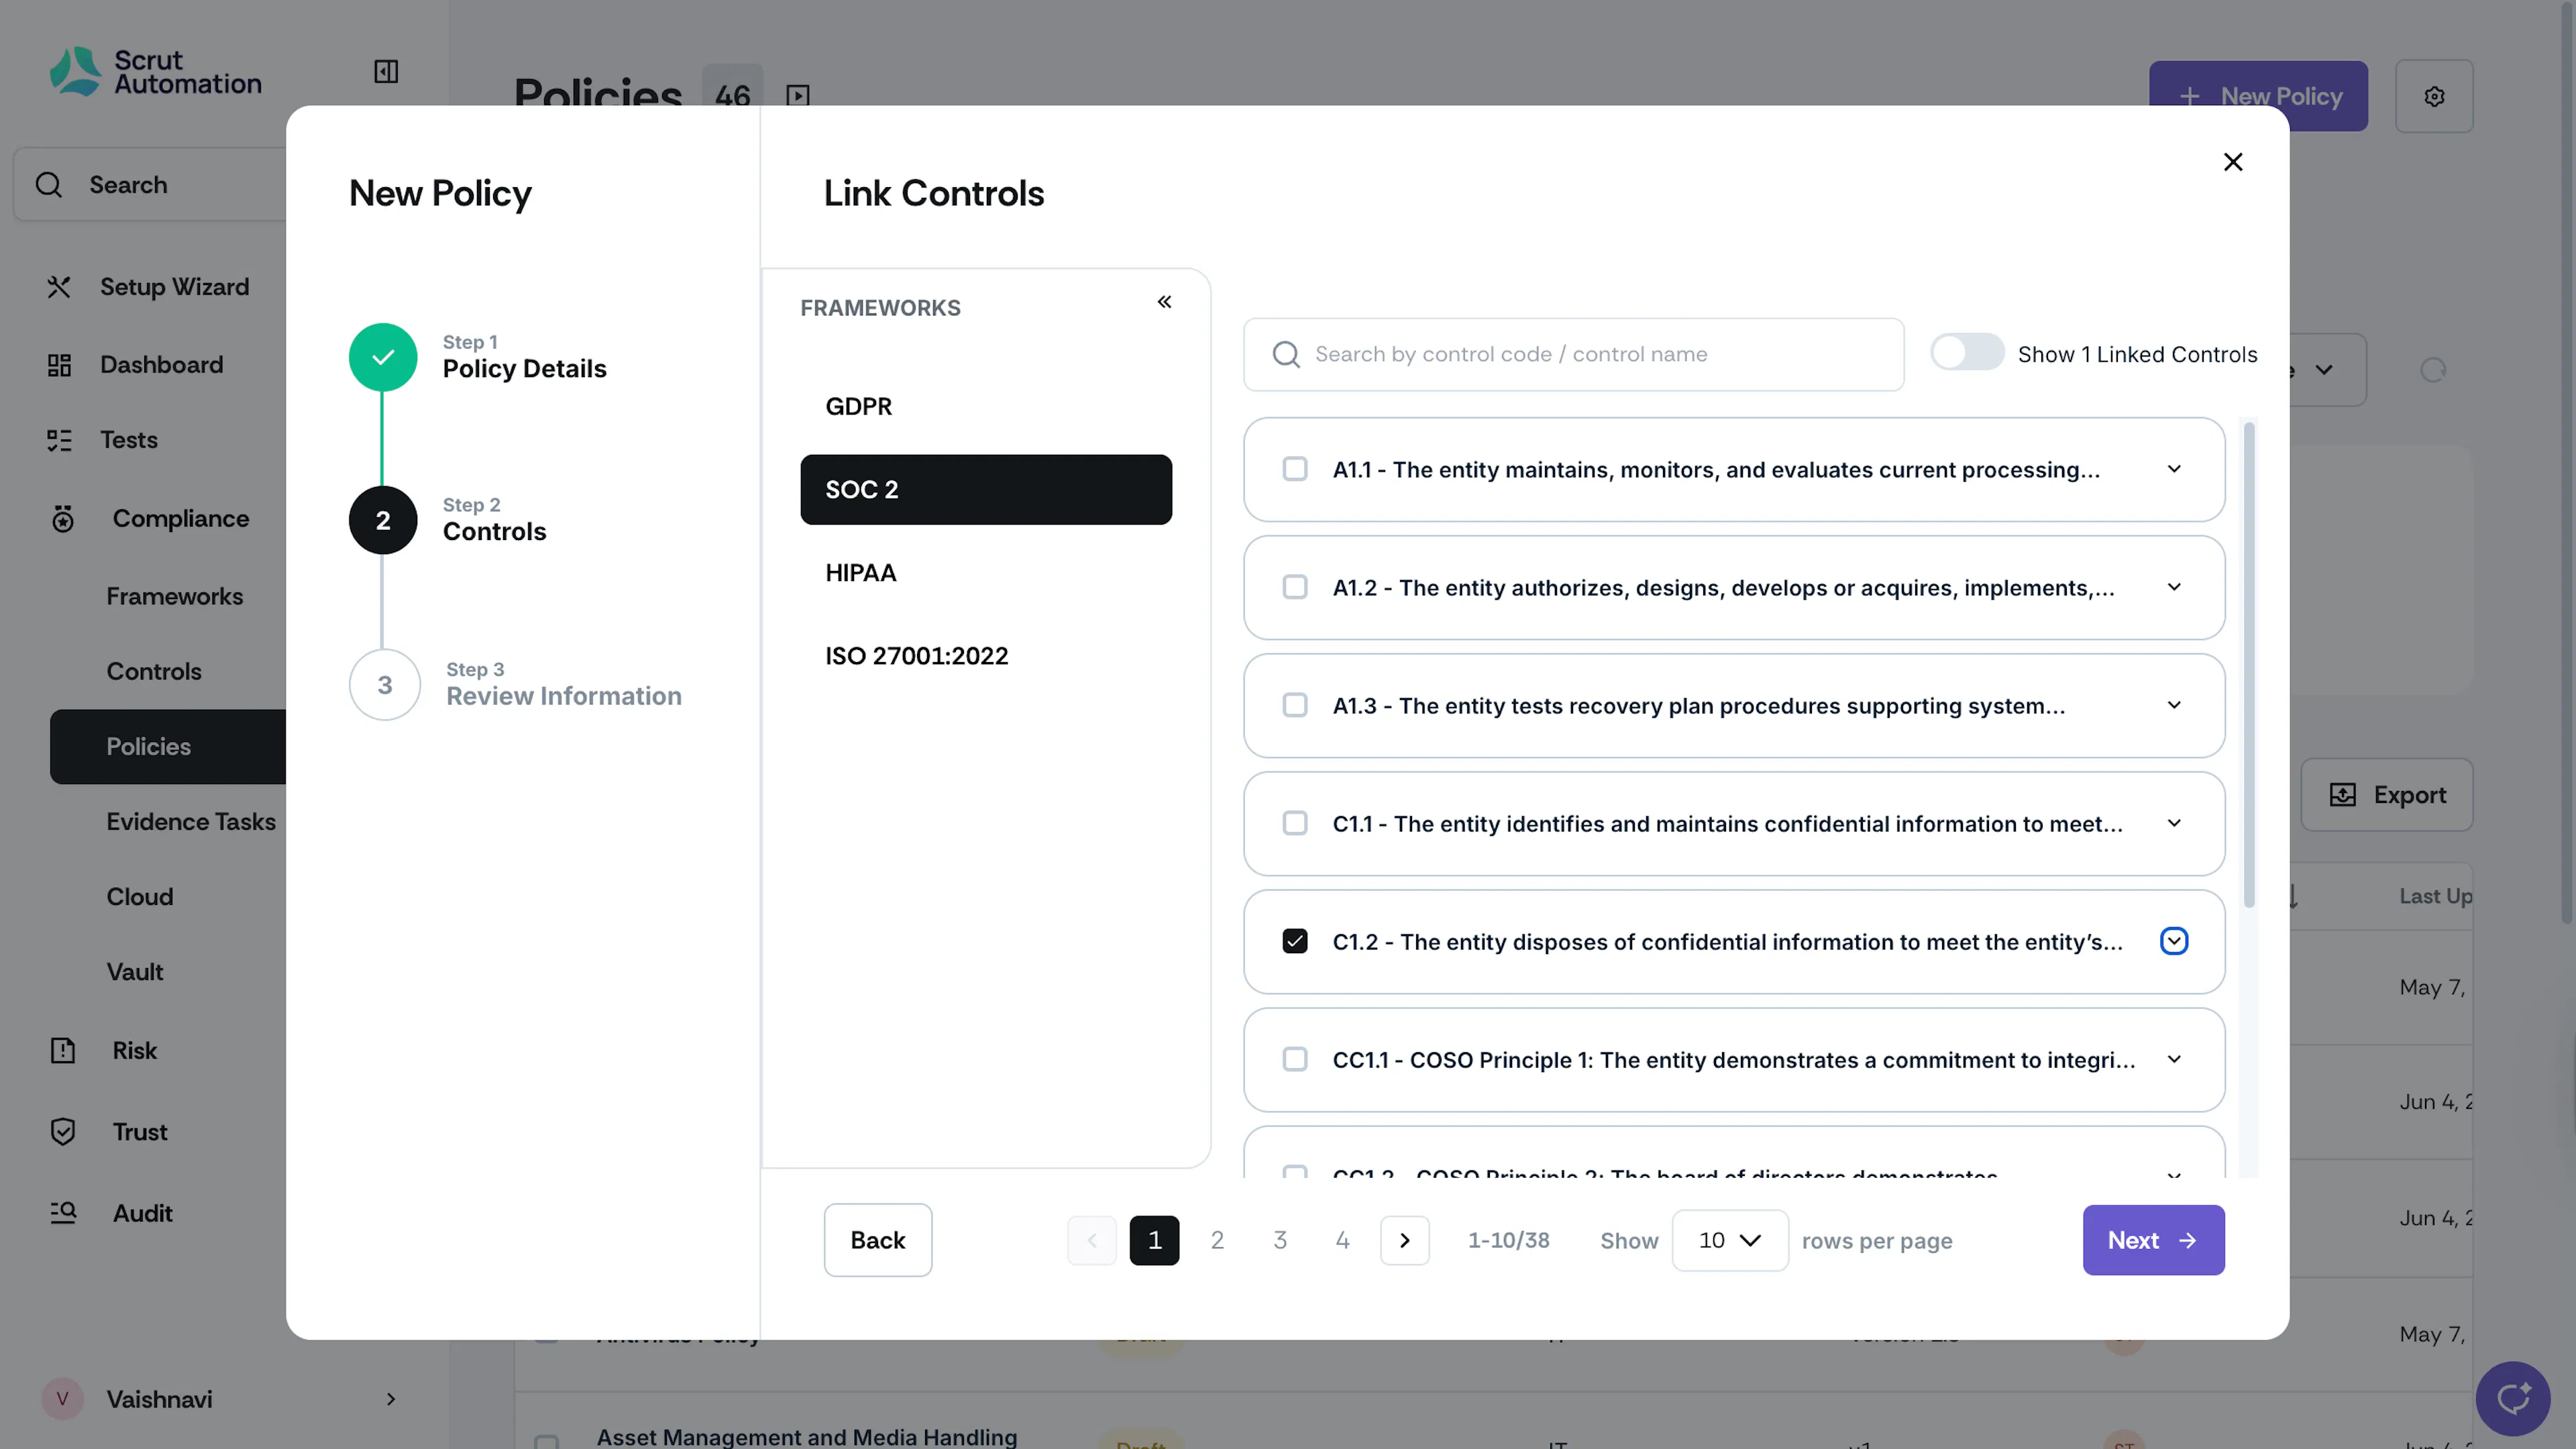
The next step is to link the controls for the policy.
-
Use the Frameworks panel to view controls relevant to your frameworks.
-
Expand a specific requirement to see all controls associated with it.
- When you select a requirement, all controls within it will be selected by default.
- If needed, you can then select/unselect specific controls as required.
-
Select the checkboxes next to the controls you want to link.
-
Note: Any not applicable requirement will appear grayed out.
-
Optionally, use the search bar at the top to quickly locate controls by name or code.
-
Once you've made the selections, enable the "Show Linked Controls" toggle to review and verify the controls you've chosen to link.
-
Click Next to confirm your selections.
-
-
Review the information and click Create.
- Check the details from the previous steps. To make changes, click Back.
- If everything is correct, click Create to finalize your custom policy.
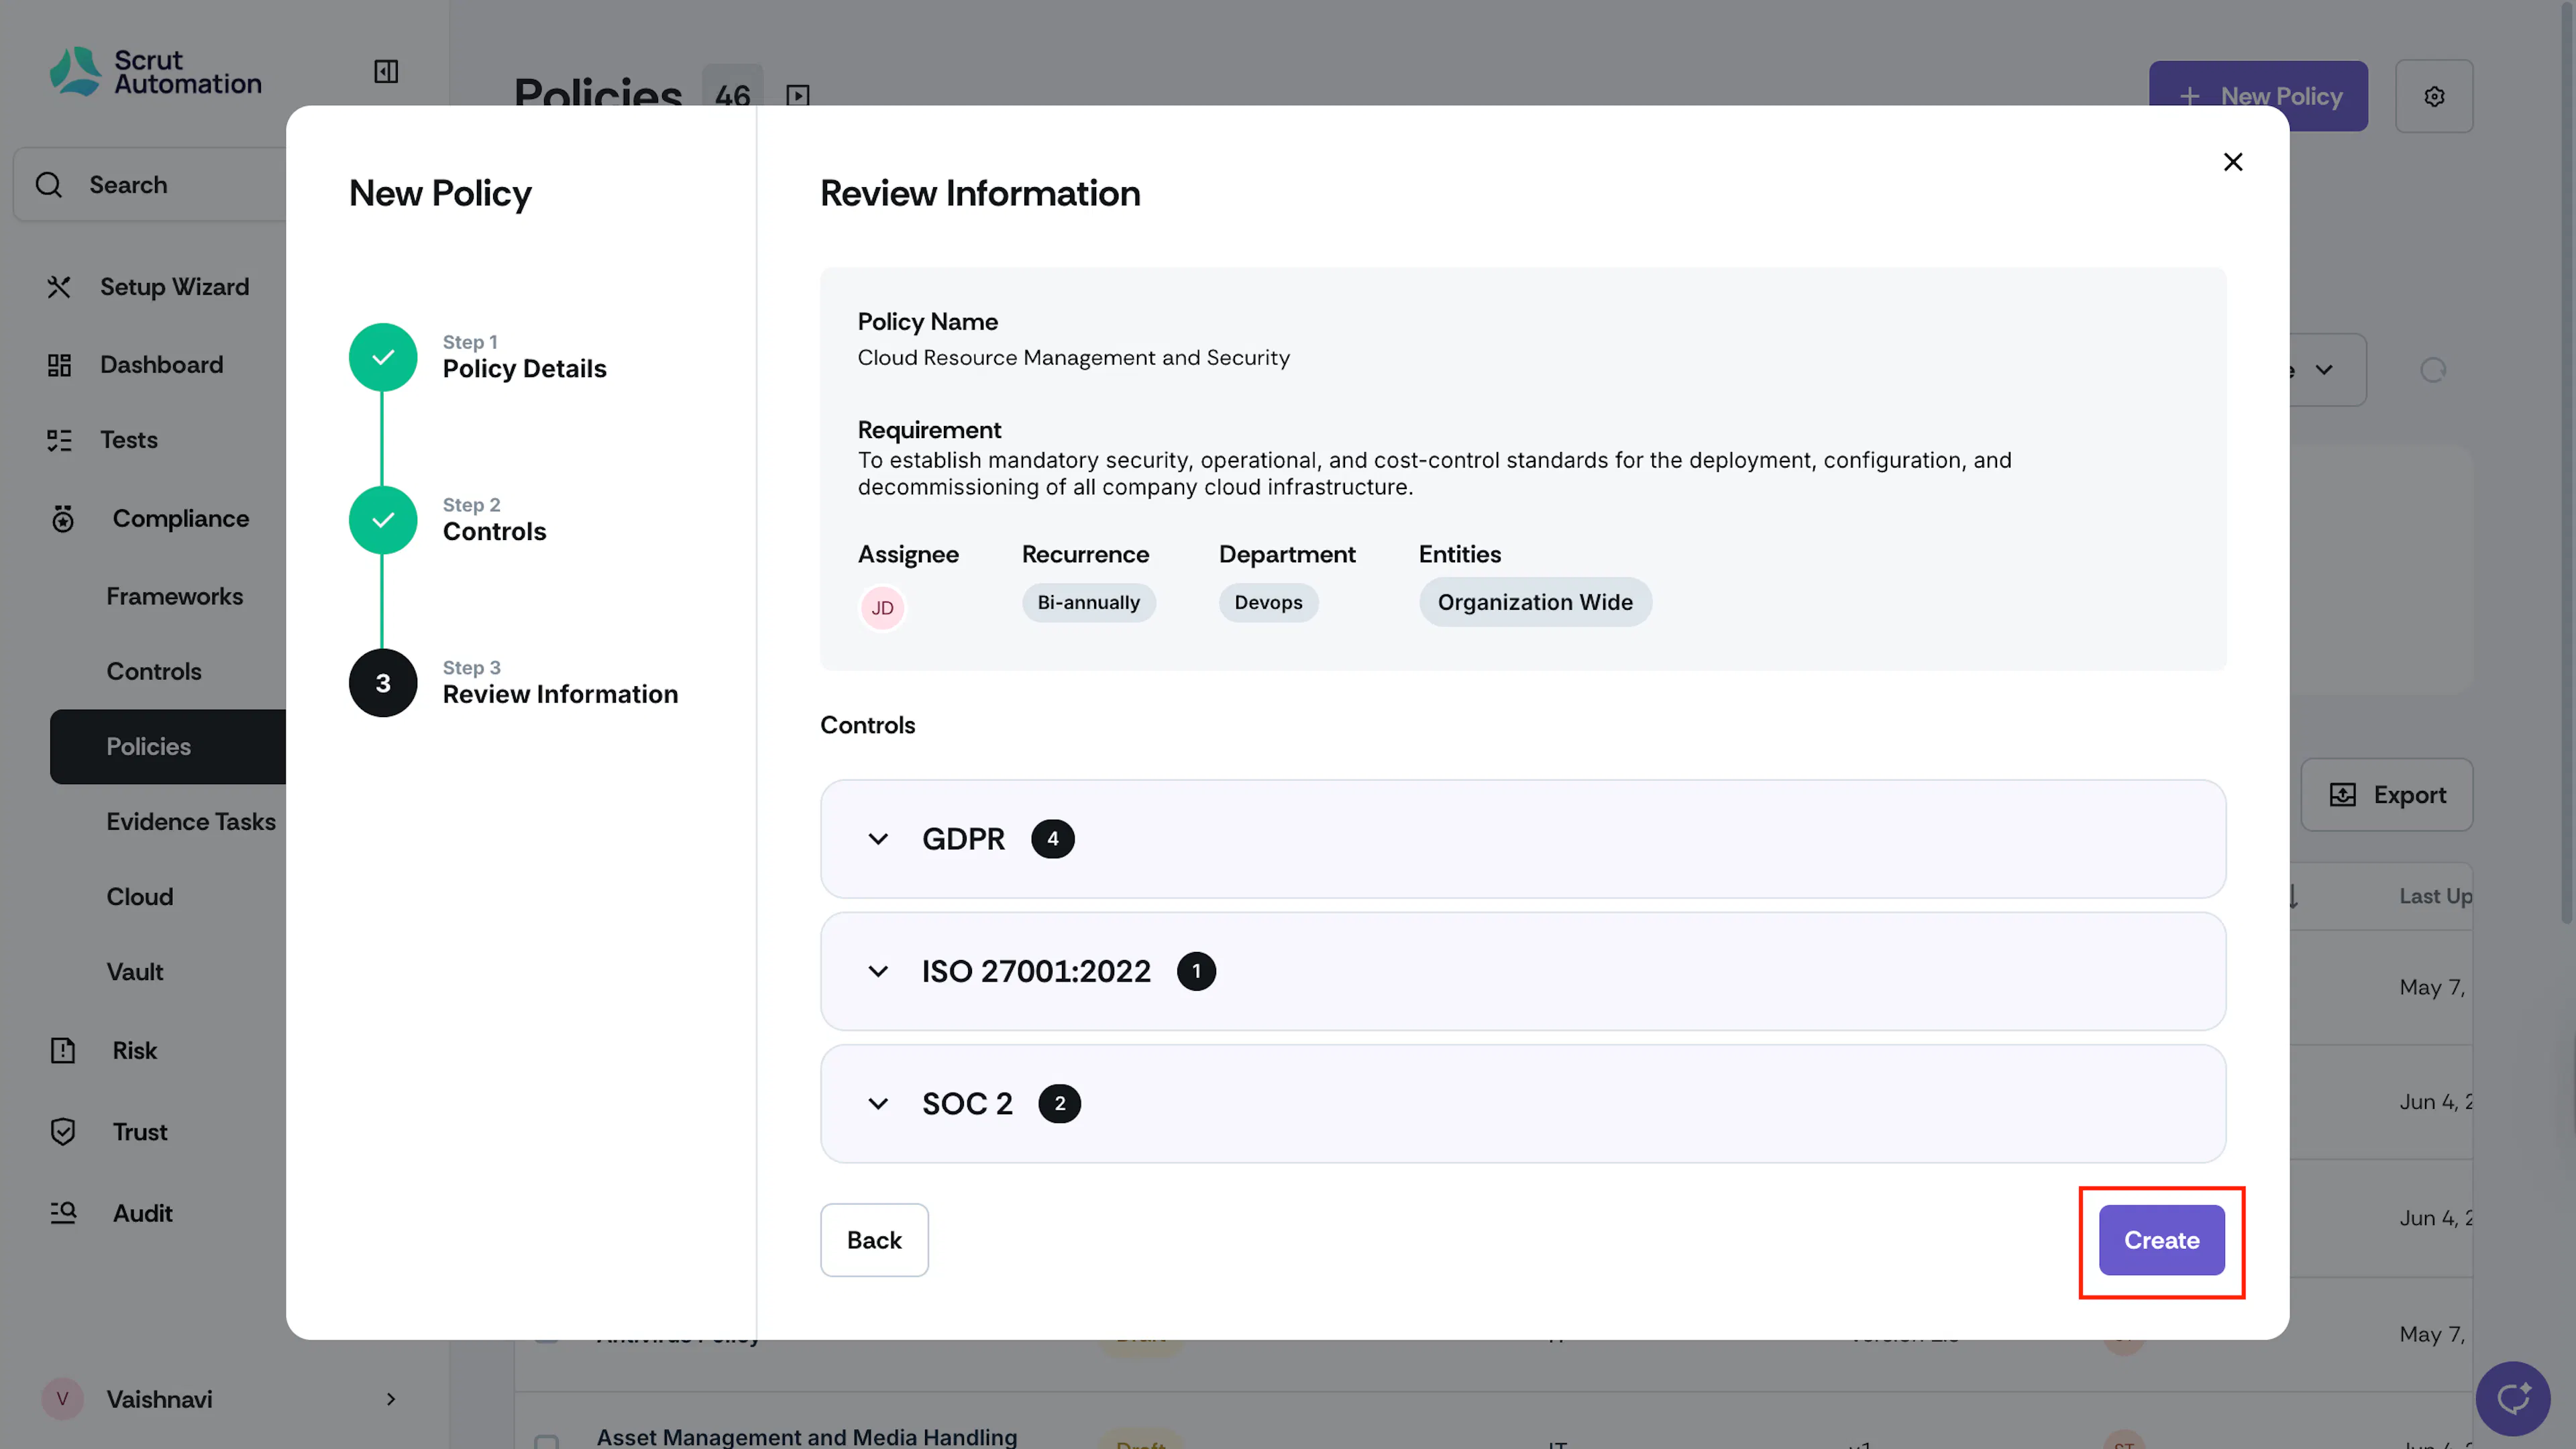
Scrut will create the custom policy.
Heads Up!
The Source column on the All Policies table for this policy will be marked as Custom. This is to easily differentiate custom policies from those provided by Scrut.