

Quick Start Guide: PTaaS Lite
Add your web application, run your first scan, review AI-validated findings, and submit fixes for verification in PTaaS Lite.
Who can use this feature
Available as an add-on. Contact your CSM to learn more.
Get your first validated findings in PTaaS Lite by adding your web application, running a scan, and working through the results. You run every step yourself, and AI agents validate findings and verify your fixes along the way.
What You Do vs. What the AI Agents Do
| You | AI agents |
|---|---|
| Add your target and share scan context | Discover vulnerabilities in your target |
| Run a scan | Re-exploit each suspected vulnerability and tag it Likely TP or Likely FP |
| Review validated findings | Publish findings only after validation completes |
| Fix vulnerabilities and submit them for verification | Re-attack your fix and close or reopen the finding |
| Ignore findings or accept risks | Record every automated status change in Audit Logs |
Step 1: Add Your Target
- Navigate to Vulnerabilities → Targets.
- Click Add Target.
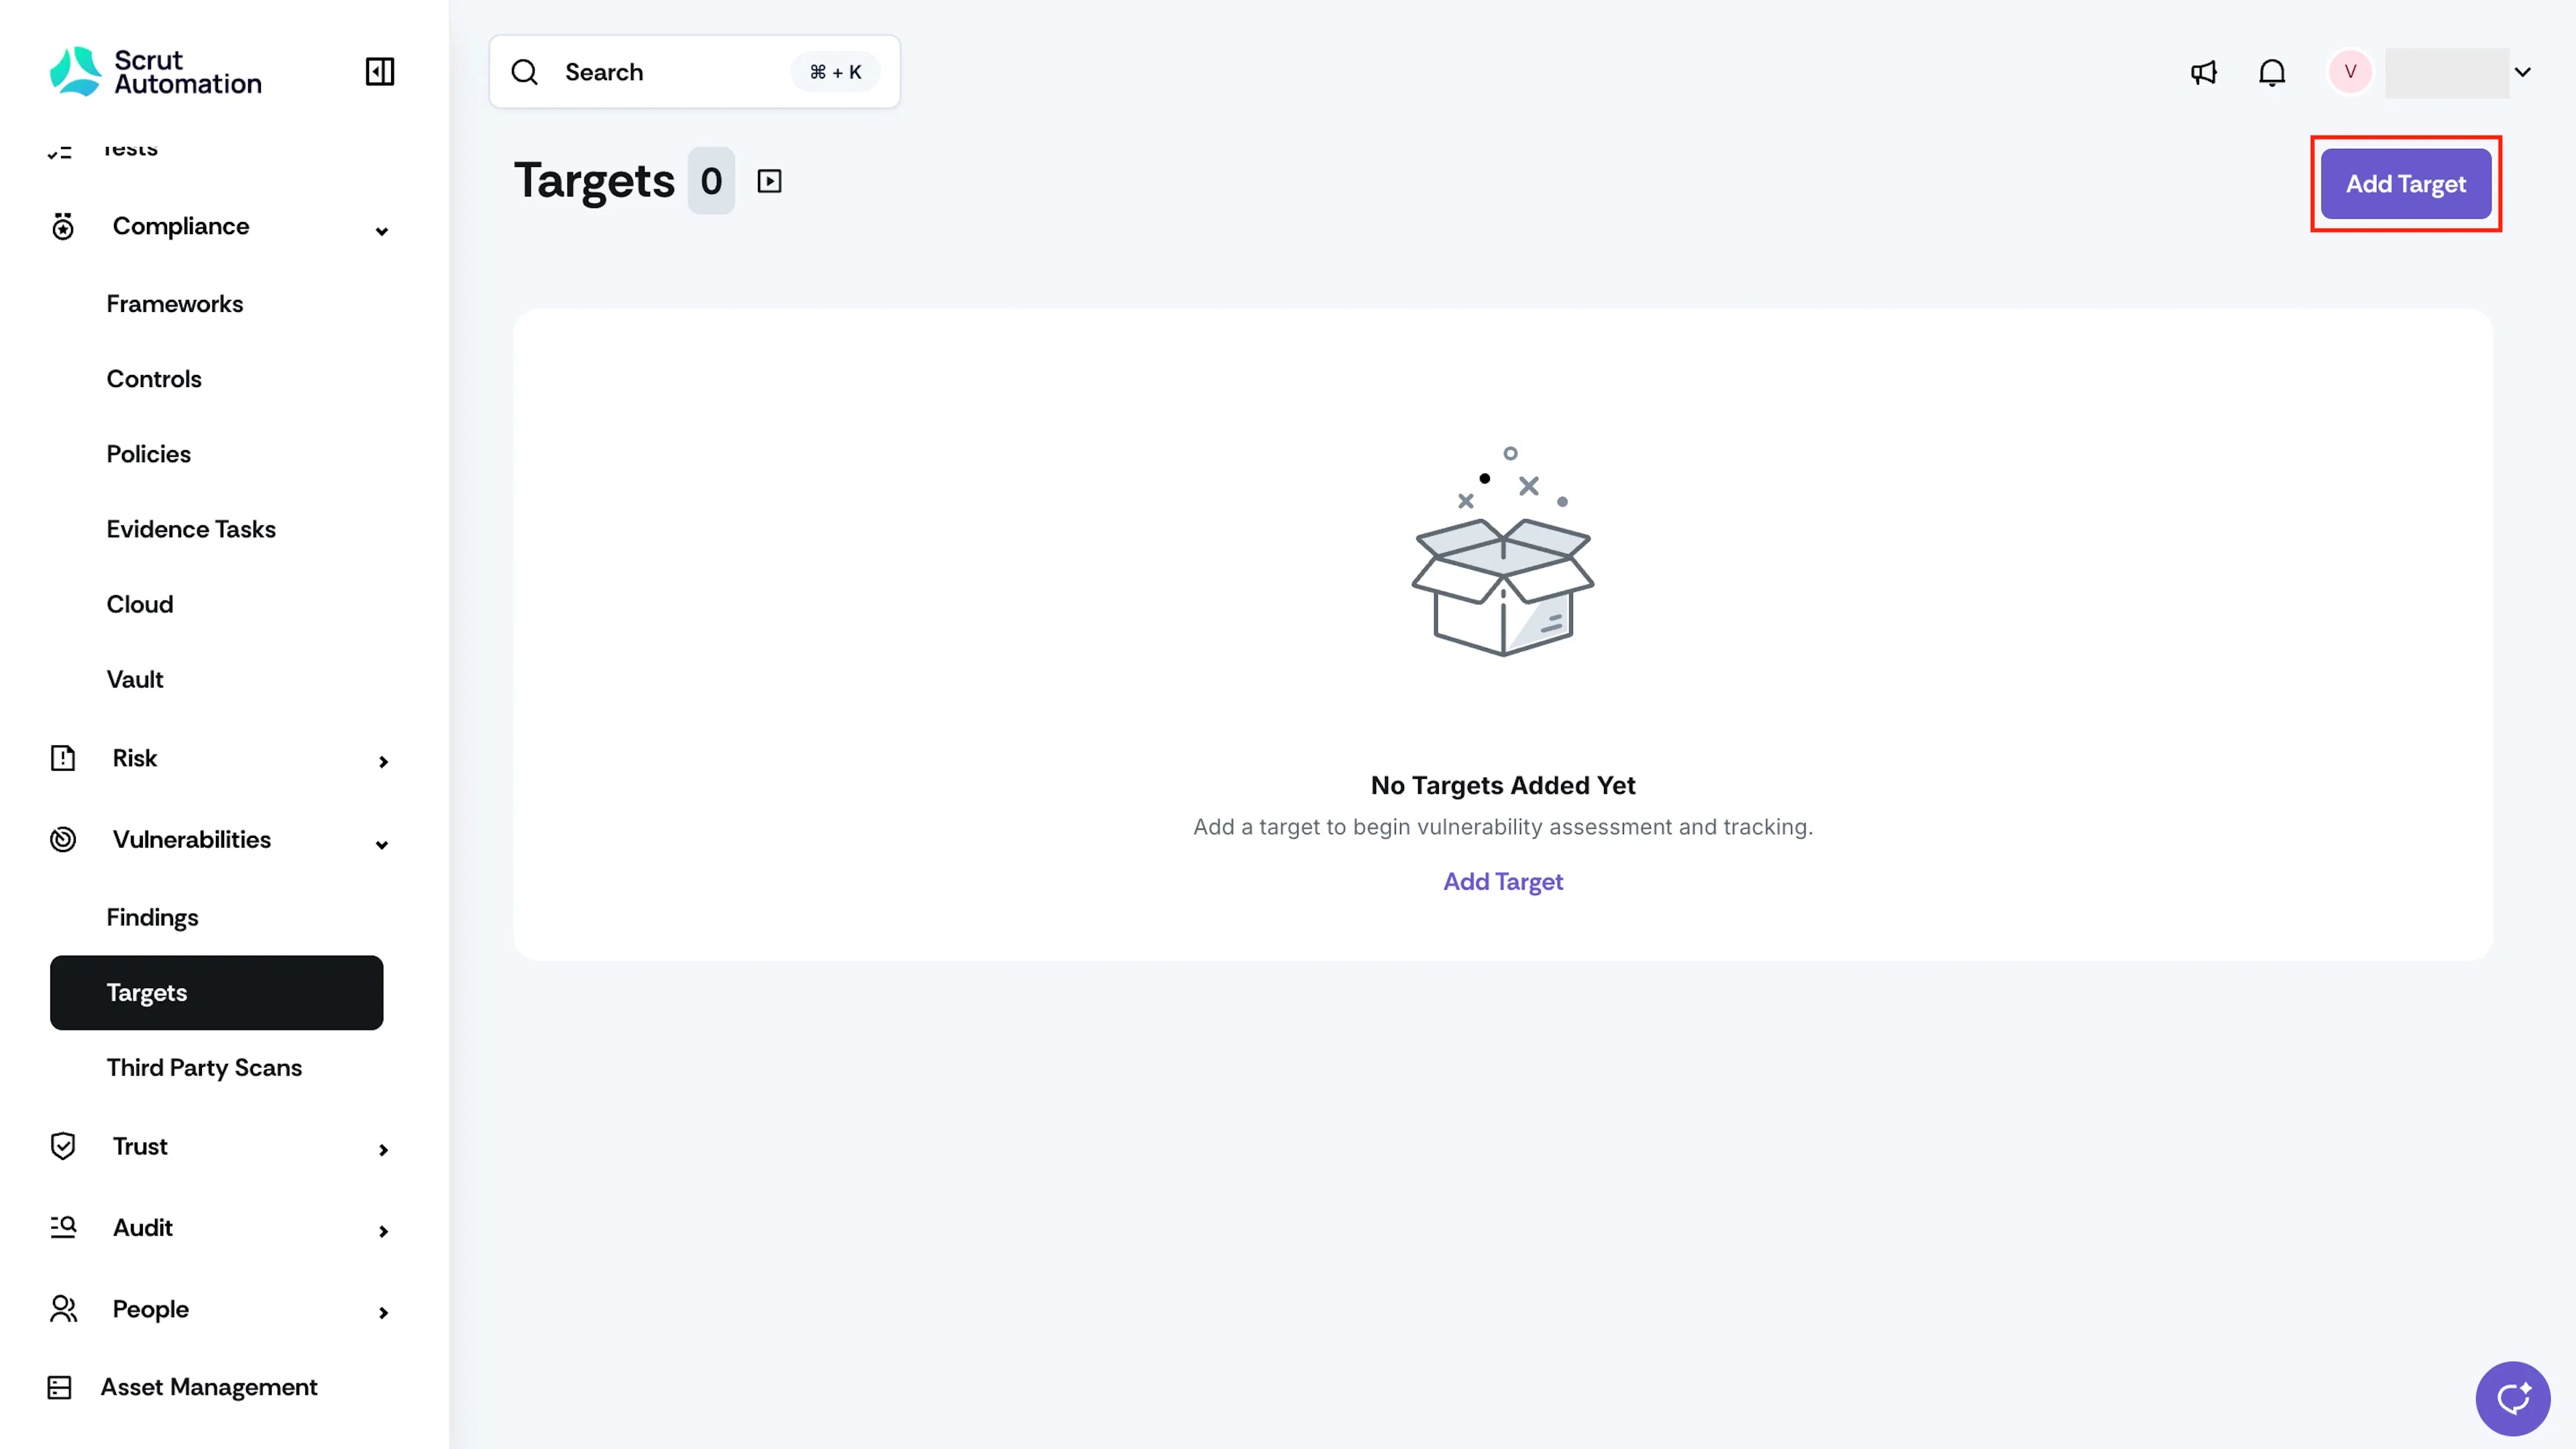
PTaaS Add Target - Enter a name for your target in the Target Name field.
- Enter the target URL in the Target URL field. Make sure the URL doesn't have a trailing slash.
- Select Web App from the Target Type dropdown.
- Select the target environment, and enter the POC details and any out-of-scope URLs.
- Click Next.
- Select your authentication method from the Auth Method dropdown, select the role to test, and enter the required details.
Important: The AI Verification agent uses the same role and authentication details to verify your fixes later. Keep these details up to date when credentials change, or verification may not complete.
- Click Next.
- Upload your code archive, API specification, and supporting documents in the scan context fields. These are optional.
- Review your details and click Save.
Your target appears in the Targets table.
Step 2: Run a Scan
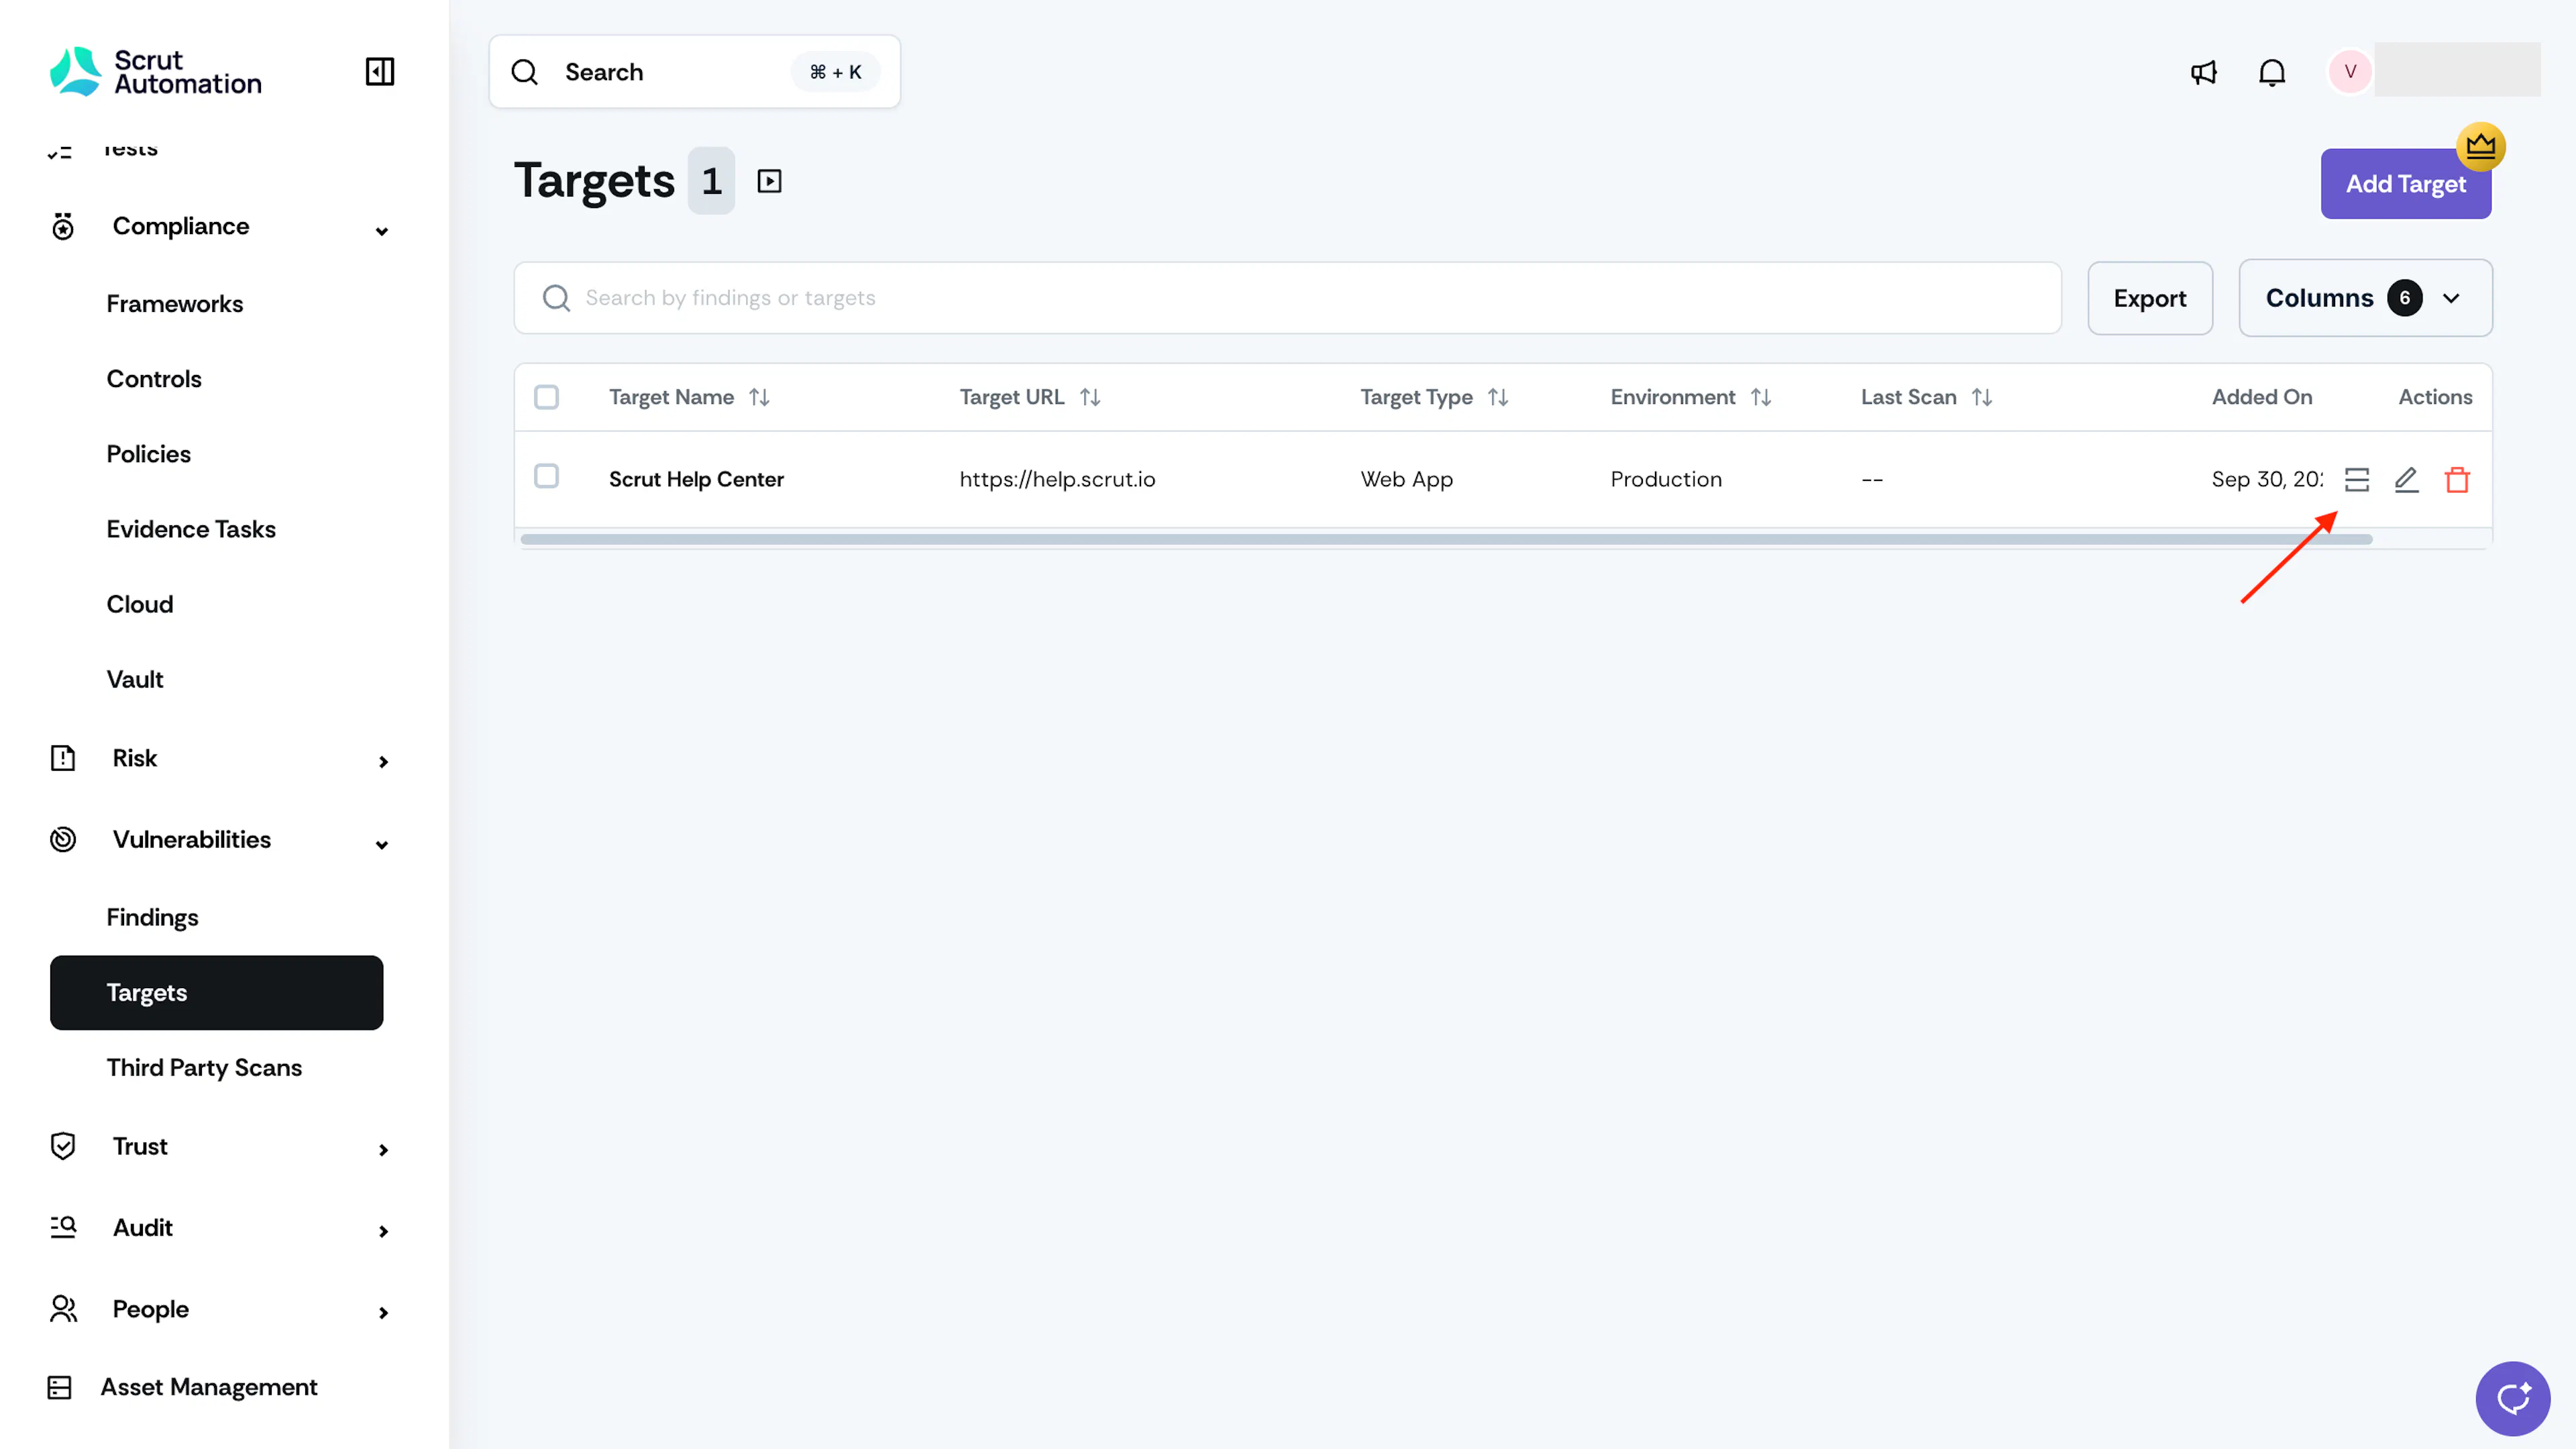
- Navigate to Vulnerabilities → Targets.
- Click Start scan in the Actions column of your target.
Heads Up! Your Findings list stays empty while the scan runs, and findings appear only after the AI Validation agent finishes validating them.
Step 3: Review Validated Findings
When validation completes, you receive a notification, and your findings appear with Open status.
- Navigate to Vulnerabilities → Findings → All Findings.
- Use the Scrut Teammates Validation filter to show Likely True Positive or Likely False Positive findings.
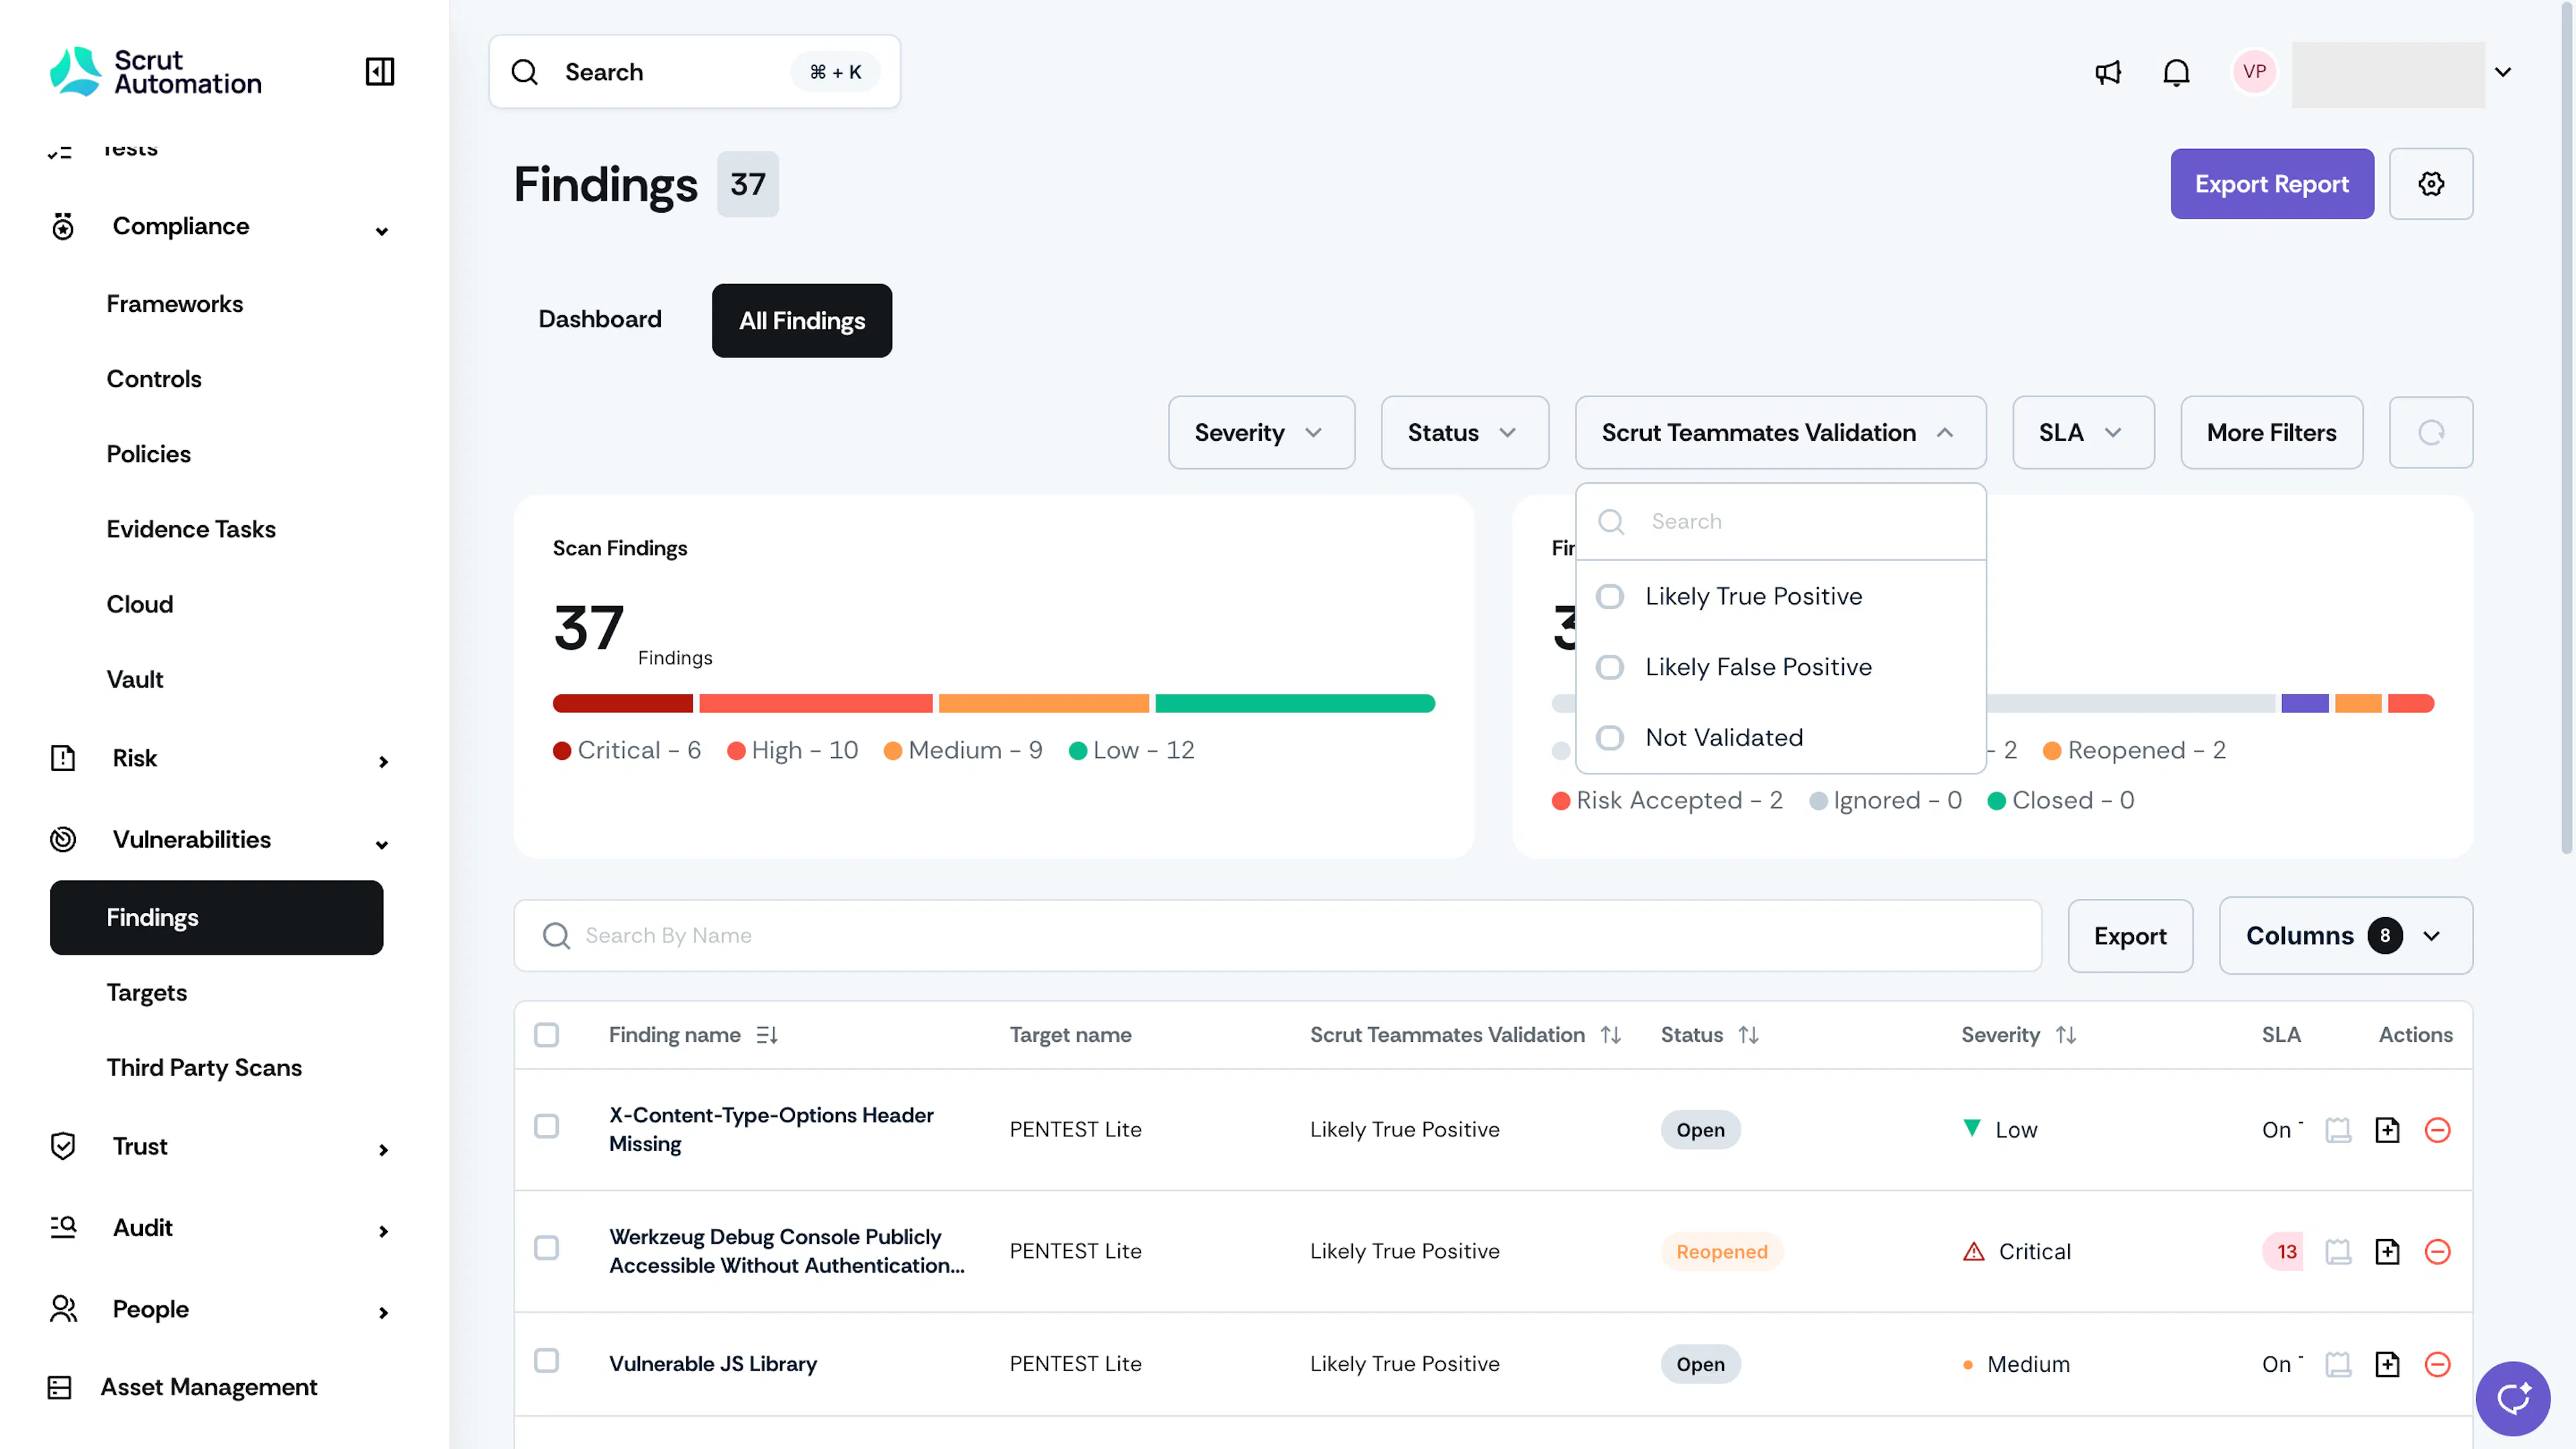
All Findings Page PTaaS Lite - Click a finding to open its detail page.
- Click on any affected resource to view more details. The drawer shows how the agent tested each affected resource, including its request, response, rationale, and evidence.
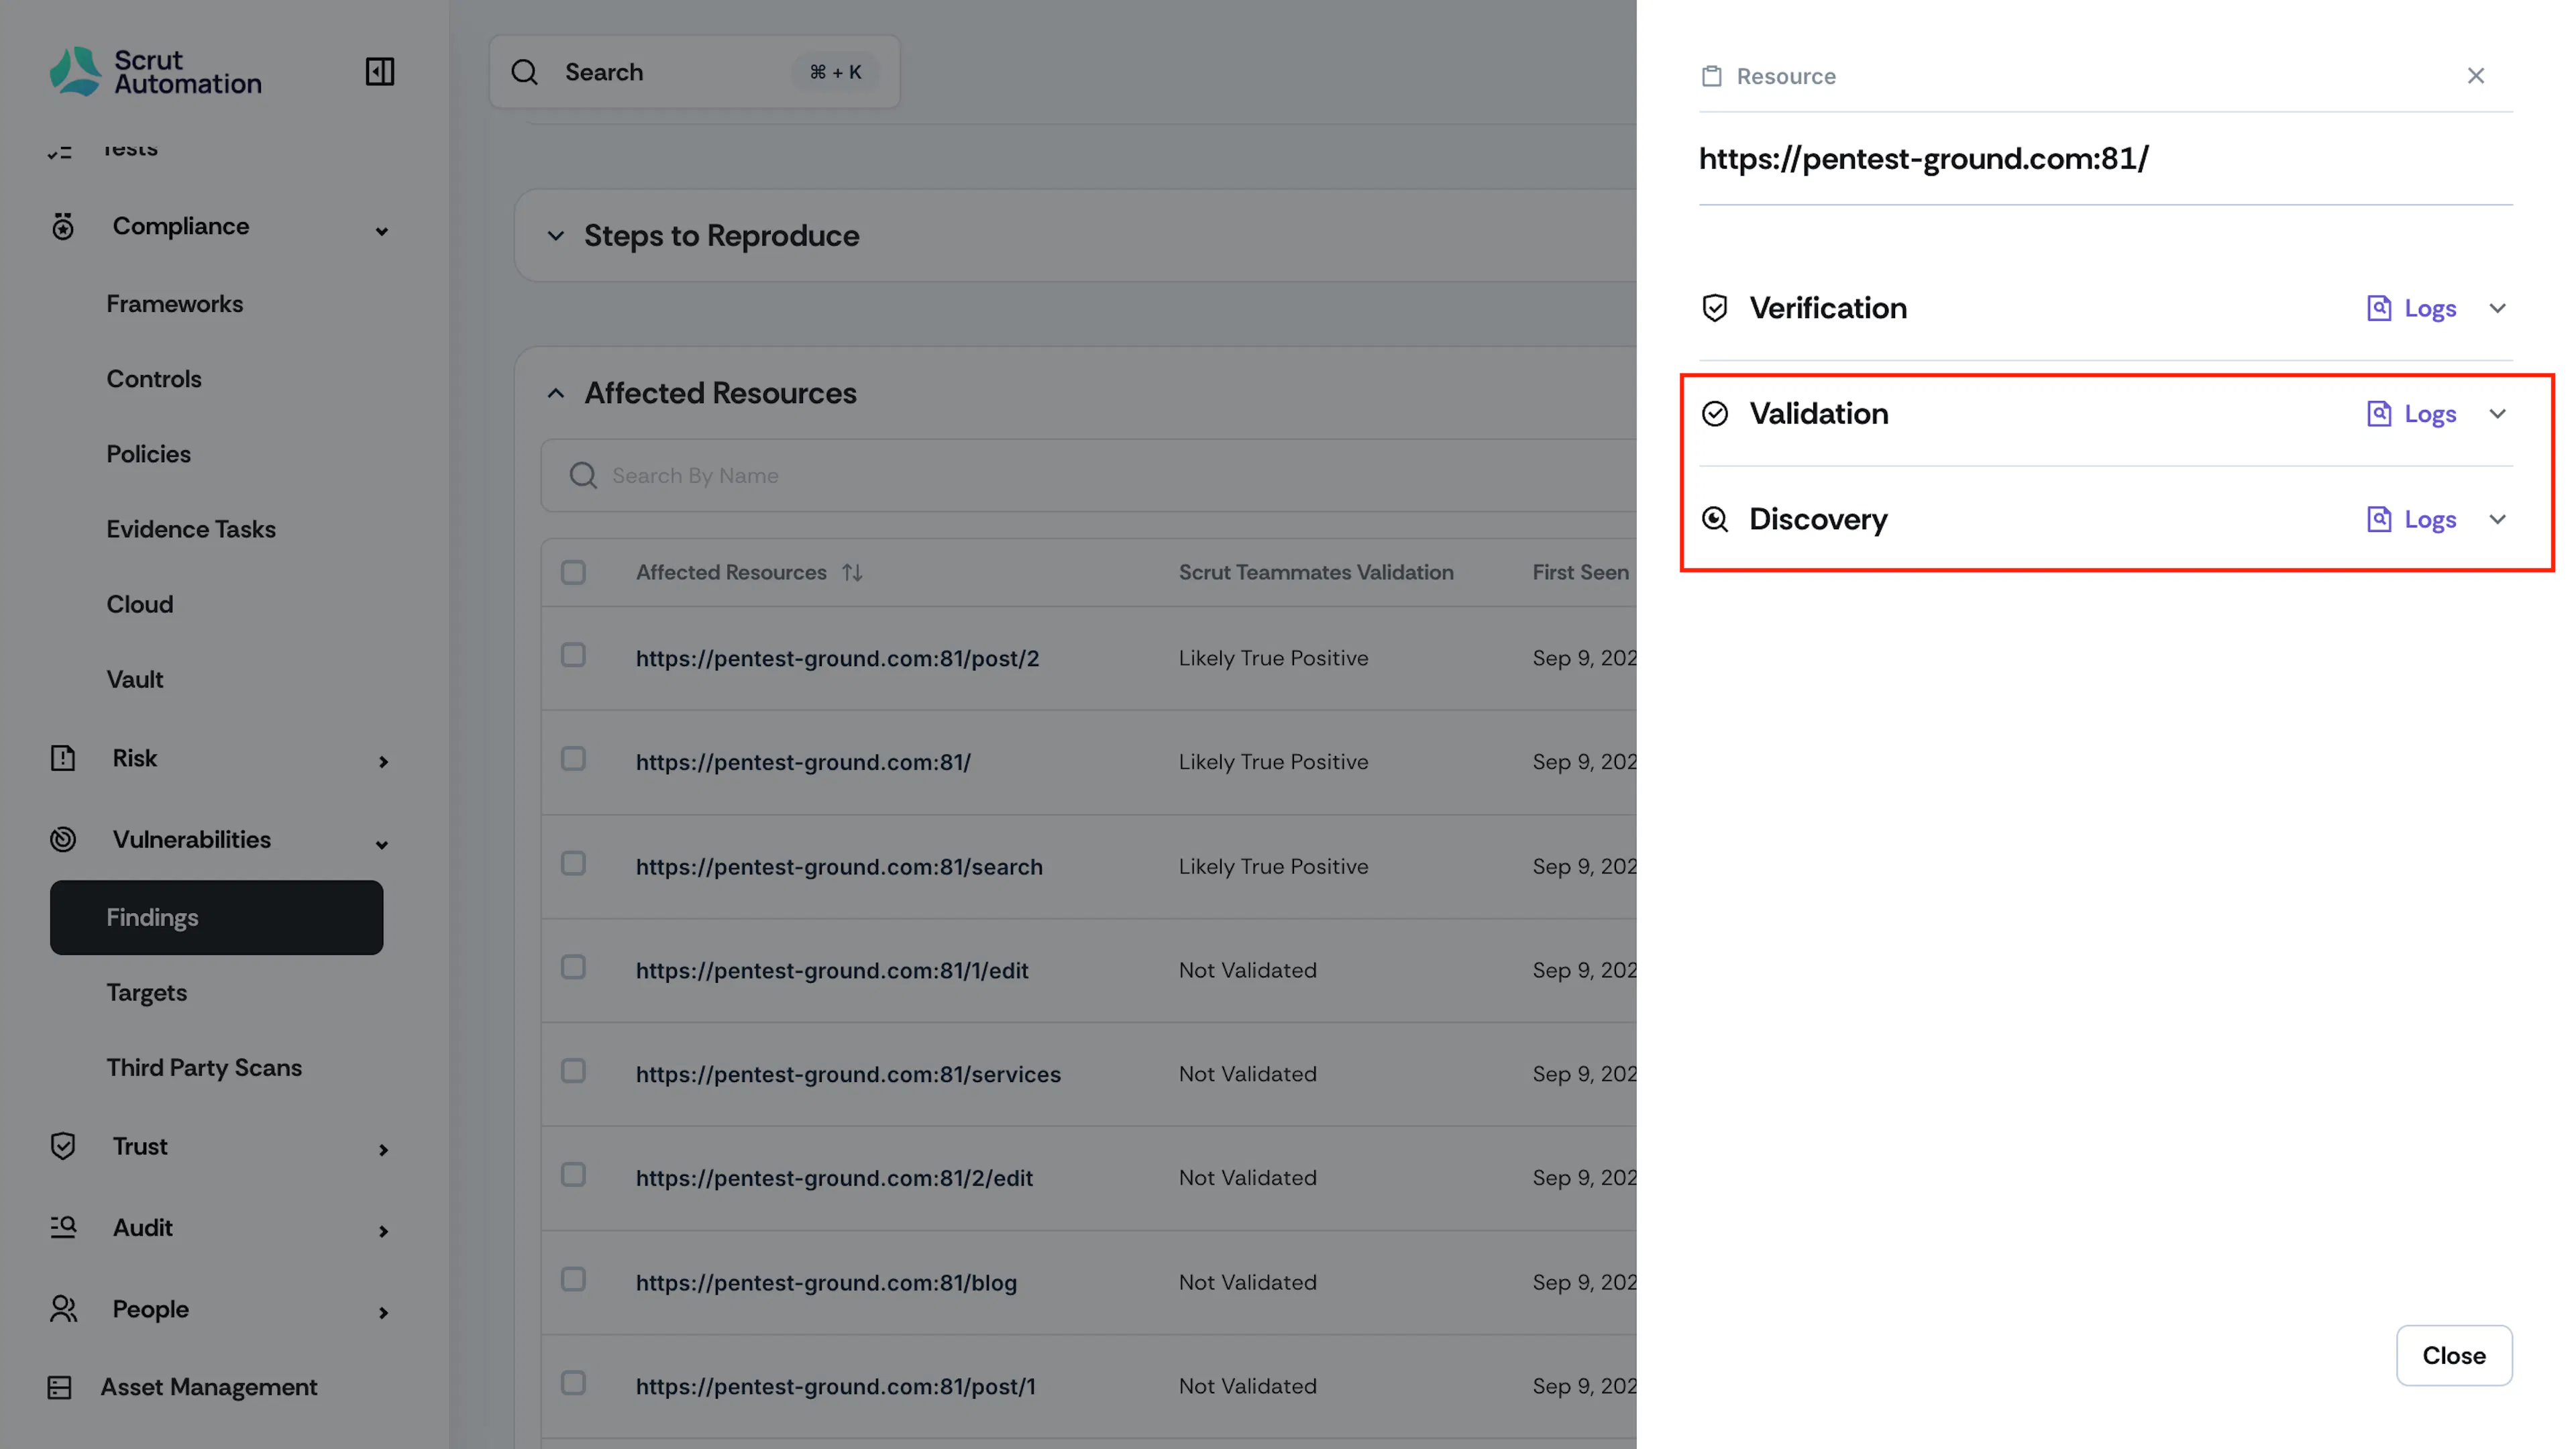
Affected Resource Drawer PTaaS Lite
Pro Tip! Start with Likely TP findings of Critical and High severity. These have proof of exploit, so they are the most urgent to fix.
The SLA for each finding starts when the agent publishes it after validation.
Step 4: Fix and Submit for Verification
- Fix the vulnerability in your application.
- Navigate to Vulnerabilities → Findings and click the finding you fixed.
- Click Submit For Verification.
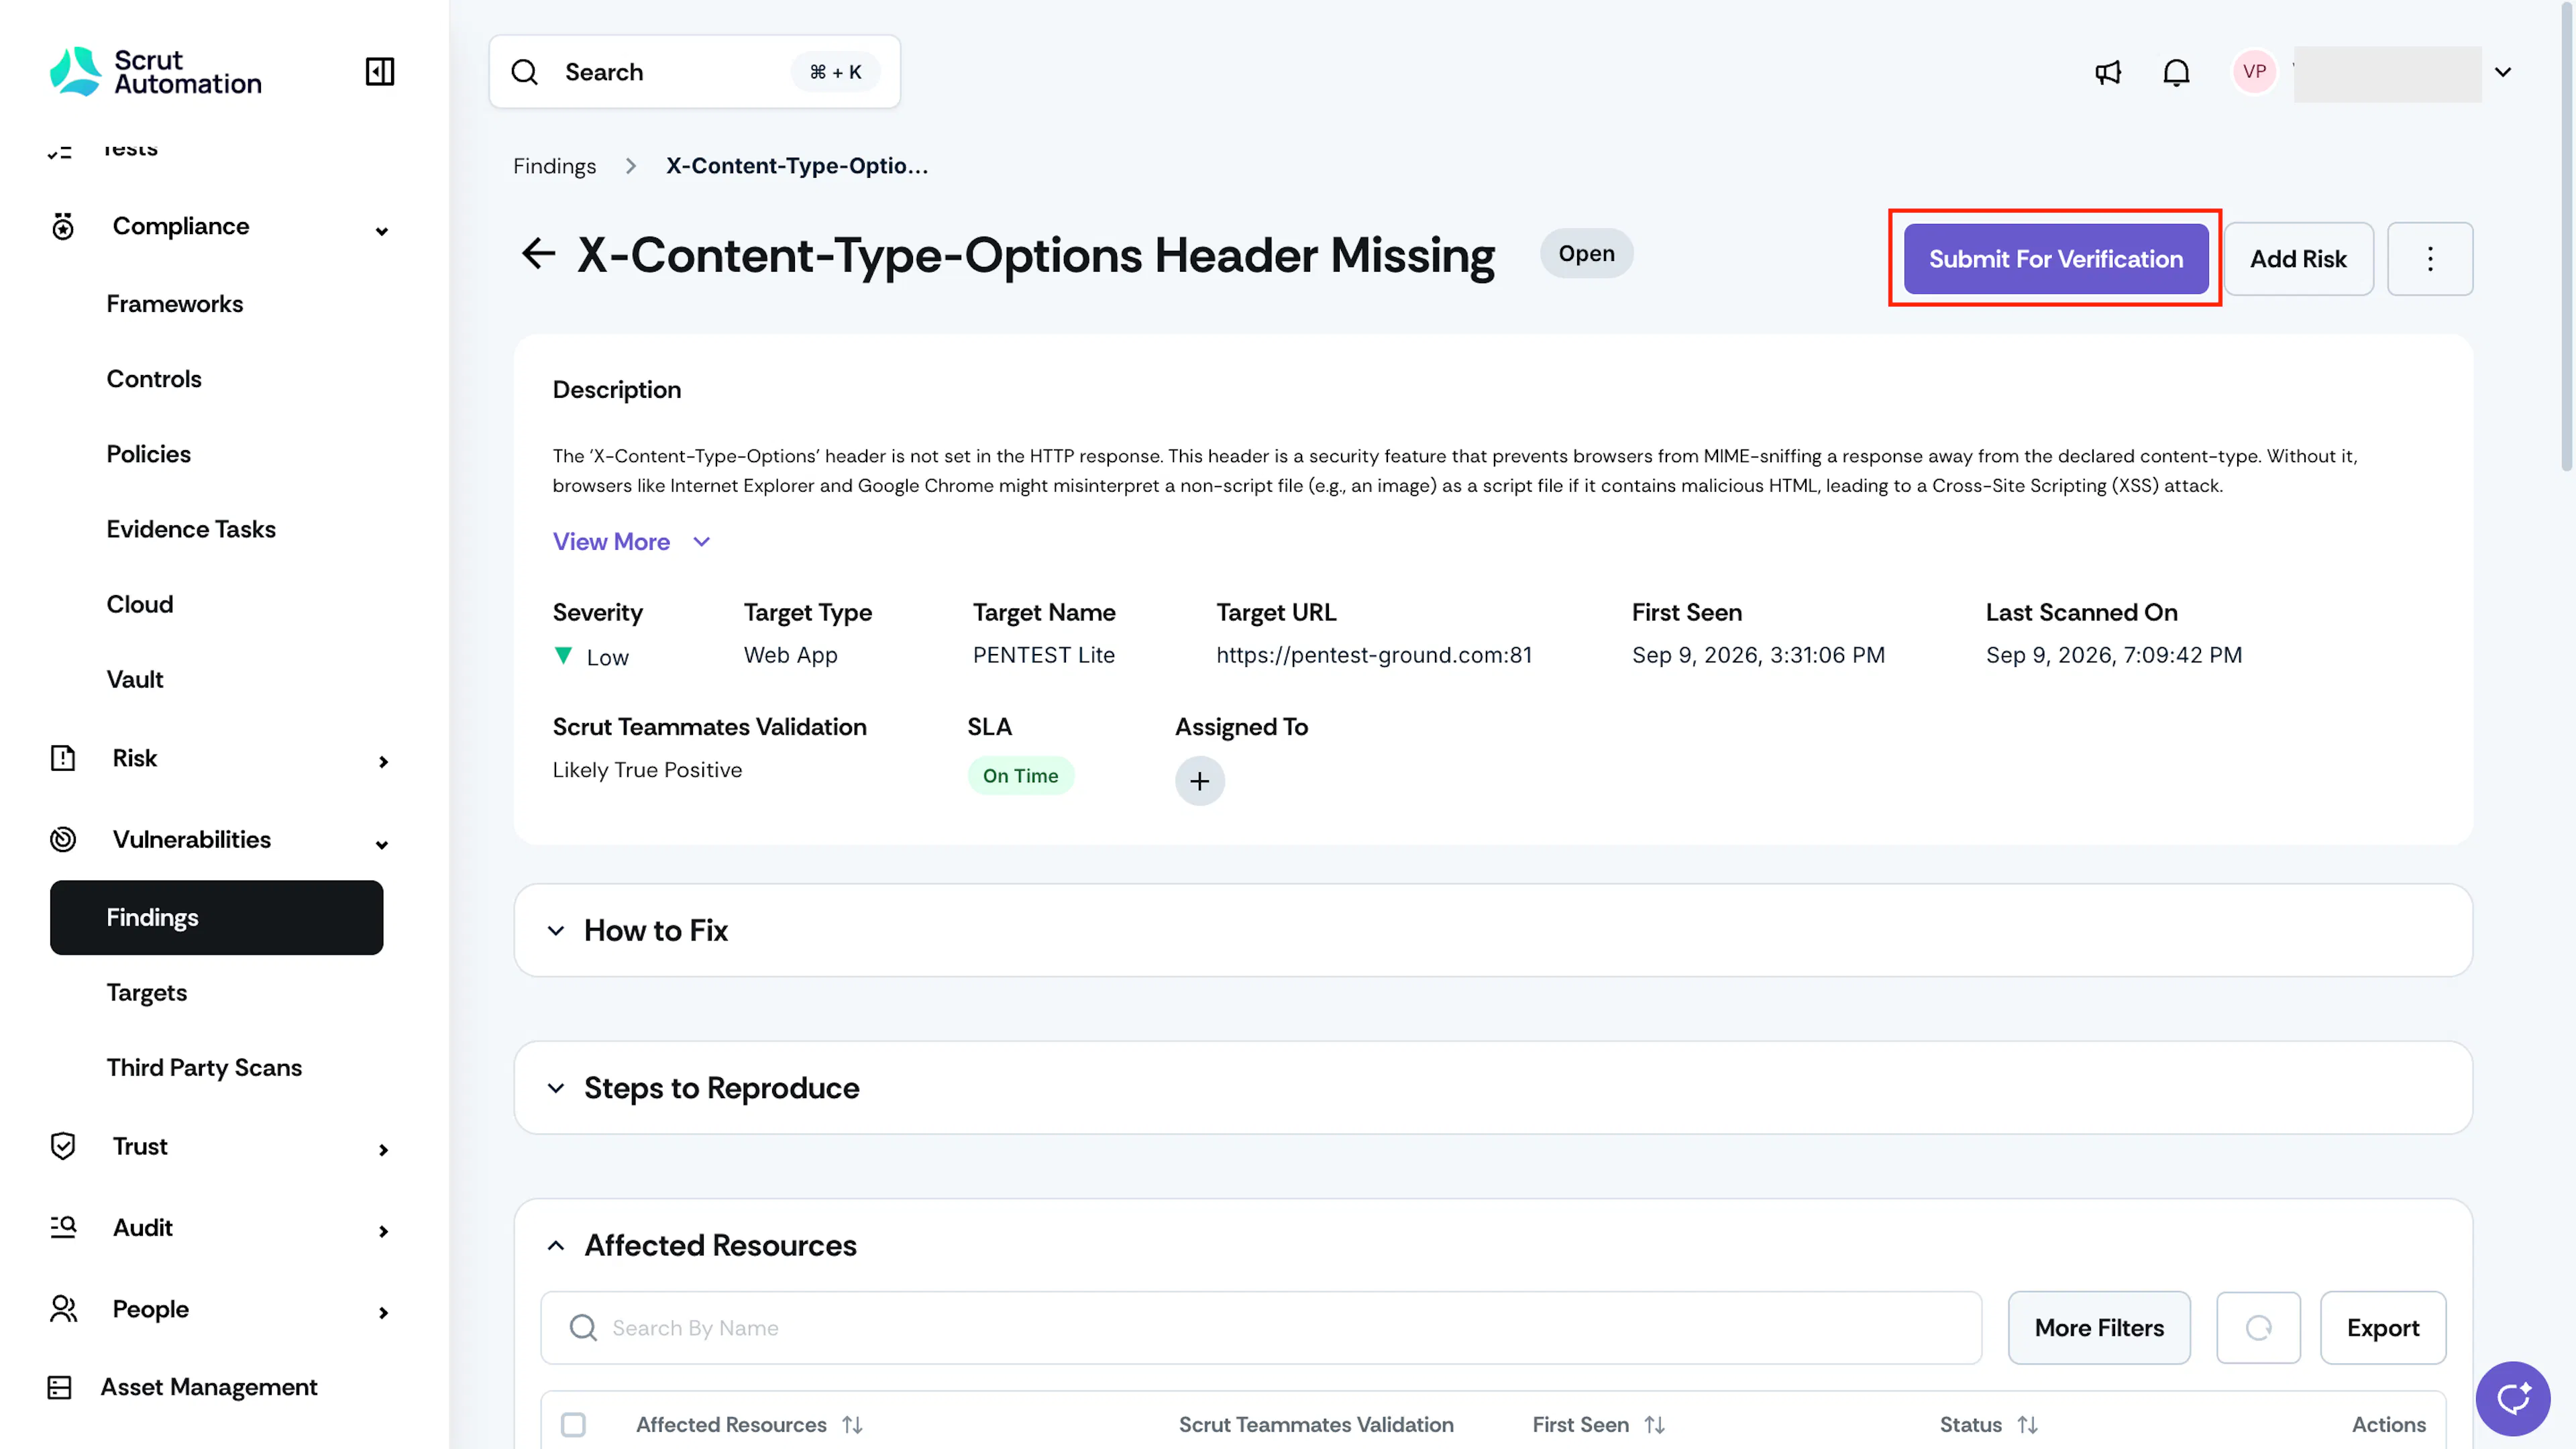
Submit for Verification - Click Submit in the confirmation window.
The finding status changes to Pending Verification, and the AI Verification agent re-attacks every open affected resource. When verification completes, you receive a notification:
- Closed: The fix held on every affected resource. The SLA stops.
- Reopened: At least one resource is still exploitable. Fixed resources show Closed, so you know exactly what remains. The SLA continues from the original publish date.
To fix and resubmit a reopened finding, repeat the steps above.
Step 5: Handle Findings You Won't Fix
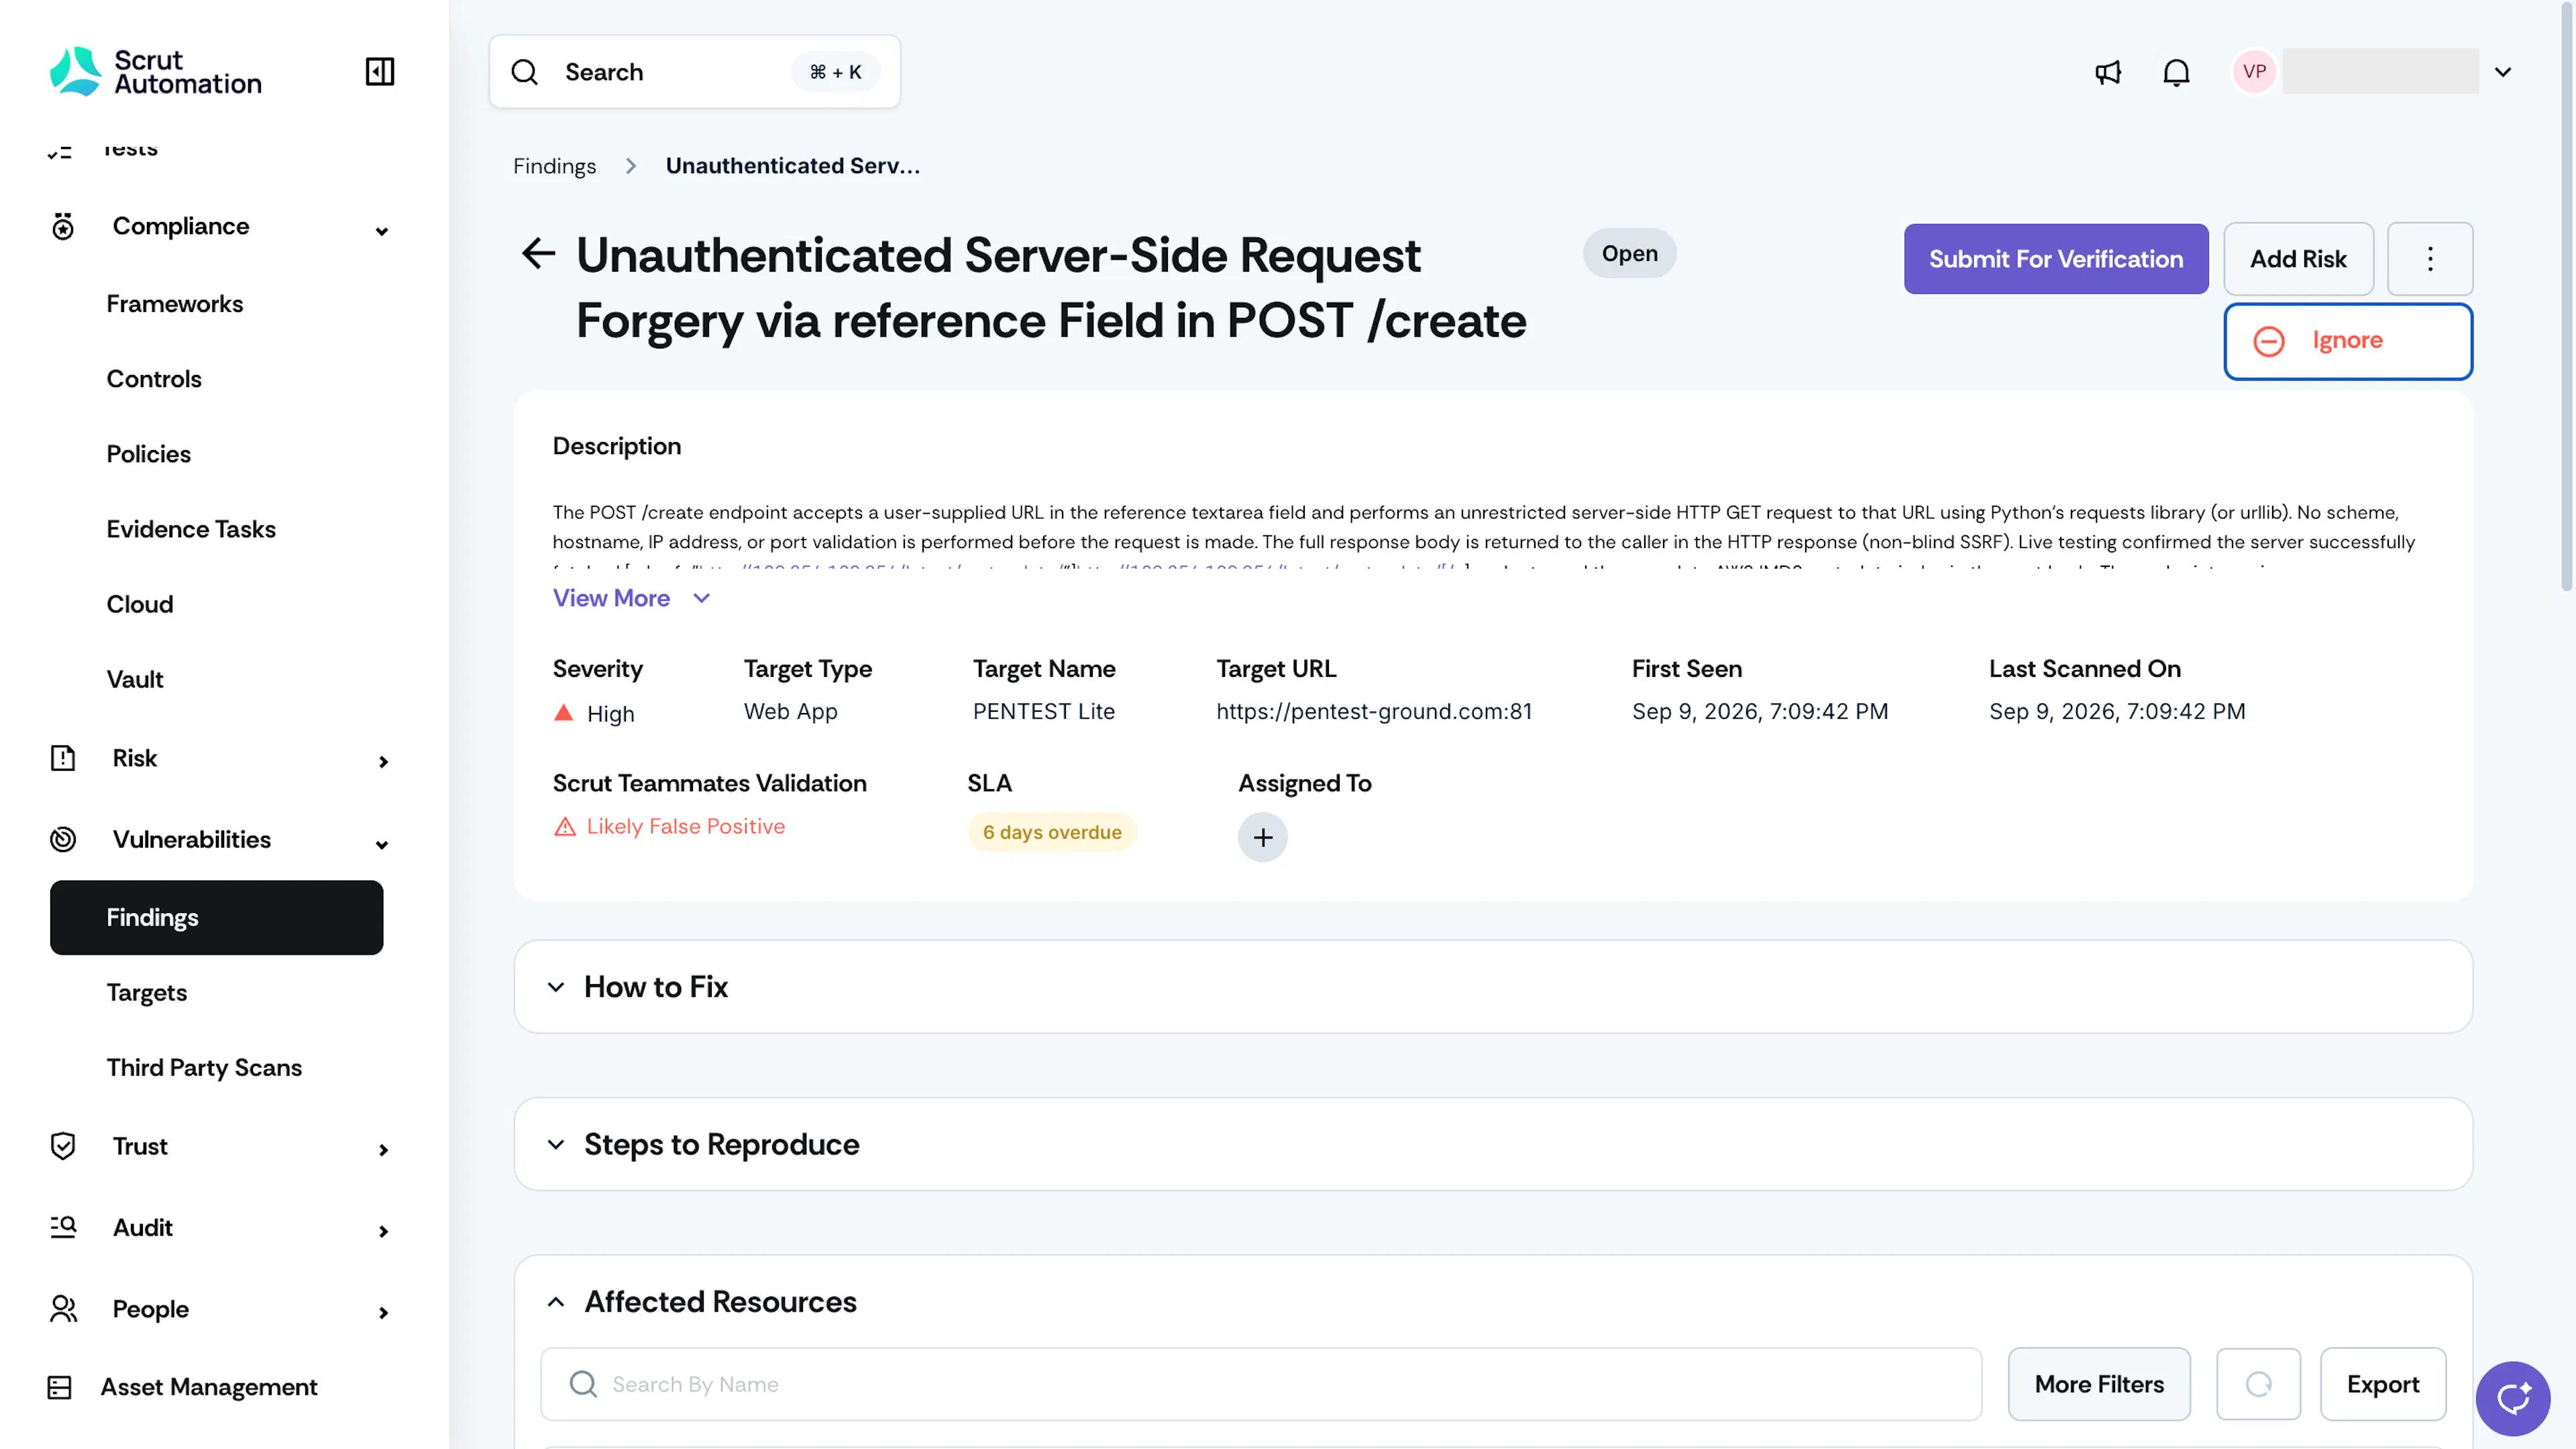
For findings that don't apply to your environment, or that your team decides not to fix:
- Ignore: Open the finding, click the three-dots icon, and click Ignore. All affected resources in Open or Reopened status are also ignored. Click Undo Ignore at any time to return the finding and its resources to Open.
- Add Risk: Open the finding and click Add Risk. The finding status changes to Risk Accepted, affected resources in Open or Reopened status are also marked Risk Accepted, and a linked risk is created in the Risk Register.
Your PTaaS Lite program is now running. Run your next scan when your scan allowance resets.
FAQs
Reach out to support@scrut.io or contact your CSM for further assistance.