View Cloud Test Details
The Test Details page in the Cloud module is your central hub for viewing, analyzing, and managing individual cloud test findings. It provides comprehensive insights and tools to help you assess risks, implement fixes, and track remediation progress.
How To Access the Test Details Page
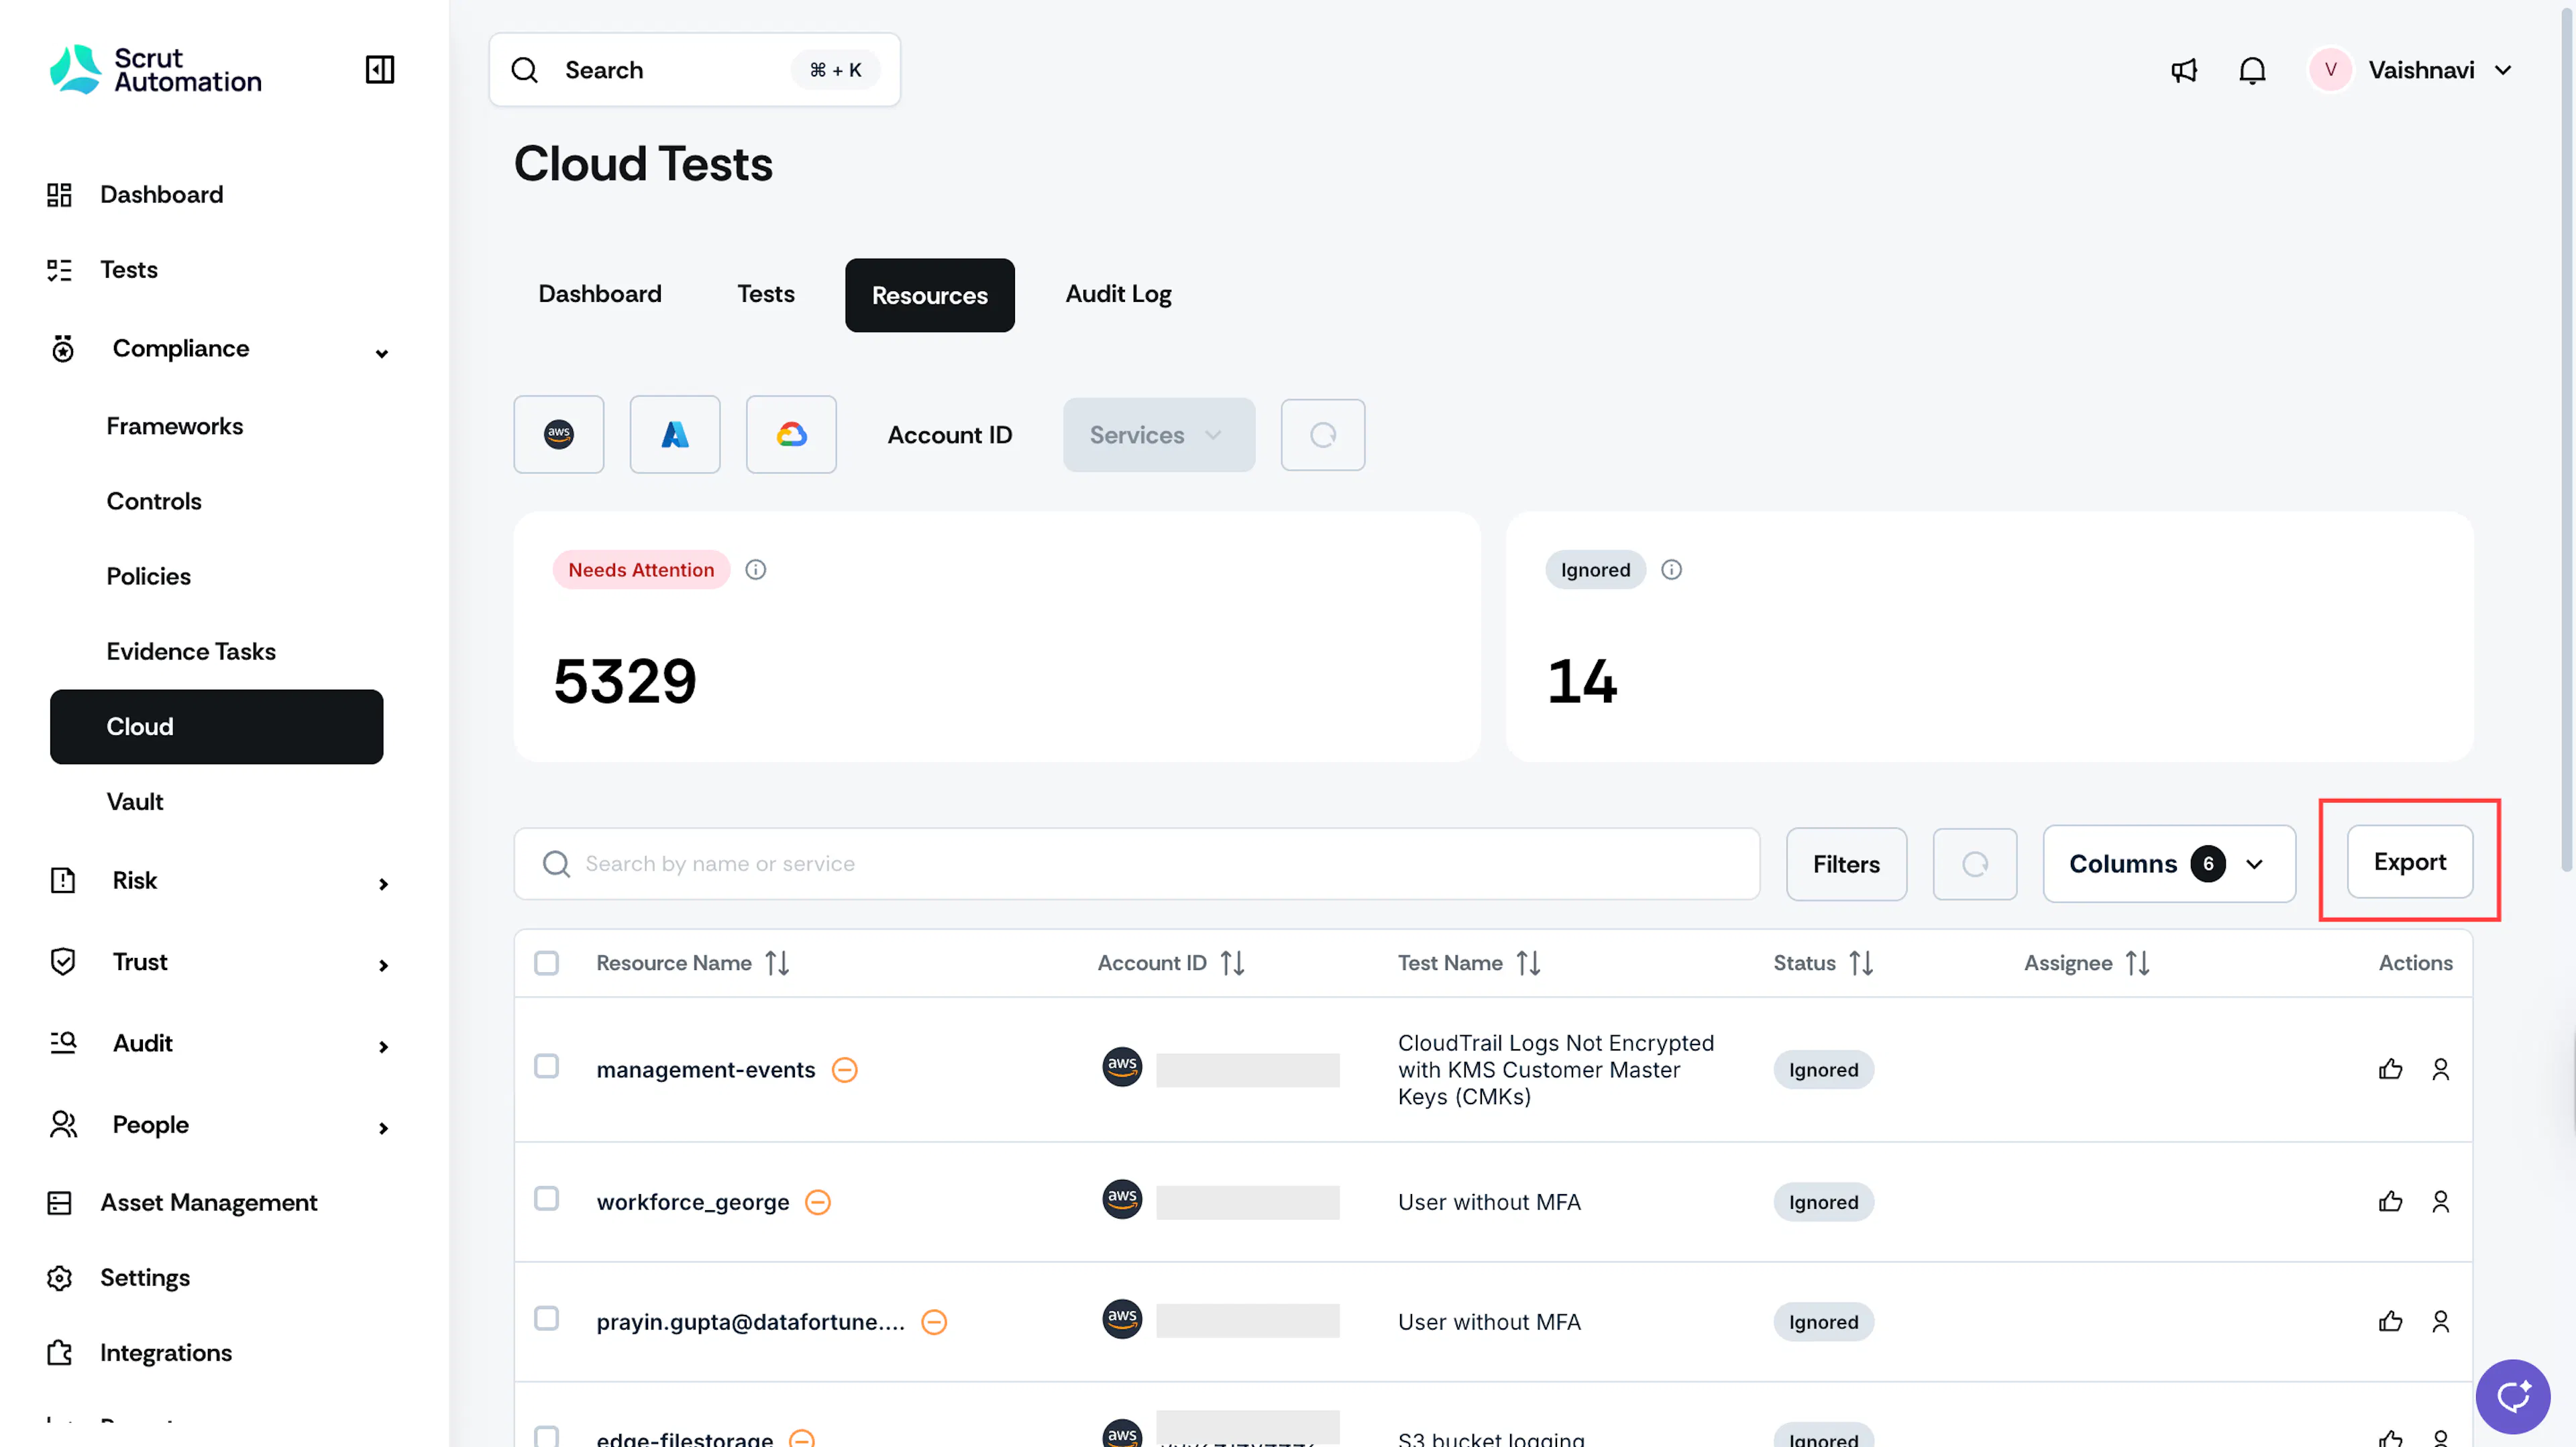
- Sign in to Scrut, click Compliance → Cloud on the left navigation panel.
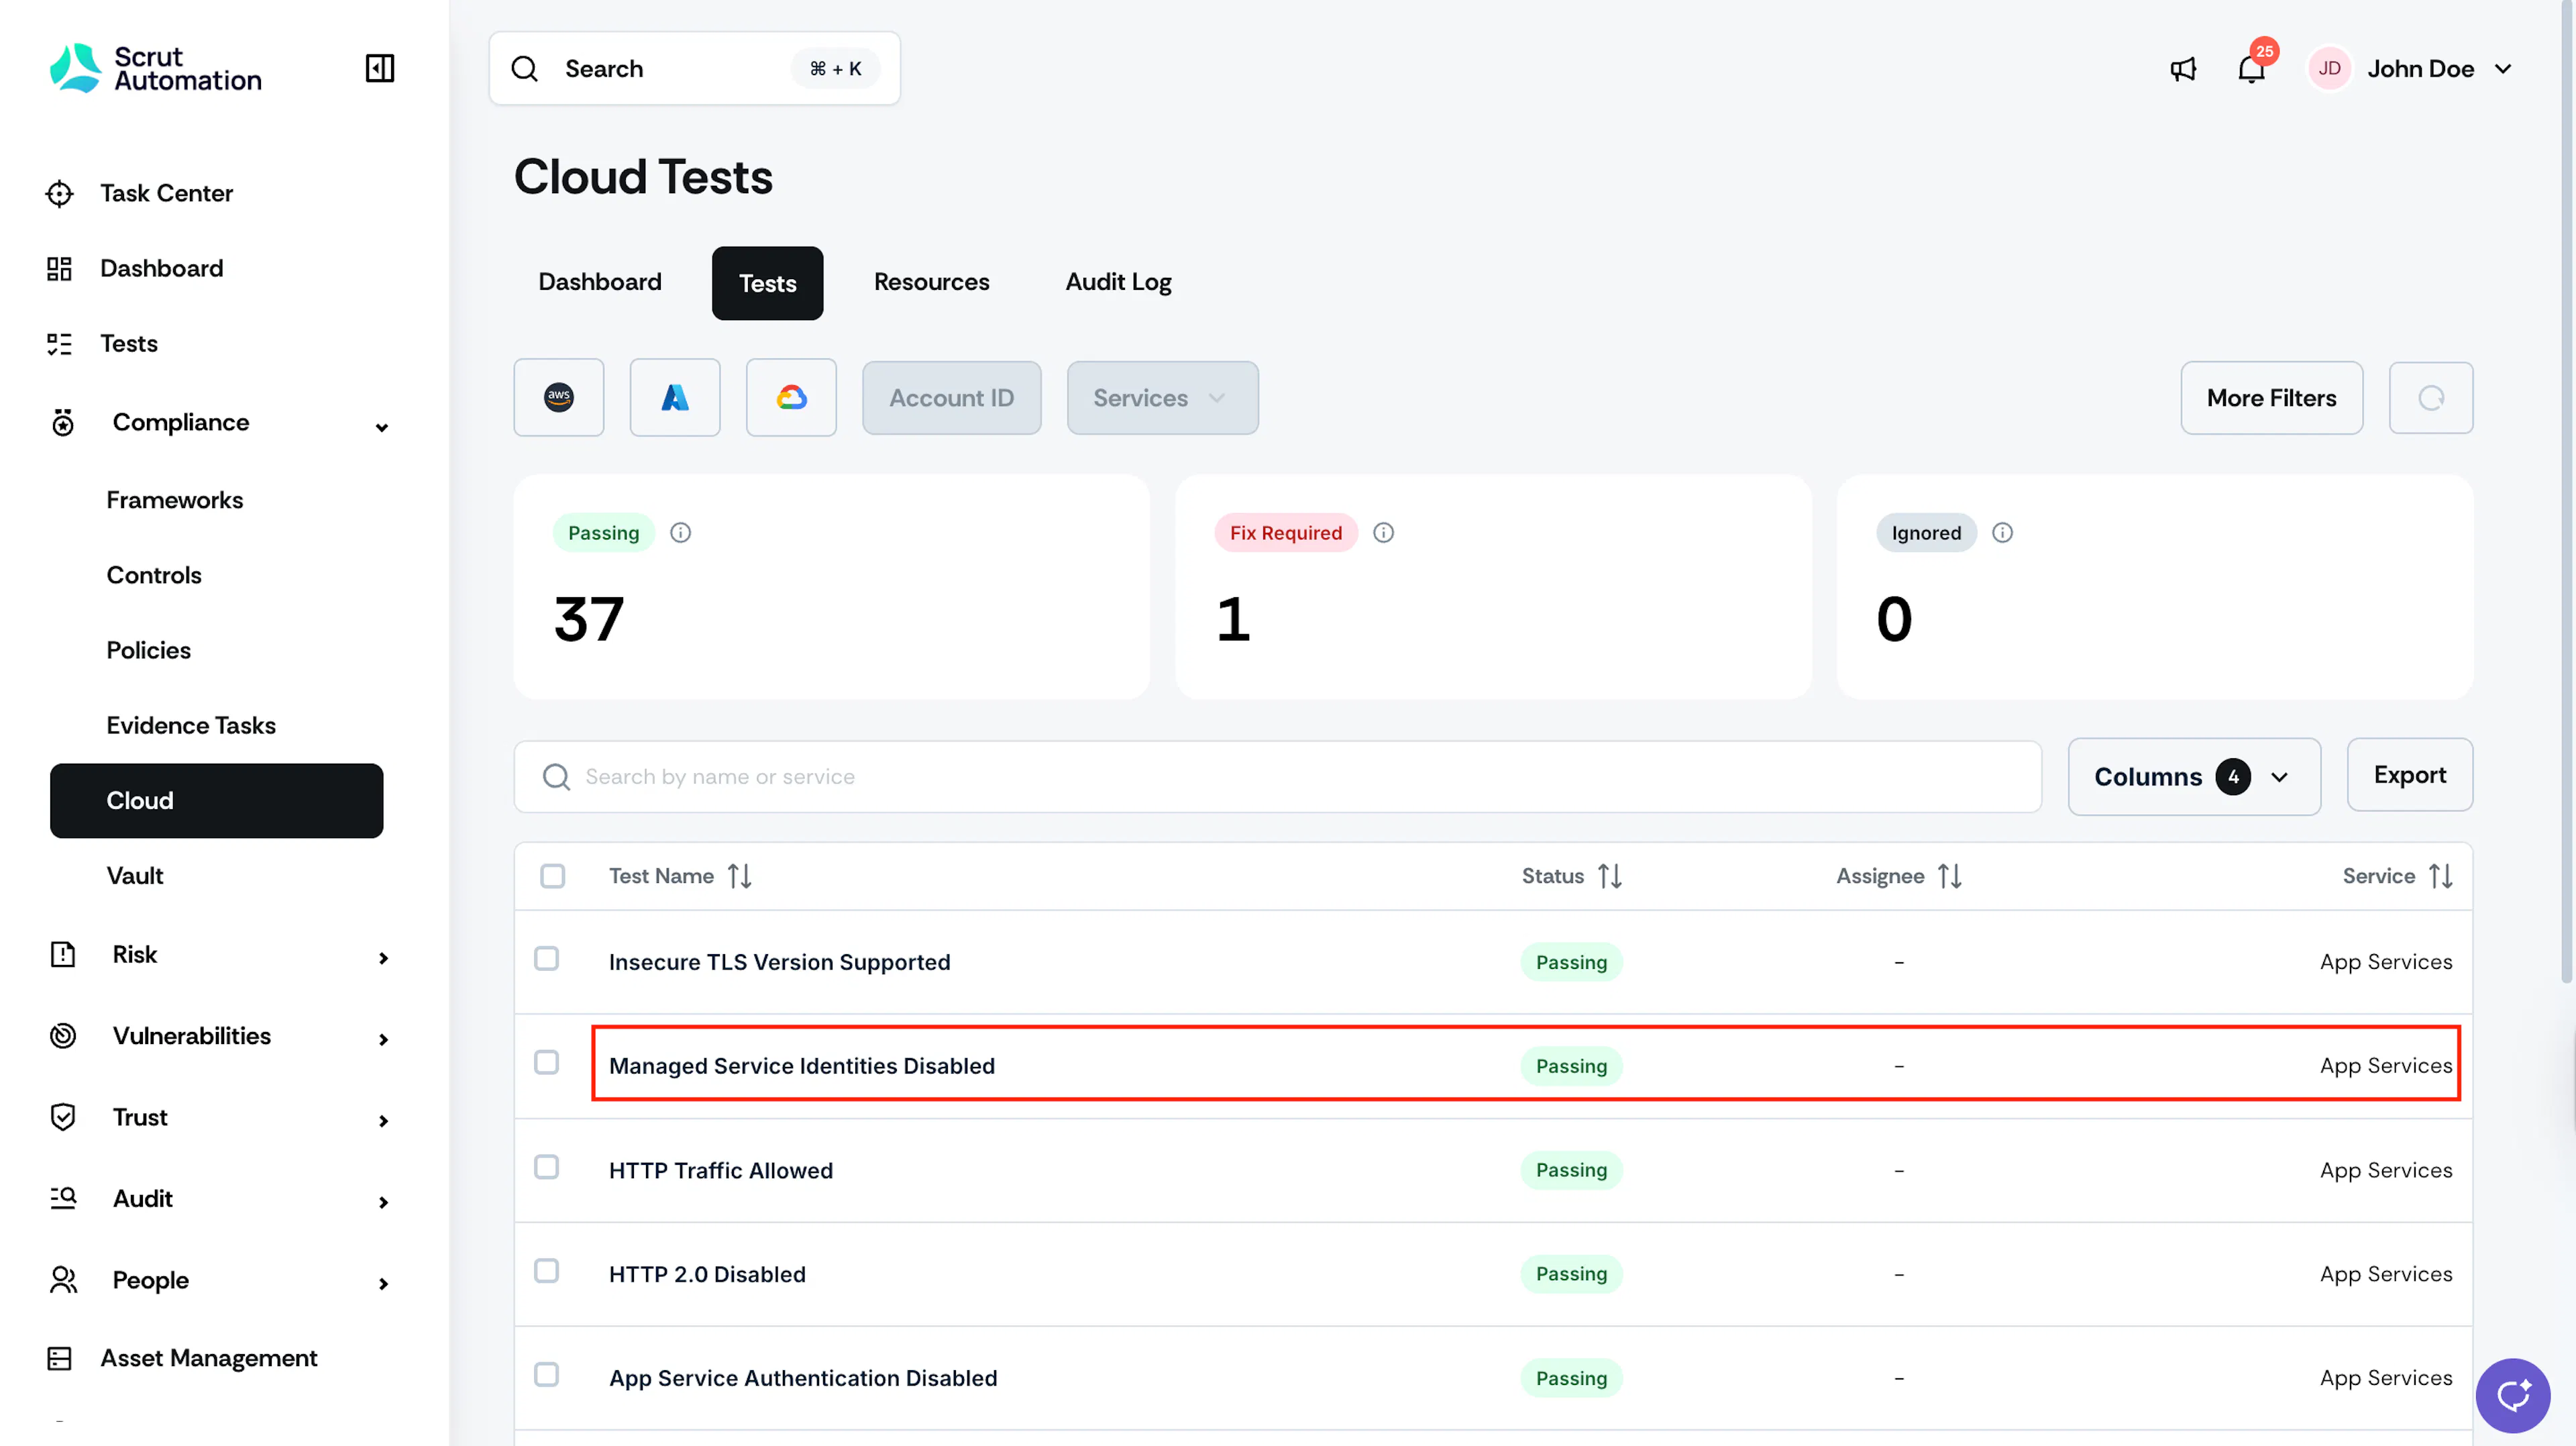
- Go to the Tests tab and click the test that you want to review.
- This takes you directly to the details page of that specific test.
Pro Tip!
Use the search bar and filters at the top of the page to quickly locate specific tests.
Understanding the Test Details Page
The Test Details page is organized into the following key sections:
Test Title

This is the test name, and this section also includes other key details, such as the test status, the frameworks it is mapped to, etc.
Concerns

This section provides contextual information about the potential risks or issues associated with the test finding:
- What the test checks for
- Why this configuration matters for your security posture
- Relevant framework requirements or best practices
- Additionally, this section also shows to whom the test is assigned for remediation. You can add or edit assignees from here.
Remediation Steps
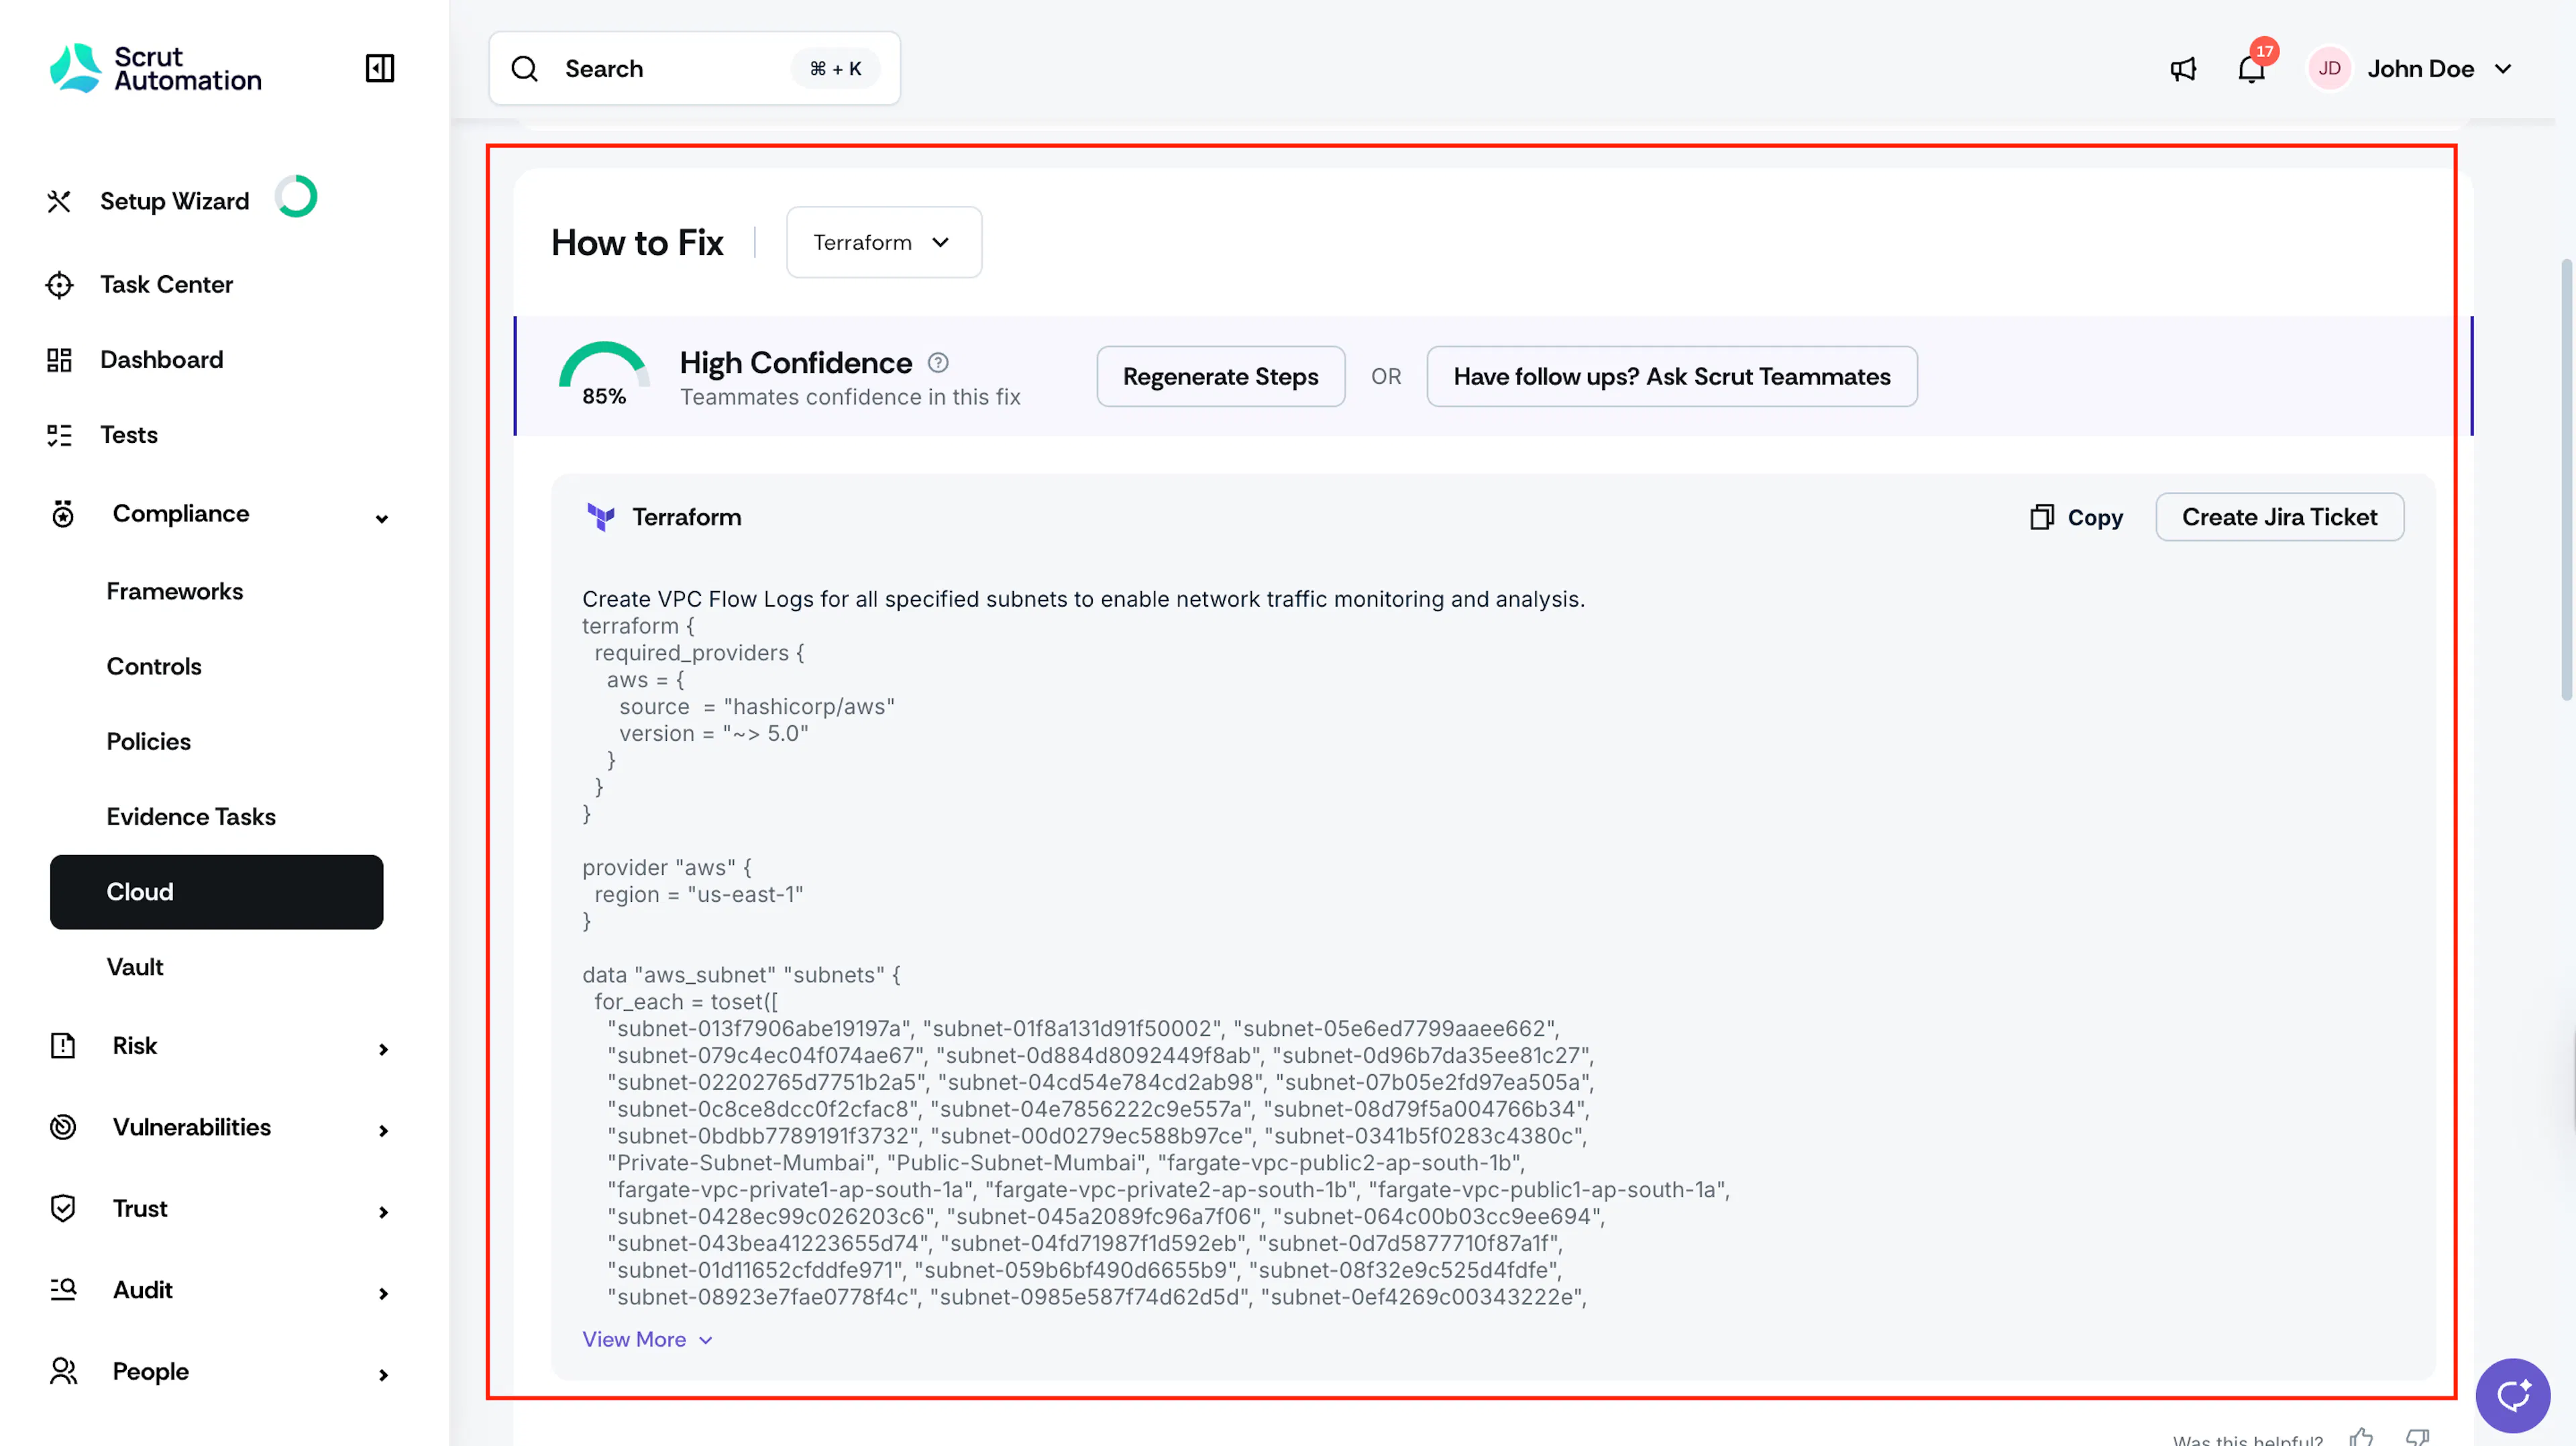
Scrut provides AI-powered step-by-step remediation instructions for each test:
- Specific actions needed to fix non-compliant configurations
- Guidance to help resources become compliant
- Actionable items you can follow to resolve issues
Test History

This chart shows the test's historical status over time. Use the Date Filter to refine results for a specific period.
Flagged Resources
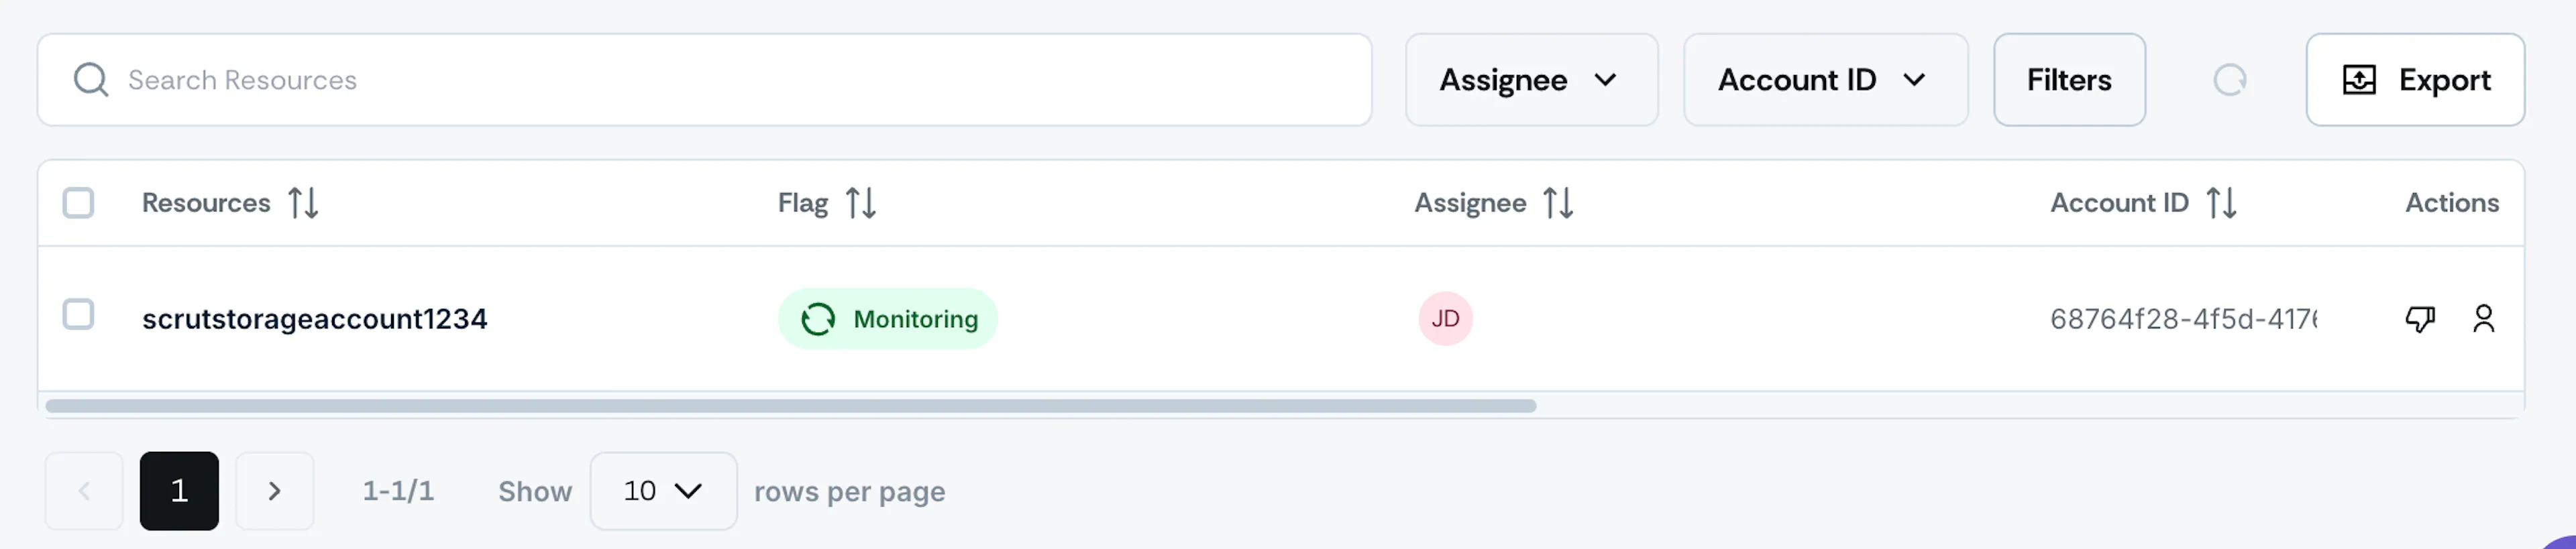
This section displays all resources associated with the specific finding:
- Lists every asset that failed the test
- Shows which resources need attention
Tip: Use the actions menu next to each resource to assign it to a user or ignore it if it's not applicable.
Heads Up!
A test moves to "Ok" status only when ALL its resources are either:
- Fixed and compliant, OR
- Manually ignored
If even one resource remains in "monitoring" status, the entire test stays in "Needs Attention."
Pro Tip!
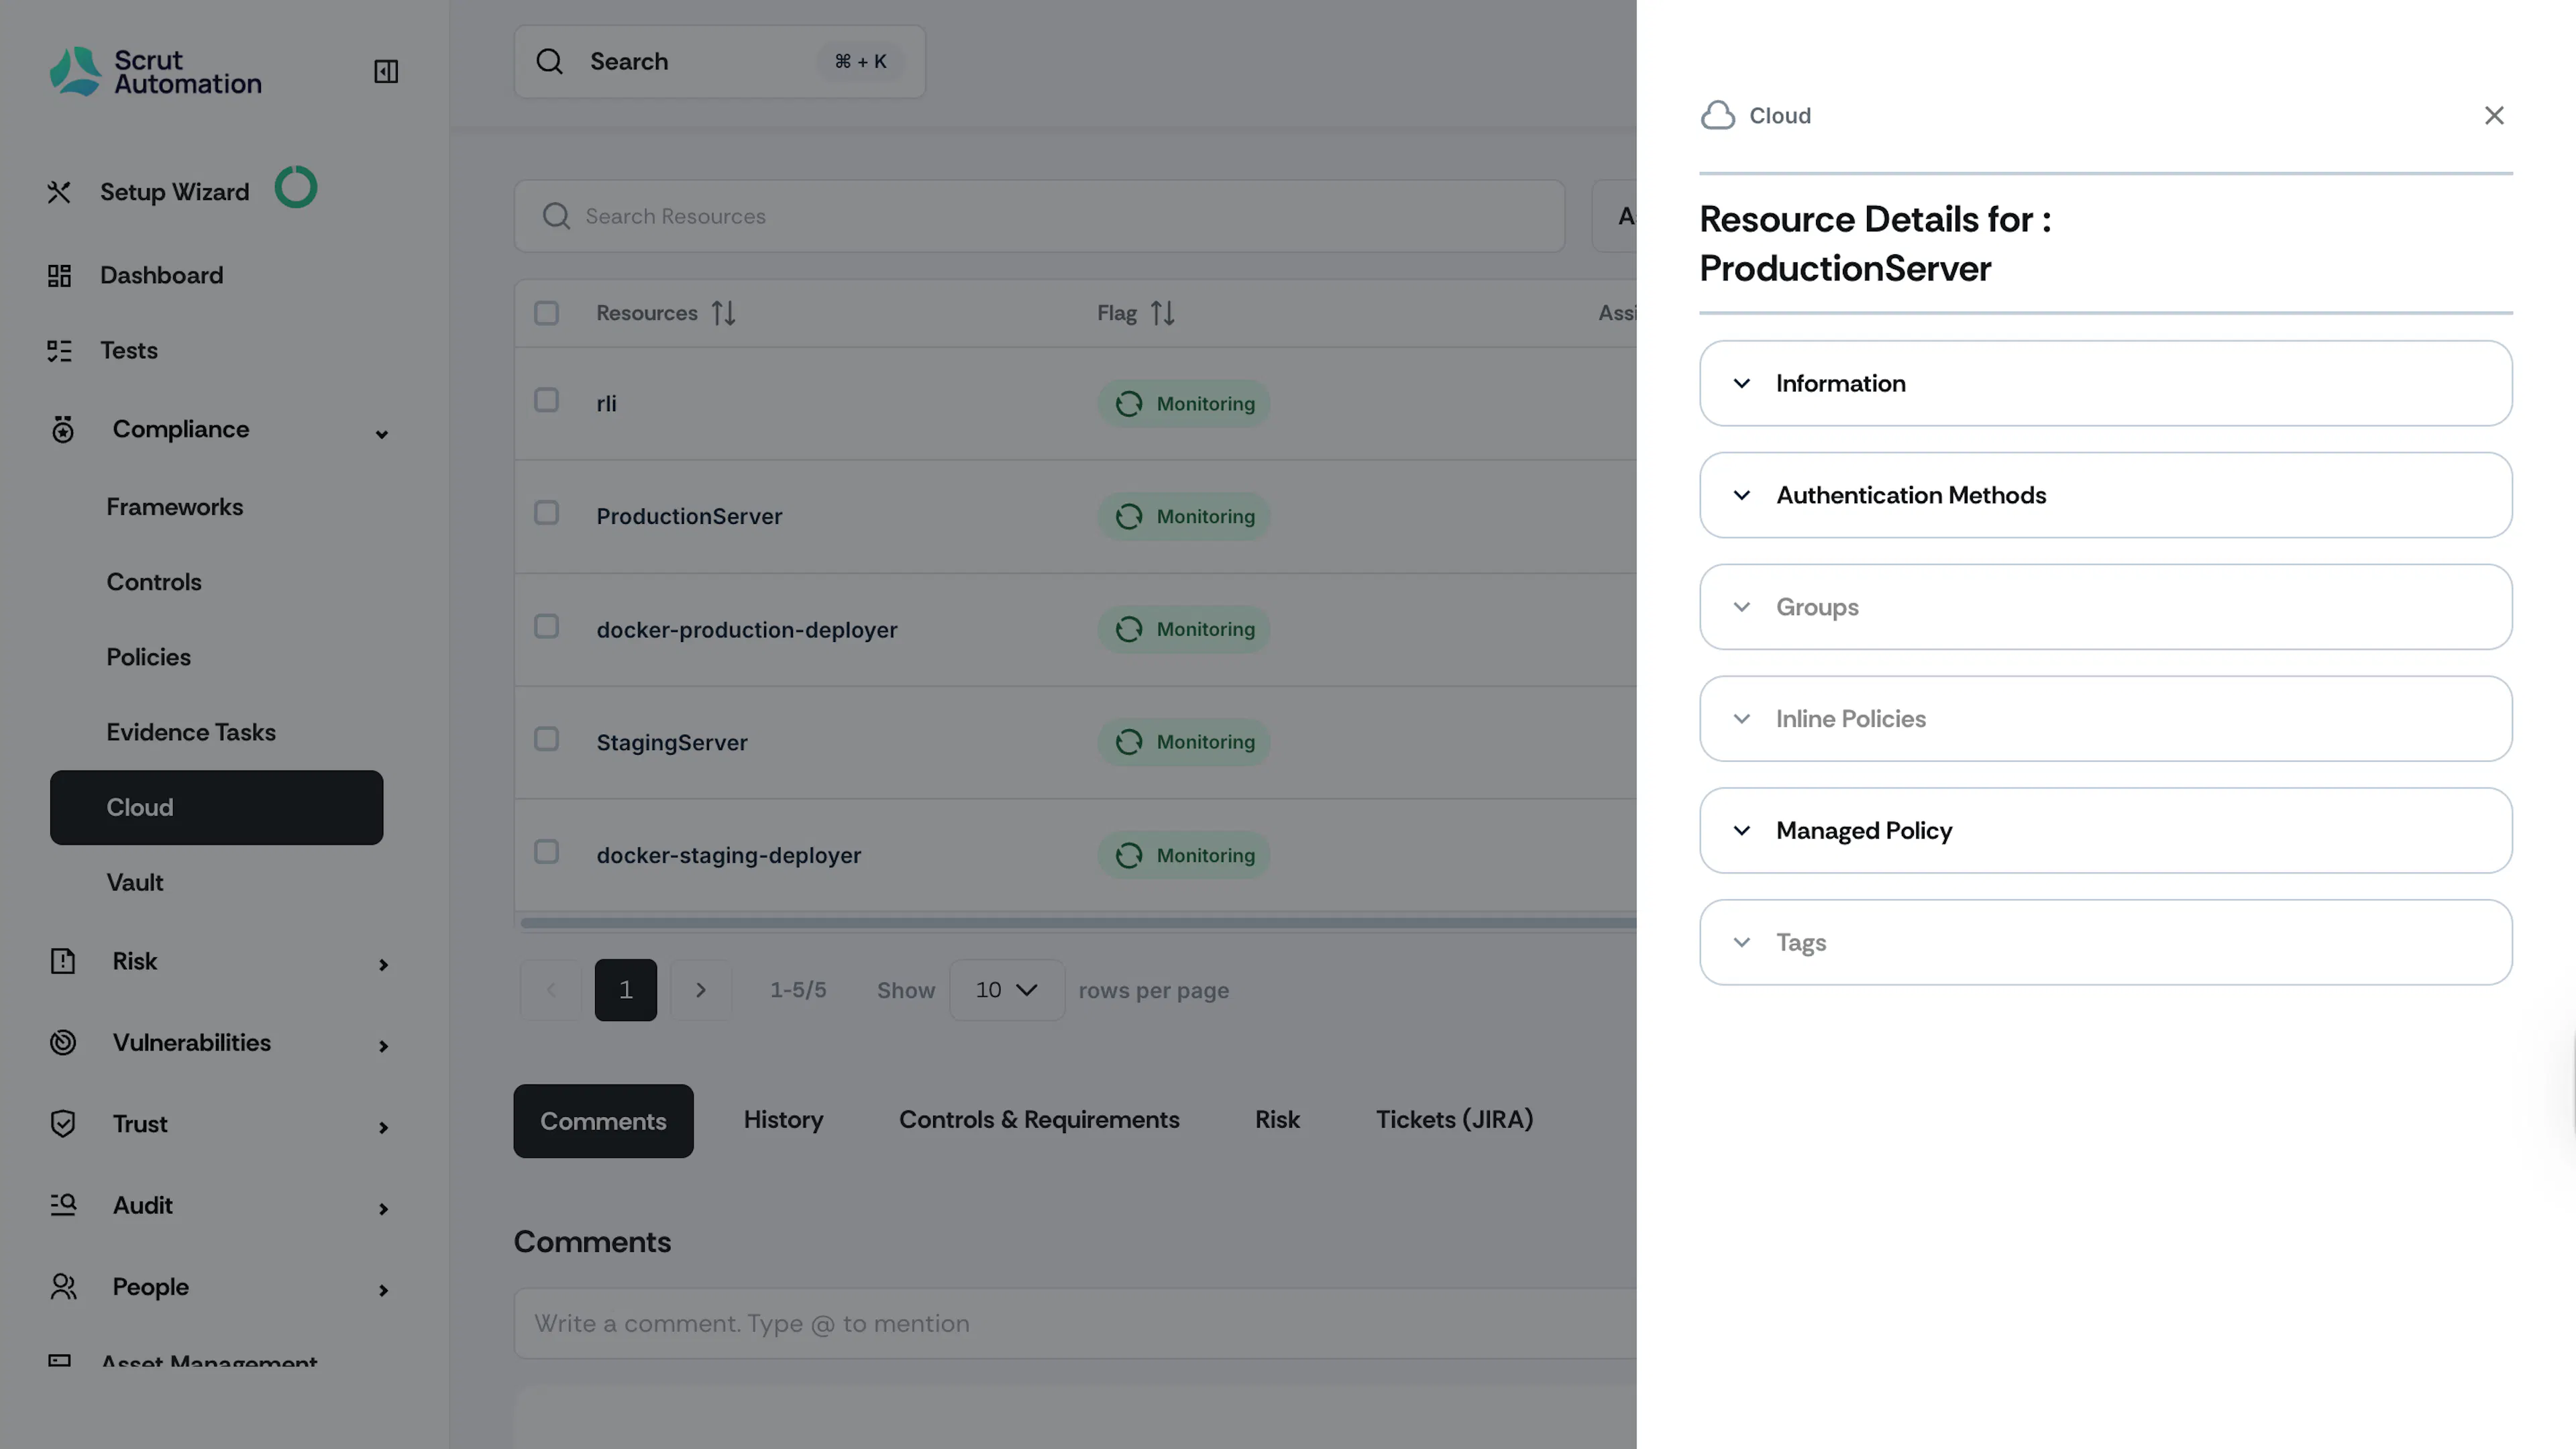
Clicking any resource in the table opens a side drawer that provides more contextual information such as resource metadata, authentication details, configuration settings, and other resource-specific attributes that vary by resource type. This speeds up investigation and remediation by centralizing key information.
Comments
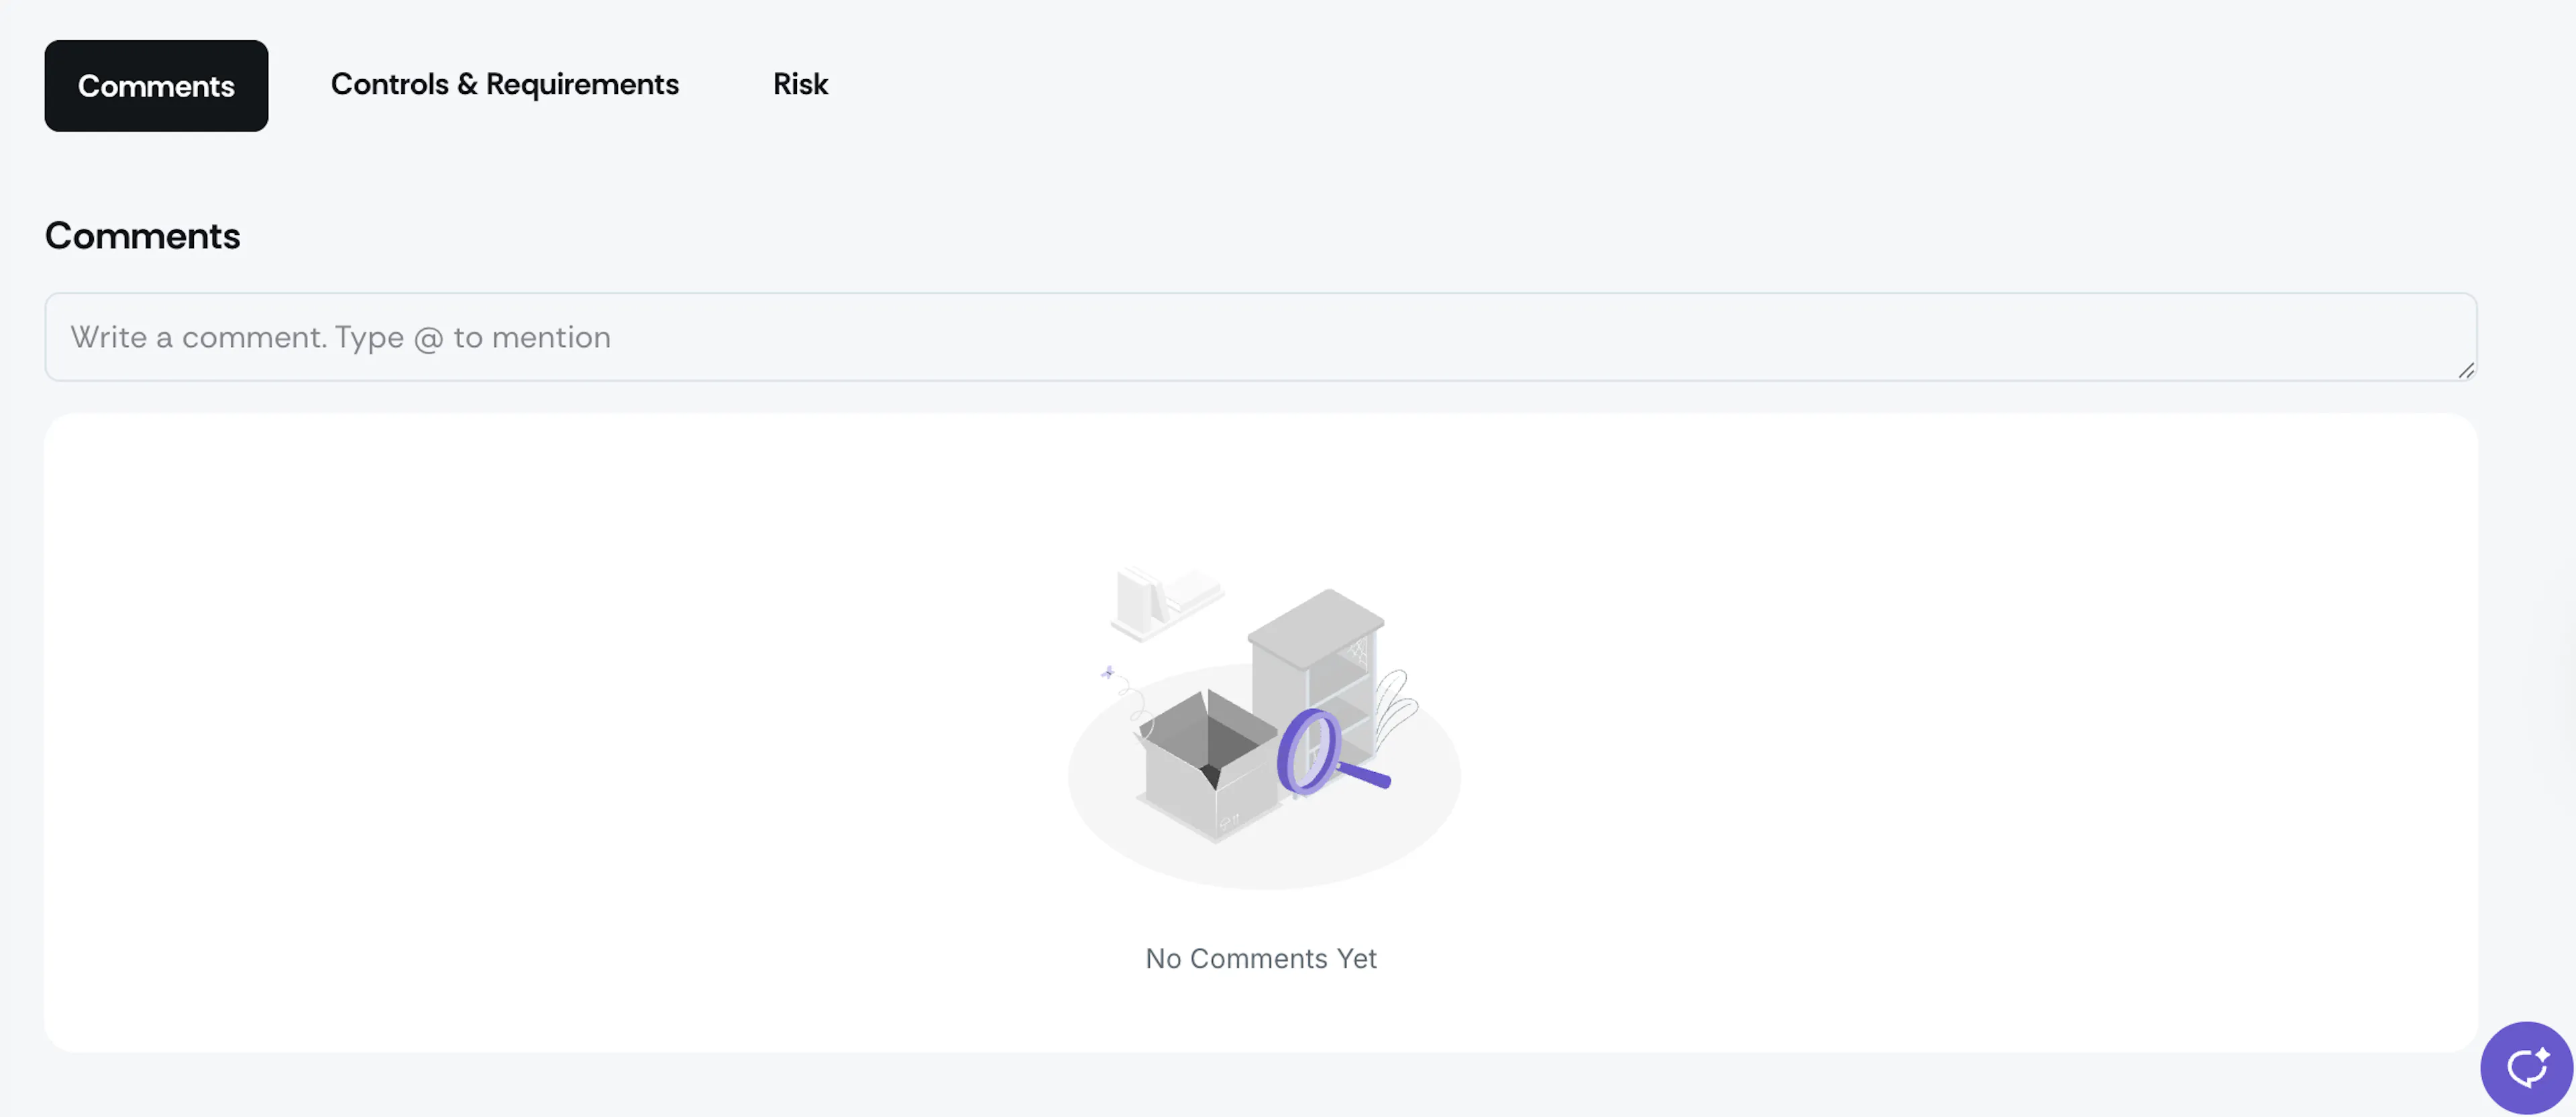
Use the Comments section in the Test Details page to communicate with assignees and other stakeholders.
- Enter your comment in the comment field
- Once added, comments appear in the comment section below the test details
- Use comments to provide context, updates, or additional instructions
Controls & Requirements
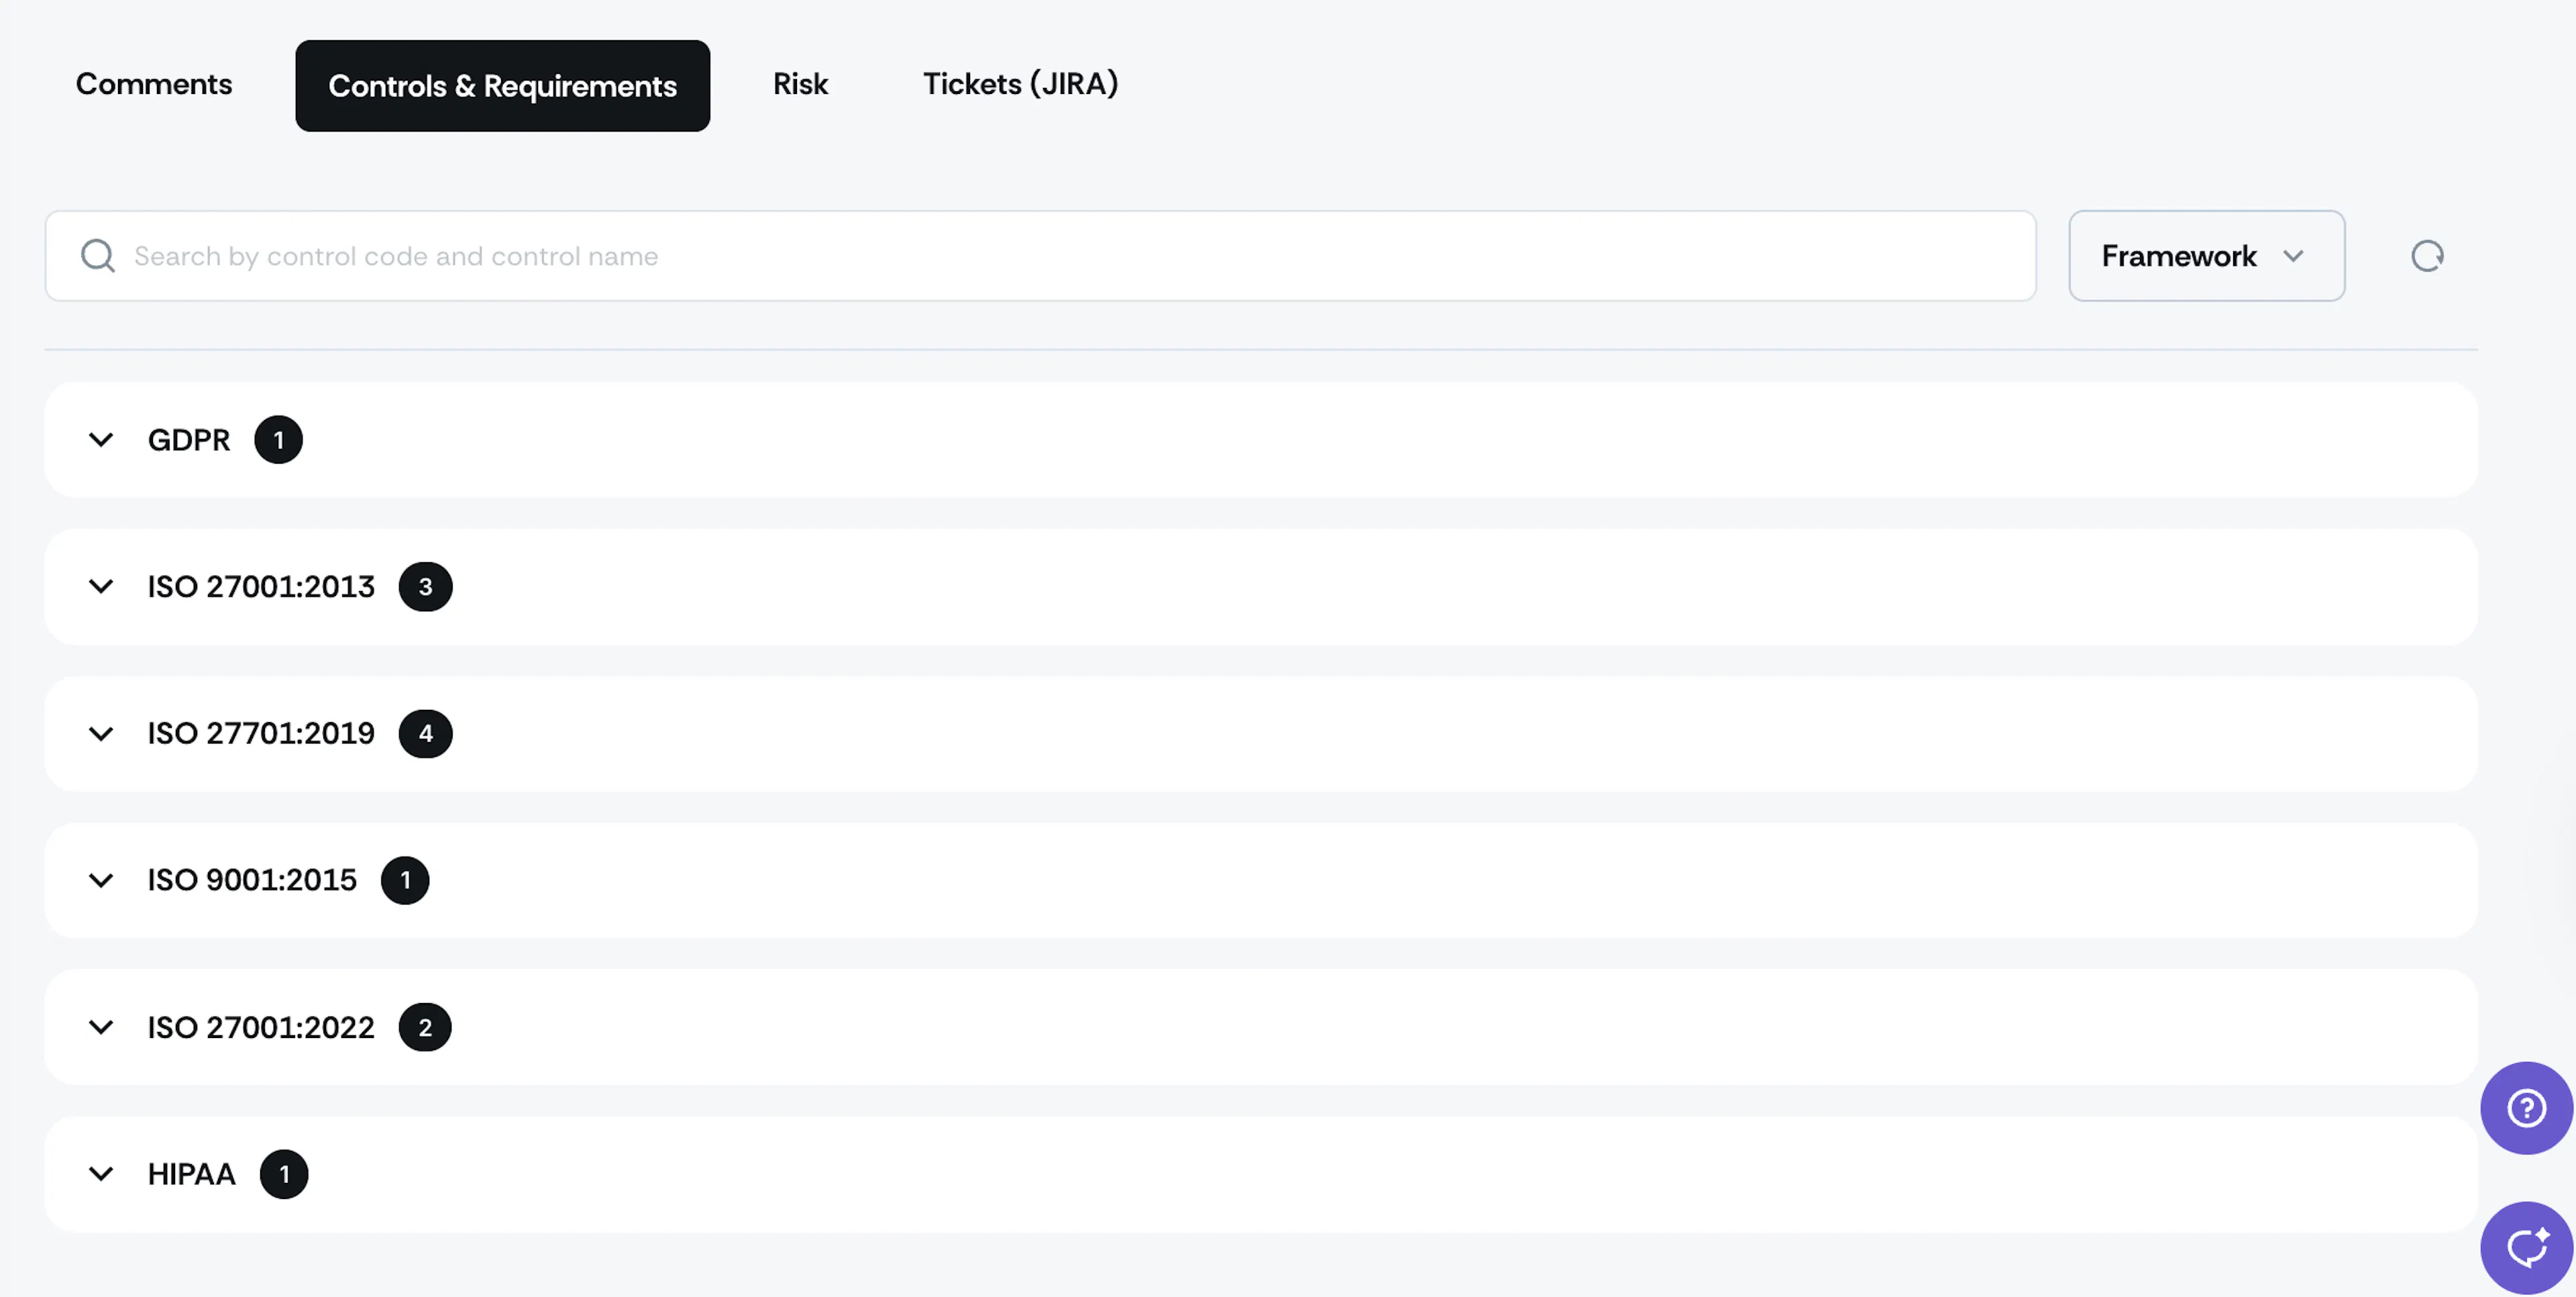
This section lists all the controls and requirements associated with a specific test.
Risk
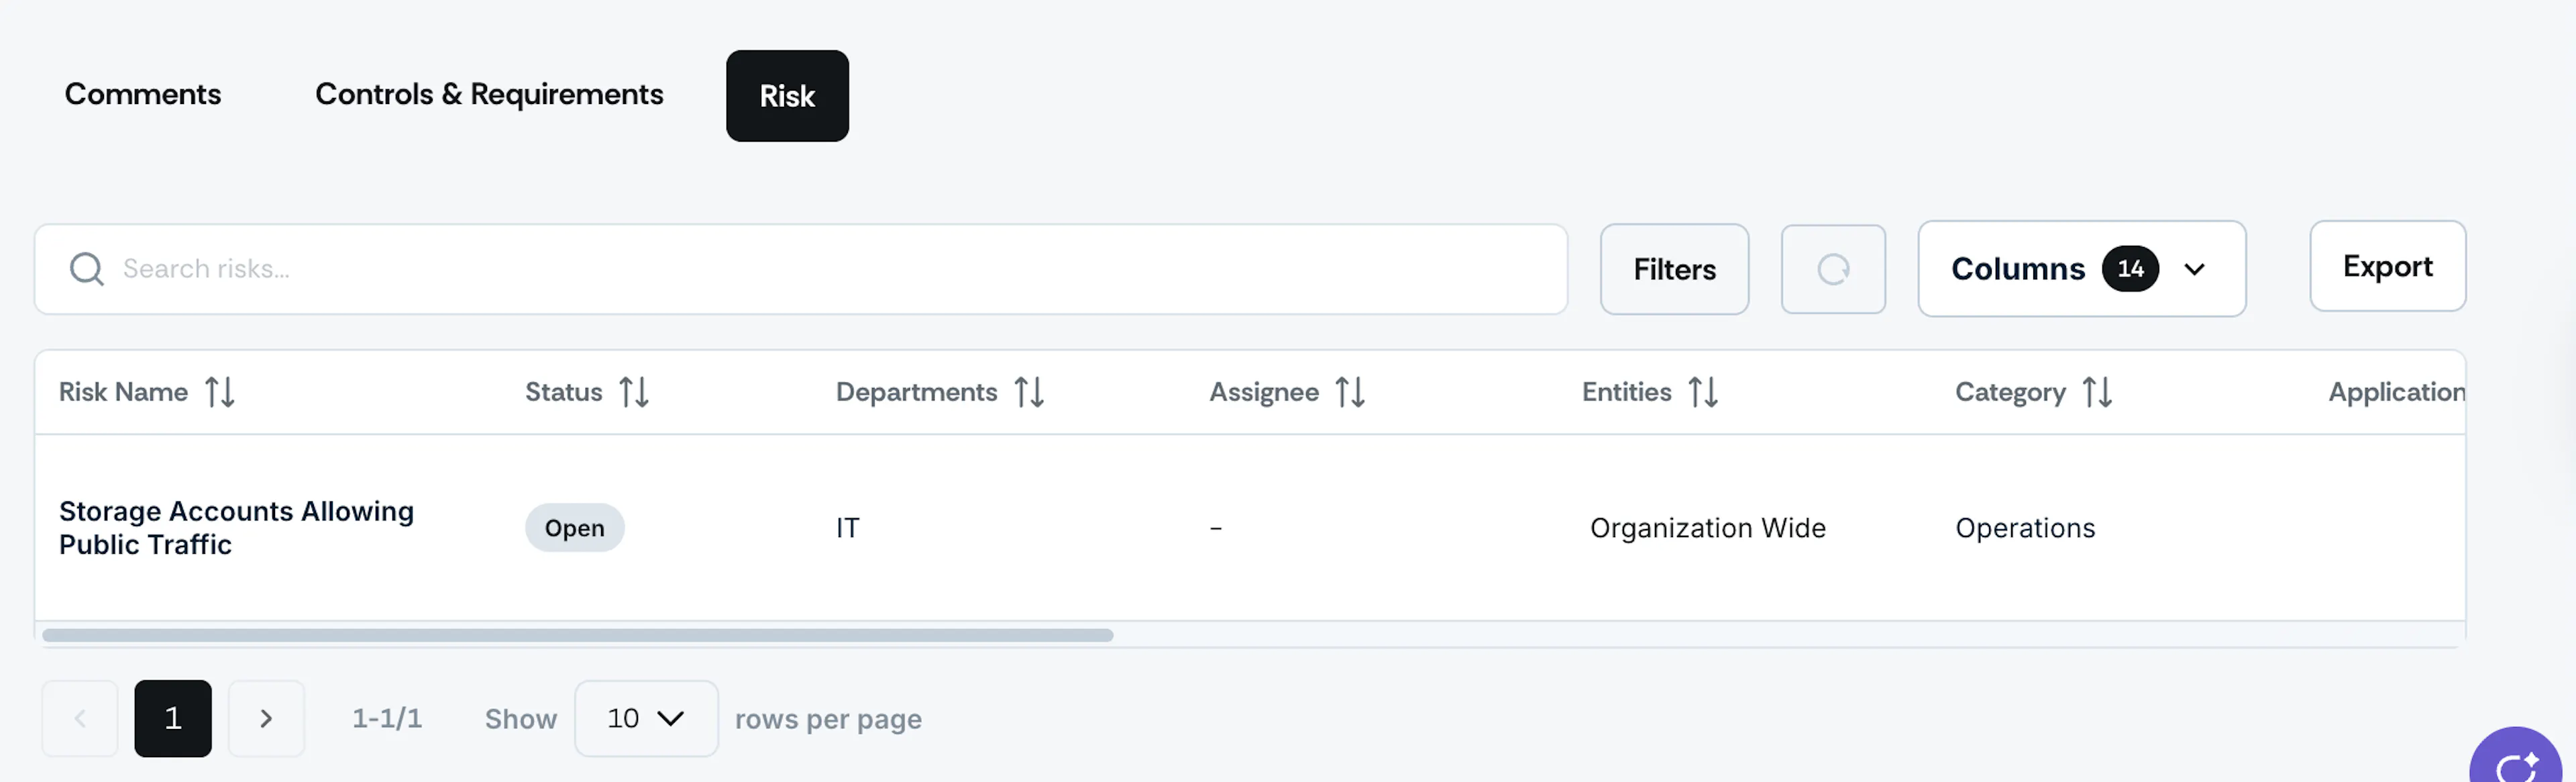
The Risk tab shows the risks you have created for a specific test finding. Clicking on it takes you directly to the risk register in the risk management module.
Tickets
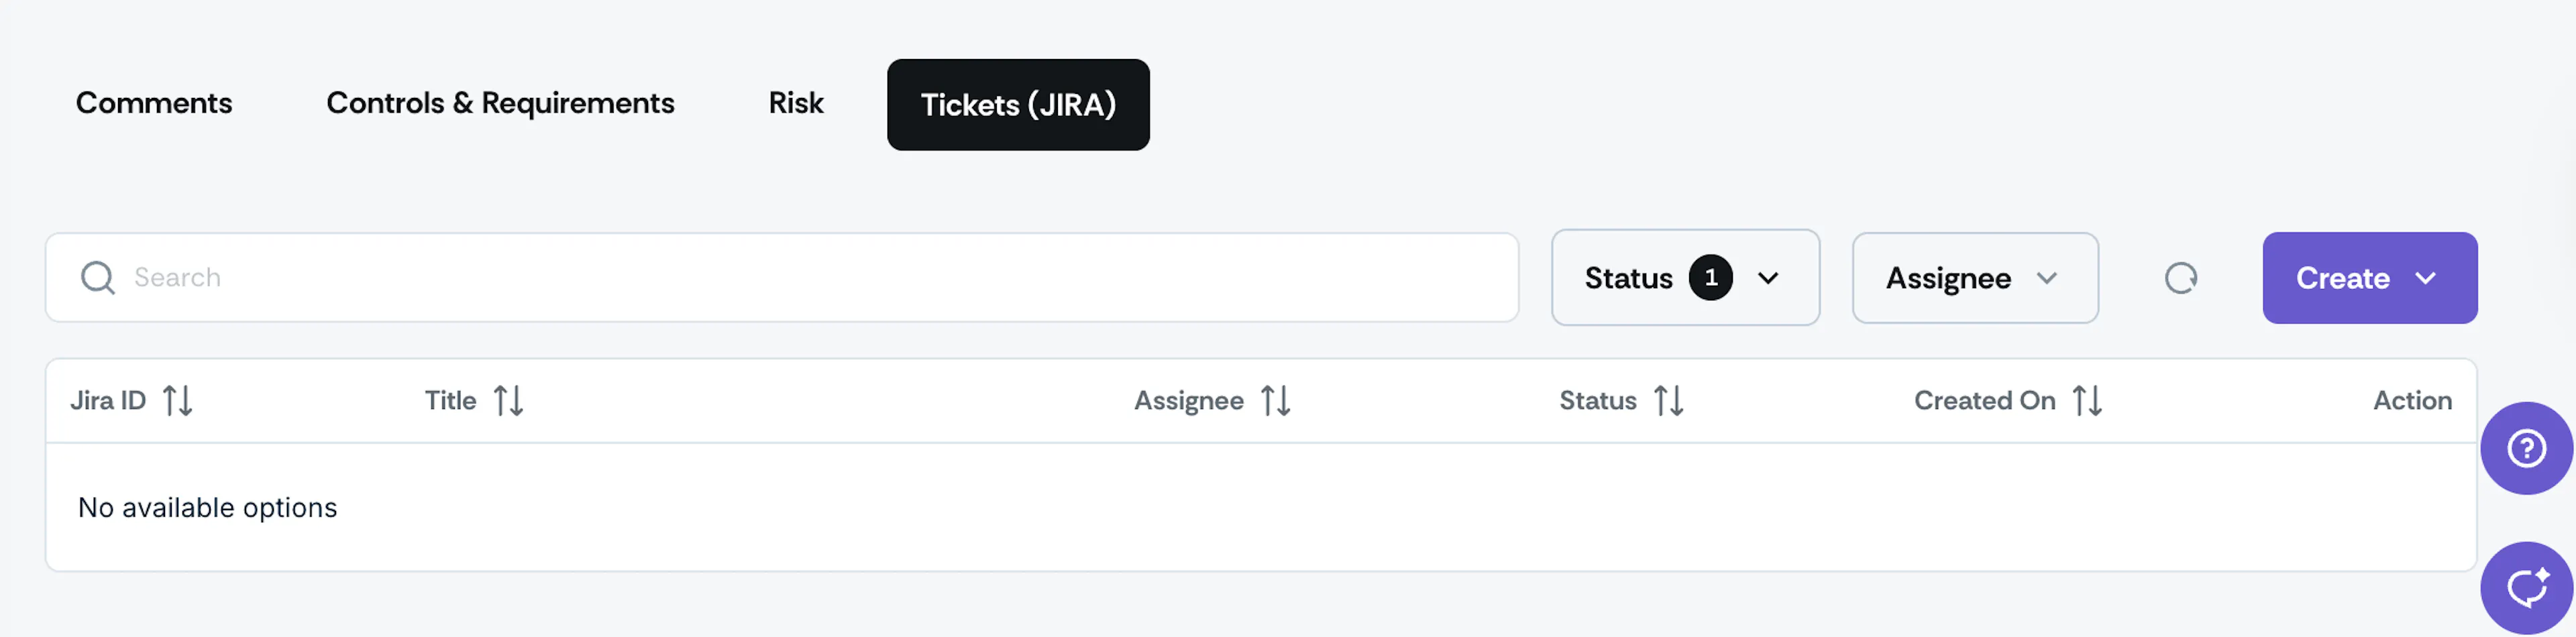
This tab shows the project management tickets associated with this test finding. Clicking
Key Actions
1: Assign a Test
Delegate responsibility for test remediation to team members. You can assign at two levels:
- Test Level: Assign the entire test to a team member
- Resource Level: Assign individual flagged resources to specific users
Tip: Filter by assignee to view who is responsible for each test or resource.
2: Test Now
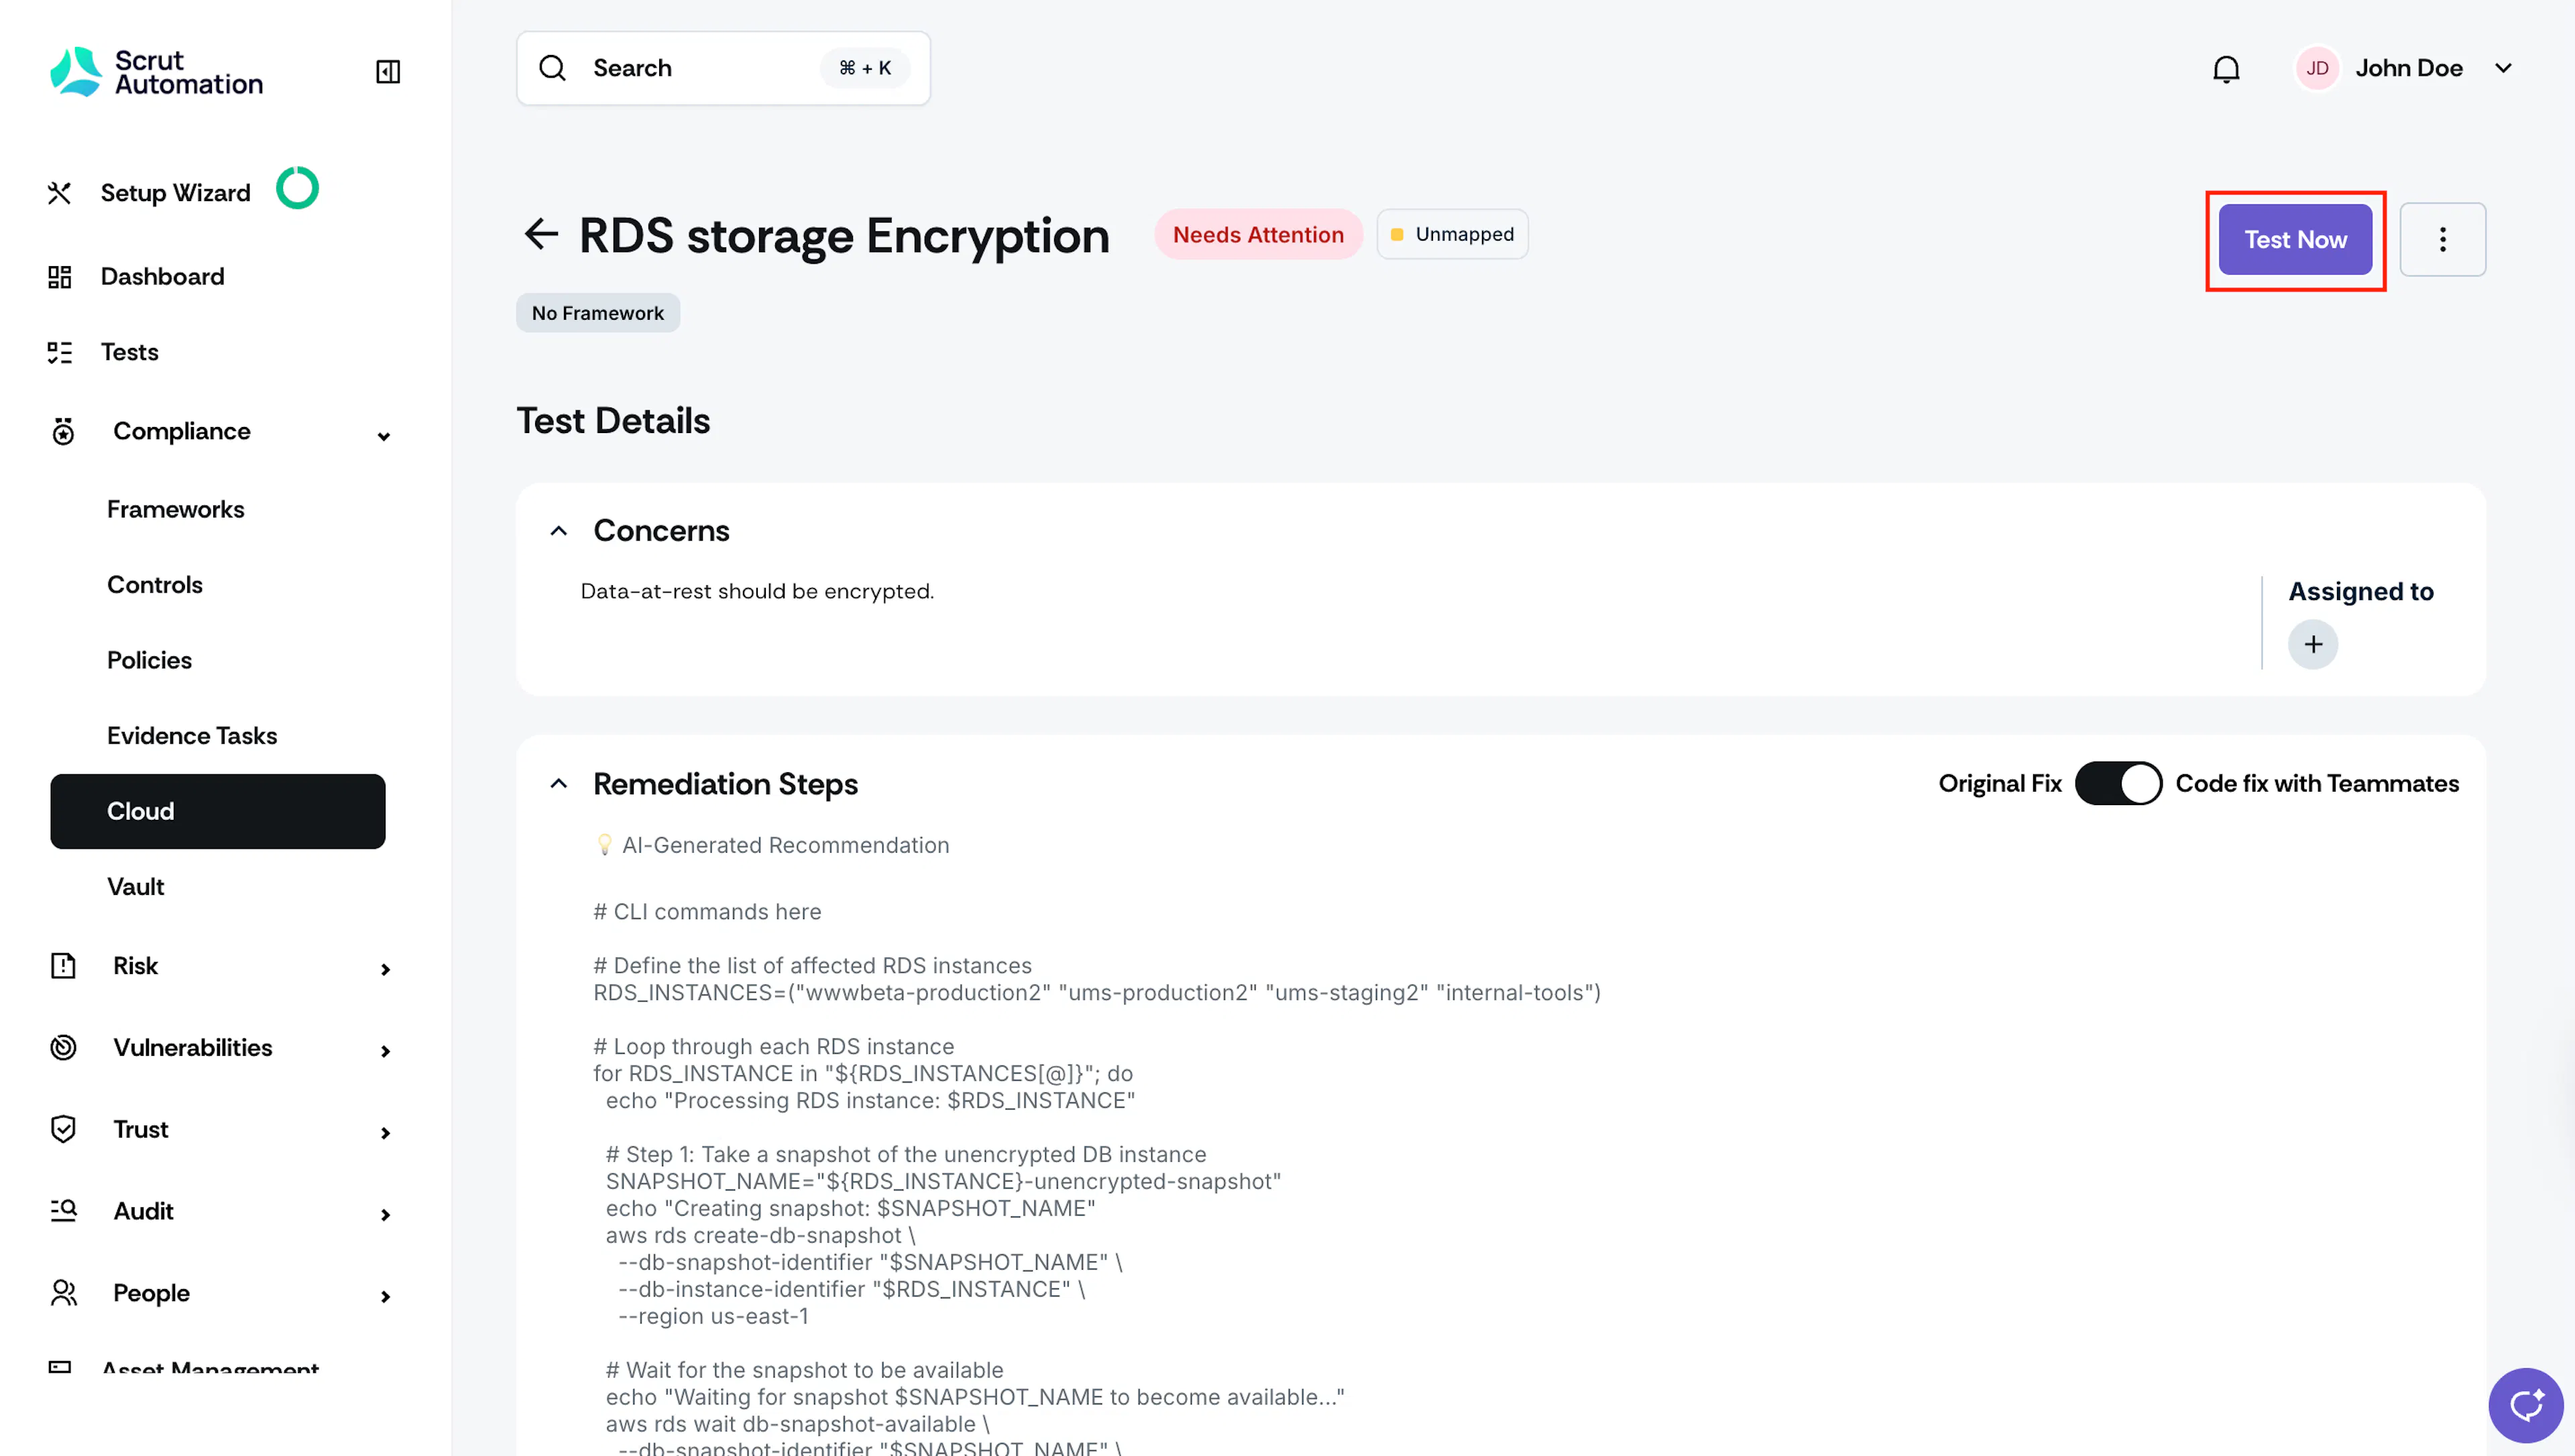
Note:
By default, Scrut runs all tests on your cloud environment once every 24 hours.
However, if needed, you can manually trigger an immediate re-scan of the test:
- Click the Test Now button
- A scan will be initiated for this specific finding
- Results will update automatically once testing completes
Note: The Test Now button is grayed out while a scan is in progress.
3: More Actions Menu
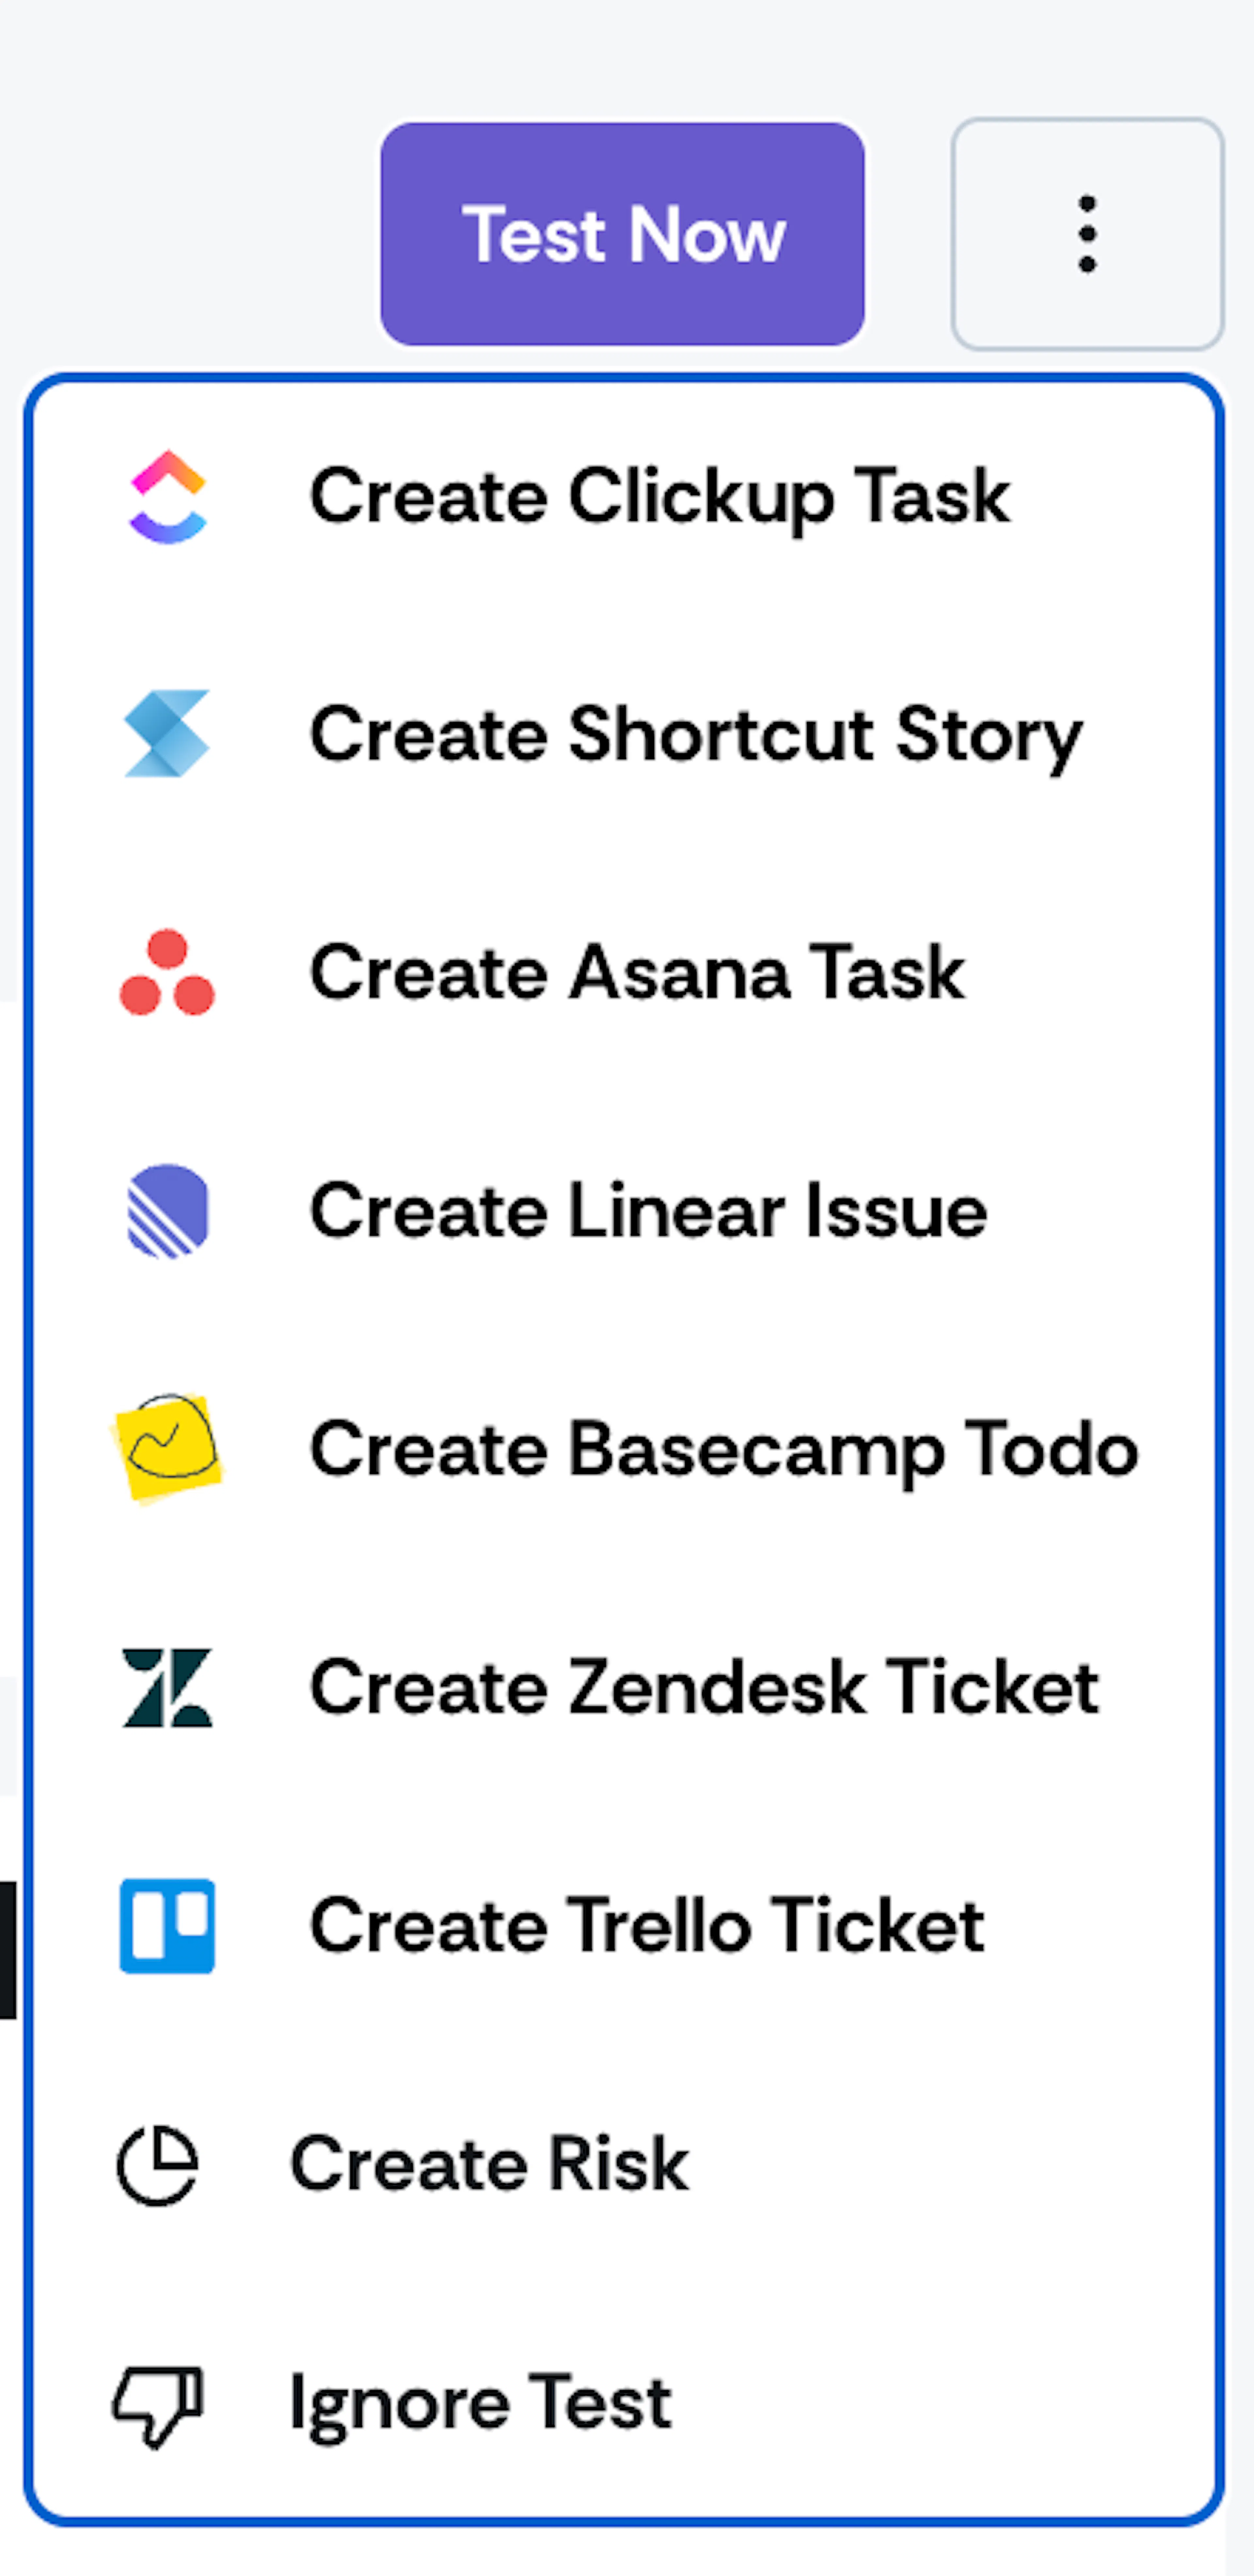
Click the three vertical dots in the top right corner to access additional options:
- Create Tasks: Generate tasks for external teams in integrated applications (JIRA, Monday.com, ClickUp, etc.)
- Create Risk: Document this test as a formal risk by completing the Risk Creation Form
- Ignore Test: Permanently exclude this test from future scans if it's not relevant to your organization
4: Export Resources Table
Click the Export button at the top of the resources table to share the details of flagged resources with external stakeholders. Scrut downloads the table as a CSV.