

Install Scrut Agent for macOS
Steps to Install Scrut Agent on macOS
Follow these steps to download and install the Scrut Agent on macOS.
-
Download the Scrut Endpoint Agent app.
-
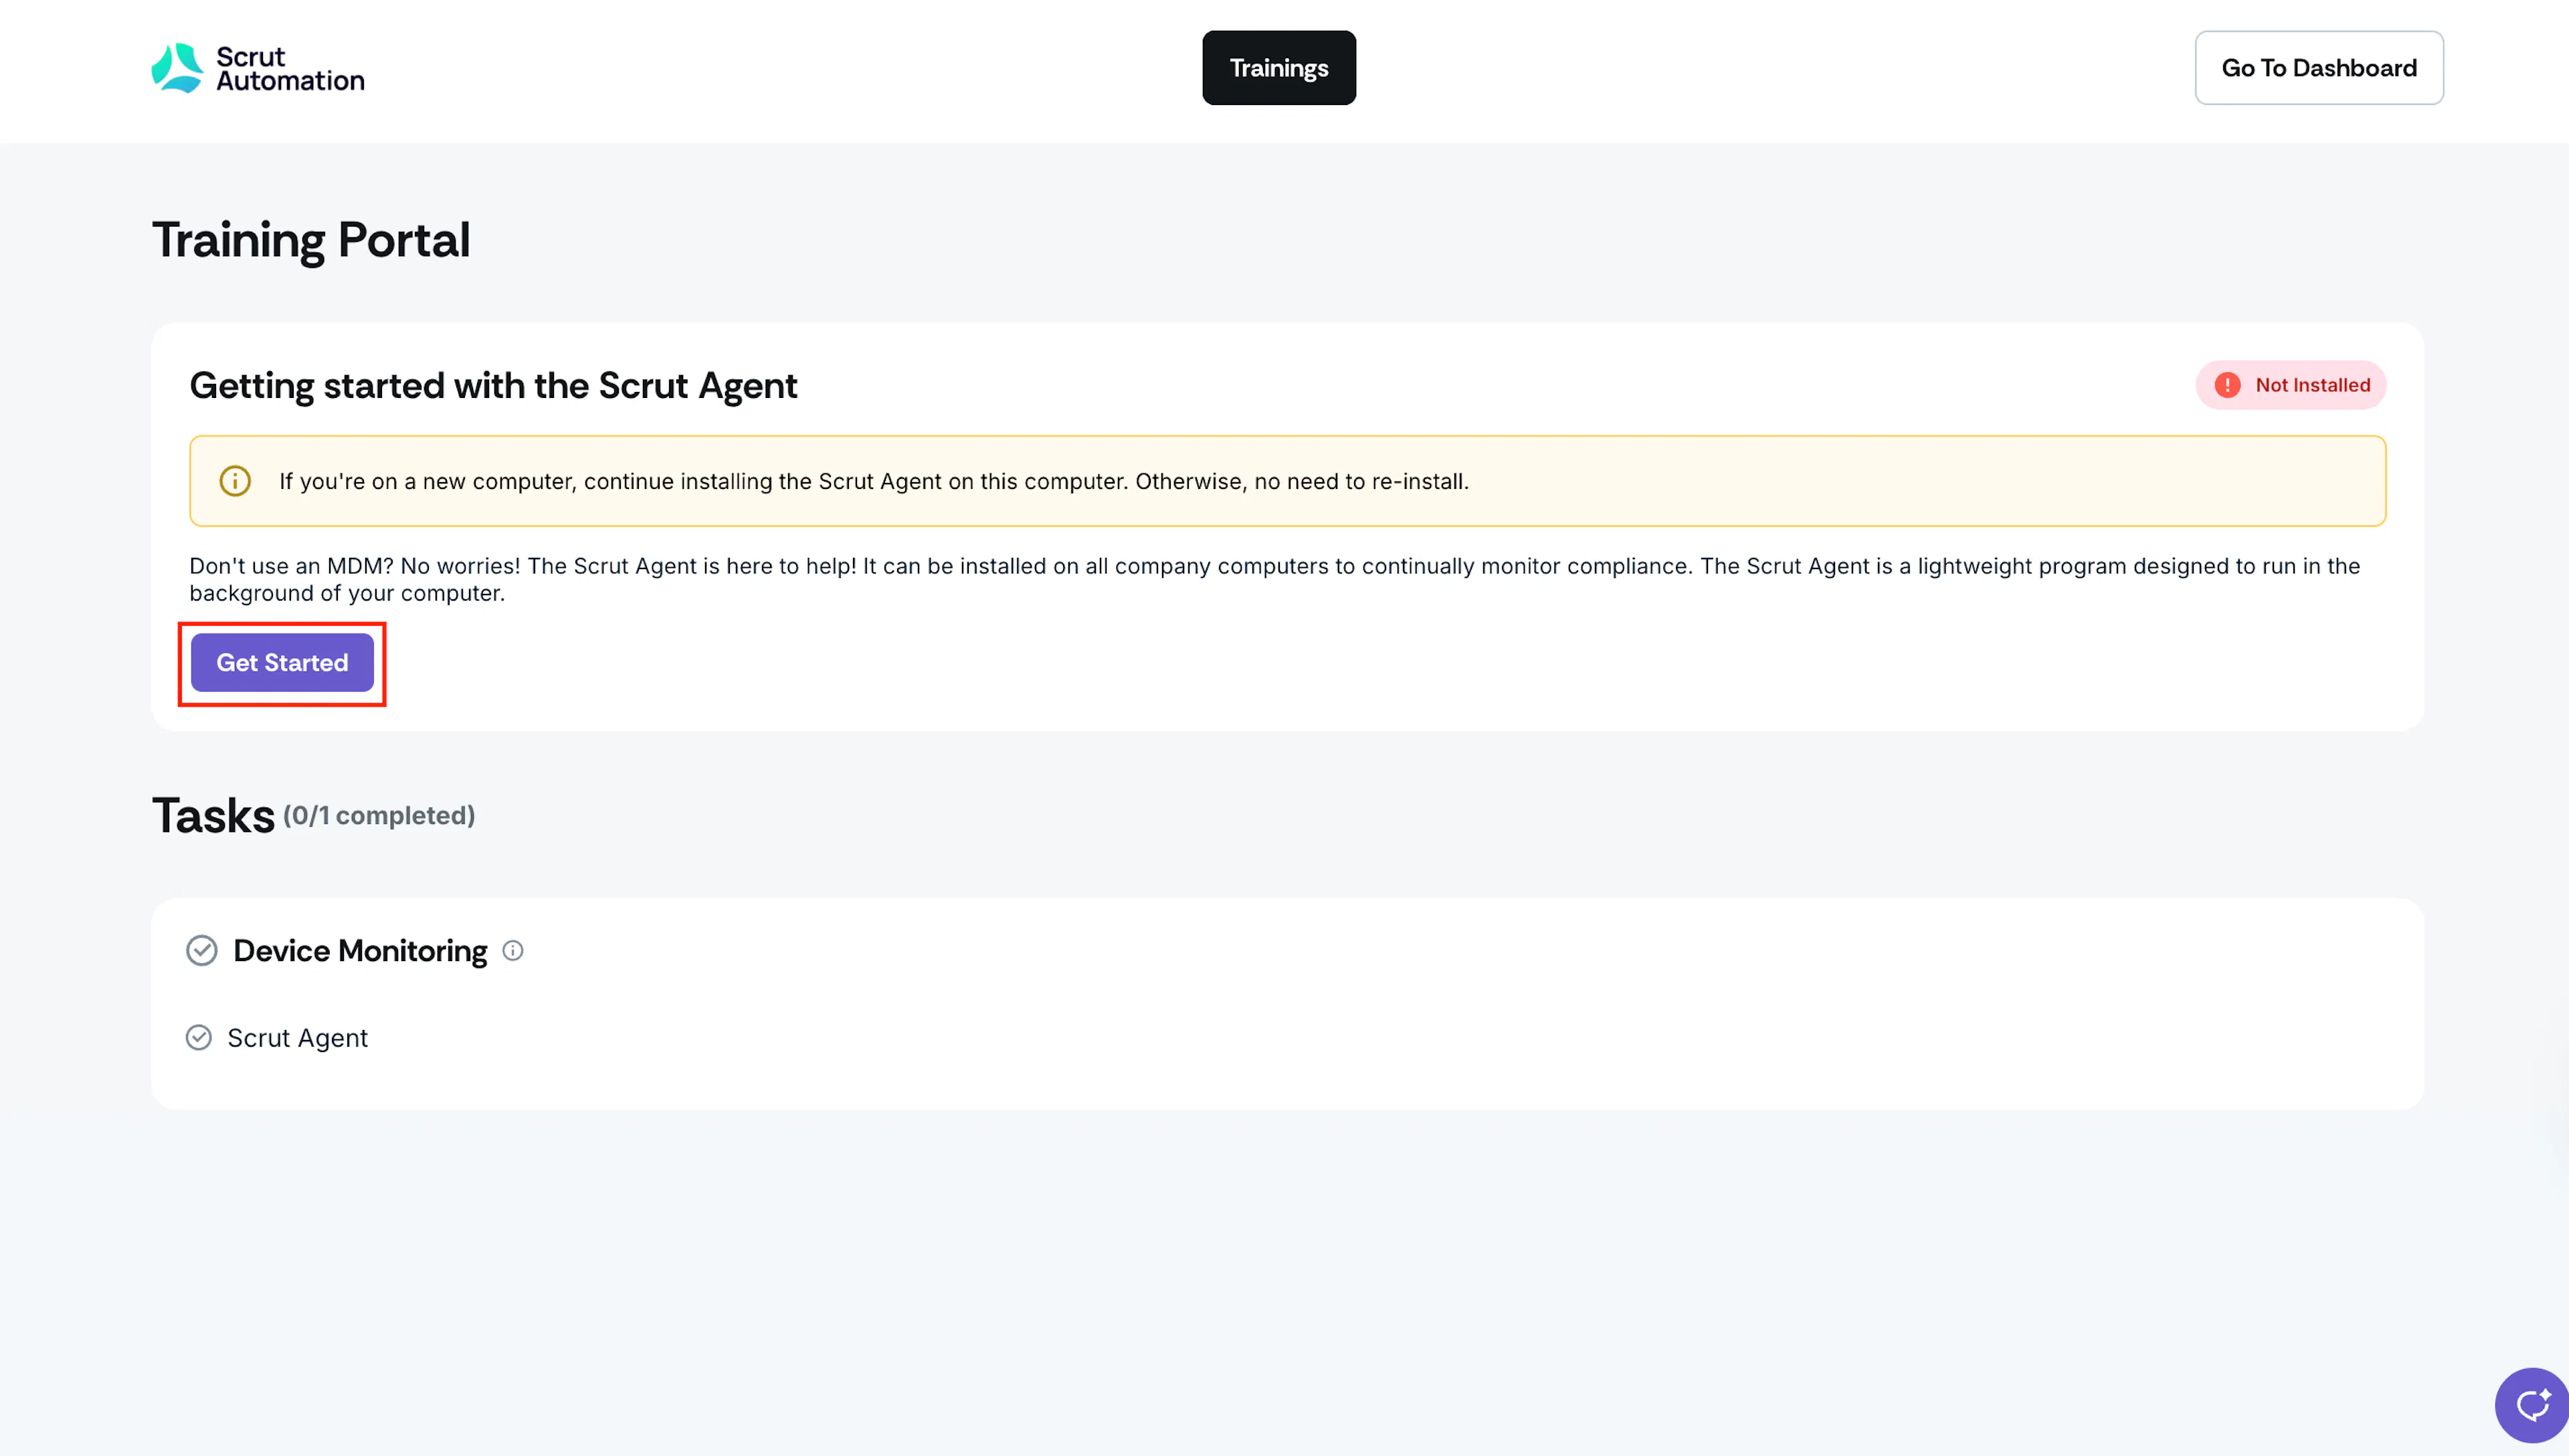
To download the latest version of the app, log in to the Scrut Employee Training Portal and click Get Started.
-
Alternatively, you can also download the app by clicking this link:
For macOS:
https://scrut-agent-artifact.s3.ap-south-1.amazonaws.com/Scrut+Endpoint+Agent-1.5.7.dmg
For Mac M series:
https://scrut-agent-artifact.s3.ap-south-1.amazonaws.com/Scrut+Endpoint+Agent-1.5.7-arm64.dmg
Heads Up!
We recommend downloading the Scrut Agent from the Employee Training Portal as it contains the latest app version.
Note for Admins:
Contact your Scrut CSM or Scrut Support (support@scrut.io) to learn how to enable the agent download option for employees on the Employee Training Portal.
-
-
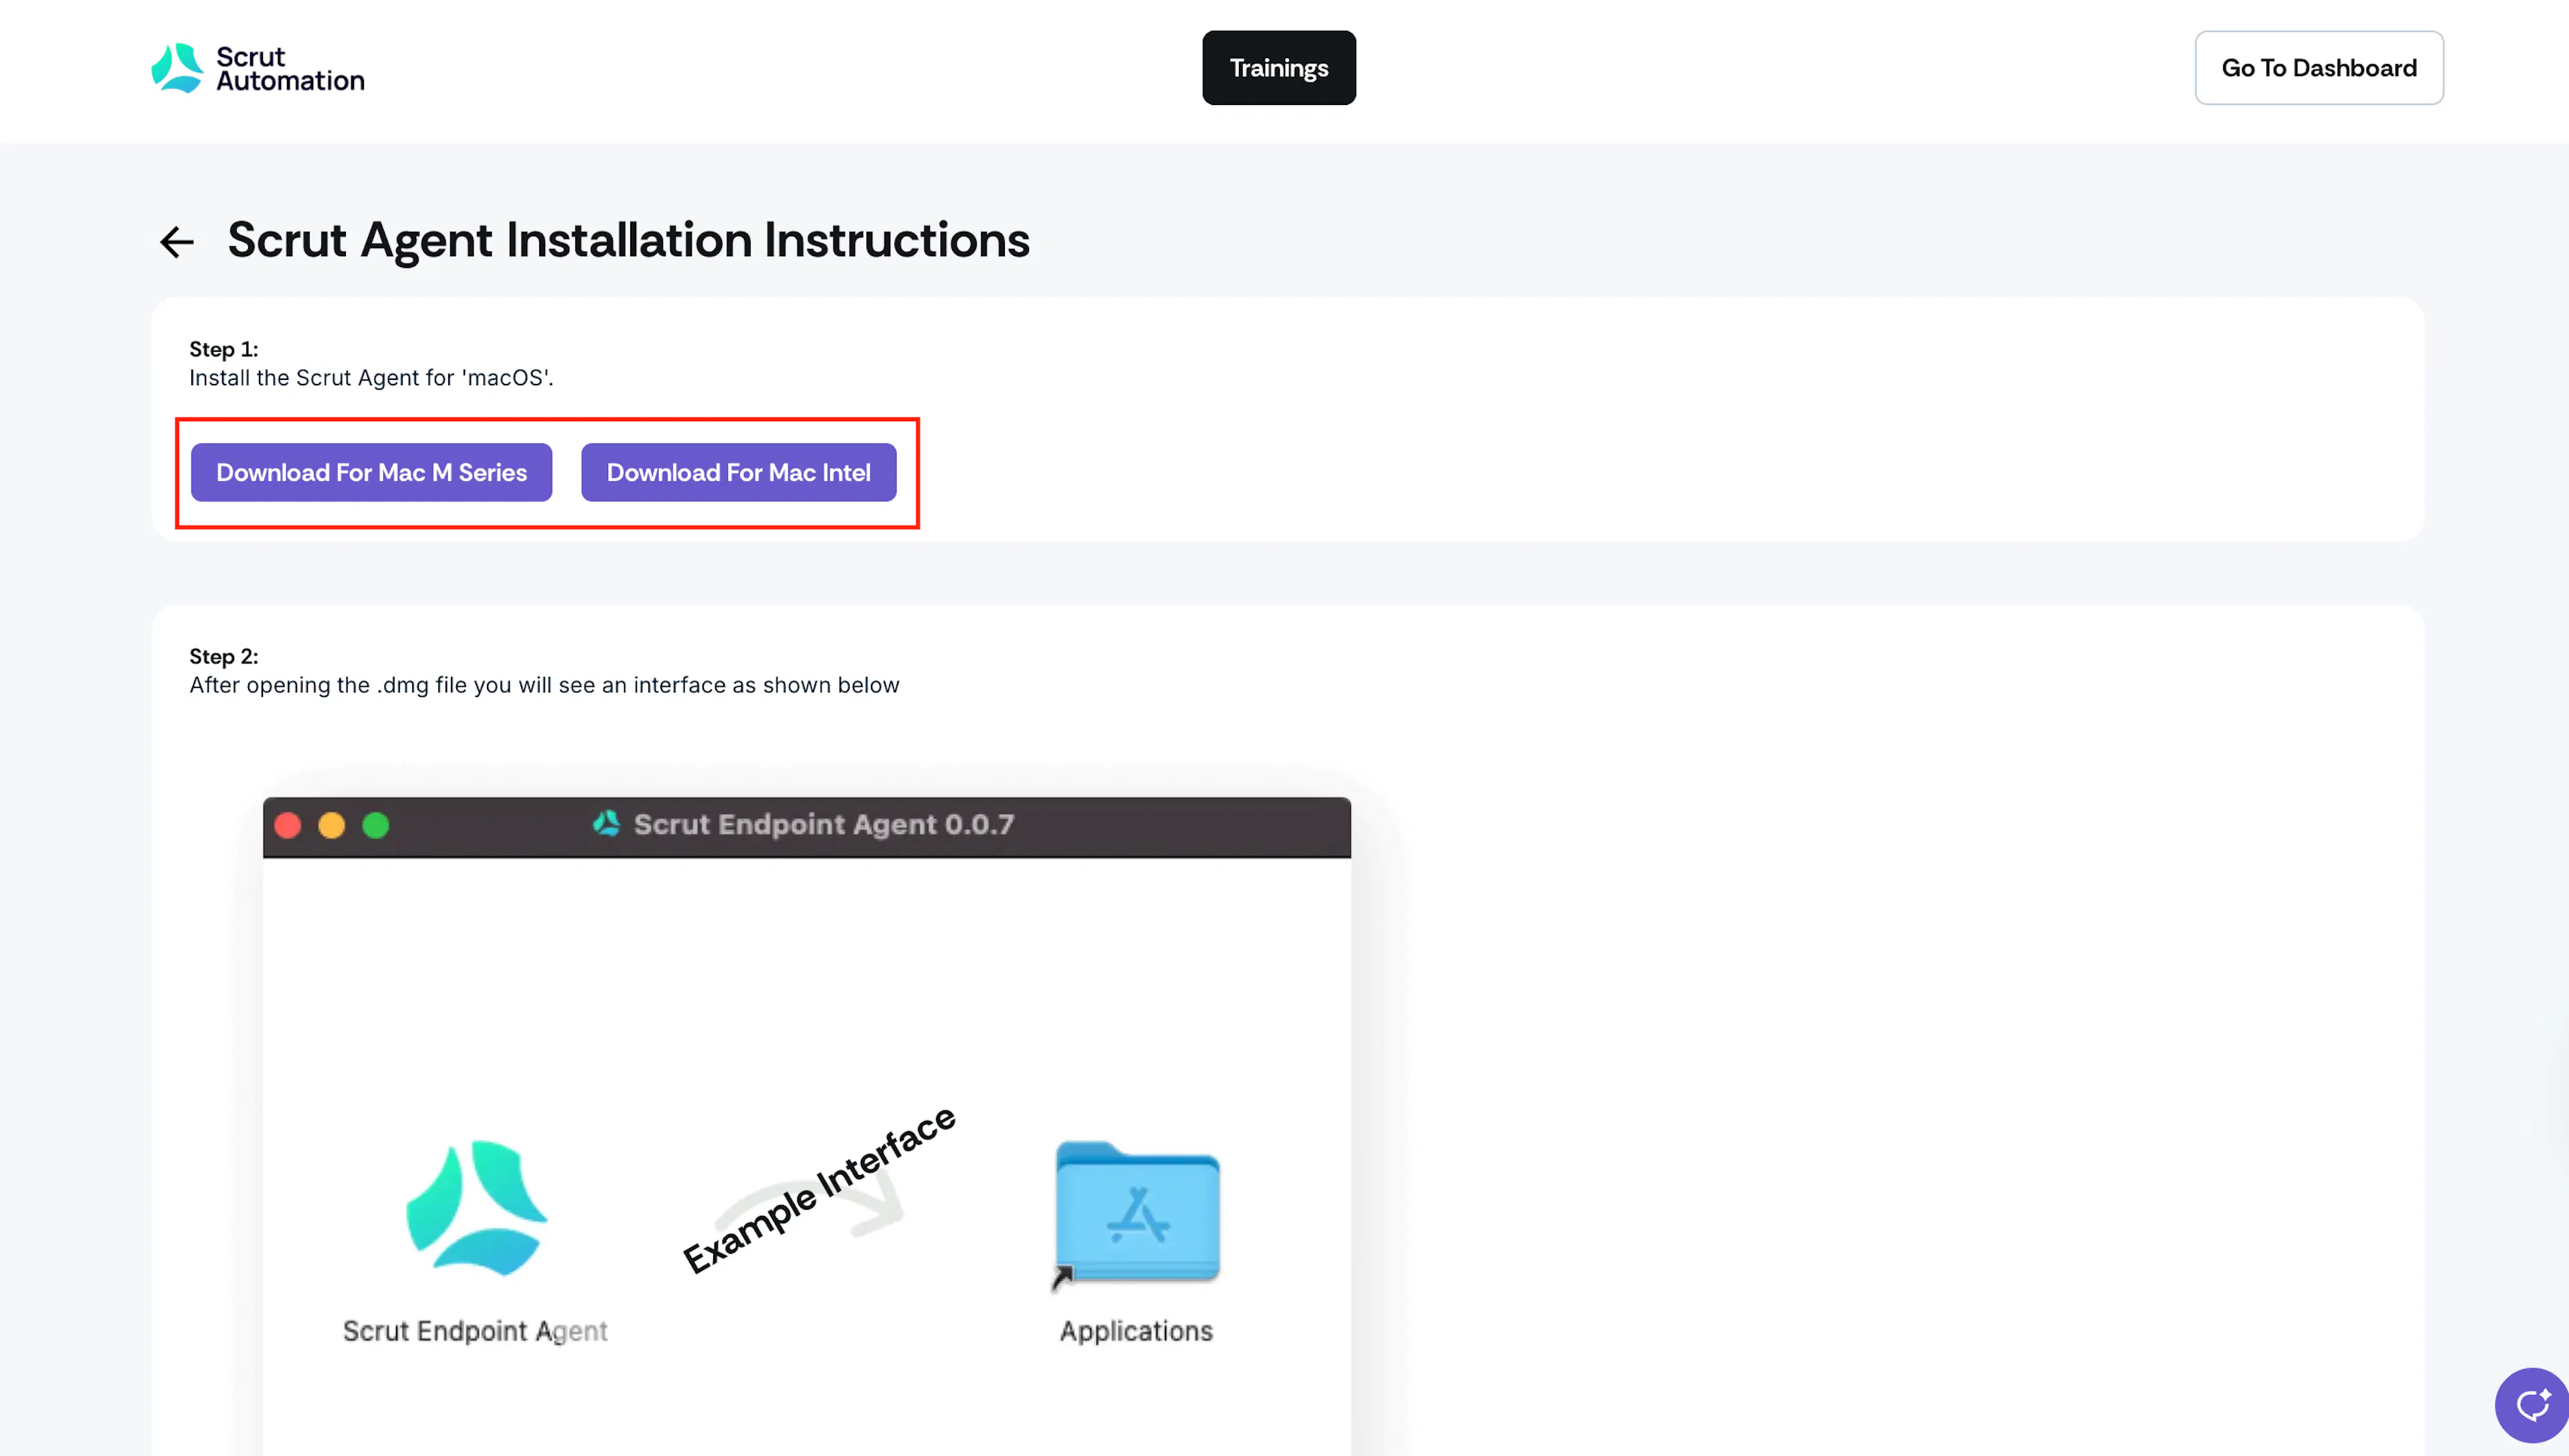
Choose your macOS version: M Series or Intel.
-
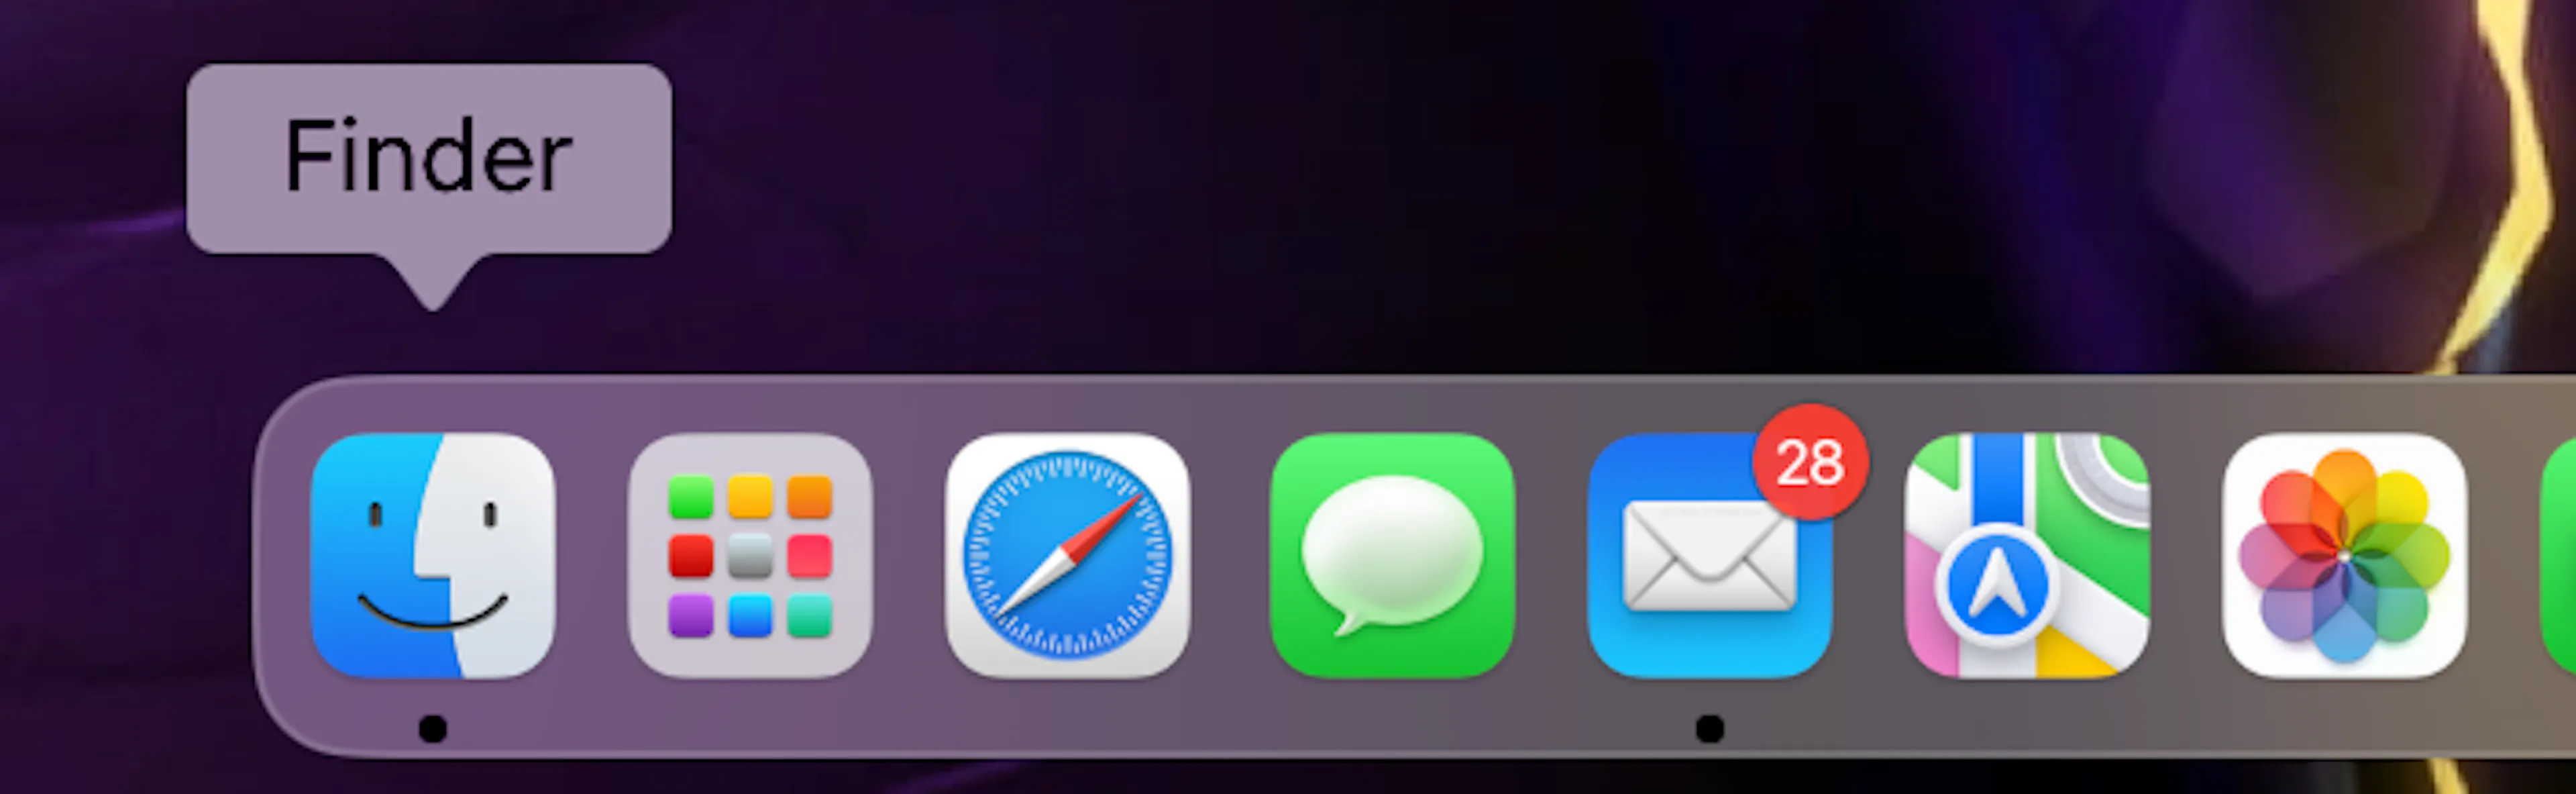
Once the download is complete, open Finder on your Mac.
-
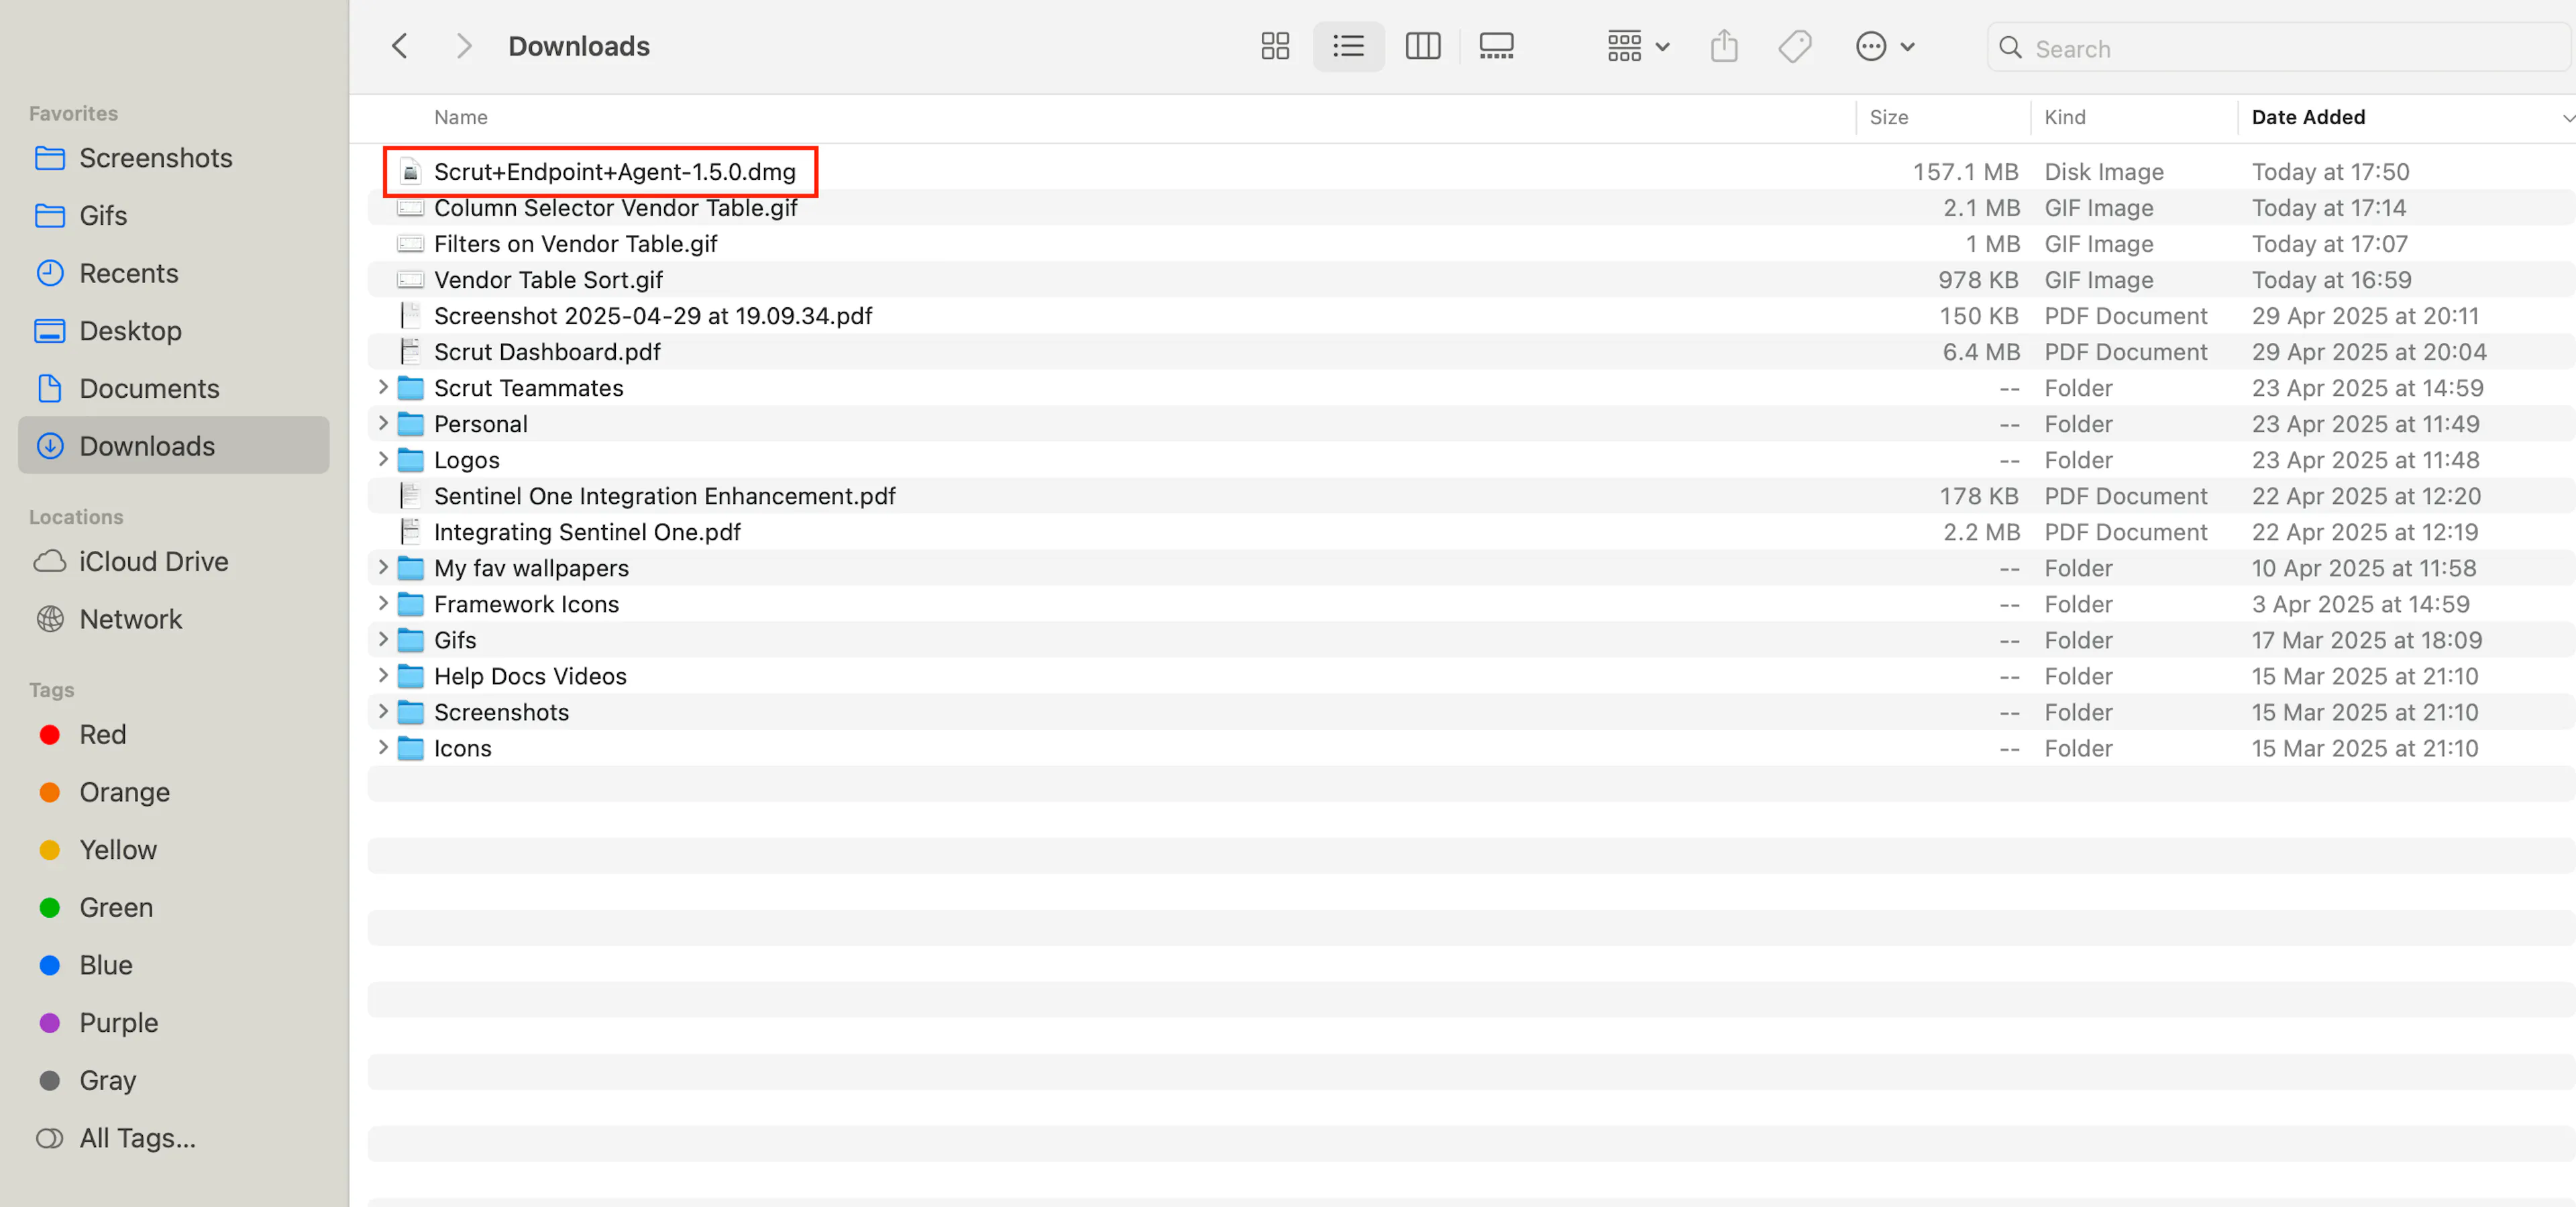
In Finder, go to the Downloads folder to find the Scrut Watchdog Agent dmg file. Double-click the file to begin the installation process.
Note:
To proceed with the installation, ensure you are logged in with admin privileges or grant admin access as needed.
-
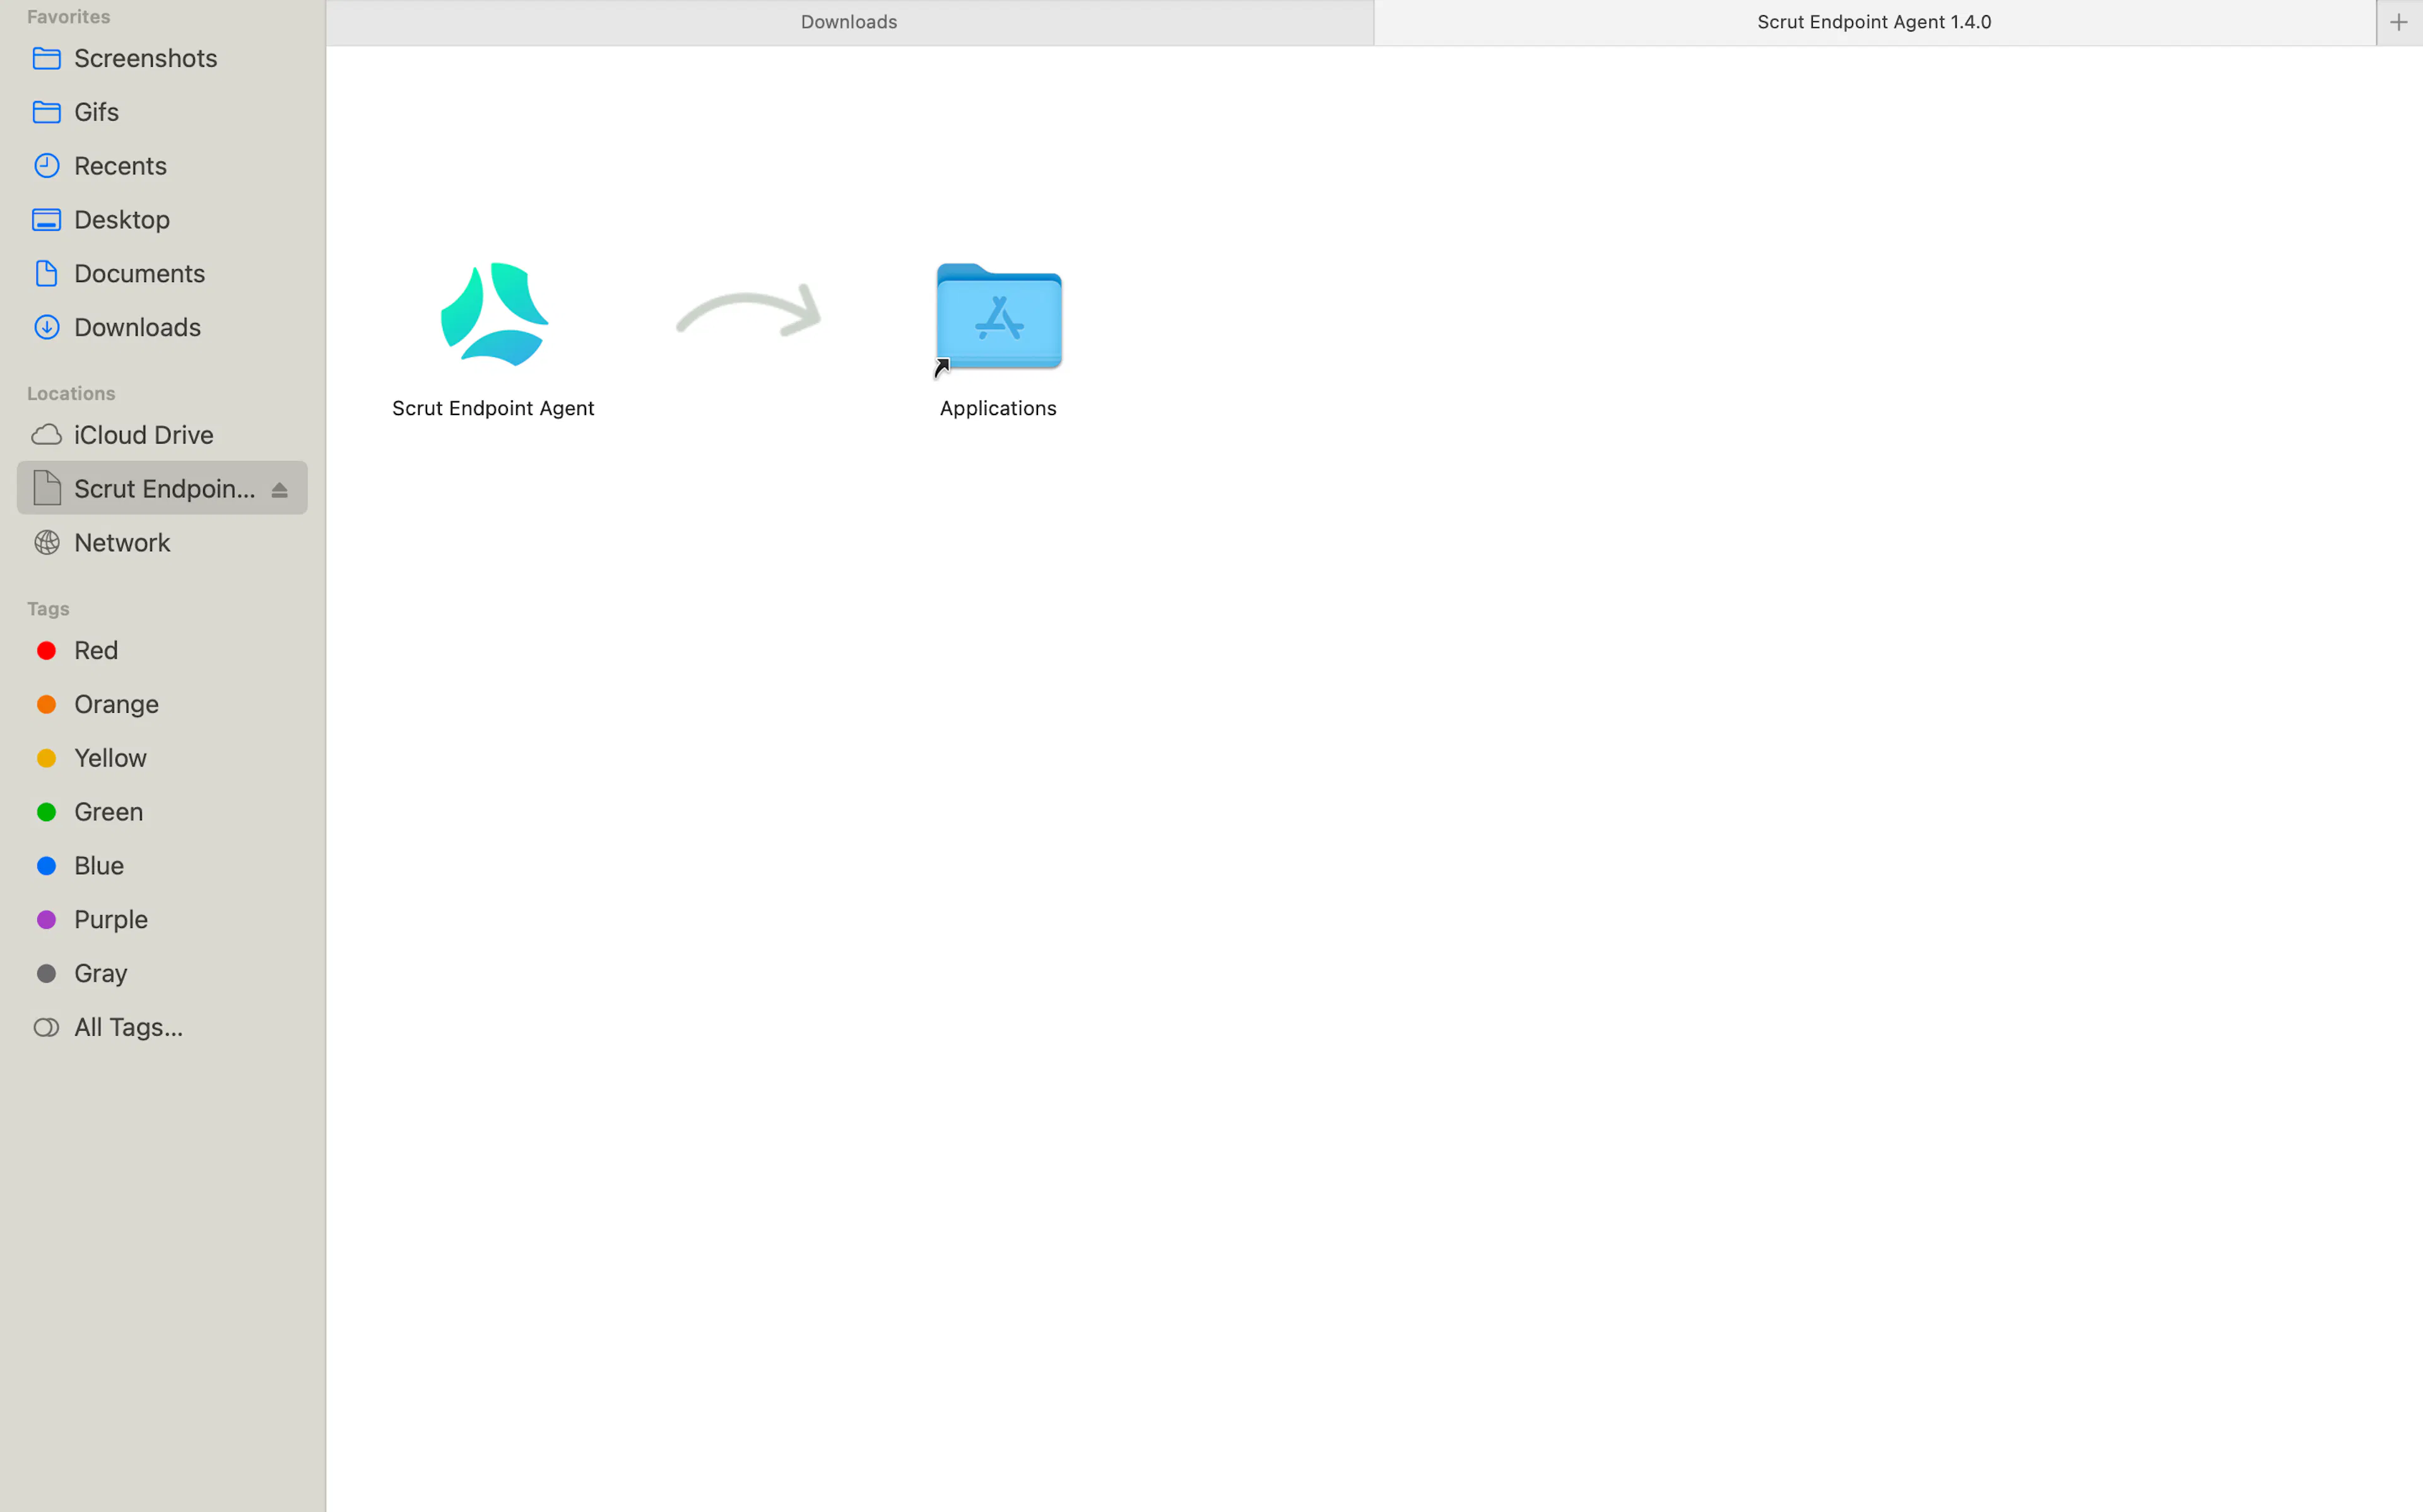
A pop-up window named Scrut Endpoint Agent will appear.
-
Drag the Scrut Endpoint Agent file and drop it into the Applications folder.
-
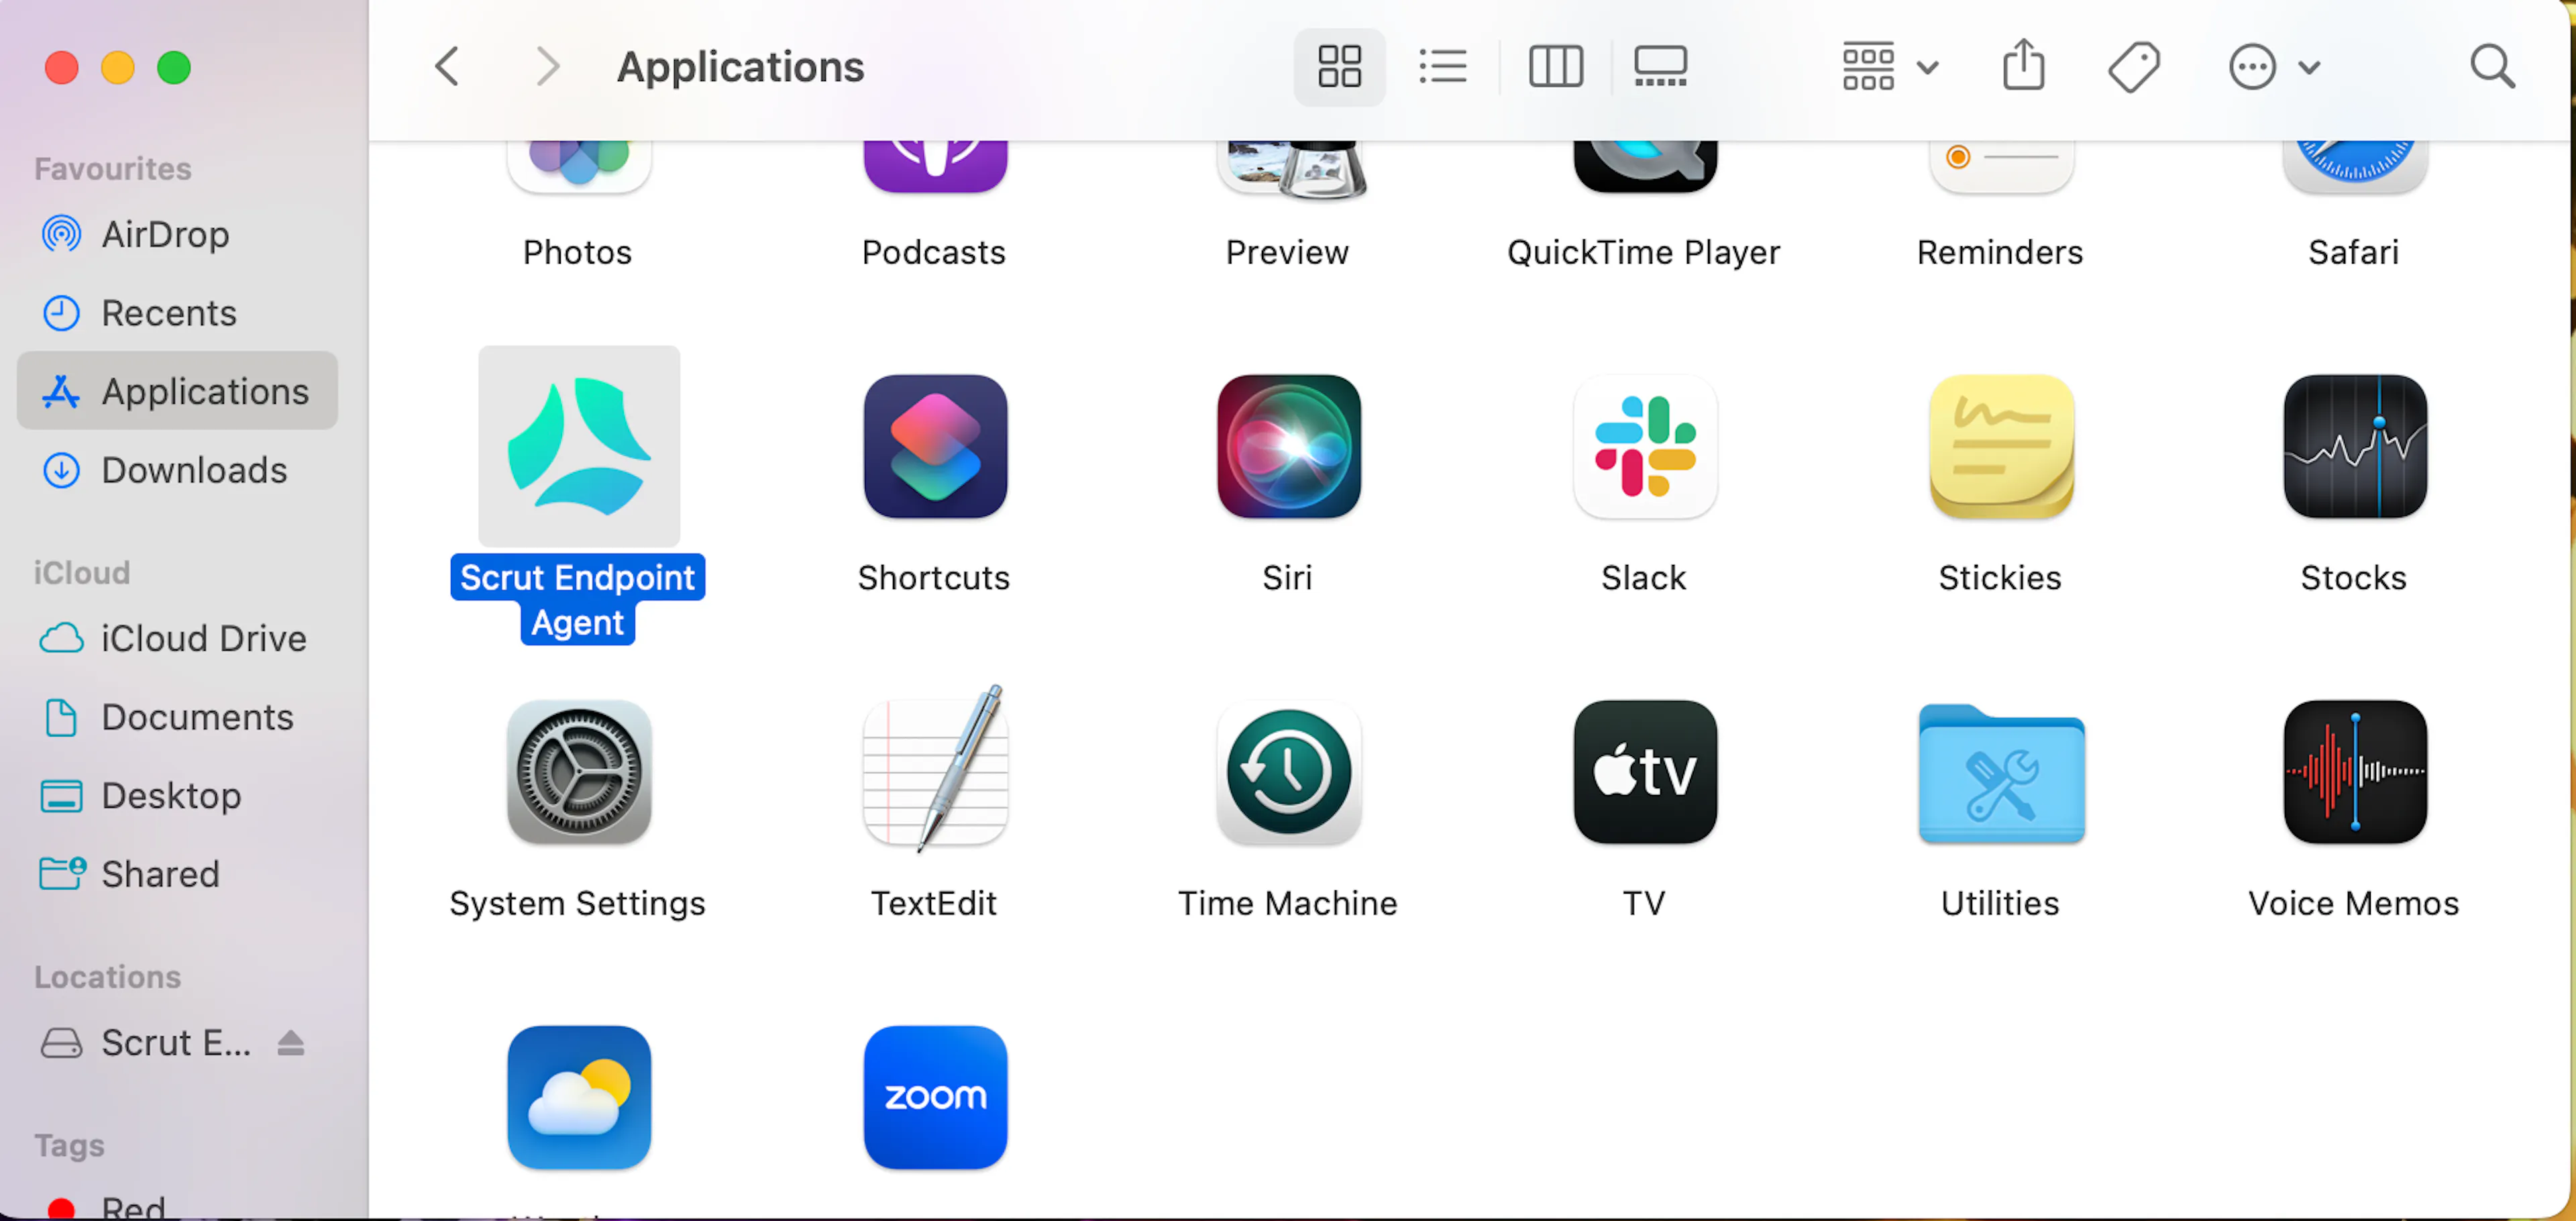
Navigate to the Applications folder in Finder, where you will find the Scrut Endpoint Agent app. Double-click on it to open.
-
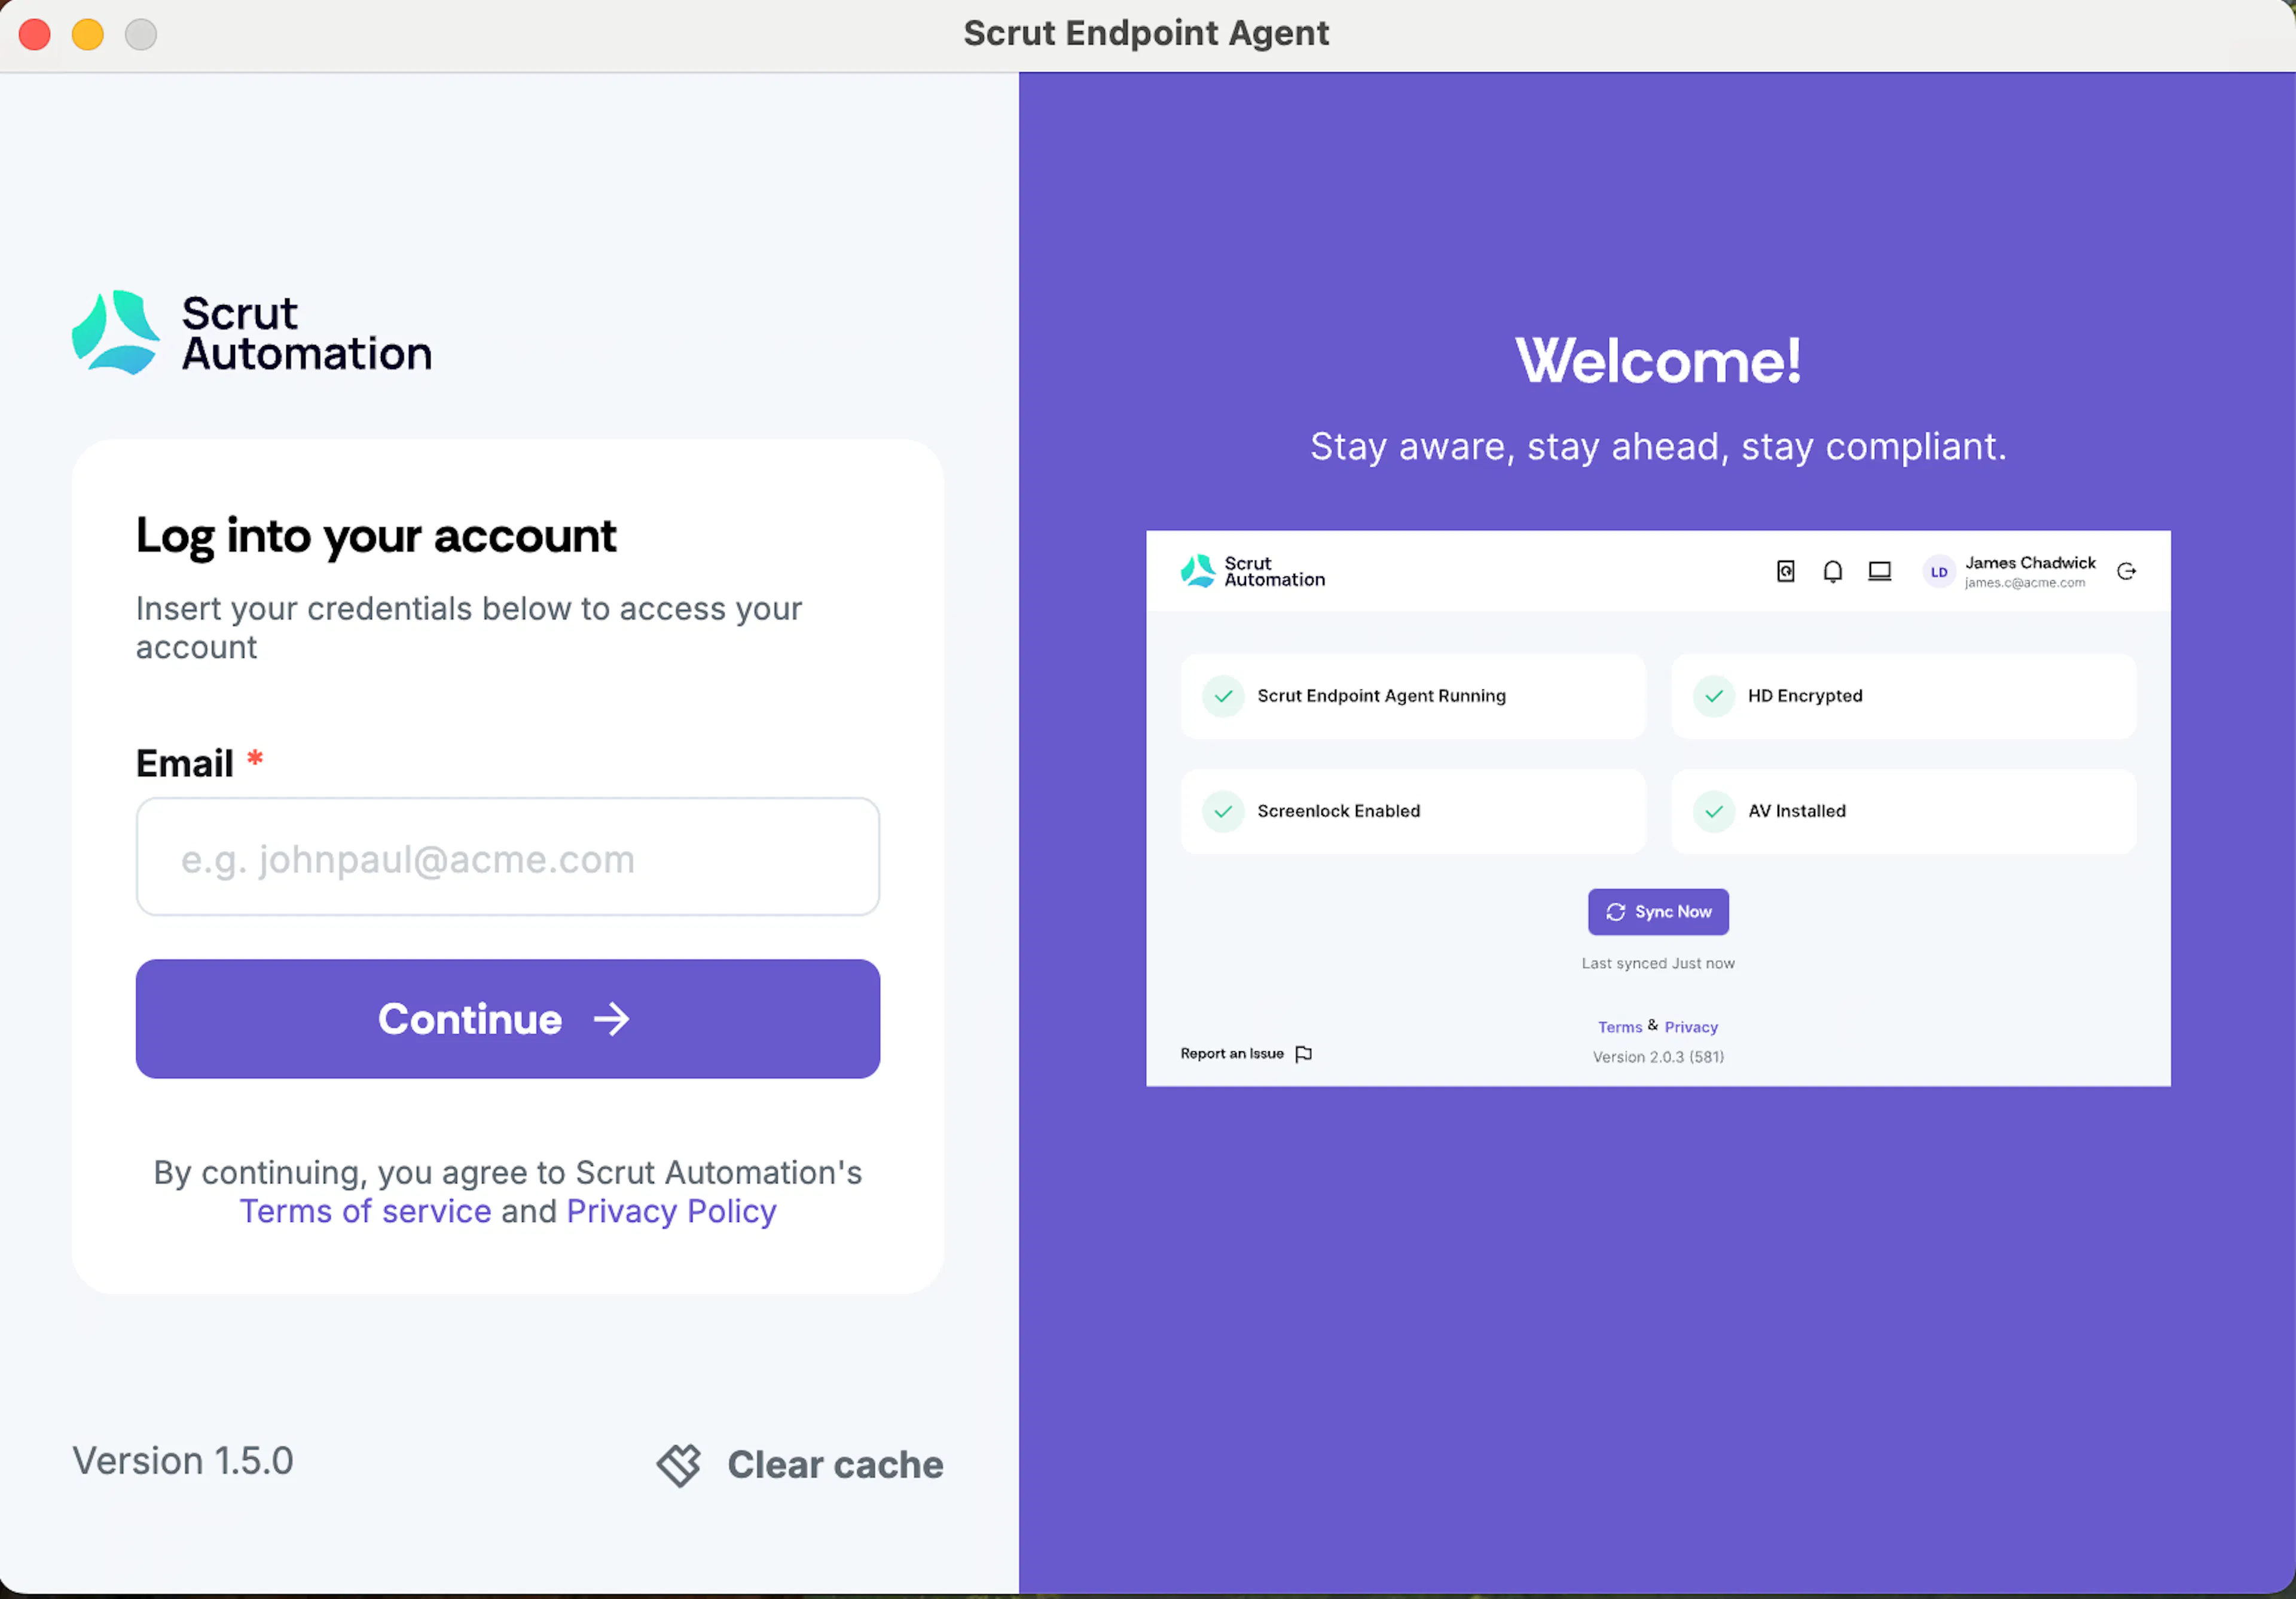
Log in with your registered email address (the email you use to log in to Scrut, usually your work email). Click Continue.
-
Scrut will send a One-Time Password (OTP) to your email. Check your inbox for the OTP. If you haven't received it, click Resend.
-
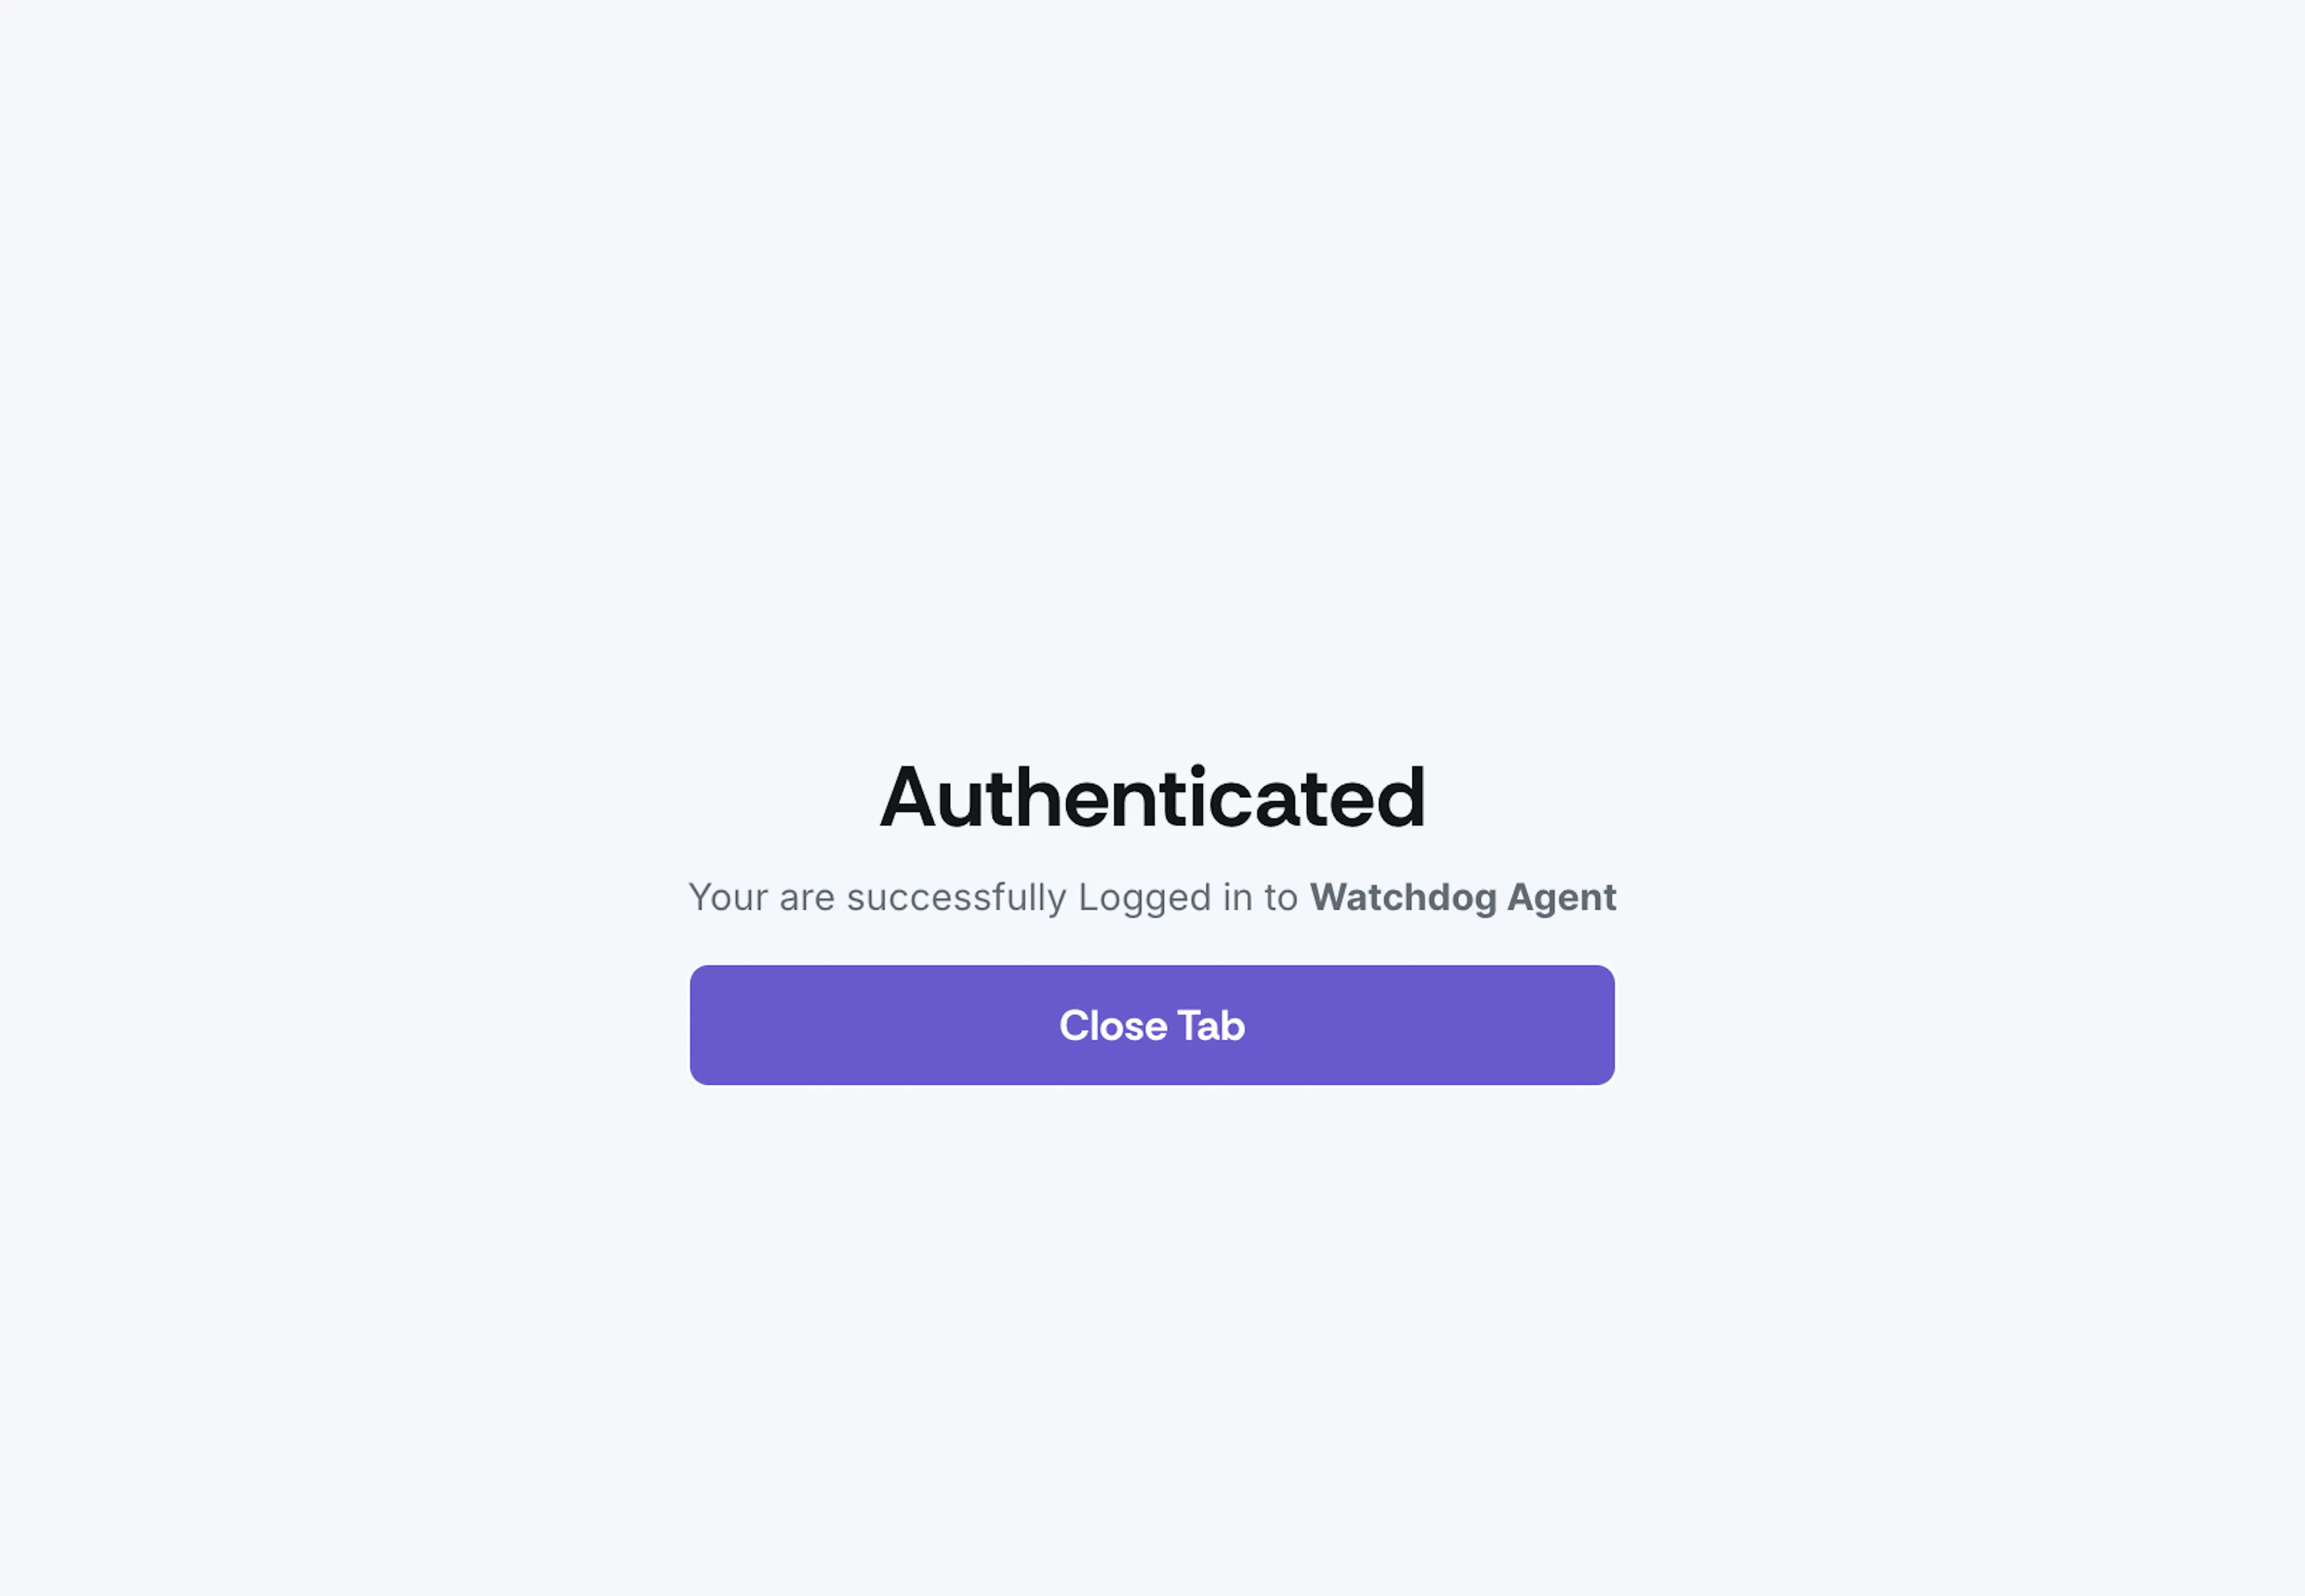
Once authentication is complete, you can close the browser tab.
-
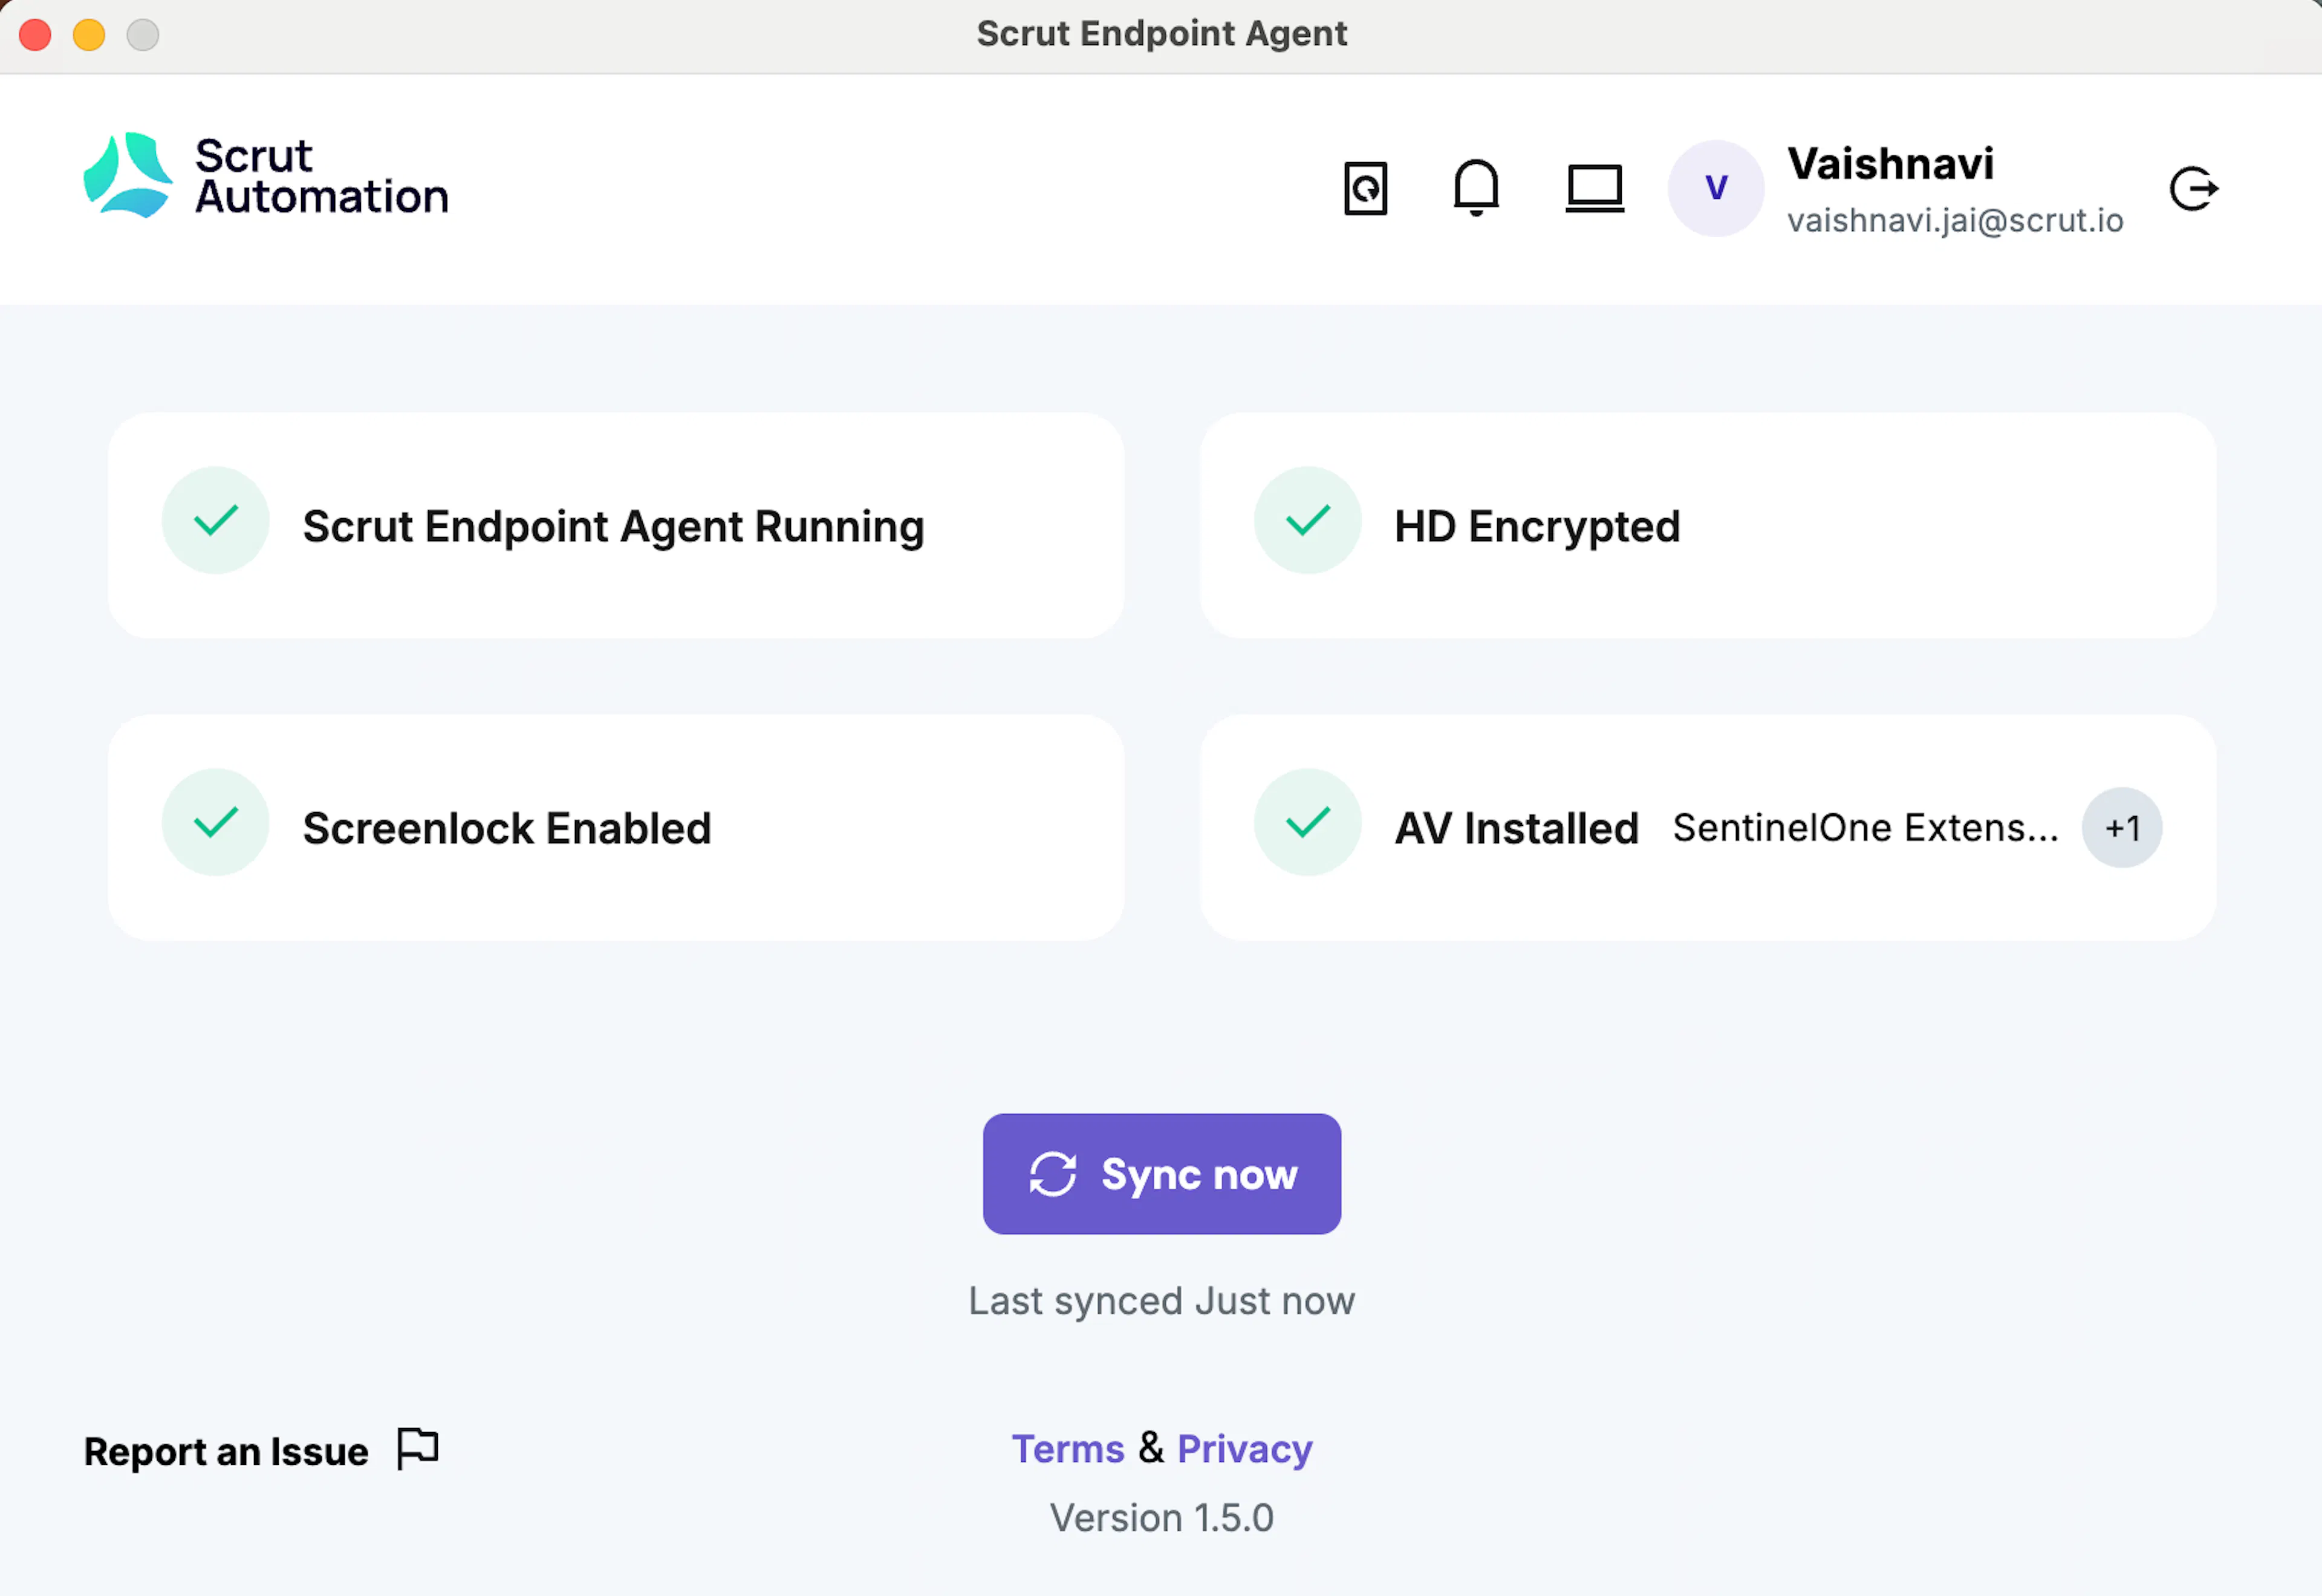
The Scrut Agent is now ready and will start running on your device.
Allow Scrut Agent to Access Google Chrome
Heads Up!
If you skip these steps, the agent cannot complete the checks that rely on Chrome, and your device may show as non-compliant.
Depending on your OS version, macOS may block the Scrut Agent from accessing Google Chrome's application data. Scrut requires this access only for the device security checks your organization has enabled, such as confirming that an approved password manager extension is installed in Chrome. The Scrut Agent does not read your browsing history, saved passwords, or website content.
To allow access:
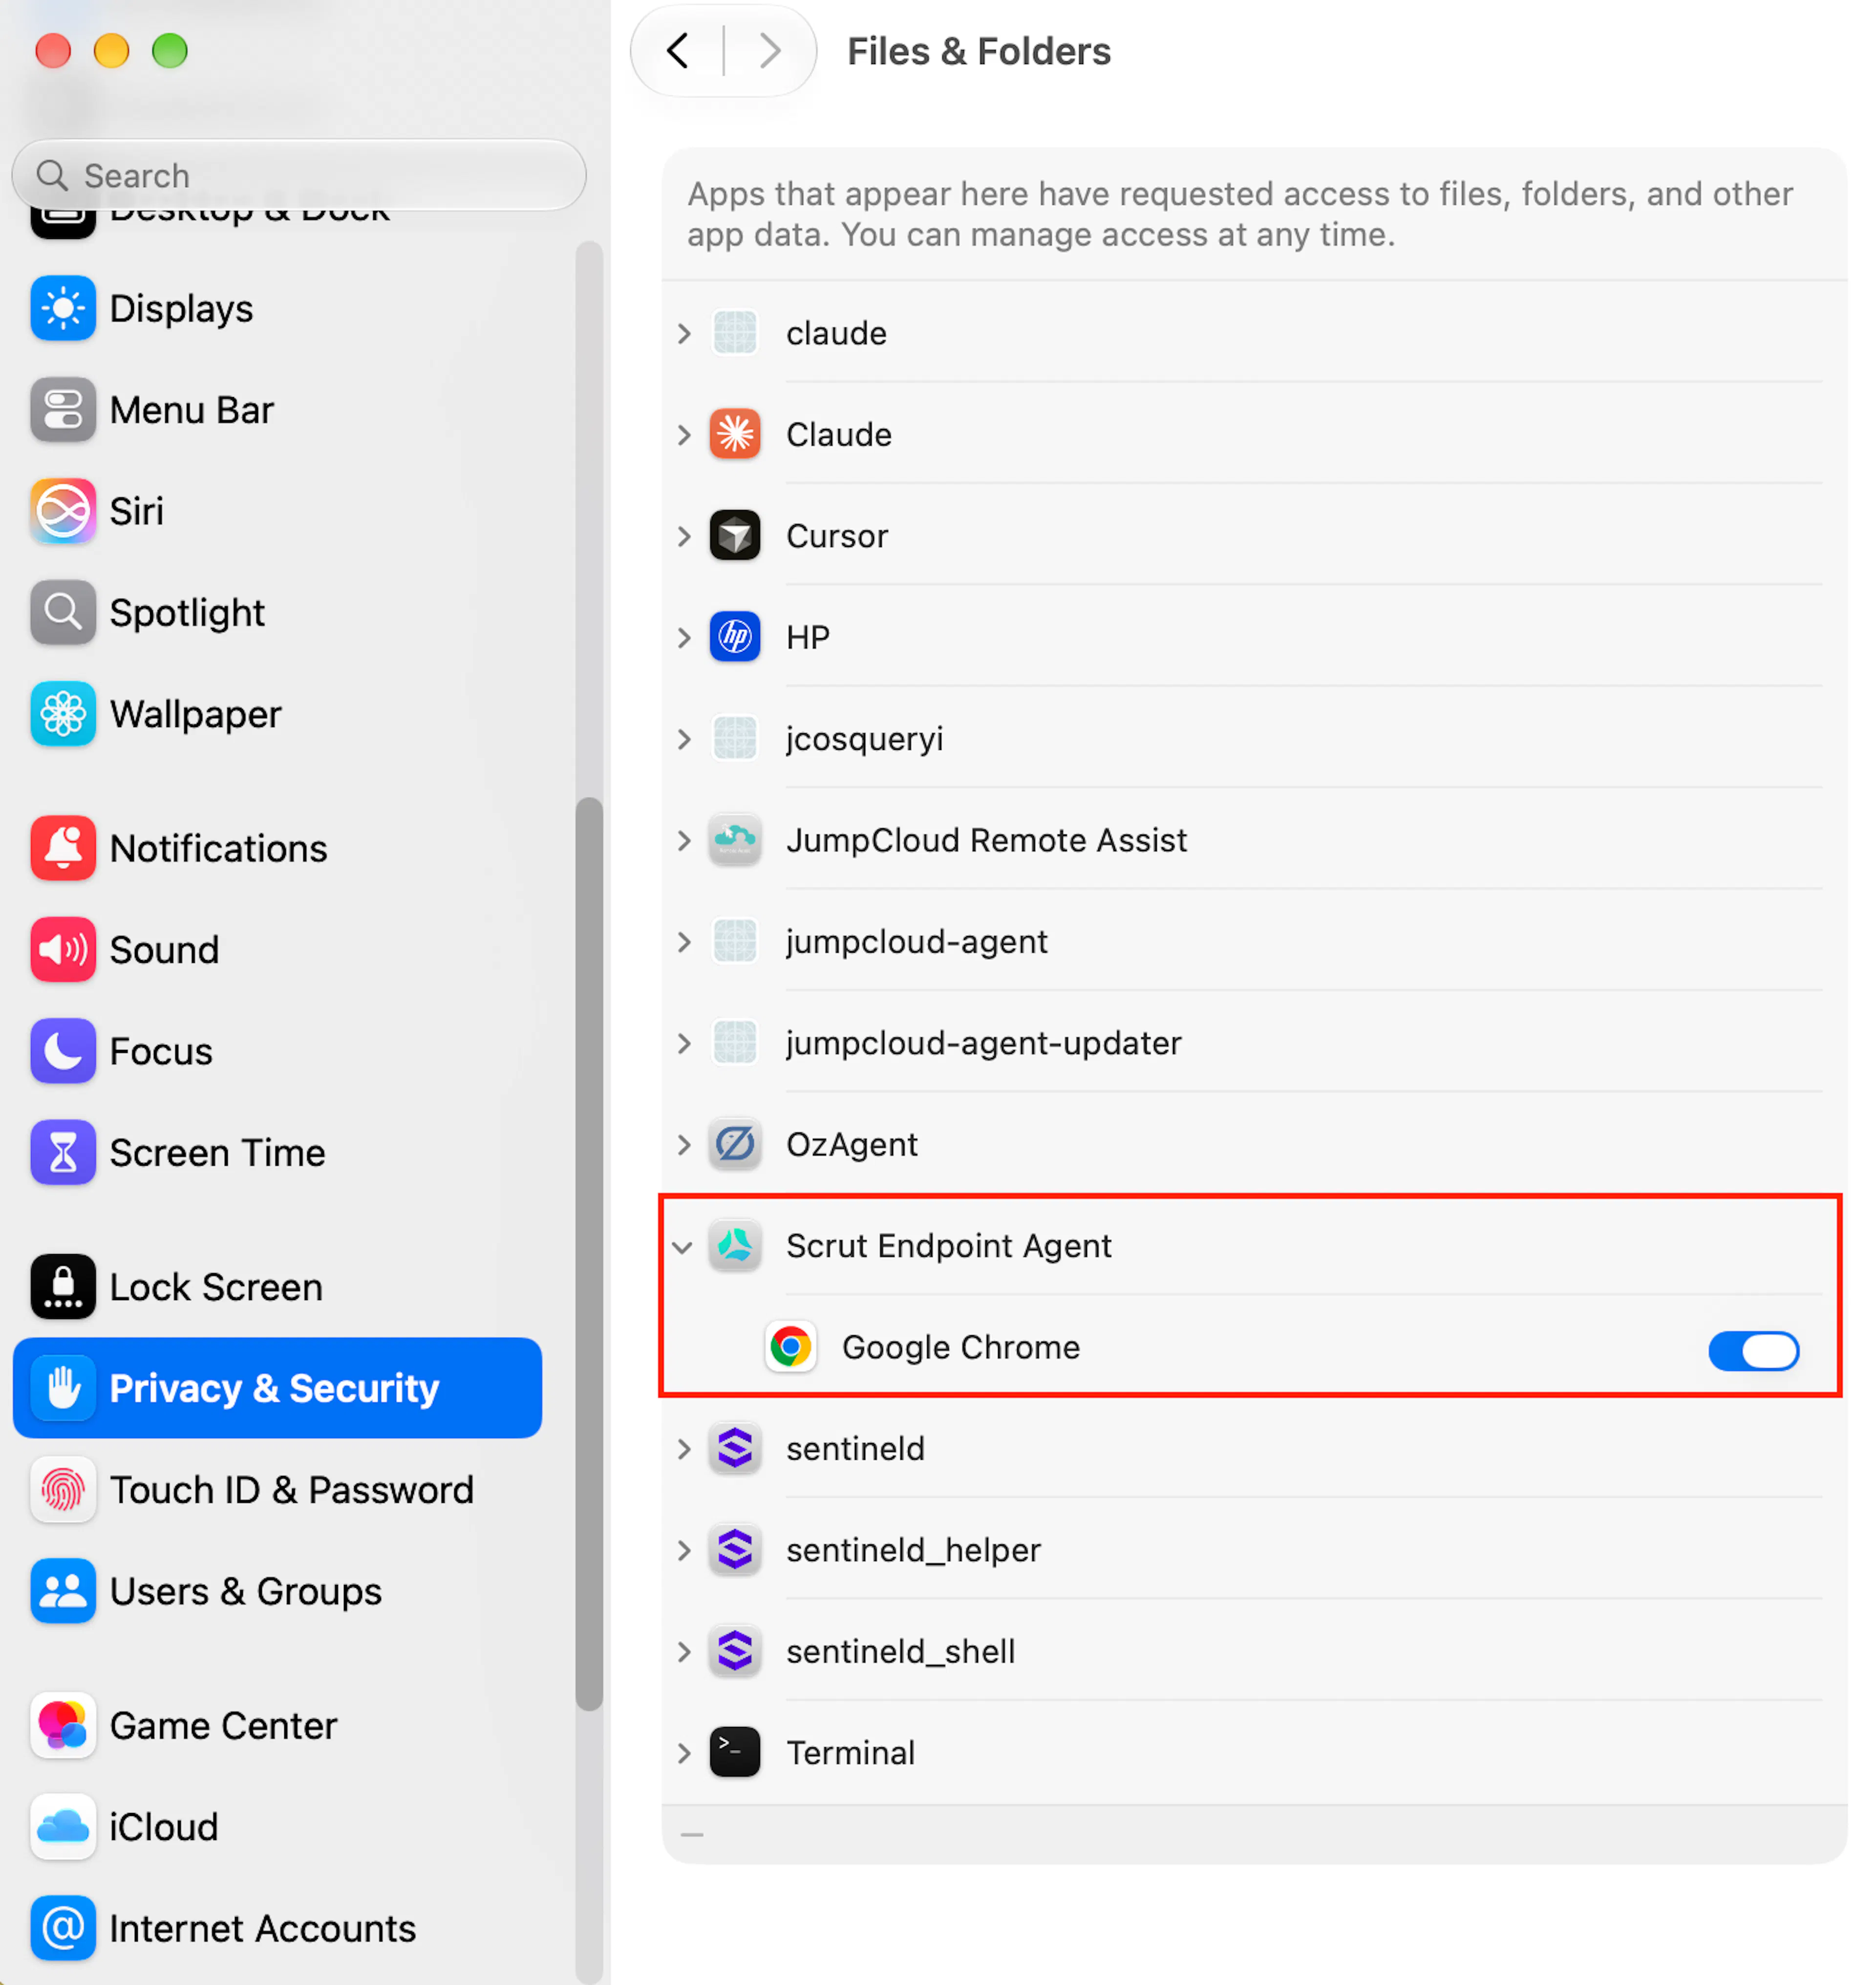
- Click the Apple menu in the top-left corner and select System Settings → Privacy & Security.
- Depending on your macOS version, do one of the following:
- Click Scrut Endpoint Agent.
- Go to Files and Folders → Scrut Endpoint Agent.
- Turn on access for Google Chrome.
- Quit the Scrut Endpoint Agent, reopen it from the Applications folder, and click Sync Now.
Enabling Default Security Parameters on Your Device
HD Encryption
- Click on the Apple menu in the top-left corner and select System Settings.
- Search FileVault.
- Click the padlock icon in the bottom-left corner to unlock the settings. You might need to enter the administrator password for your system to proceed.
- Click the Turn On FileVault button.
- You can choose whether to allow your iCloud account to unlock your disk and/or create a recovery key. Make your selection and follow the on-screen prompts.
- Restart your Mac, and FileVault encryption will begin.
- For more details, refer to the official Apple support page: Turn on FileVault.
AV Installed
XProtect is a built-in macOS security feature that helps protect against known malware. It's automatically enabled and updated. You don't need to take any action to enable it. For more information, you can read about XProtect on the official Apple support page: XProtect - About built-in protections against malware.
ScreenLock Enabled
- Click on the Apple menu in the top-left corner and select System Settings.
- Search Lock Screen.
- Ensure the display is set to turn off after a period of inactivity. Do not set to Never; instead, input any timings to turn off the screen.