

Turn on Subscriptions to Trust Portal Updates
Who can use this feature
- Supported on Foundation, Growth, and Scale plans
- Subscriber limits vary based on your plan
When subscriptions are enabled, a Subscribe to Updates button becomes visible on your Trust Portal. Visitors can use this to subscribe and receive email notifications each time you publish a new update.
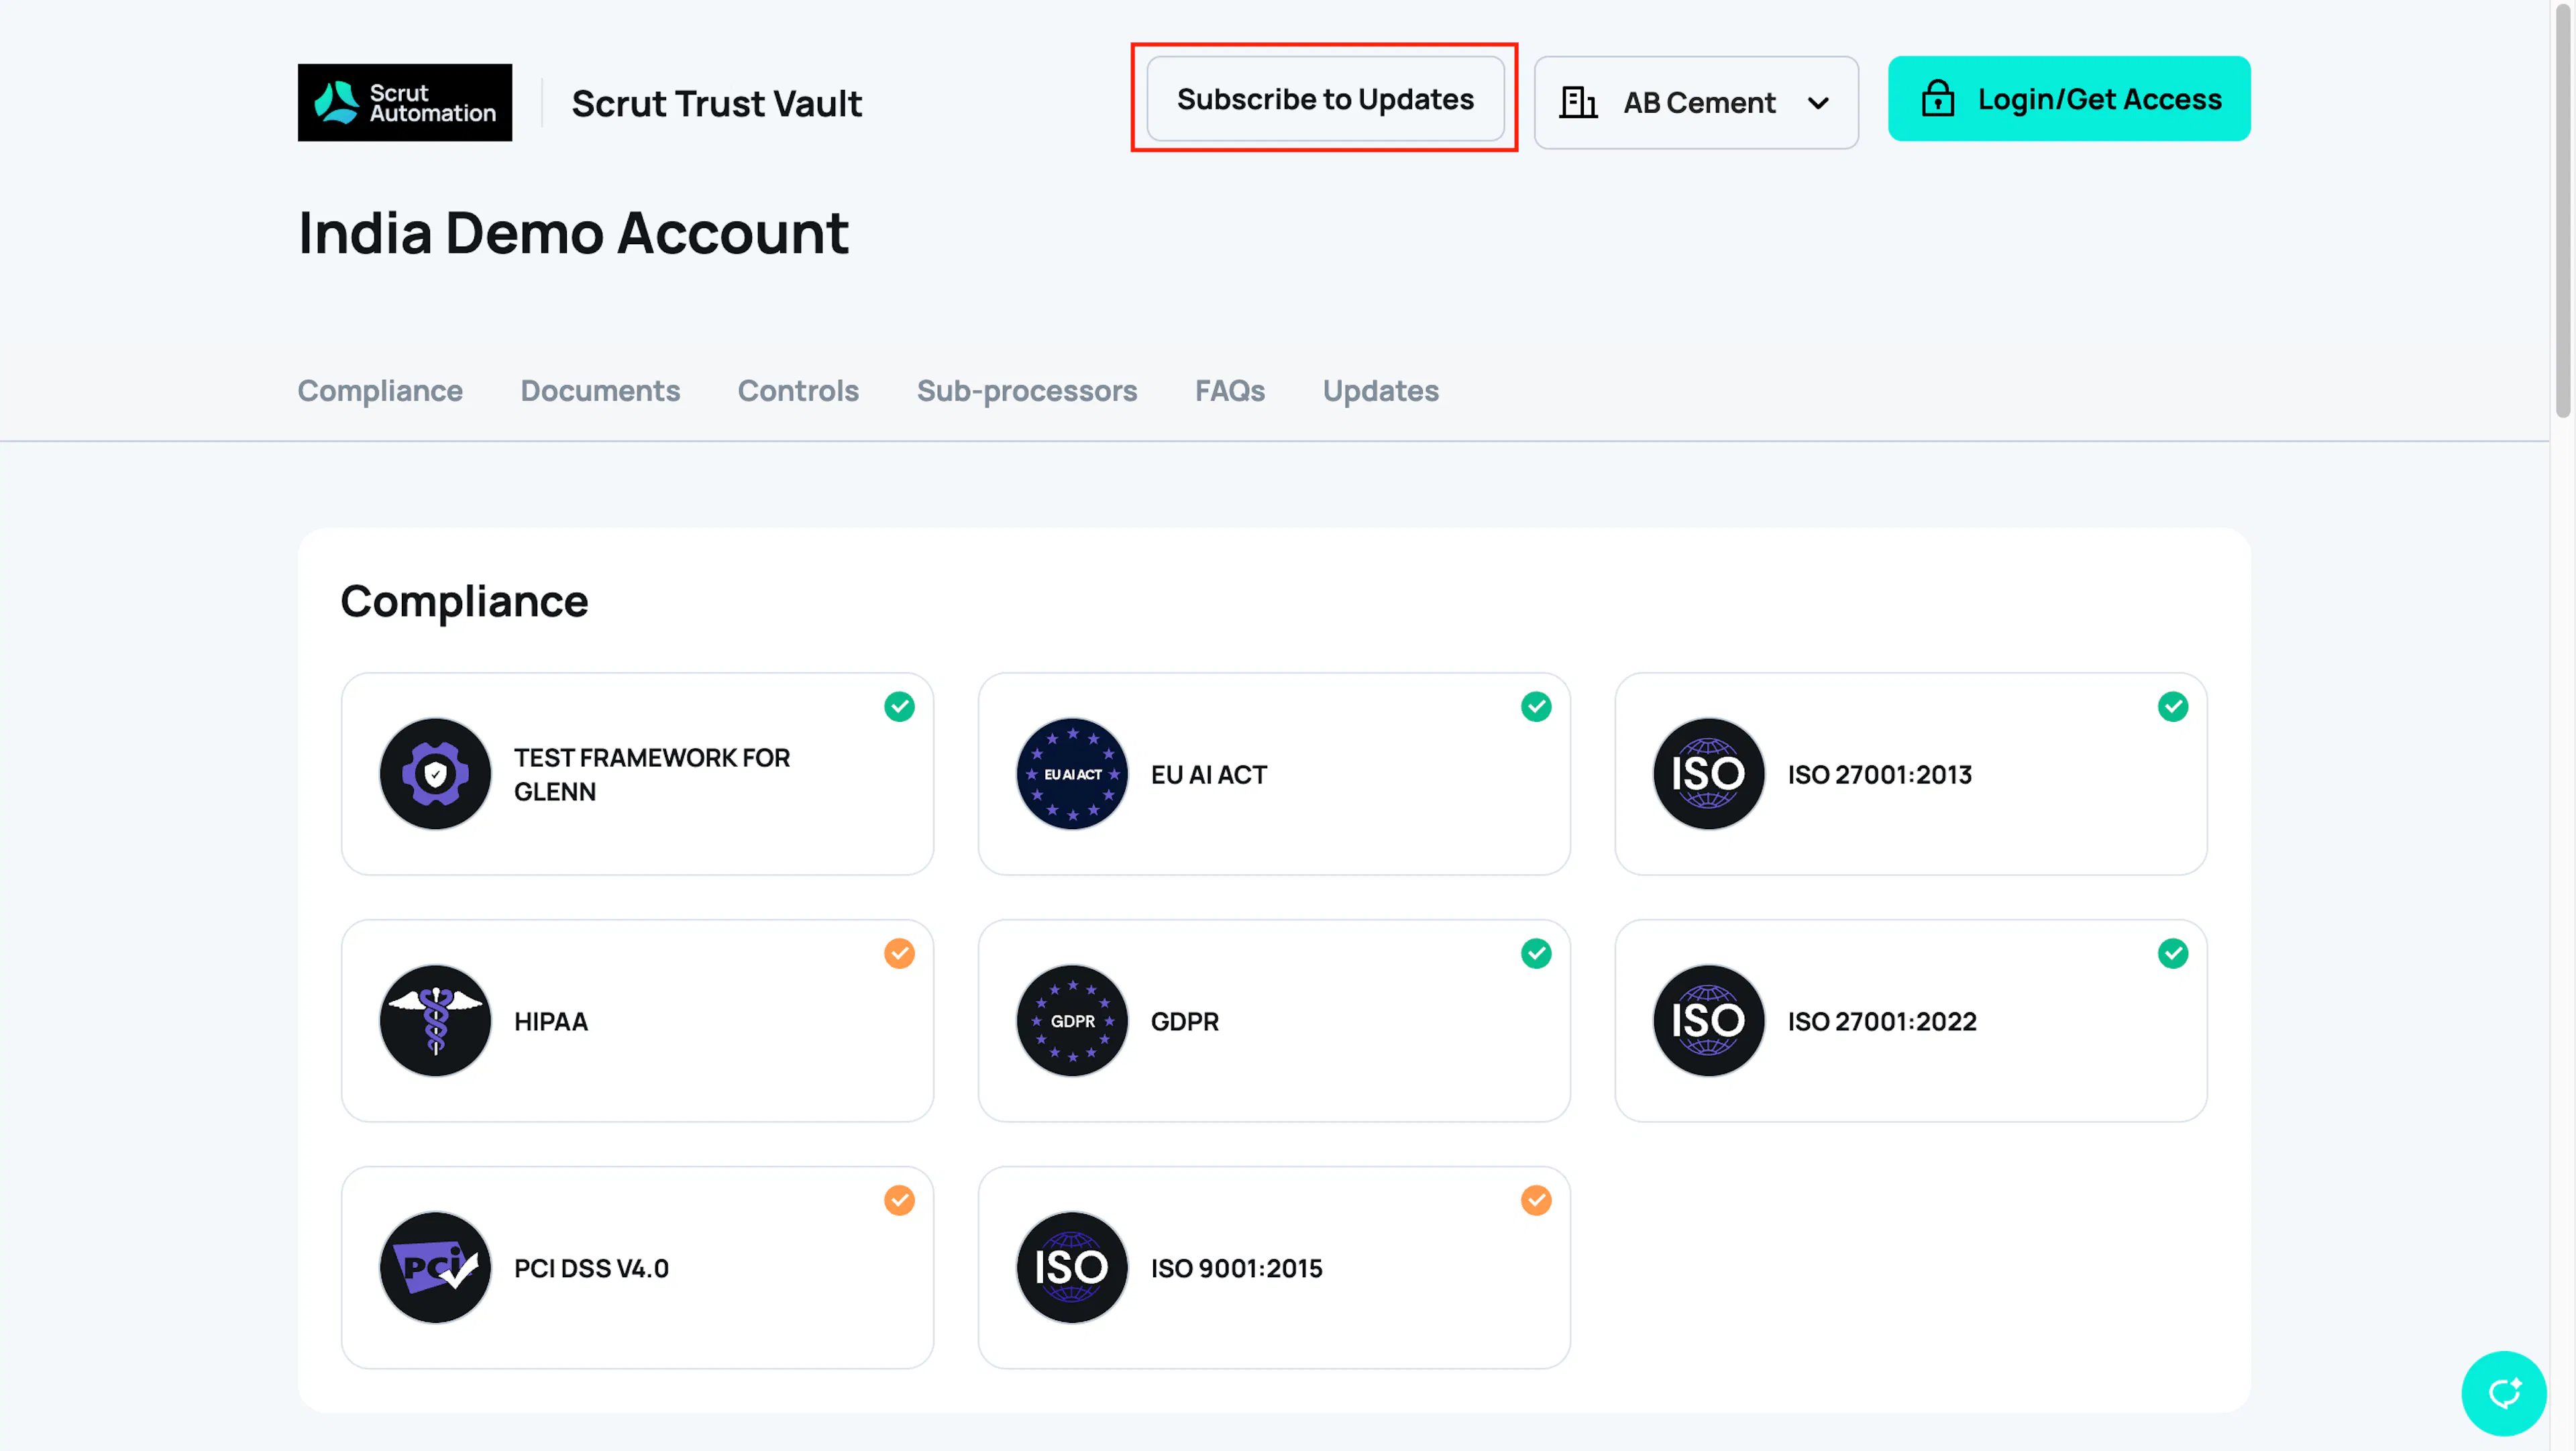
How to Enable Subscriptions to Updates
By default, subscriptions are turned off. You must enable them to allow visitors to subscribe.
-
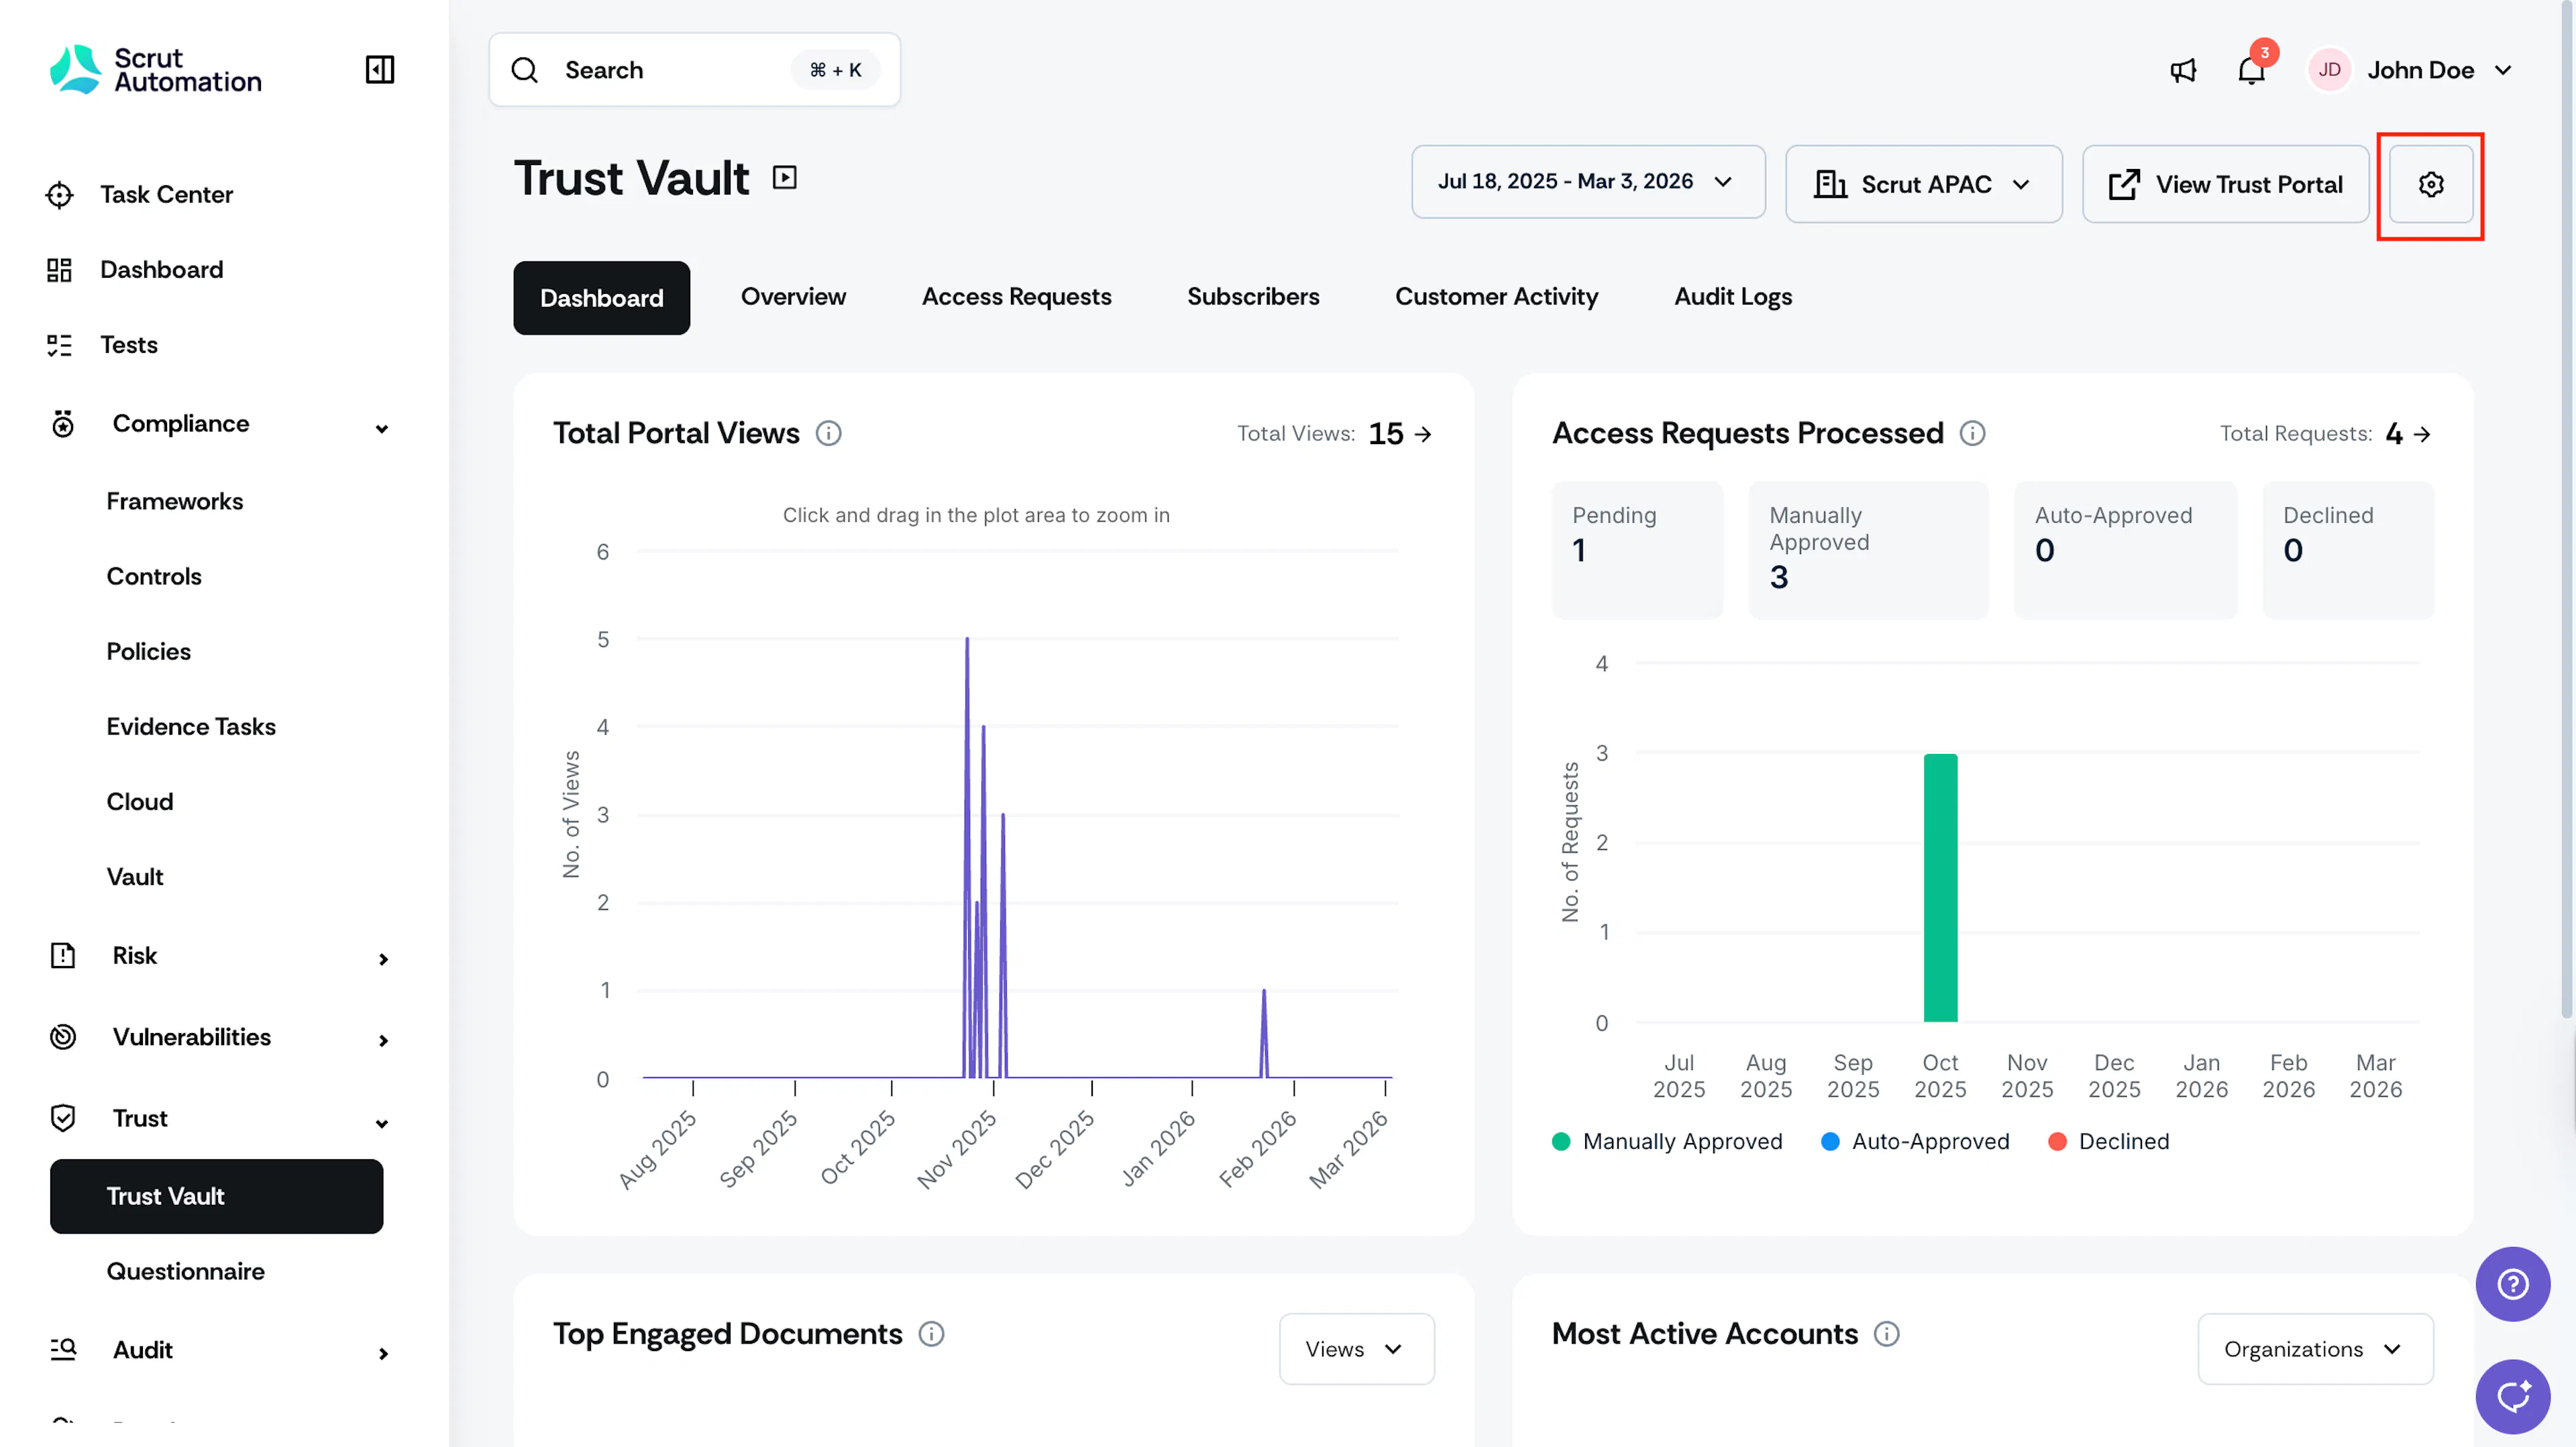
Log in to Scrut and navigate to Trust → Trust Vault.
-
Click the Settings icon at the top right of the page.
-
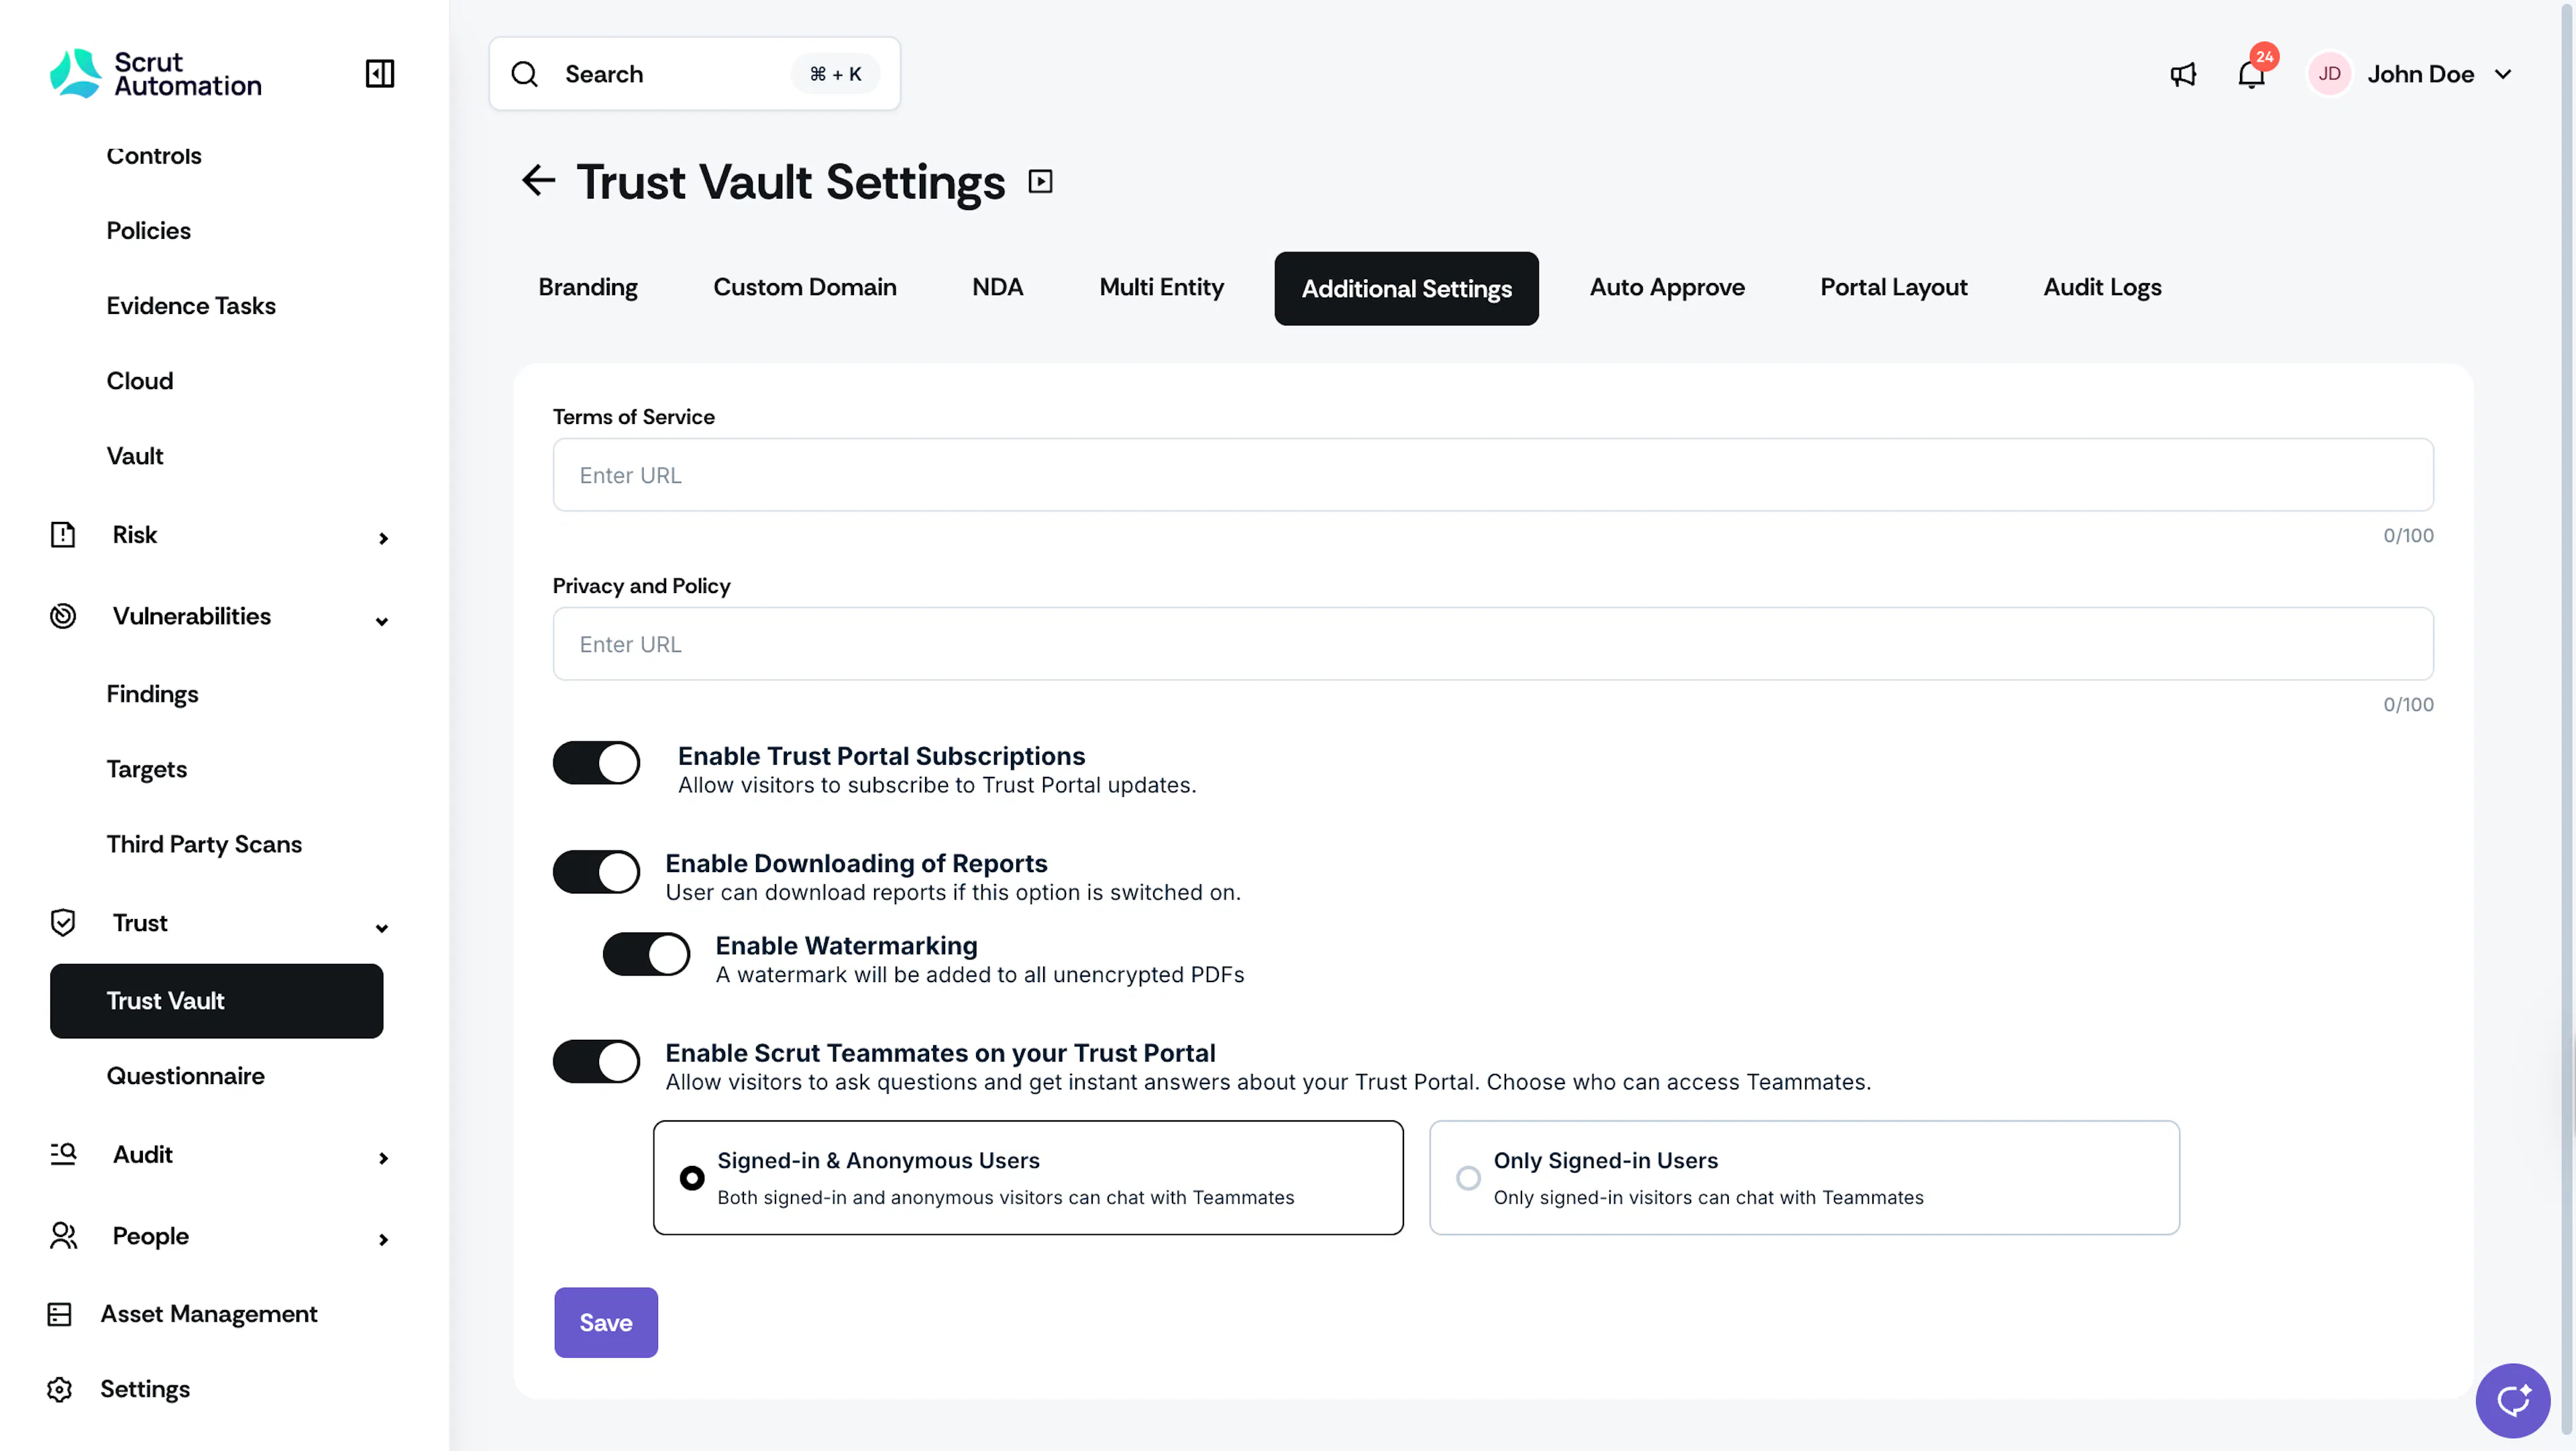
Go to Additional Settings.
-
Turn on the Trust Portal Subscriptions toggle.
-
Click Save.
What Happens When Subscriptions are Enabled
When subscriptions are enabled, a Subscribe to Updates option appears on:
- The Trust Portal Overview
- The Updates section
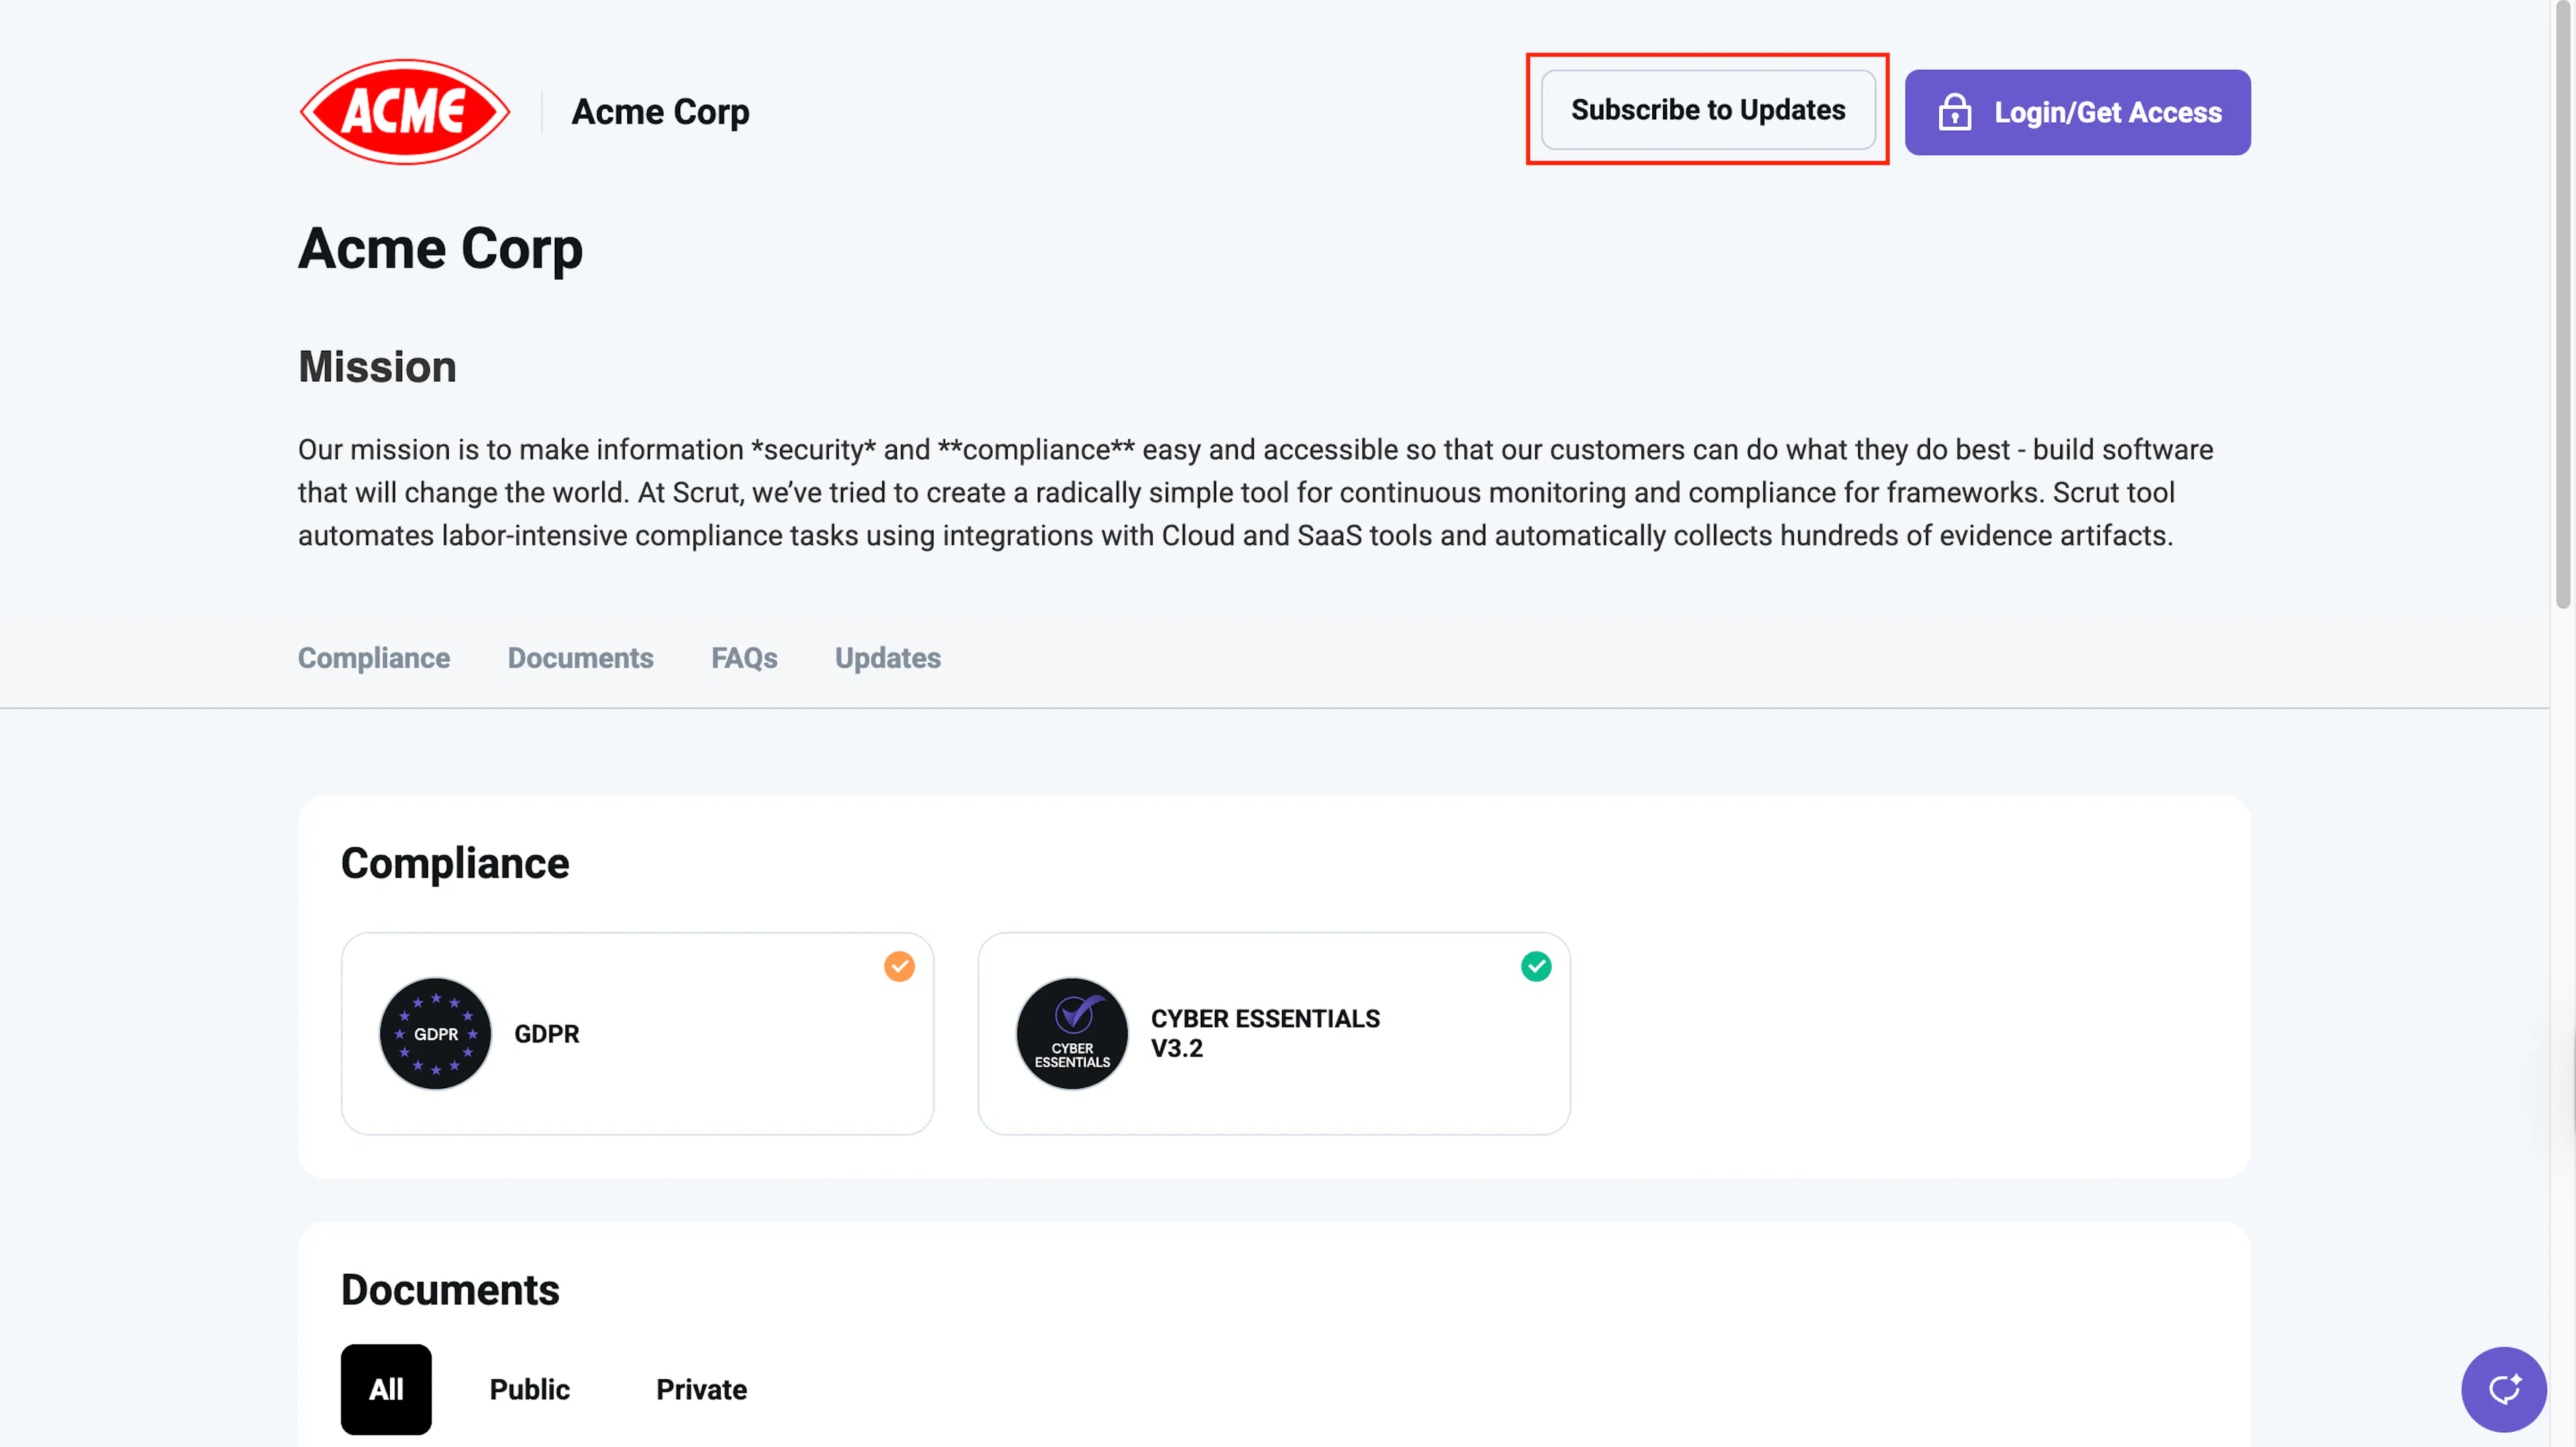
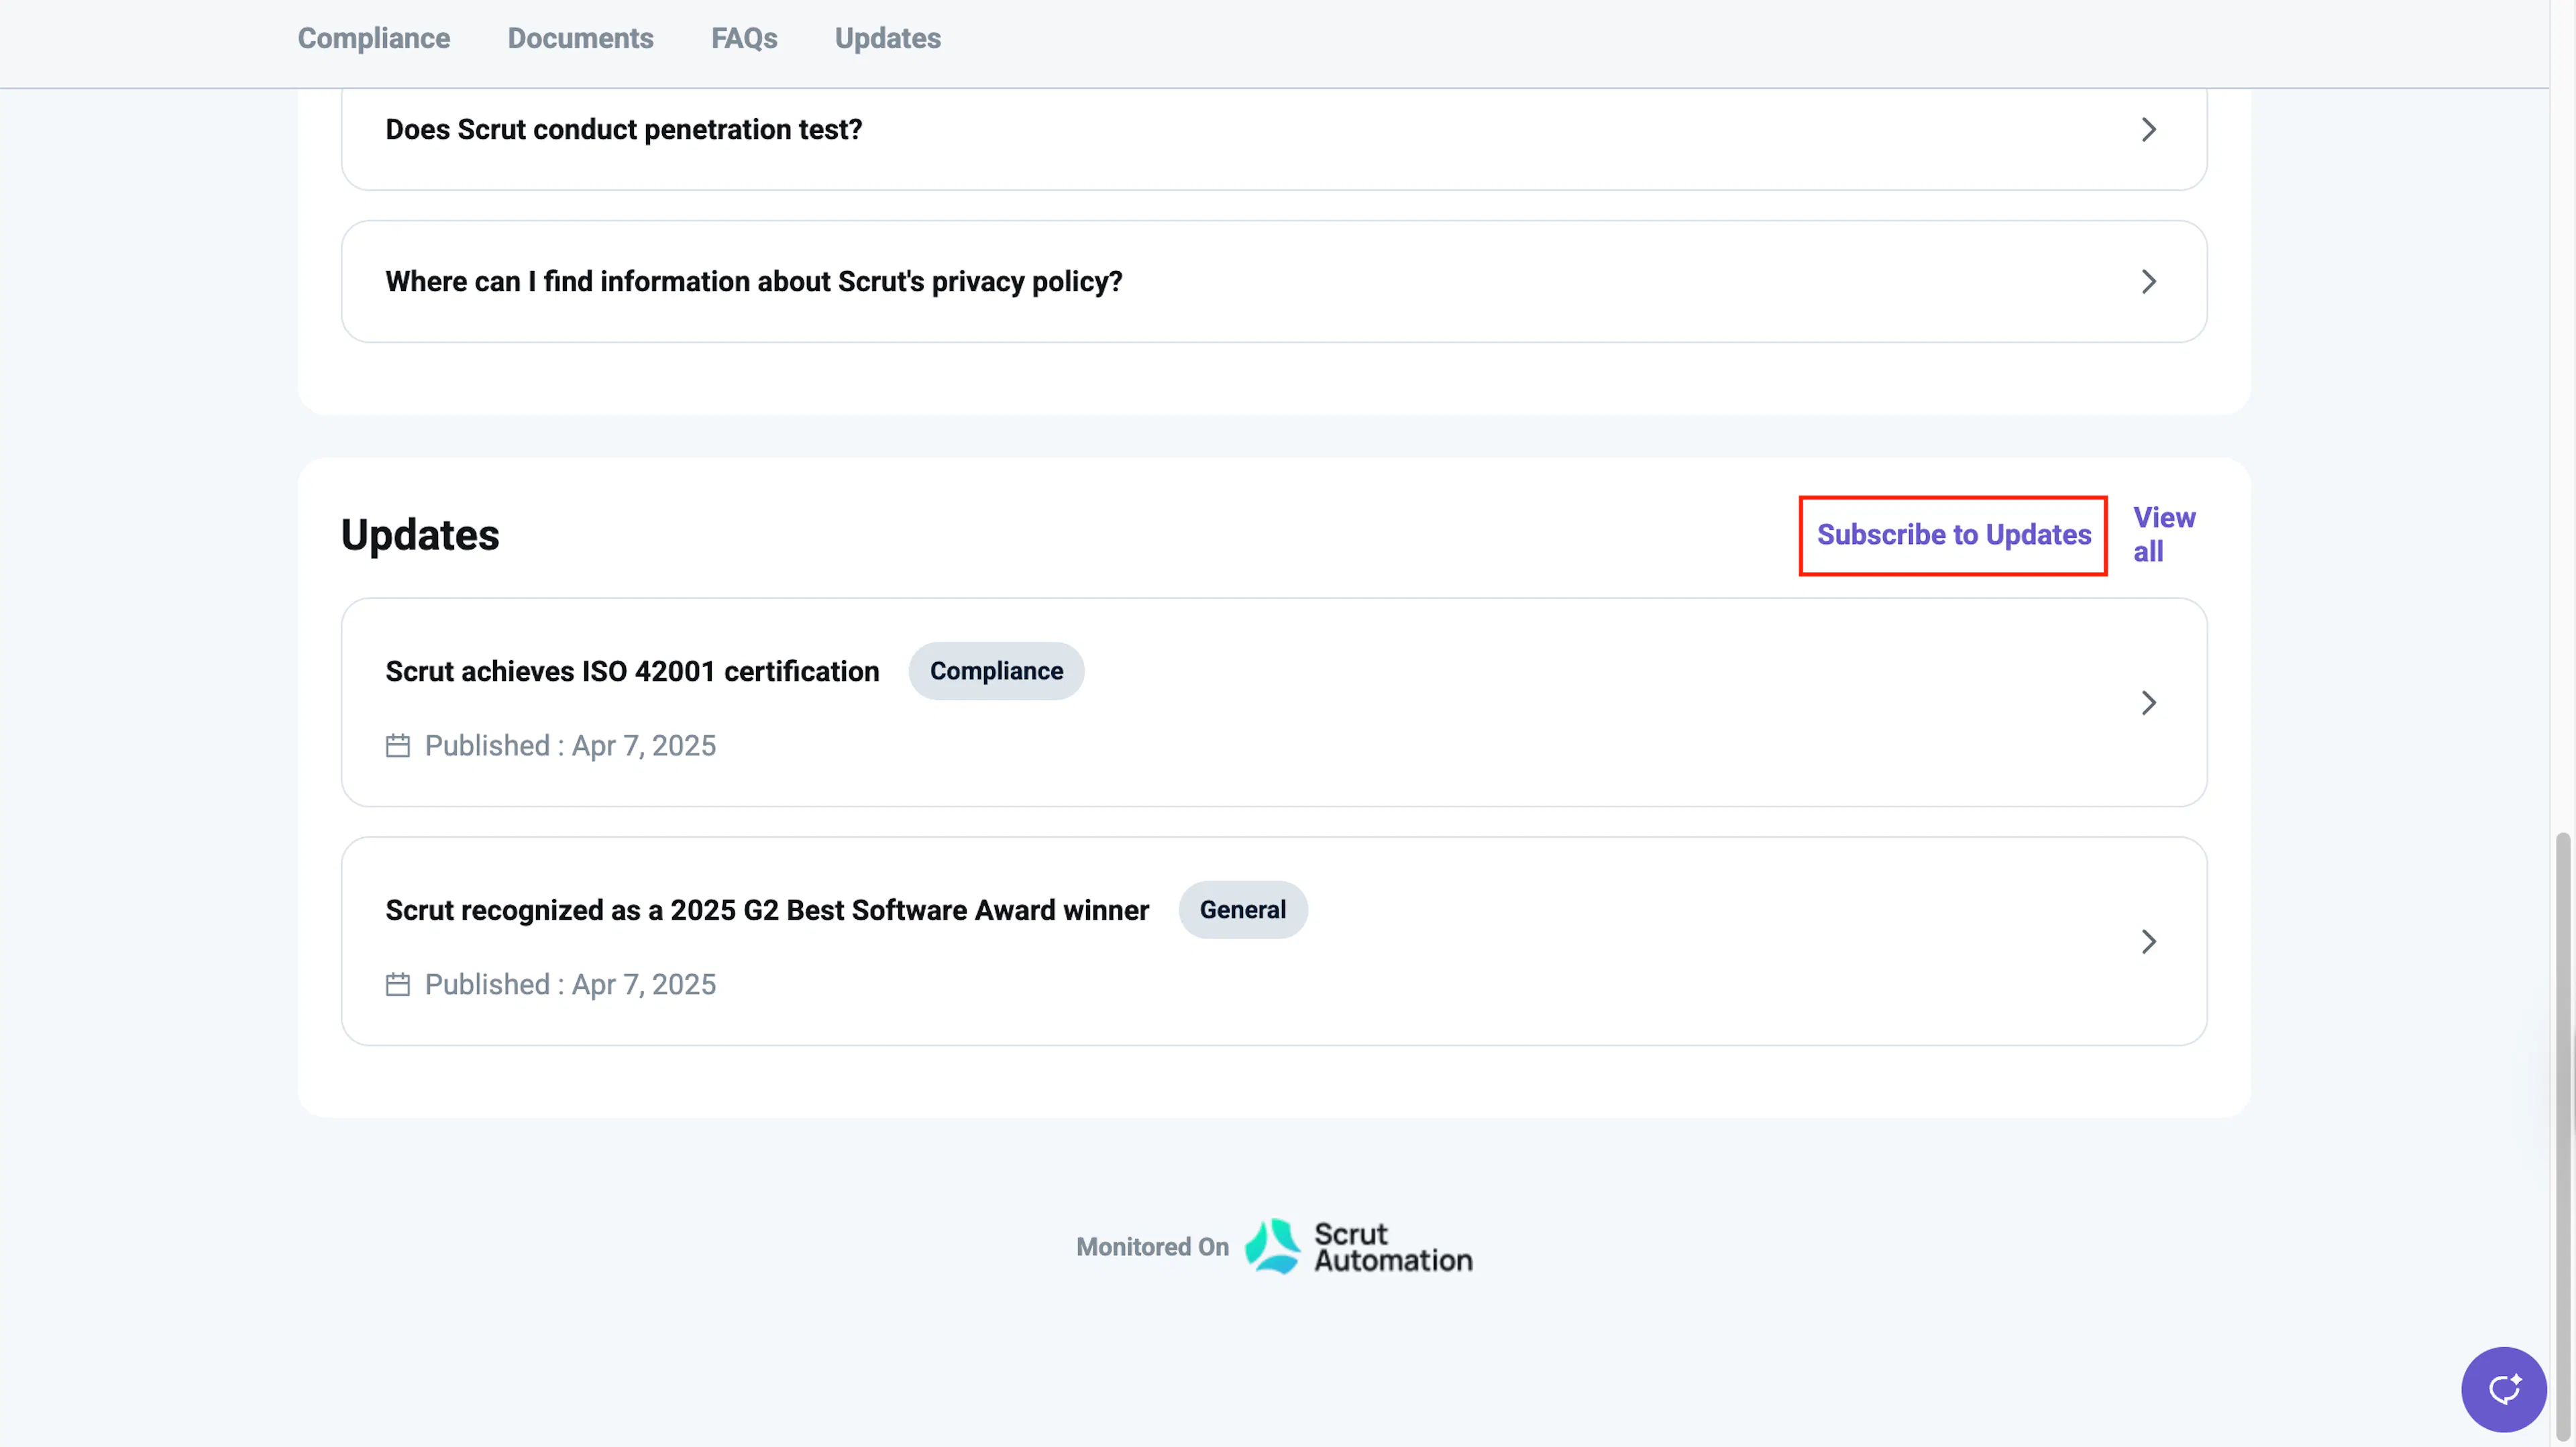
Portal visitors can click on either of these, enter their email, confirm their subscription, and start receiving notifications whenever a new update is published.
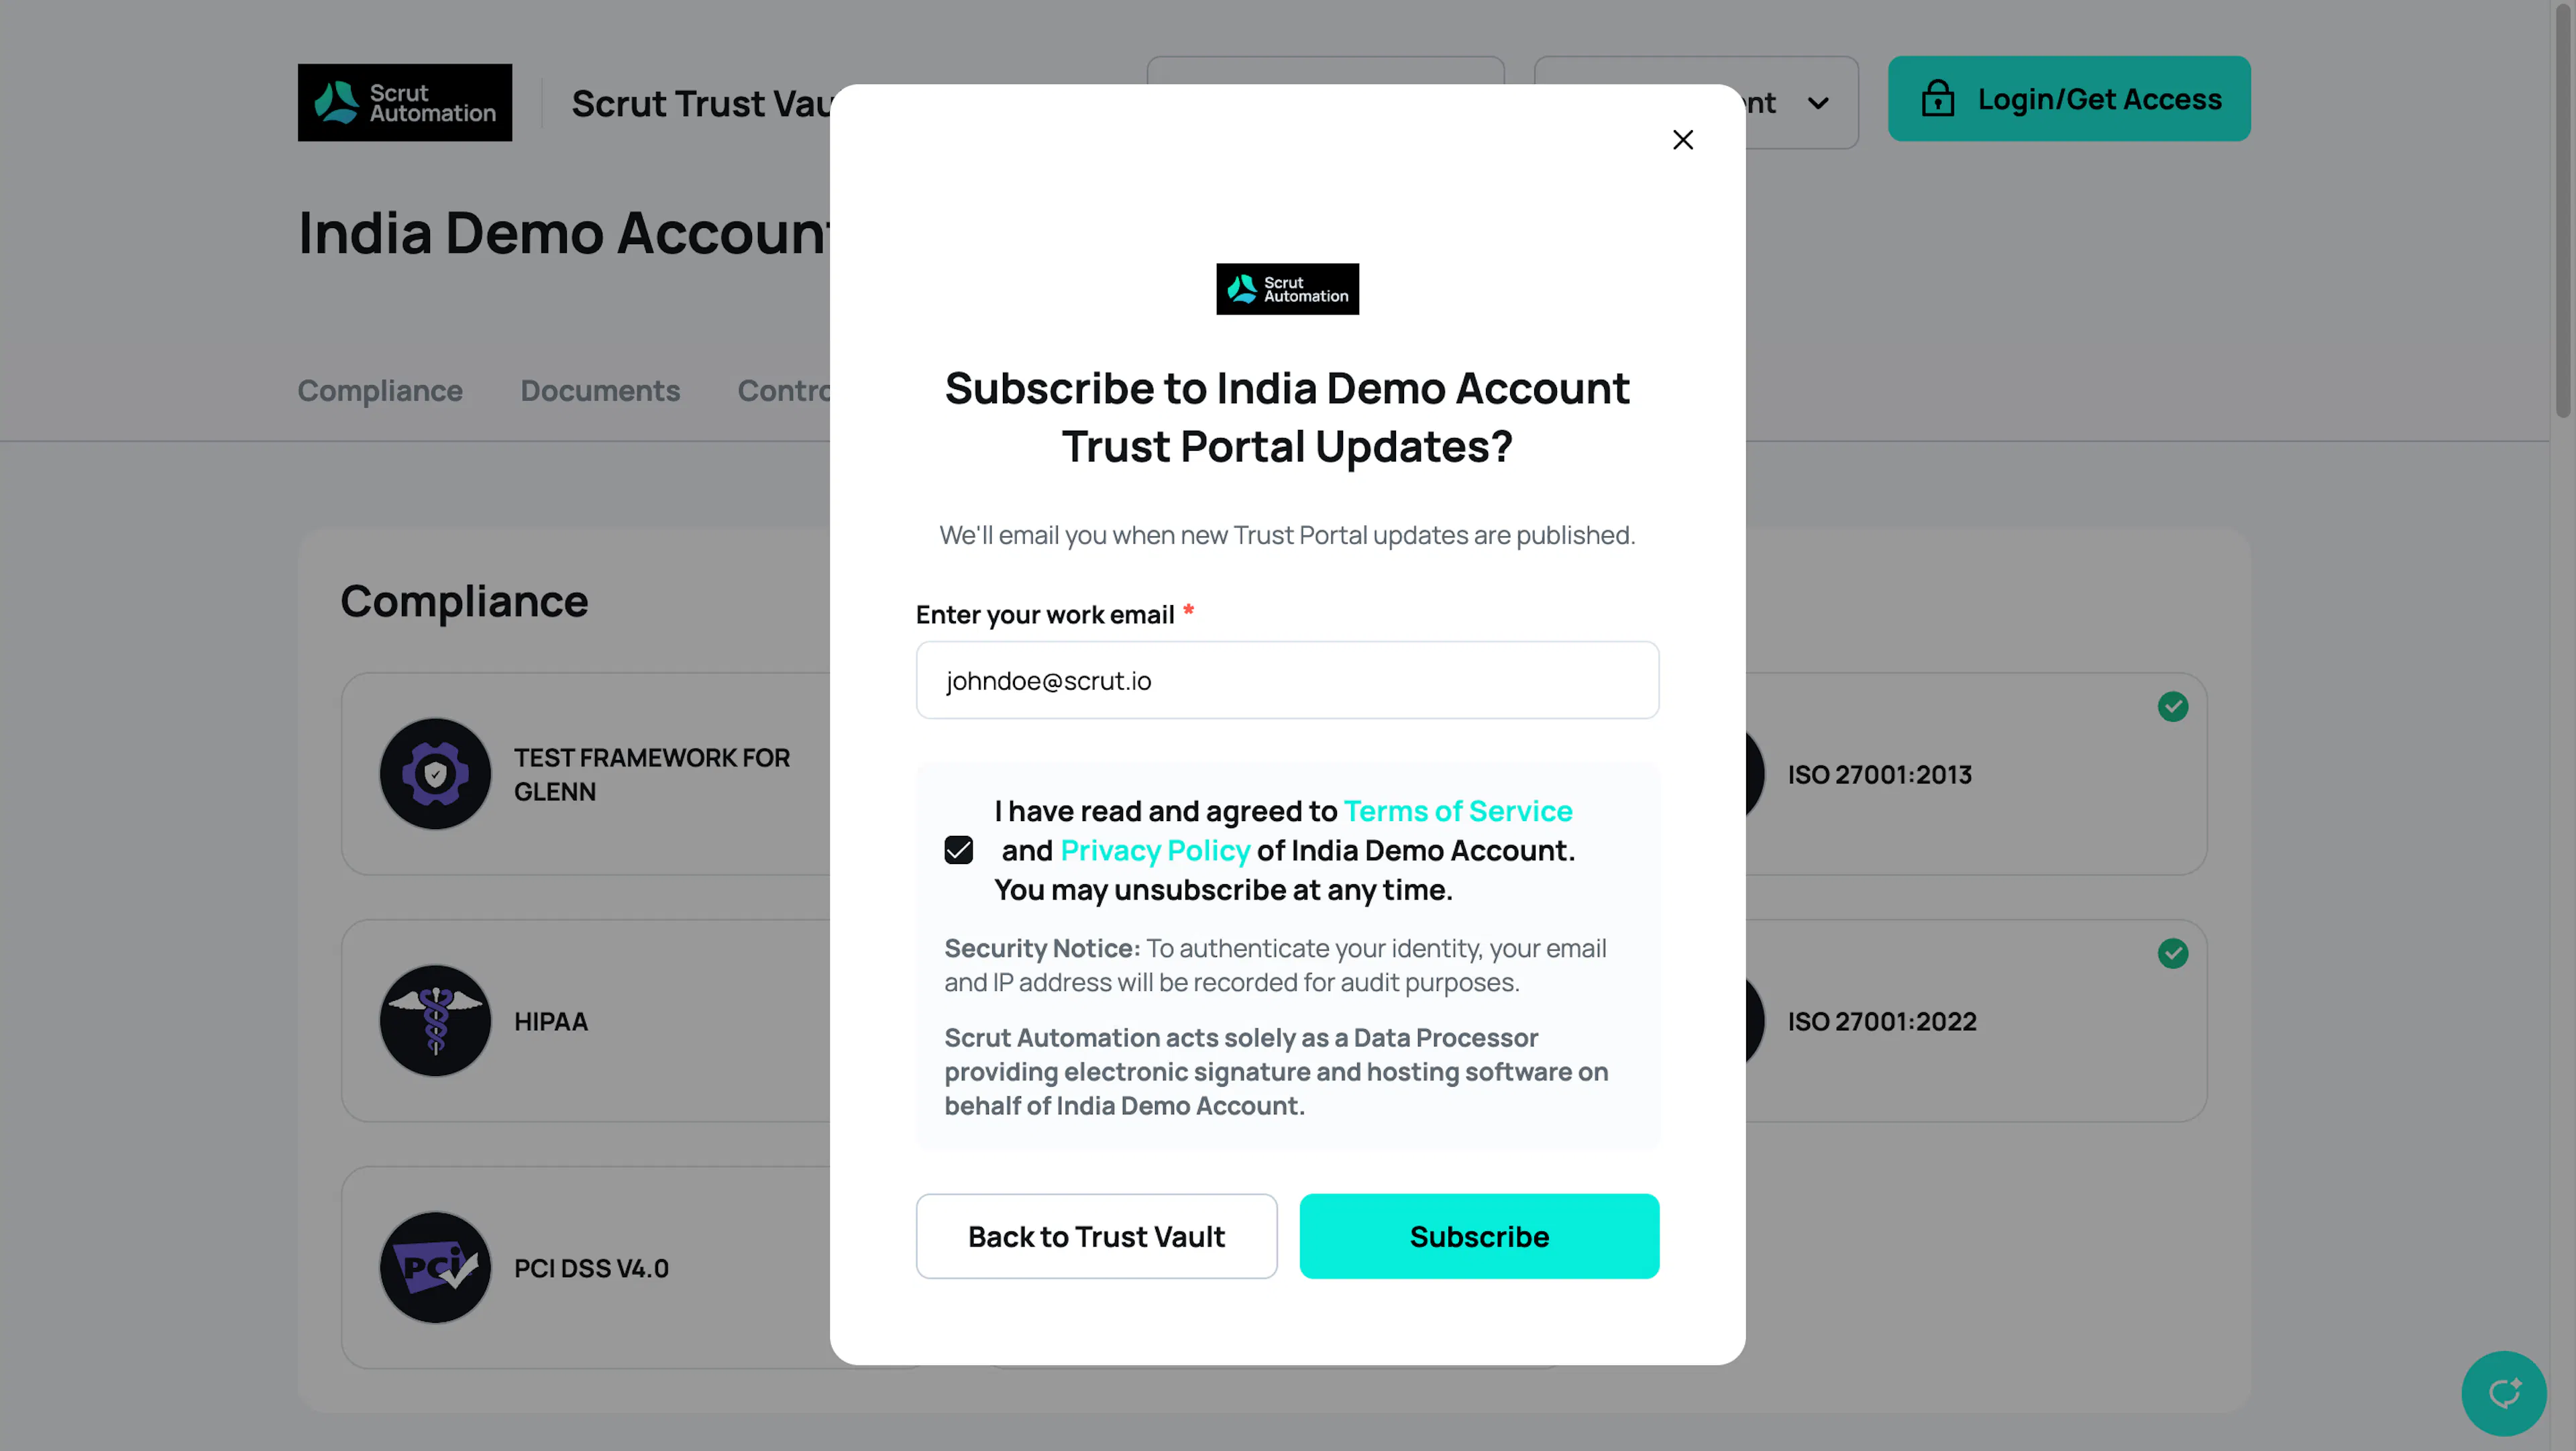
What Visitors See When Subscribing
-
The visitor clicks Subscribe to Updates from the Trust Portal Overview or Updates section.
-
They enter their email address, already populated for logged-in users.
-
They select the checkbox to accept your organization's Terms of Service and Privacy Policy.
Note: This checkbox is mandatory; visitors cannot subscribe without accepting it.
-
They click Subscribe and confirm their email to complete the subscription.
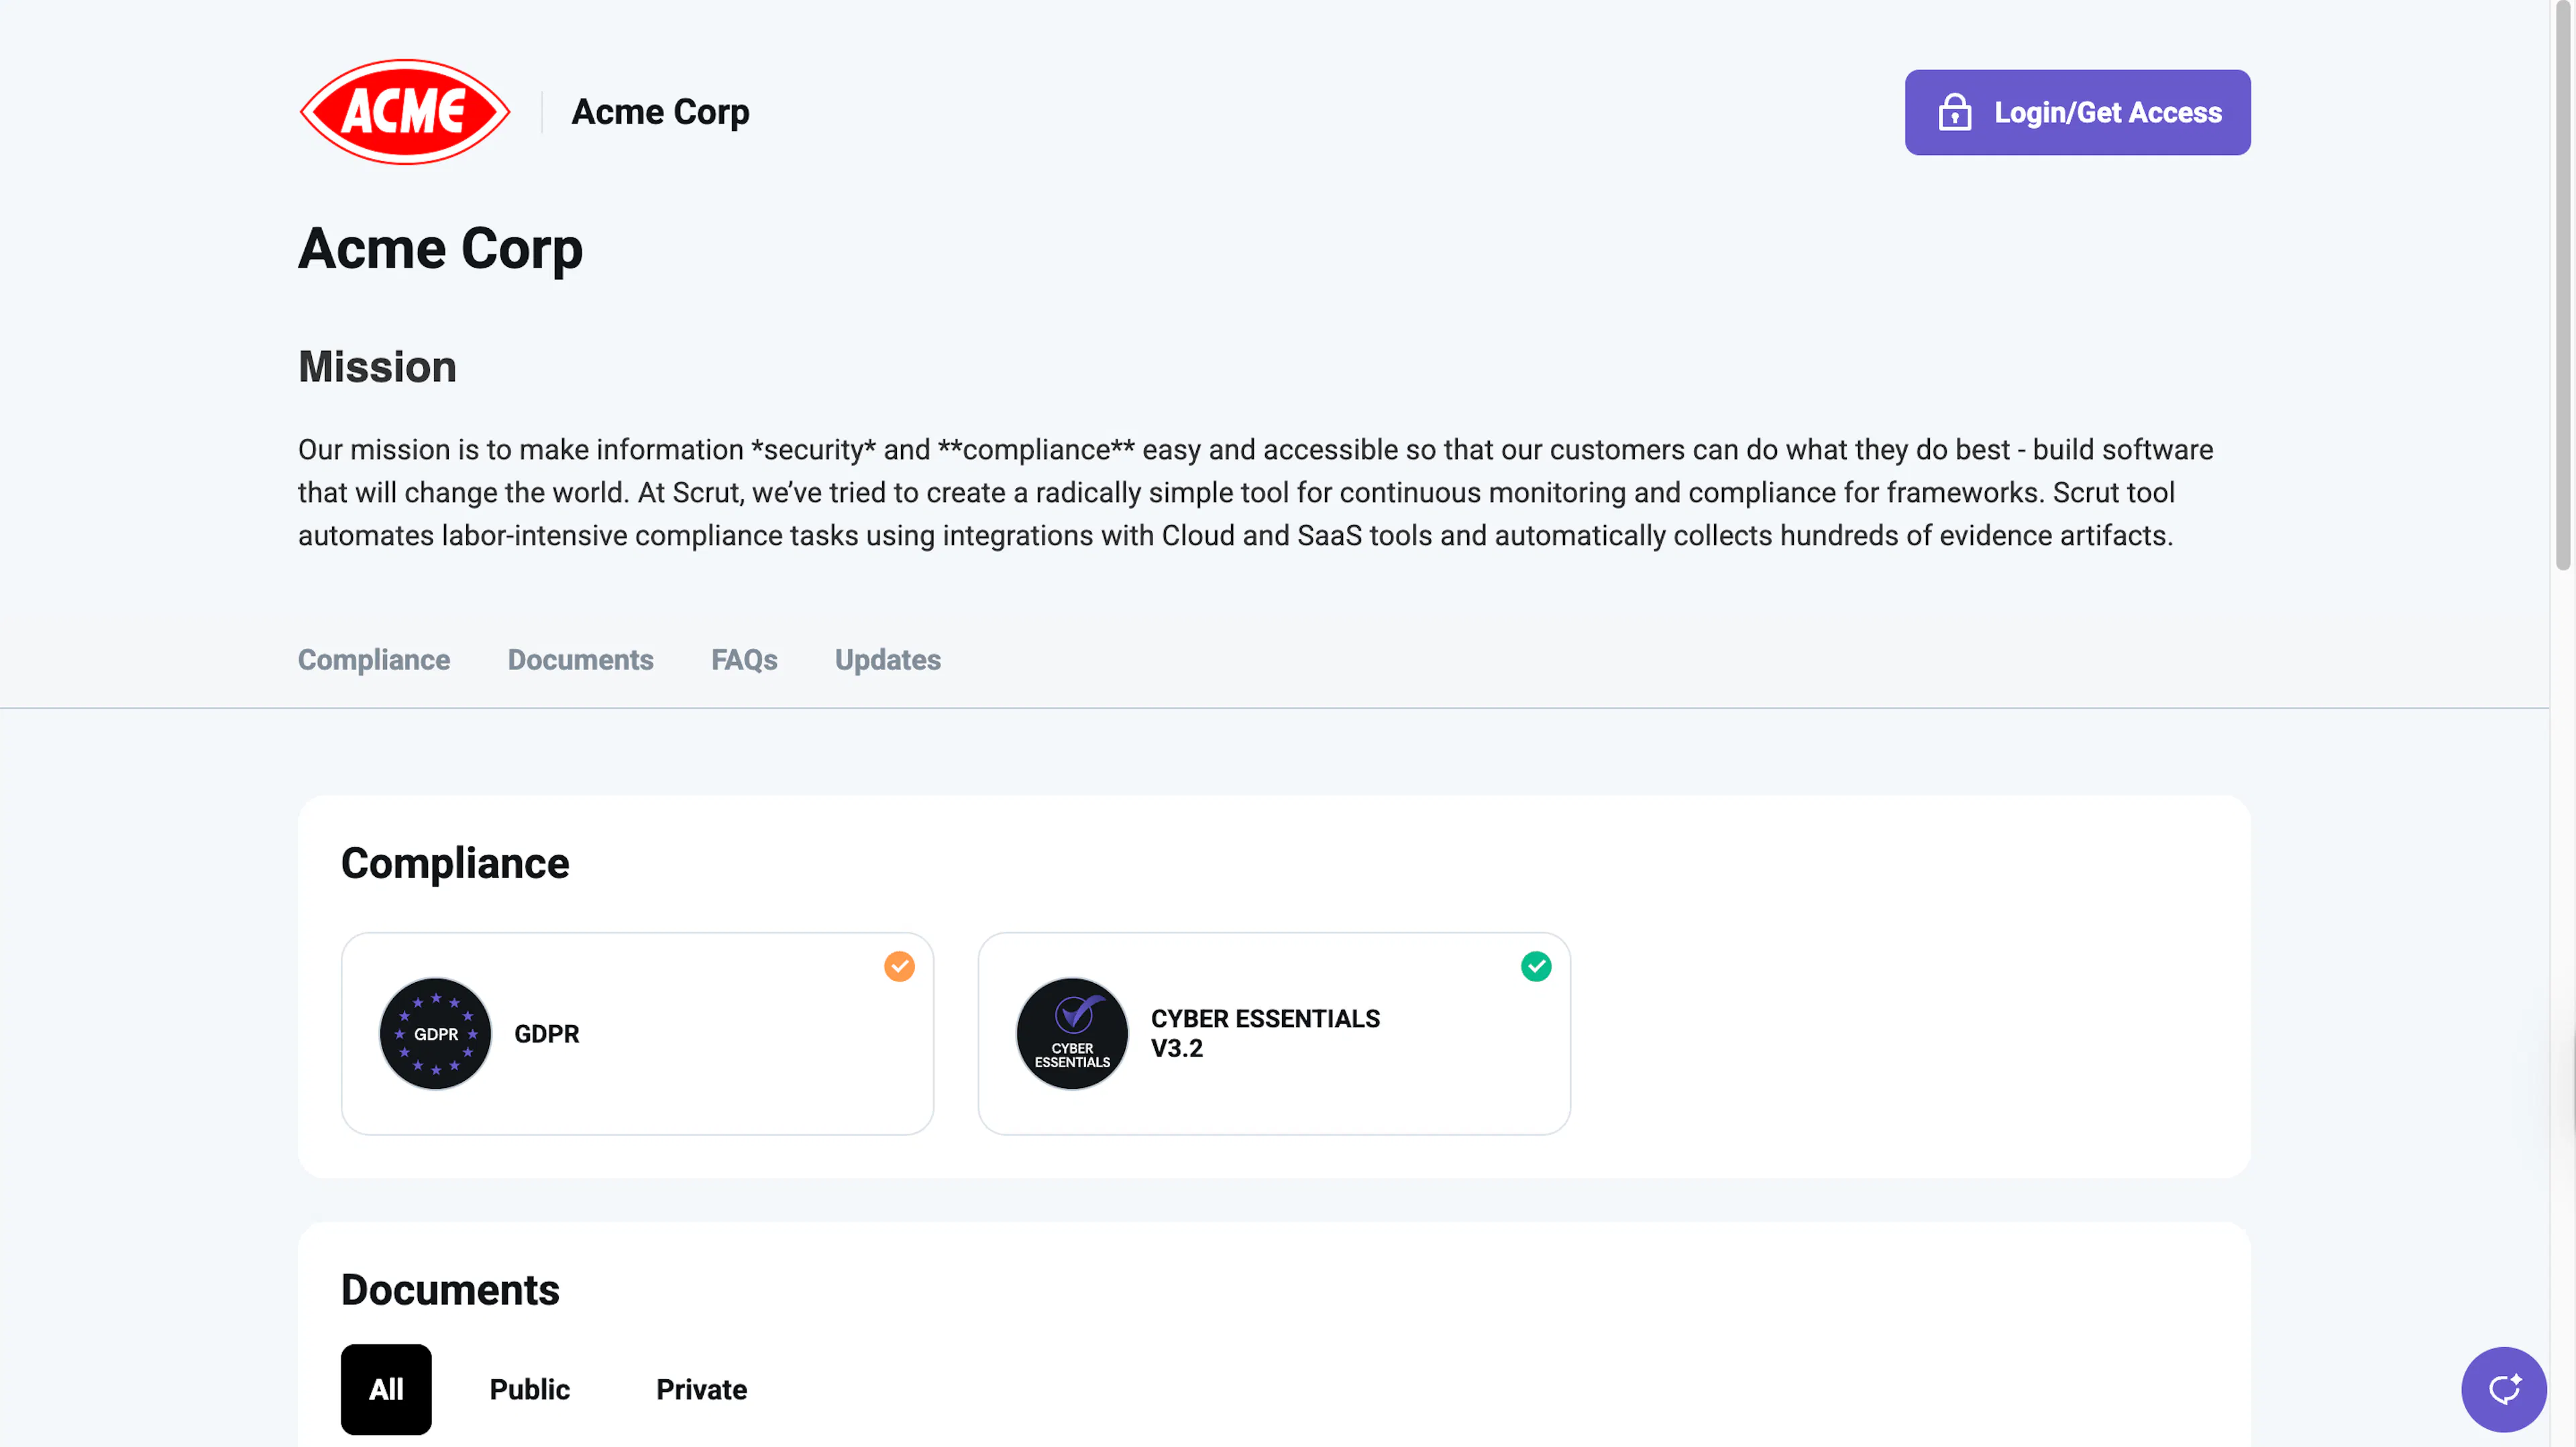
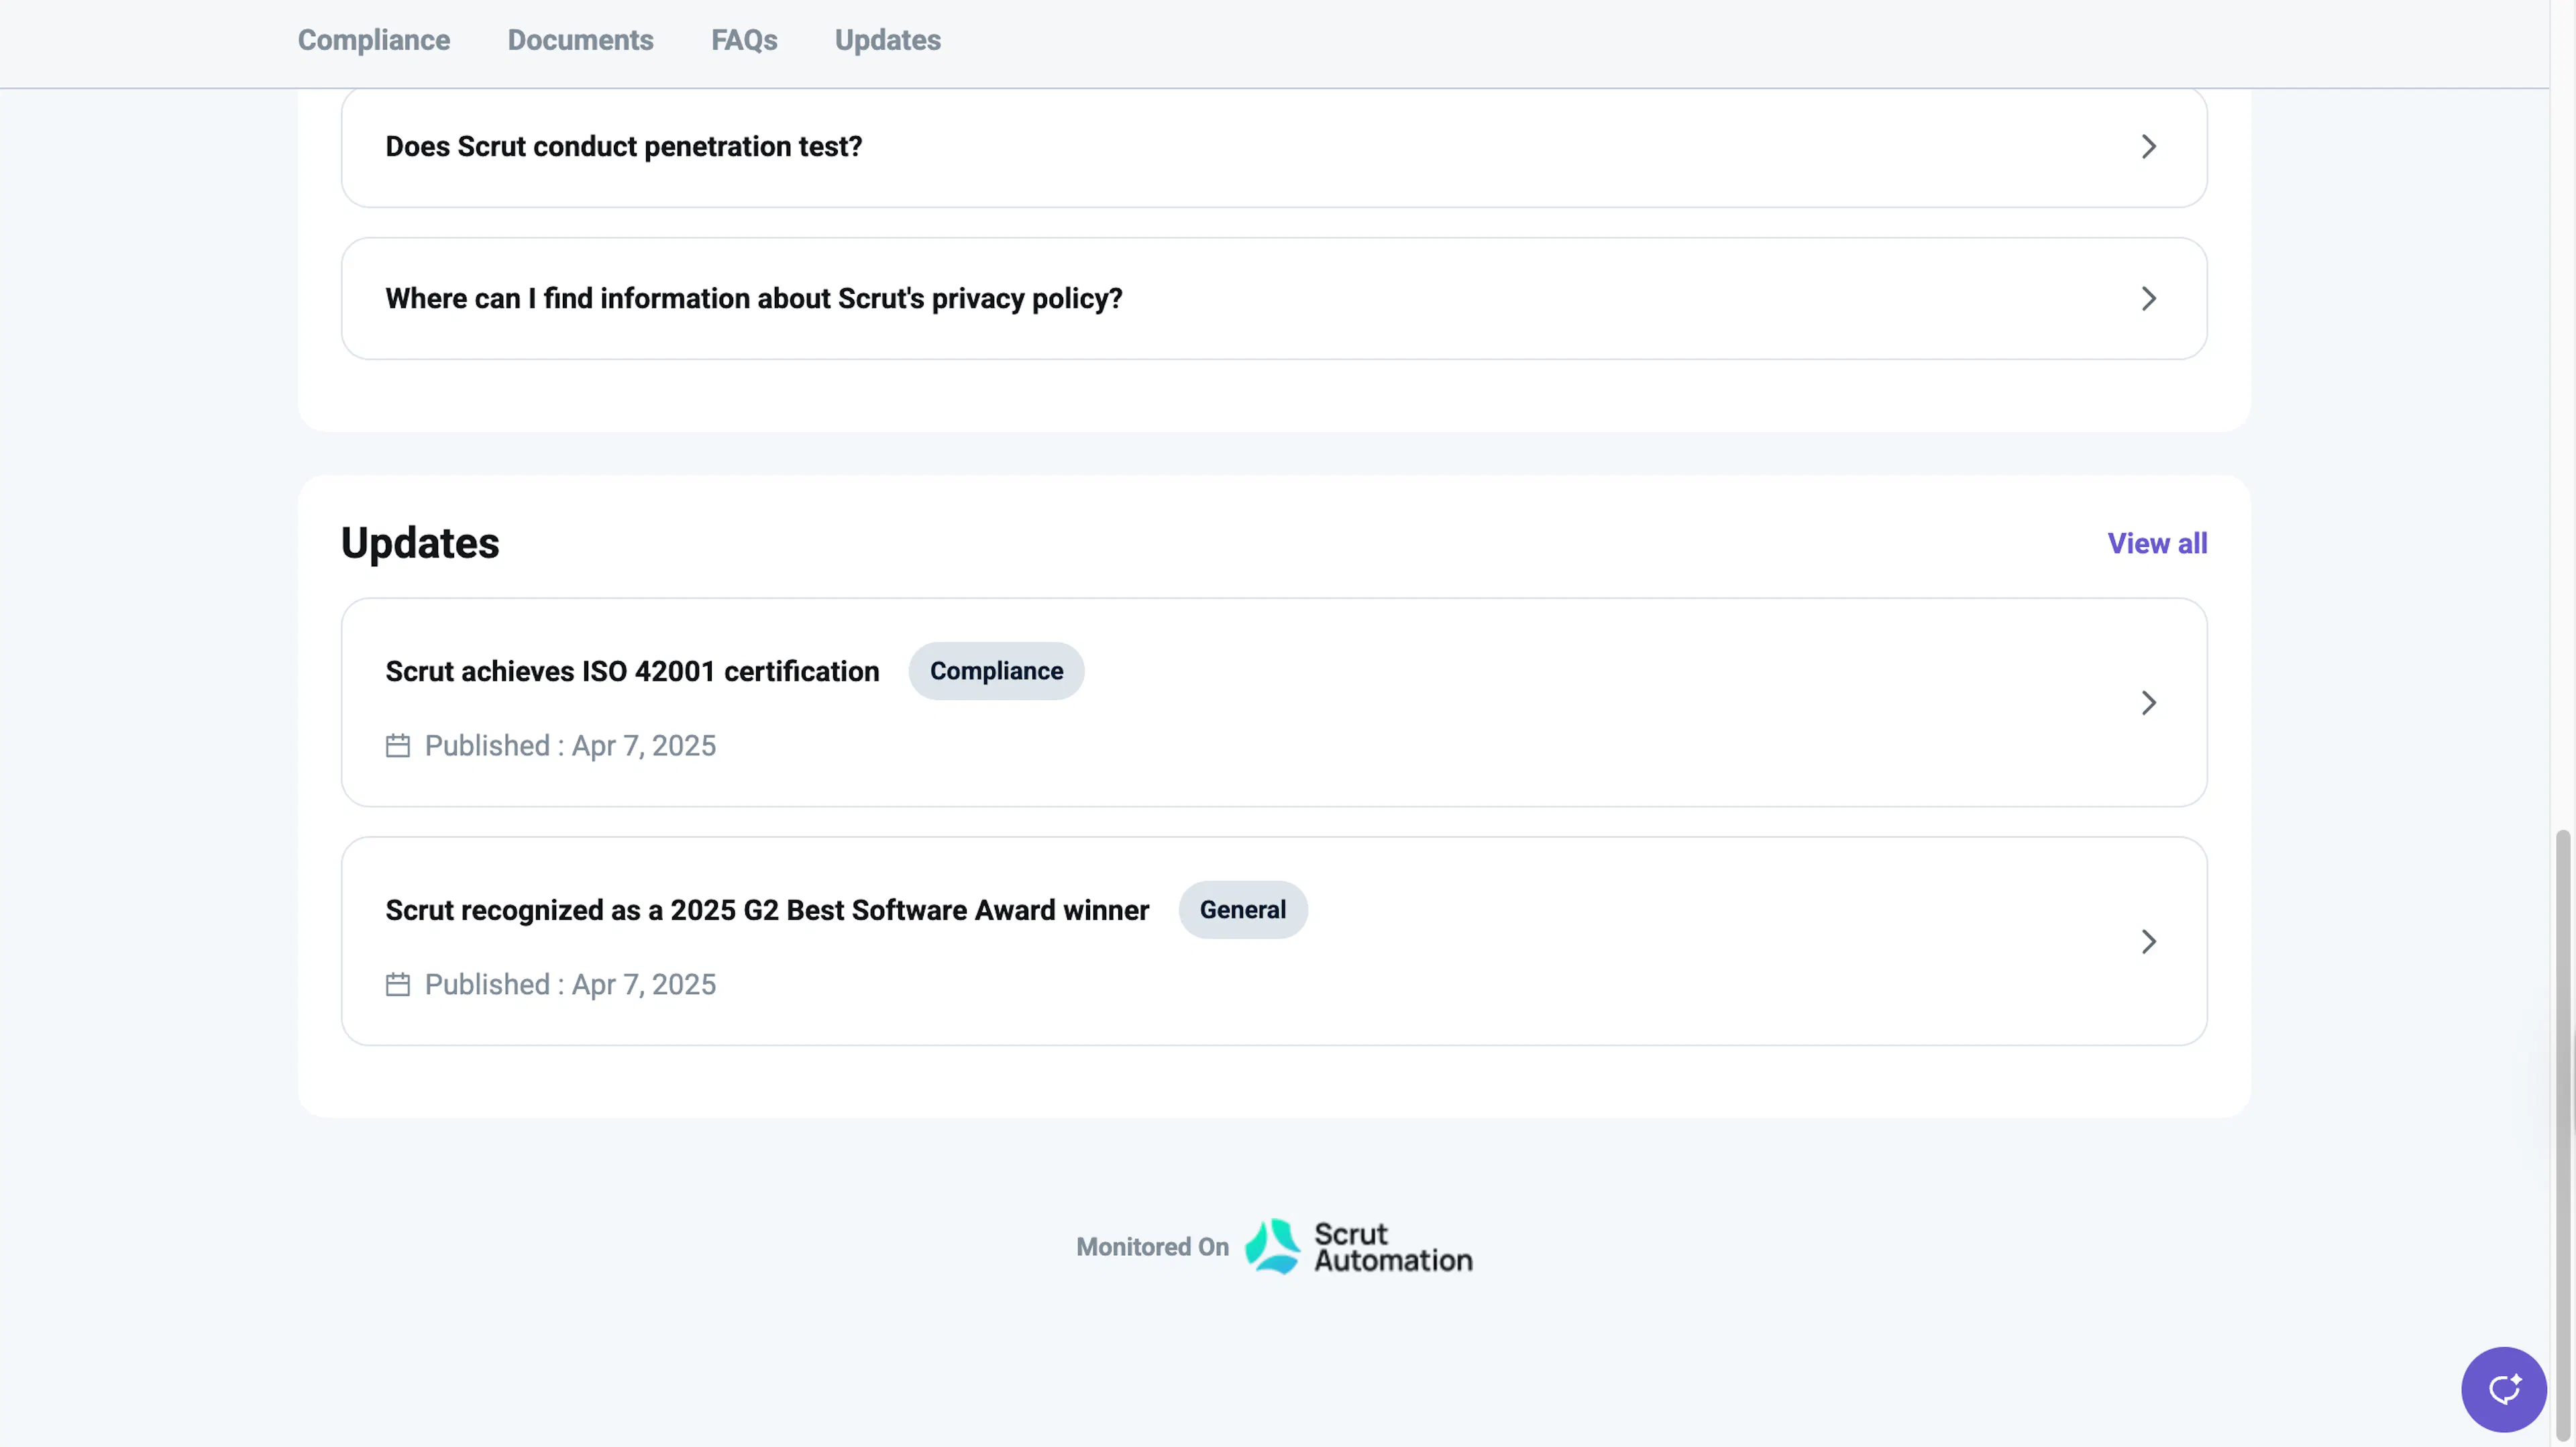
What Happens When Subscriptions Are Disabled
- The Subscribe to updates option is not visible in either the Overview or the Updates section of the Trust Portal.
Managing Subscribers
Navigate to Trust → Trust Vault → Subscribers. The Subscribers table includes:
- Email address
- Subscribed On (date and timestamp)
- Status (Verified / Pending)
- Delete option
- Search functionality
Add a Subscriber Manually
-
Click Add Subscriber.
-
Enter the email address. You can either:
- Leave Bypass email verification unchecked. The subscriber is added with a Pending status. Scrut sends the verification email, and they start receiving notifications only after confirmation.
- Select the Bypass email verification checkbox. The subscriber is marked Verified immediately and begins receiving update notifications without email confirmation.
FAQs
Reach out to support@scrut.io or contact your CSM for further assistance.