

Integrate Okta (SSO)
The Scrut - Okta (SSO) integration allows your organization’s users to log into Scrut using their Okta credentials. In this guide, we walk you through connecting your organization’s Okta account to Scrut for SSO.
Heads Up!
If you’re looking to connect Okta as an IDP, see here.
Prerequisites
Before starting the integration, ensure you have the following access and permissions:
Access
- You must be a Scrut Admin (or Contributor with access to the Integrations module)
- You need Admin access to your organization’s Okta account
How To Integrate Okta (SSO) With Scrut
Step 1: Install Scrut Automation Application in your Okta Account
-
Log in to your Okta Admin Console.
-
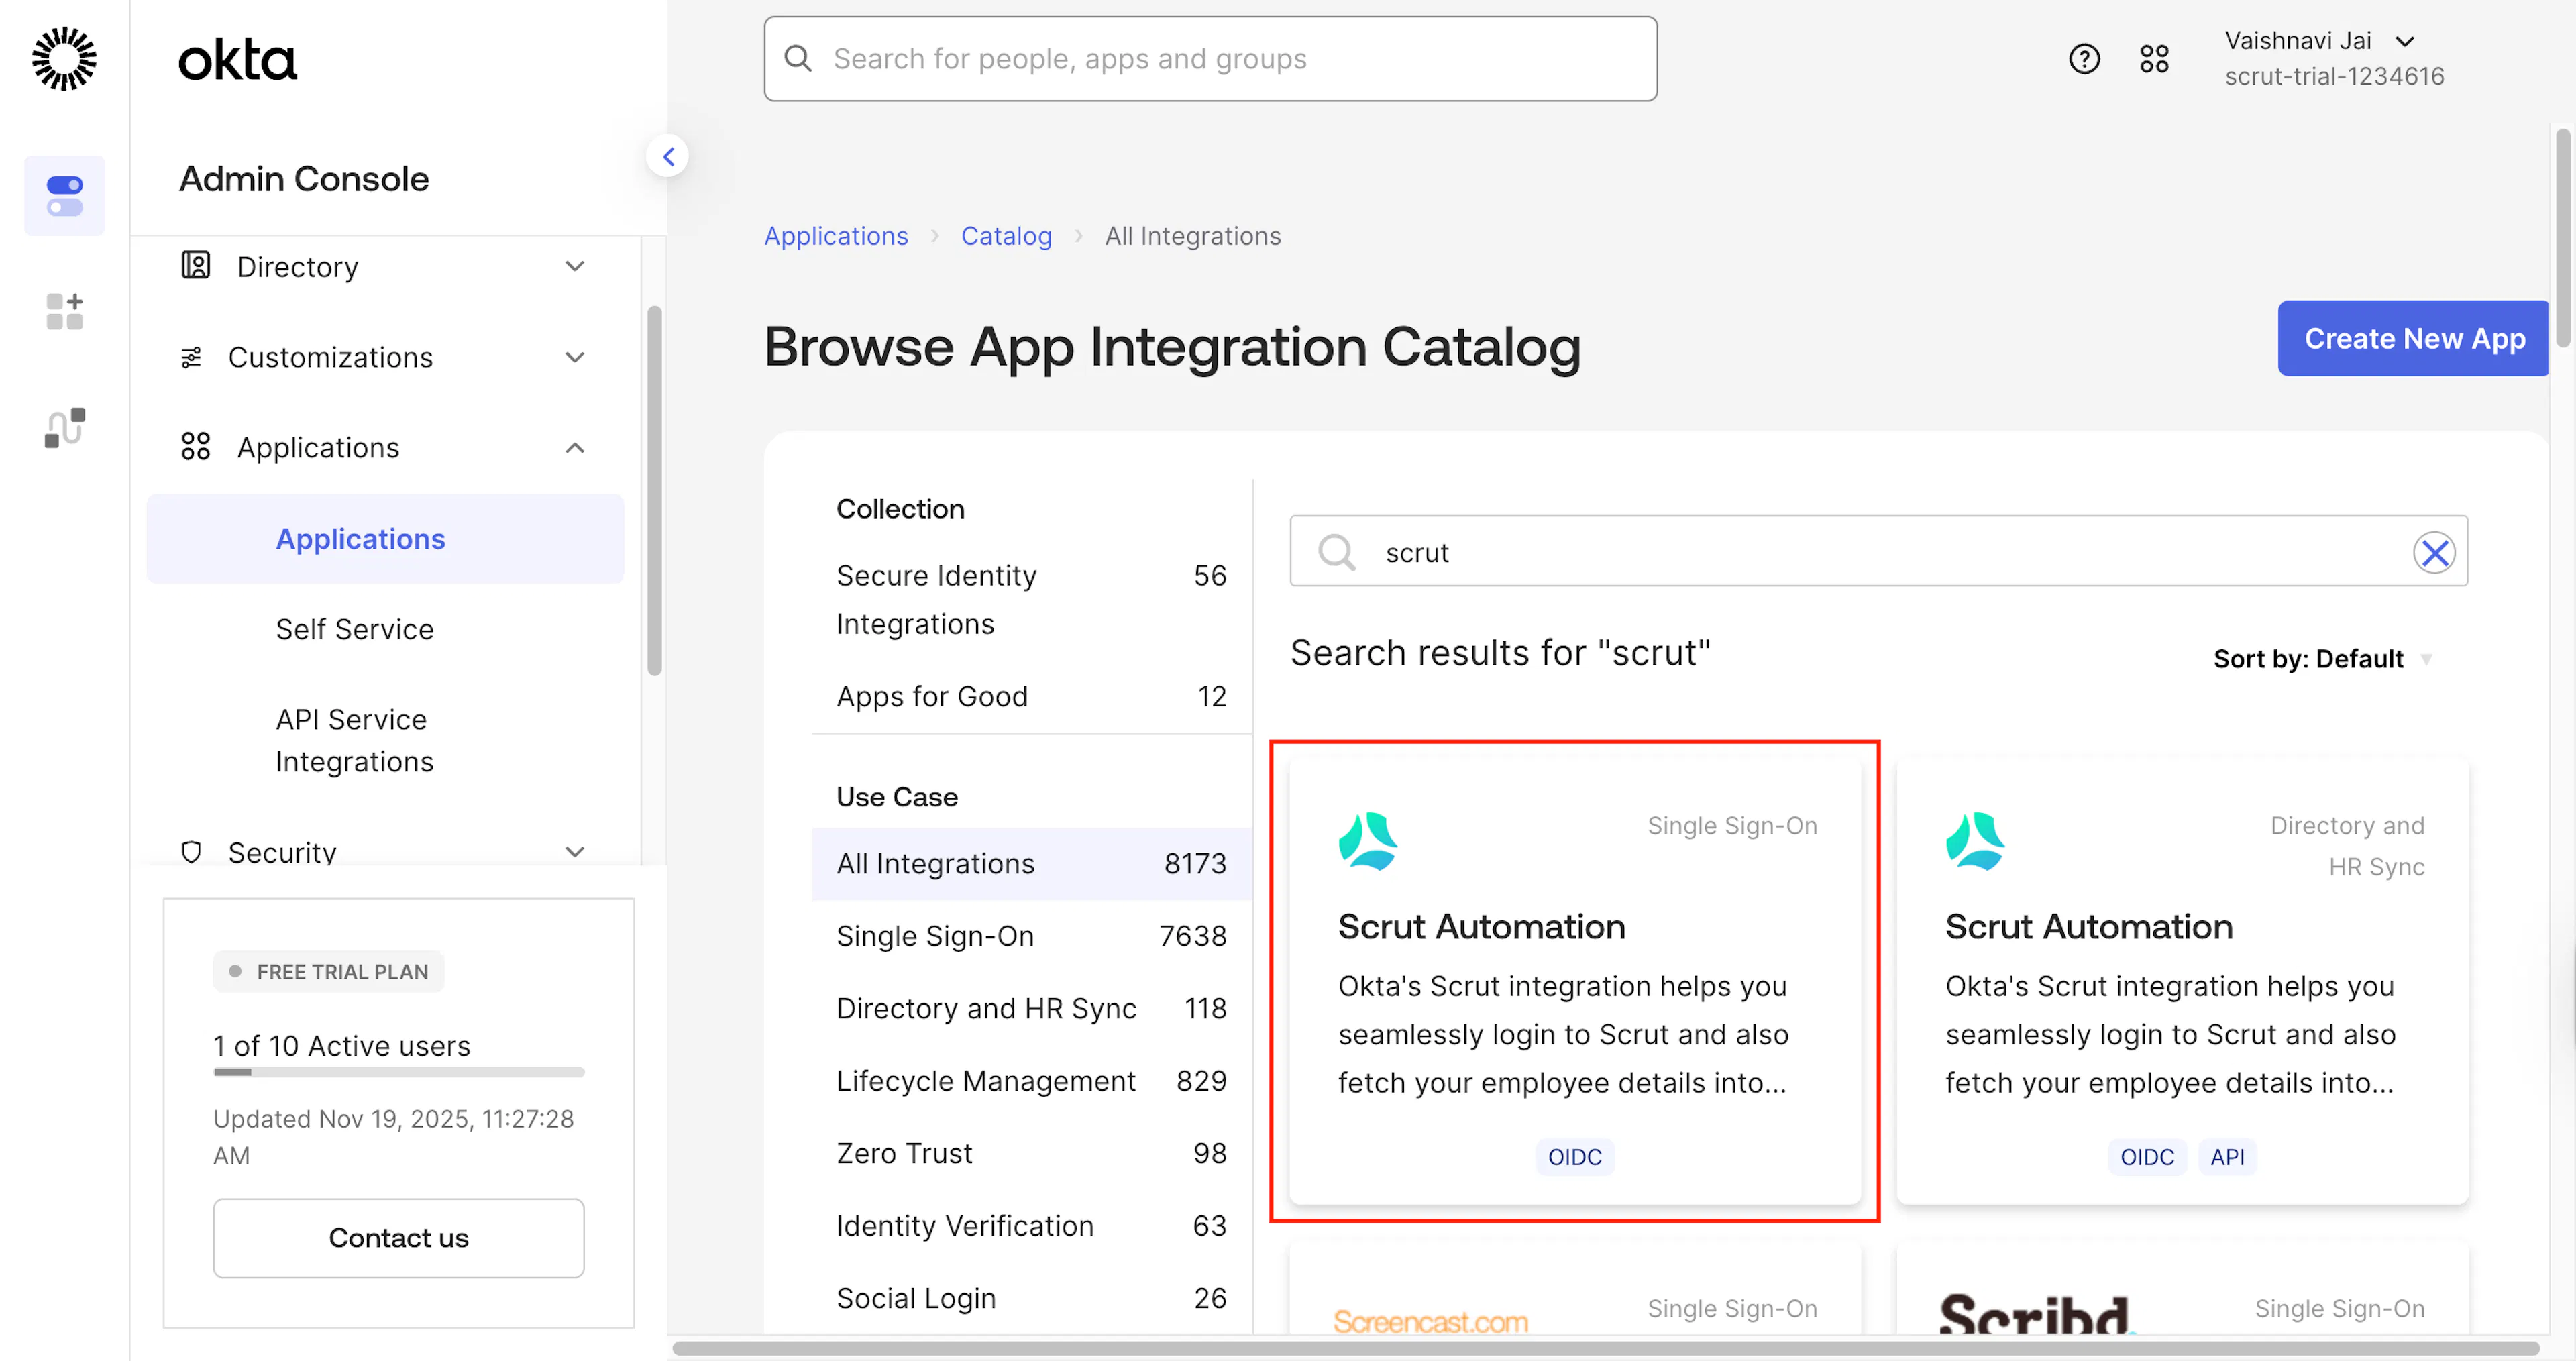
Navigate to Applications → Applications → Browse App Catalog.
-
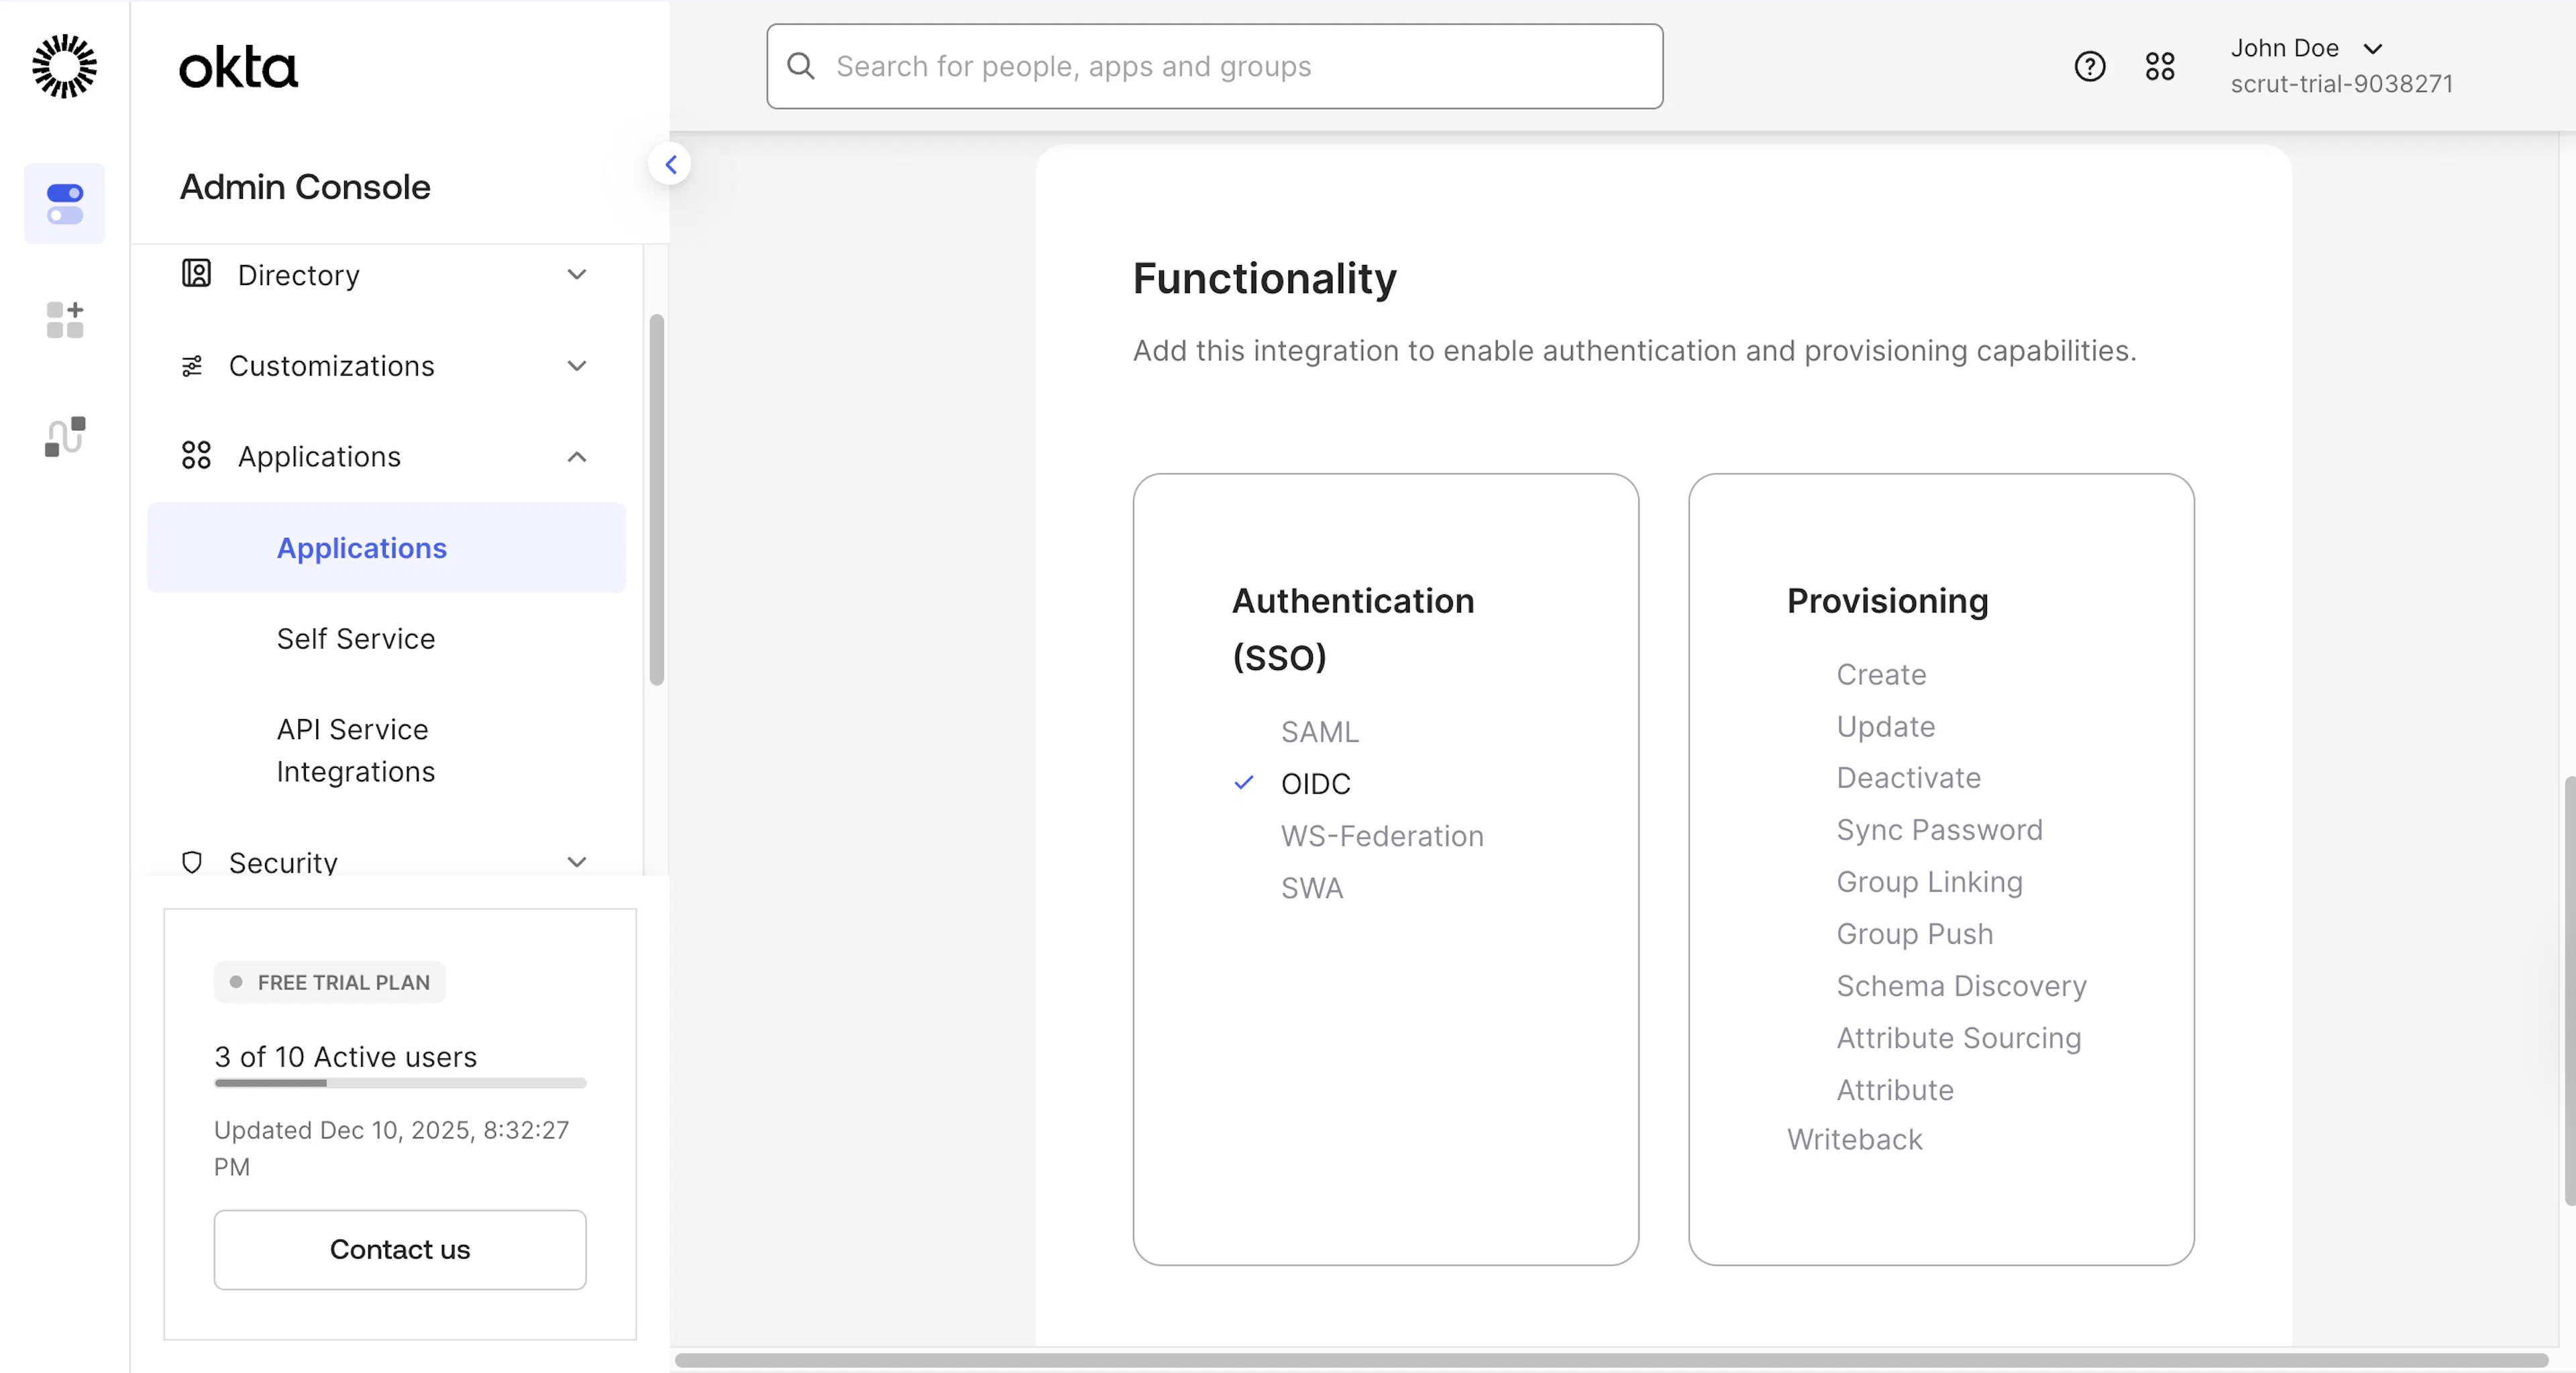
Search for Scrut Automation (OIDC).
-
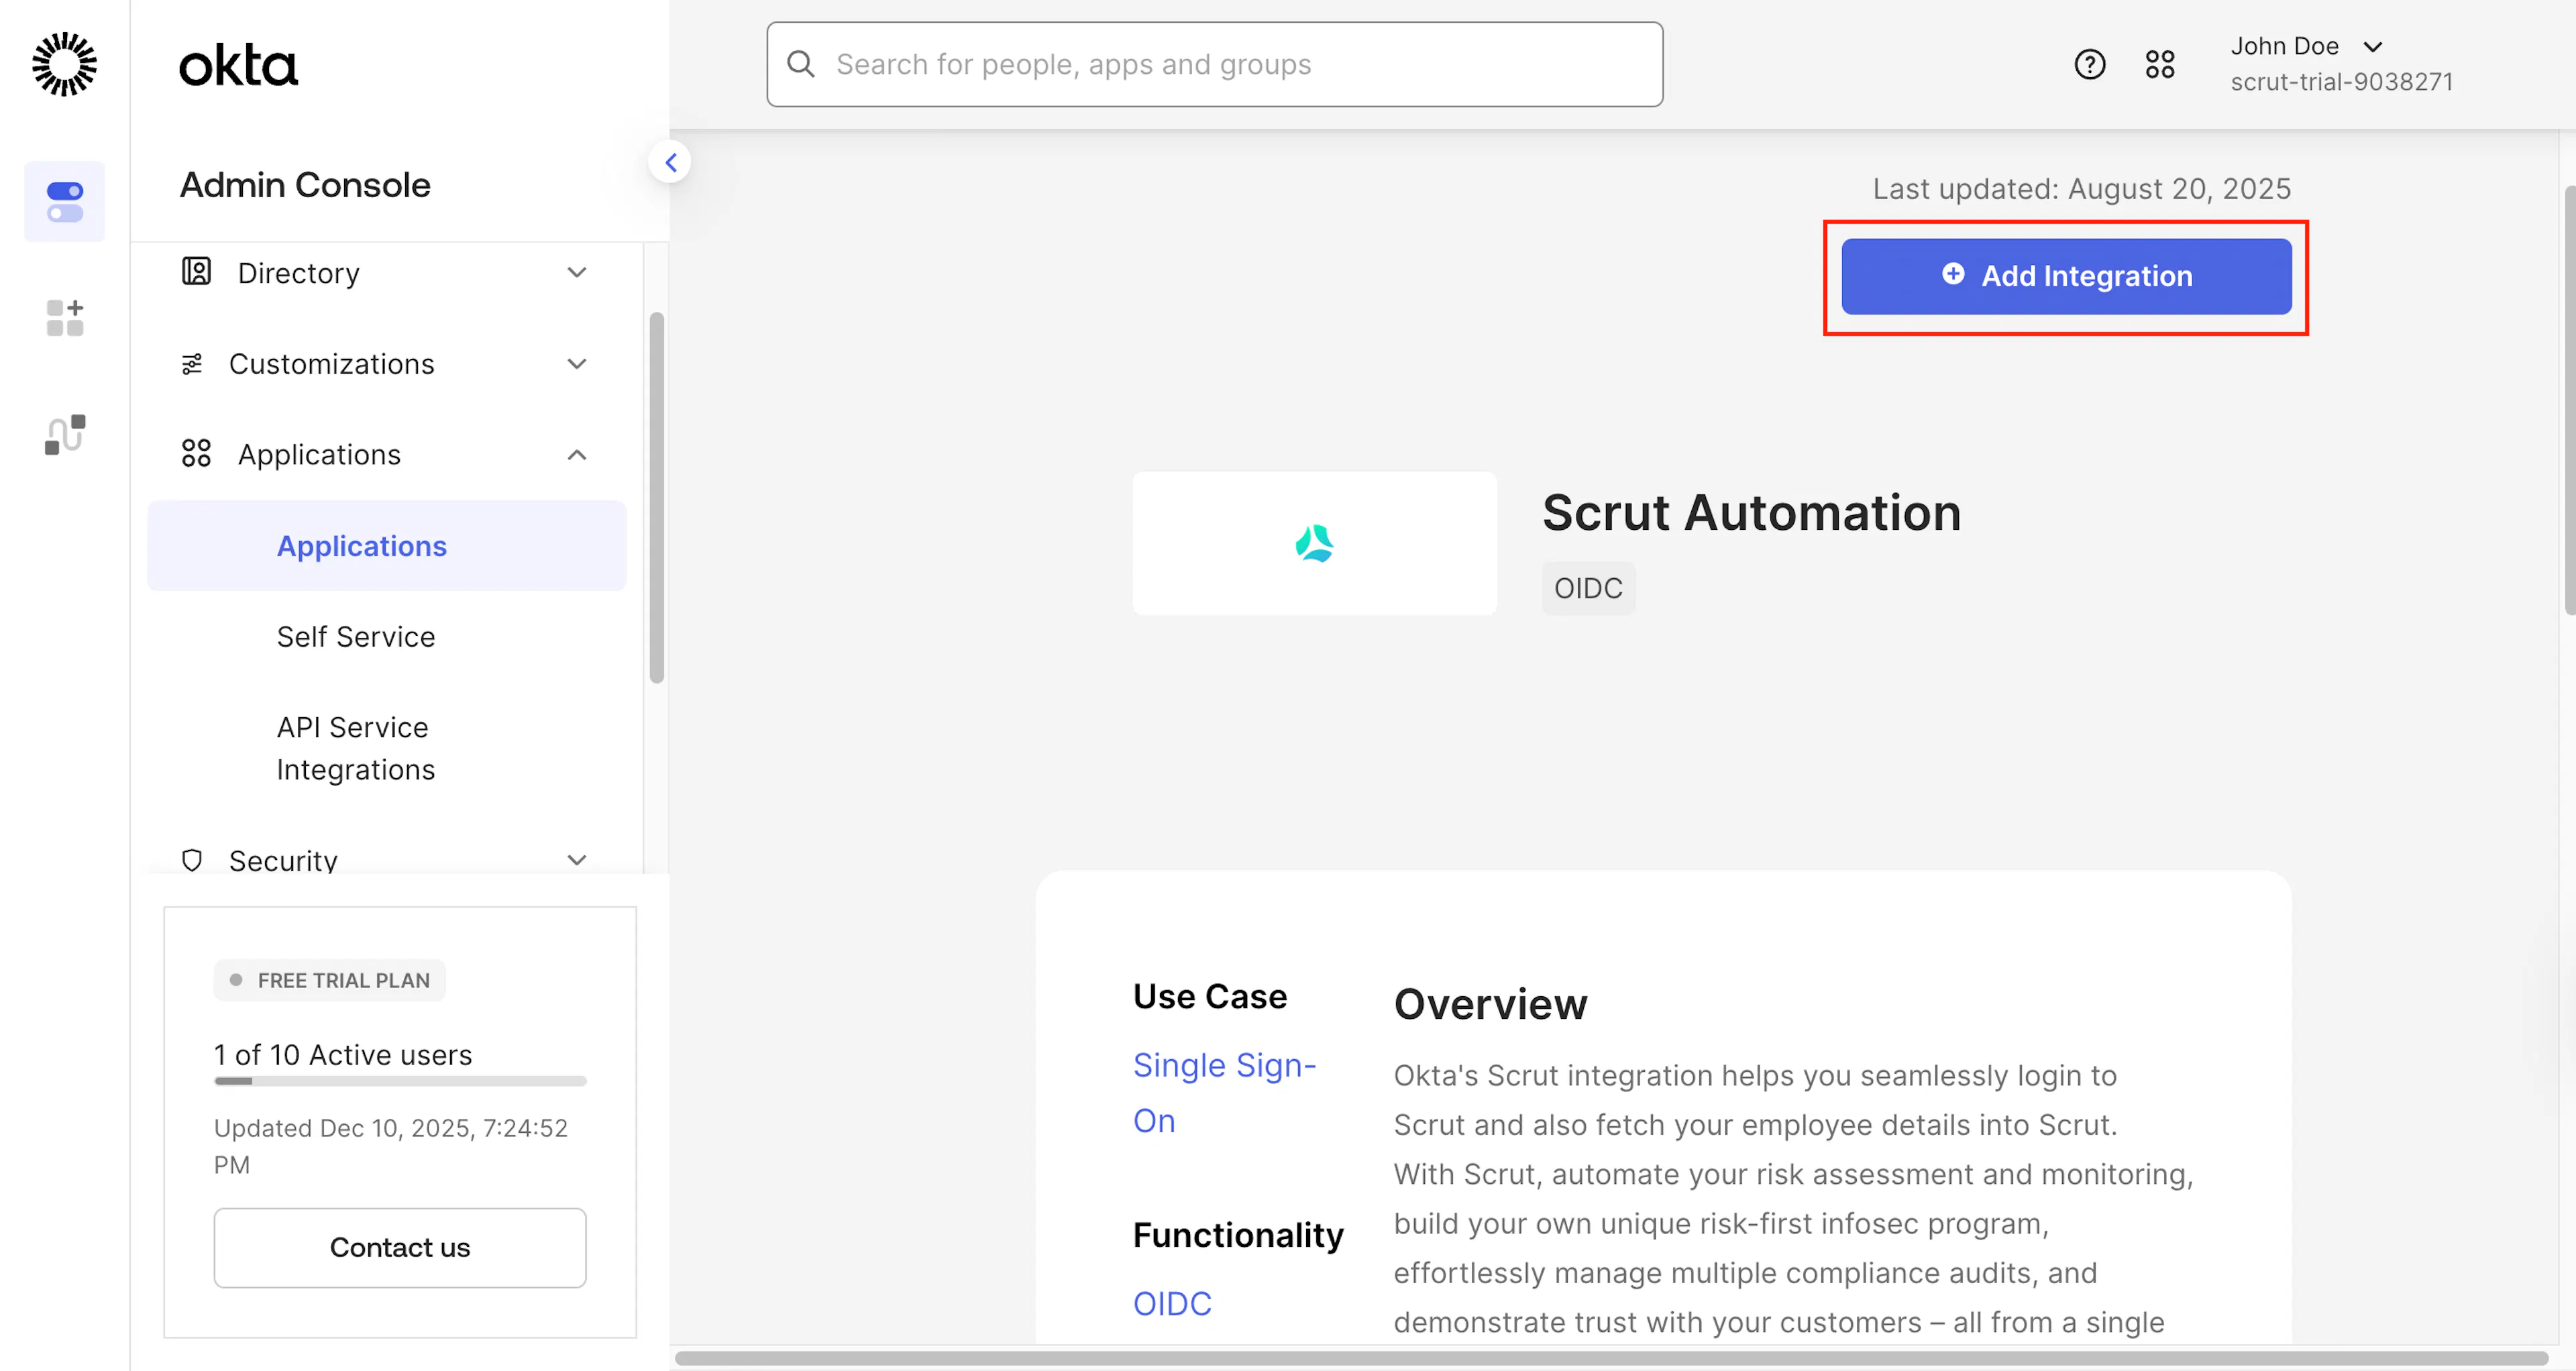
Click Add Integration.
-
Search for and choose Scrut Automation. Click Next.
-
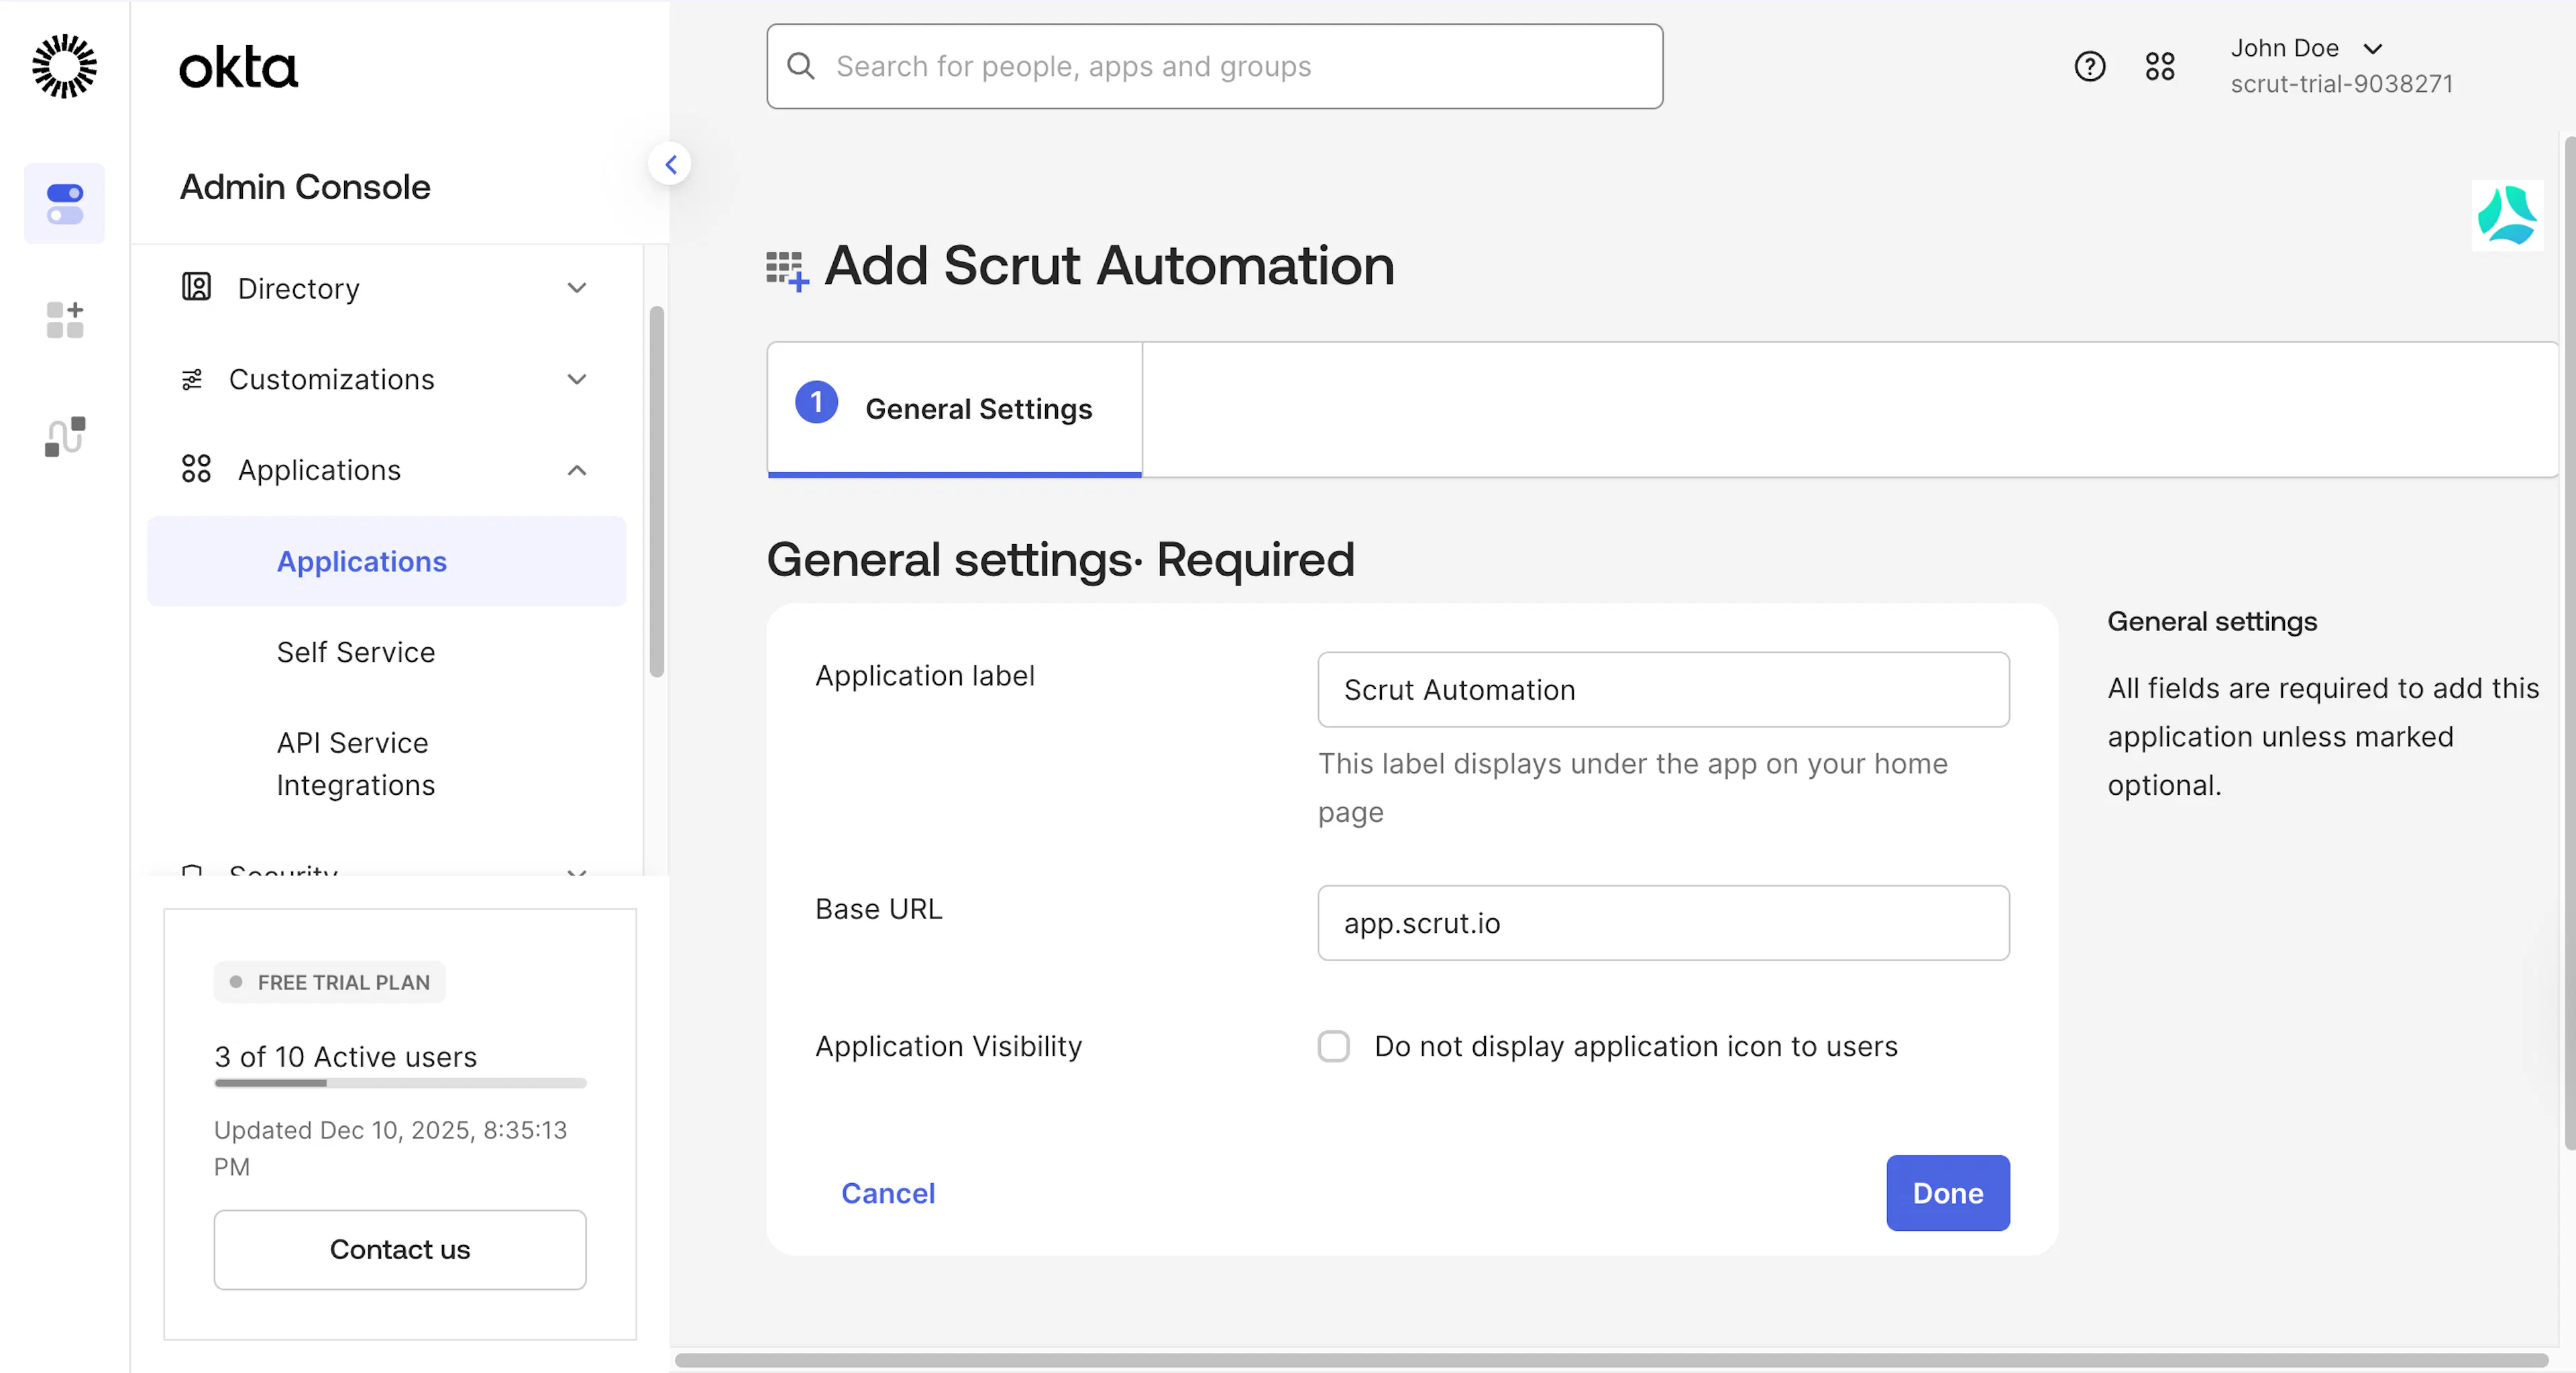
Enter an application label (e.g., Scrut Automation) and Base URL based on the region you signed up for Scrut.
- US: app.us.scrut.io
- EU: app.eu.scrut.io
- IN: app.scrut.io
Important Note:
Make sure the base url doesn’t include https://. Enter only the core domain, such as app.us.scrut.io.
-
Click Done.
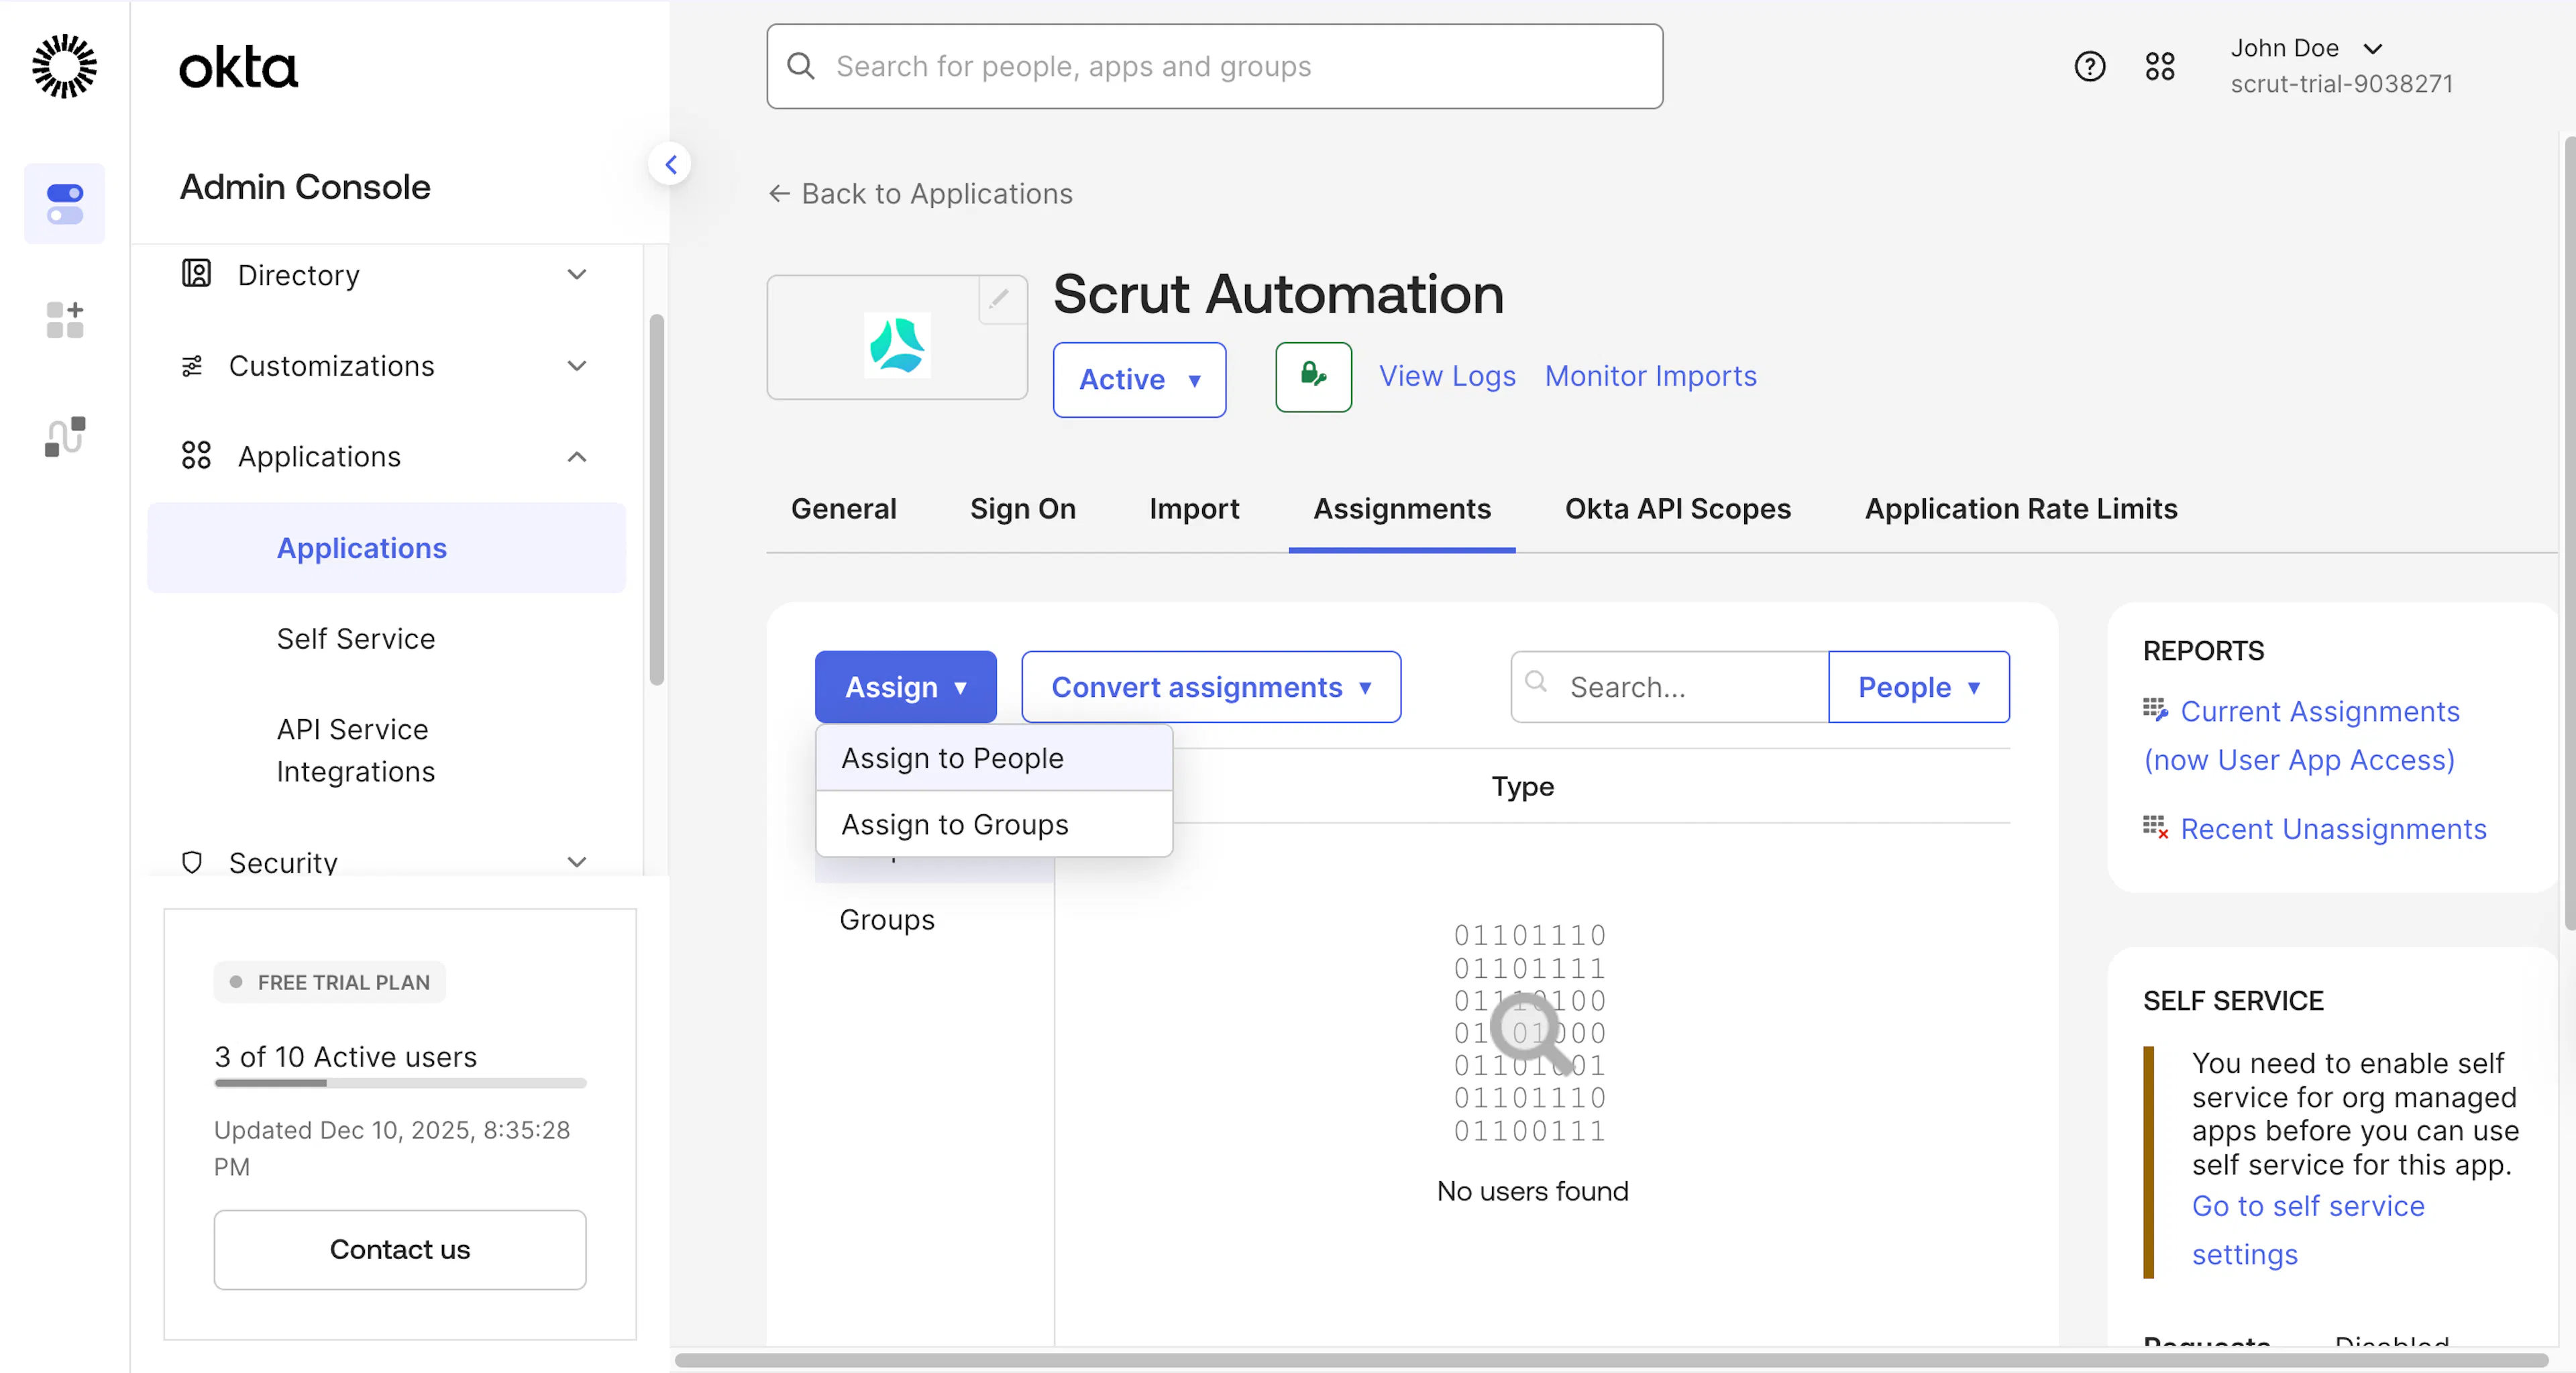
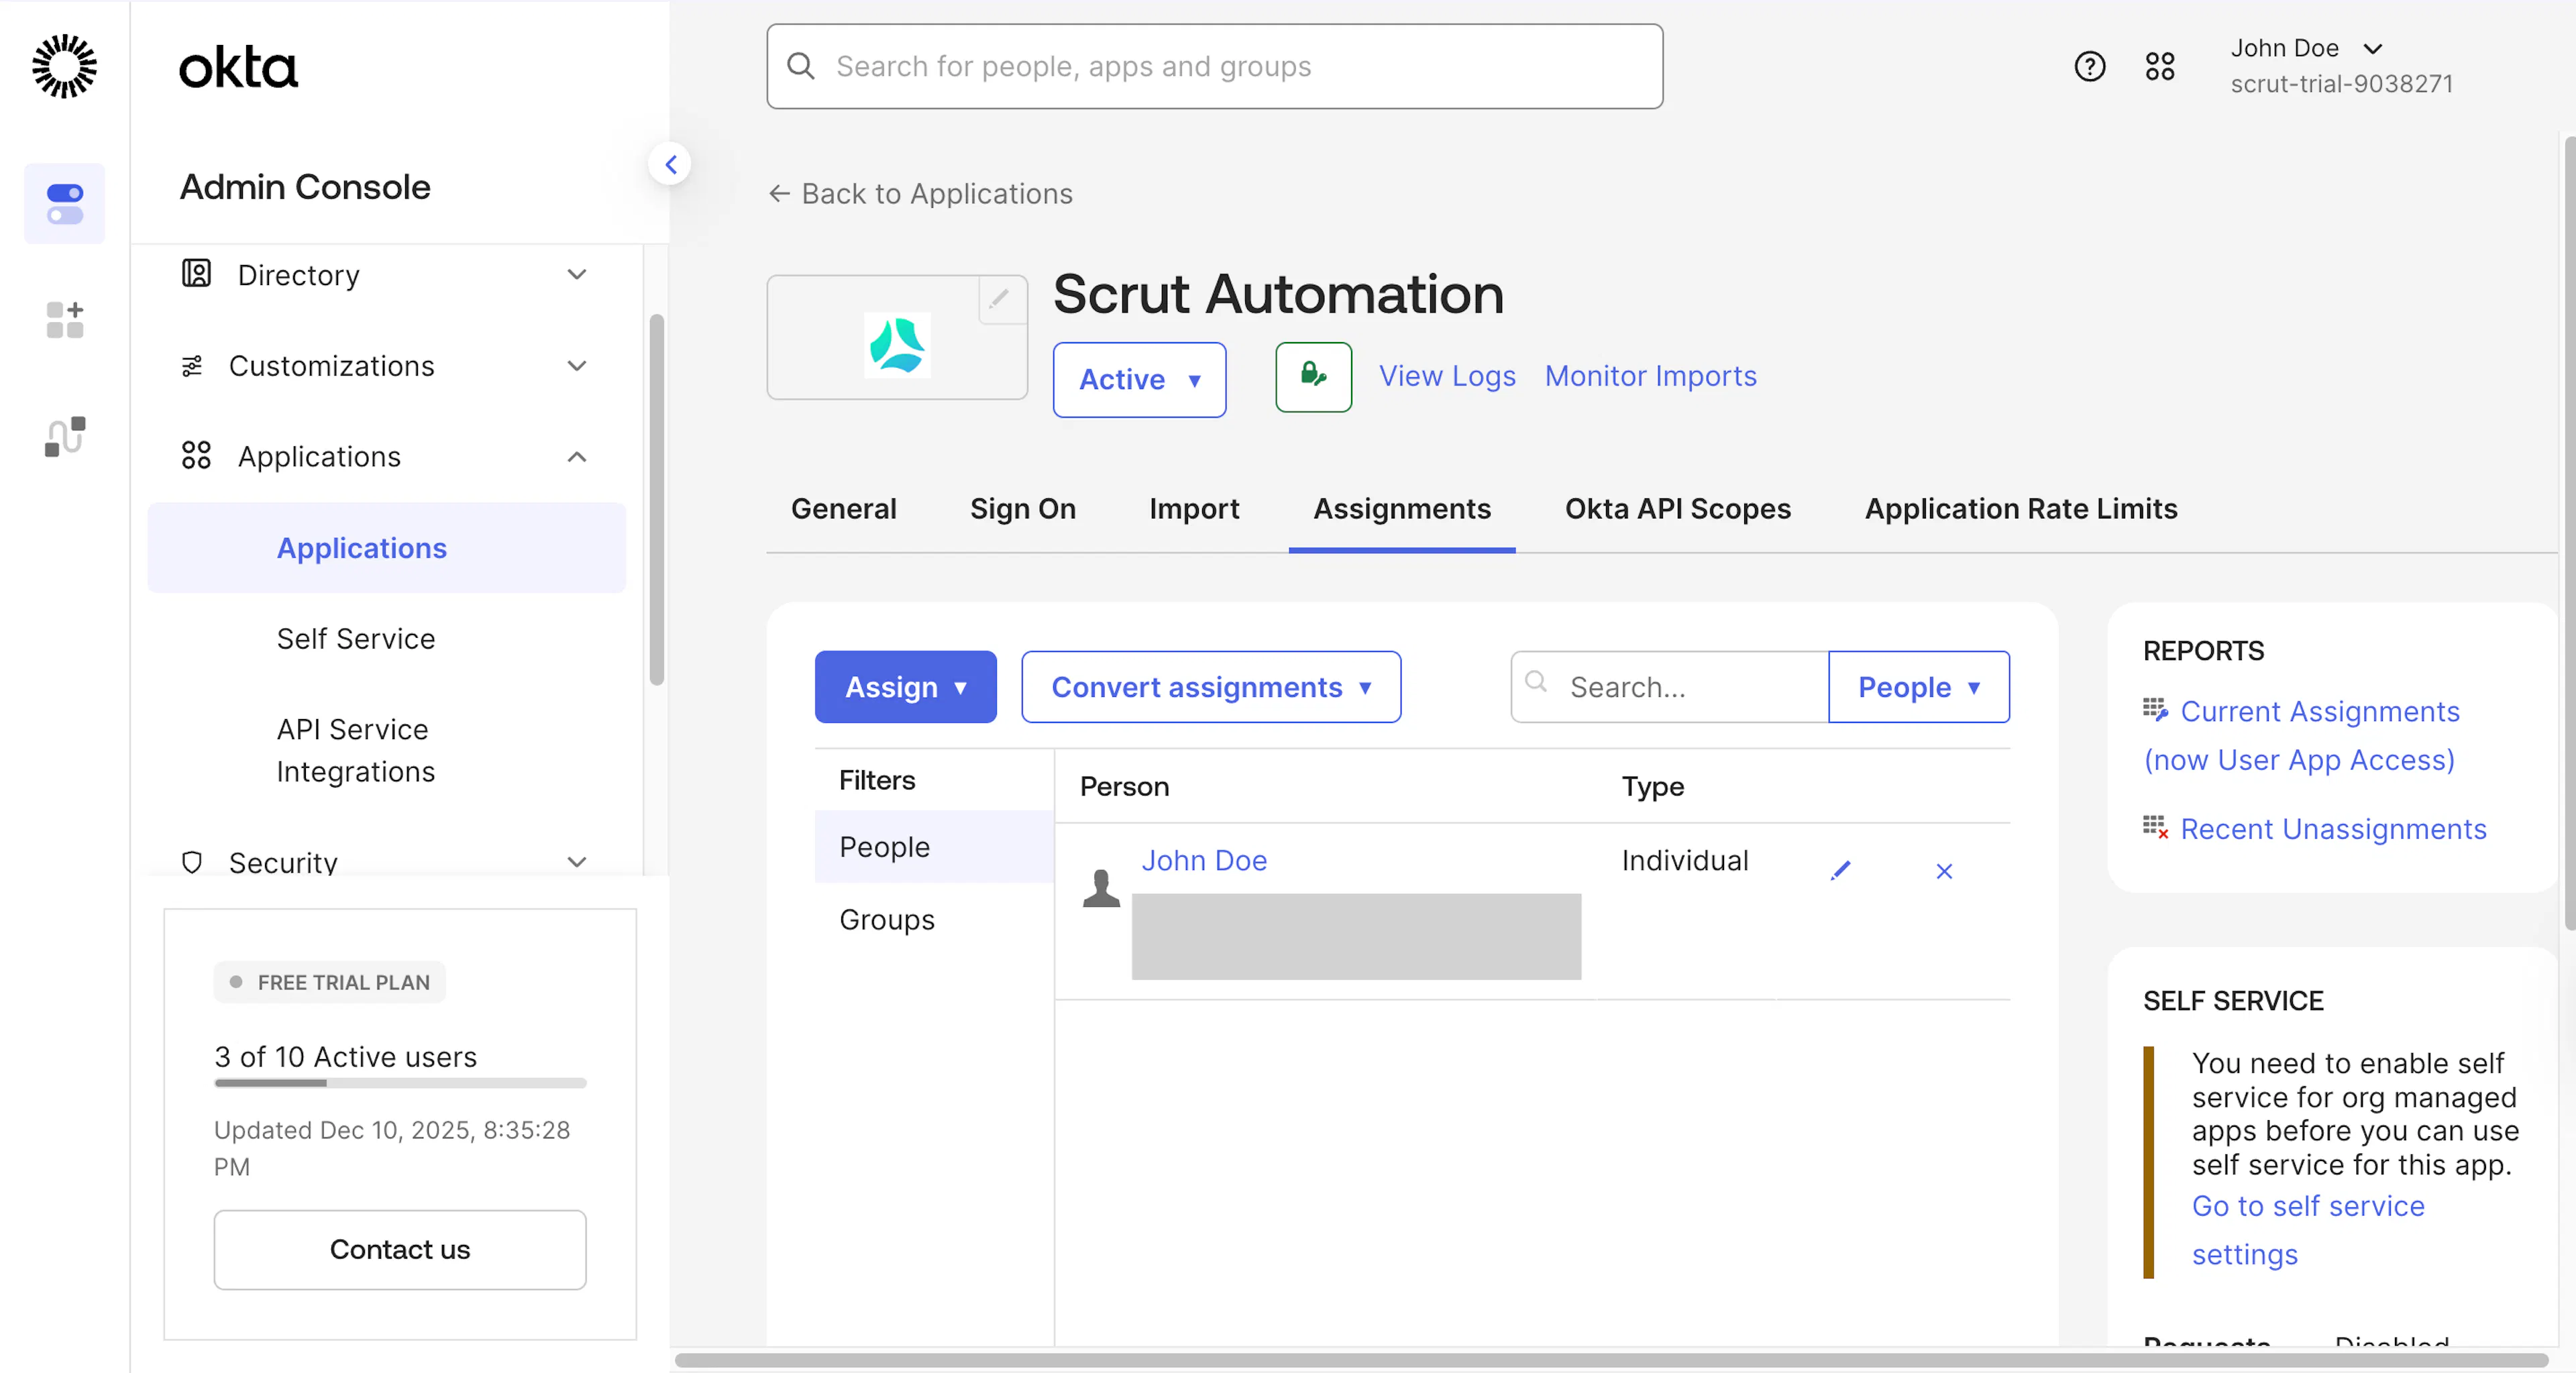
Step 2: Assign Users
- Navigate to the Assignments tab in Okta.
- Assign the users and groups that require access to your Scrut organization.
Step 3: Retrieve Client ID and Secret
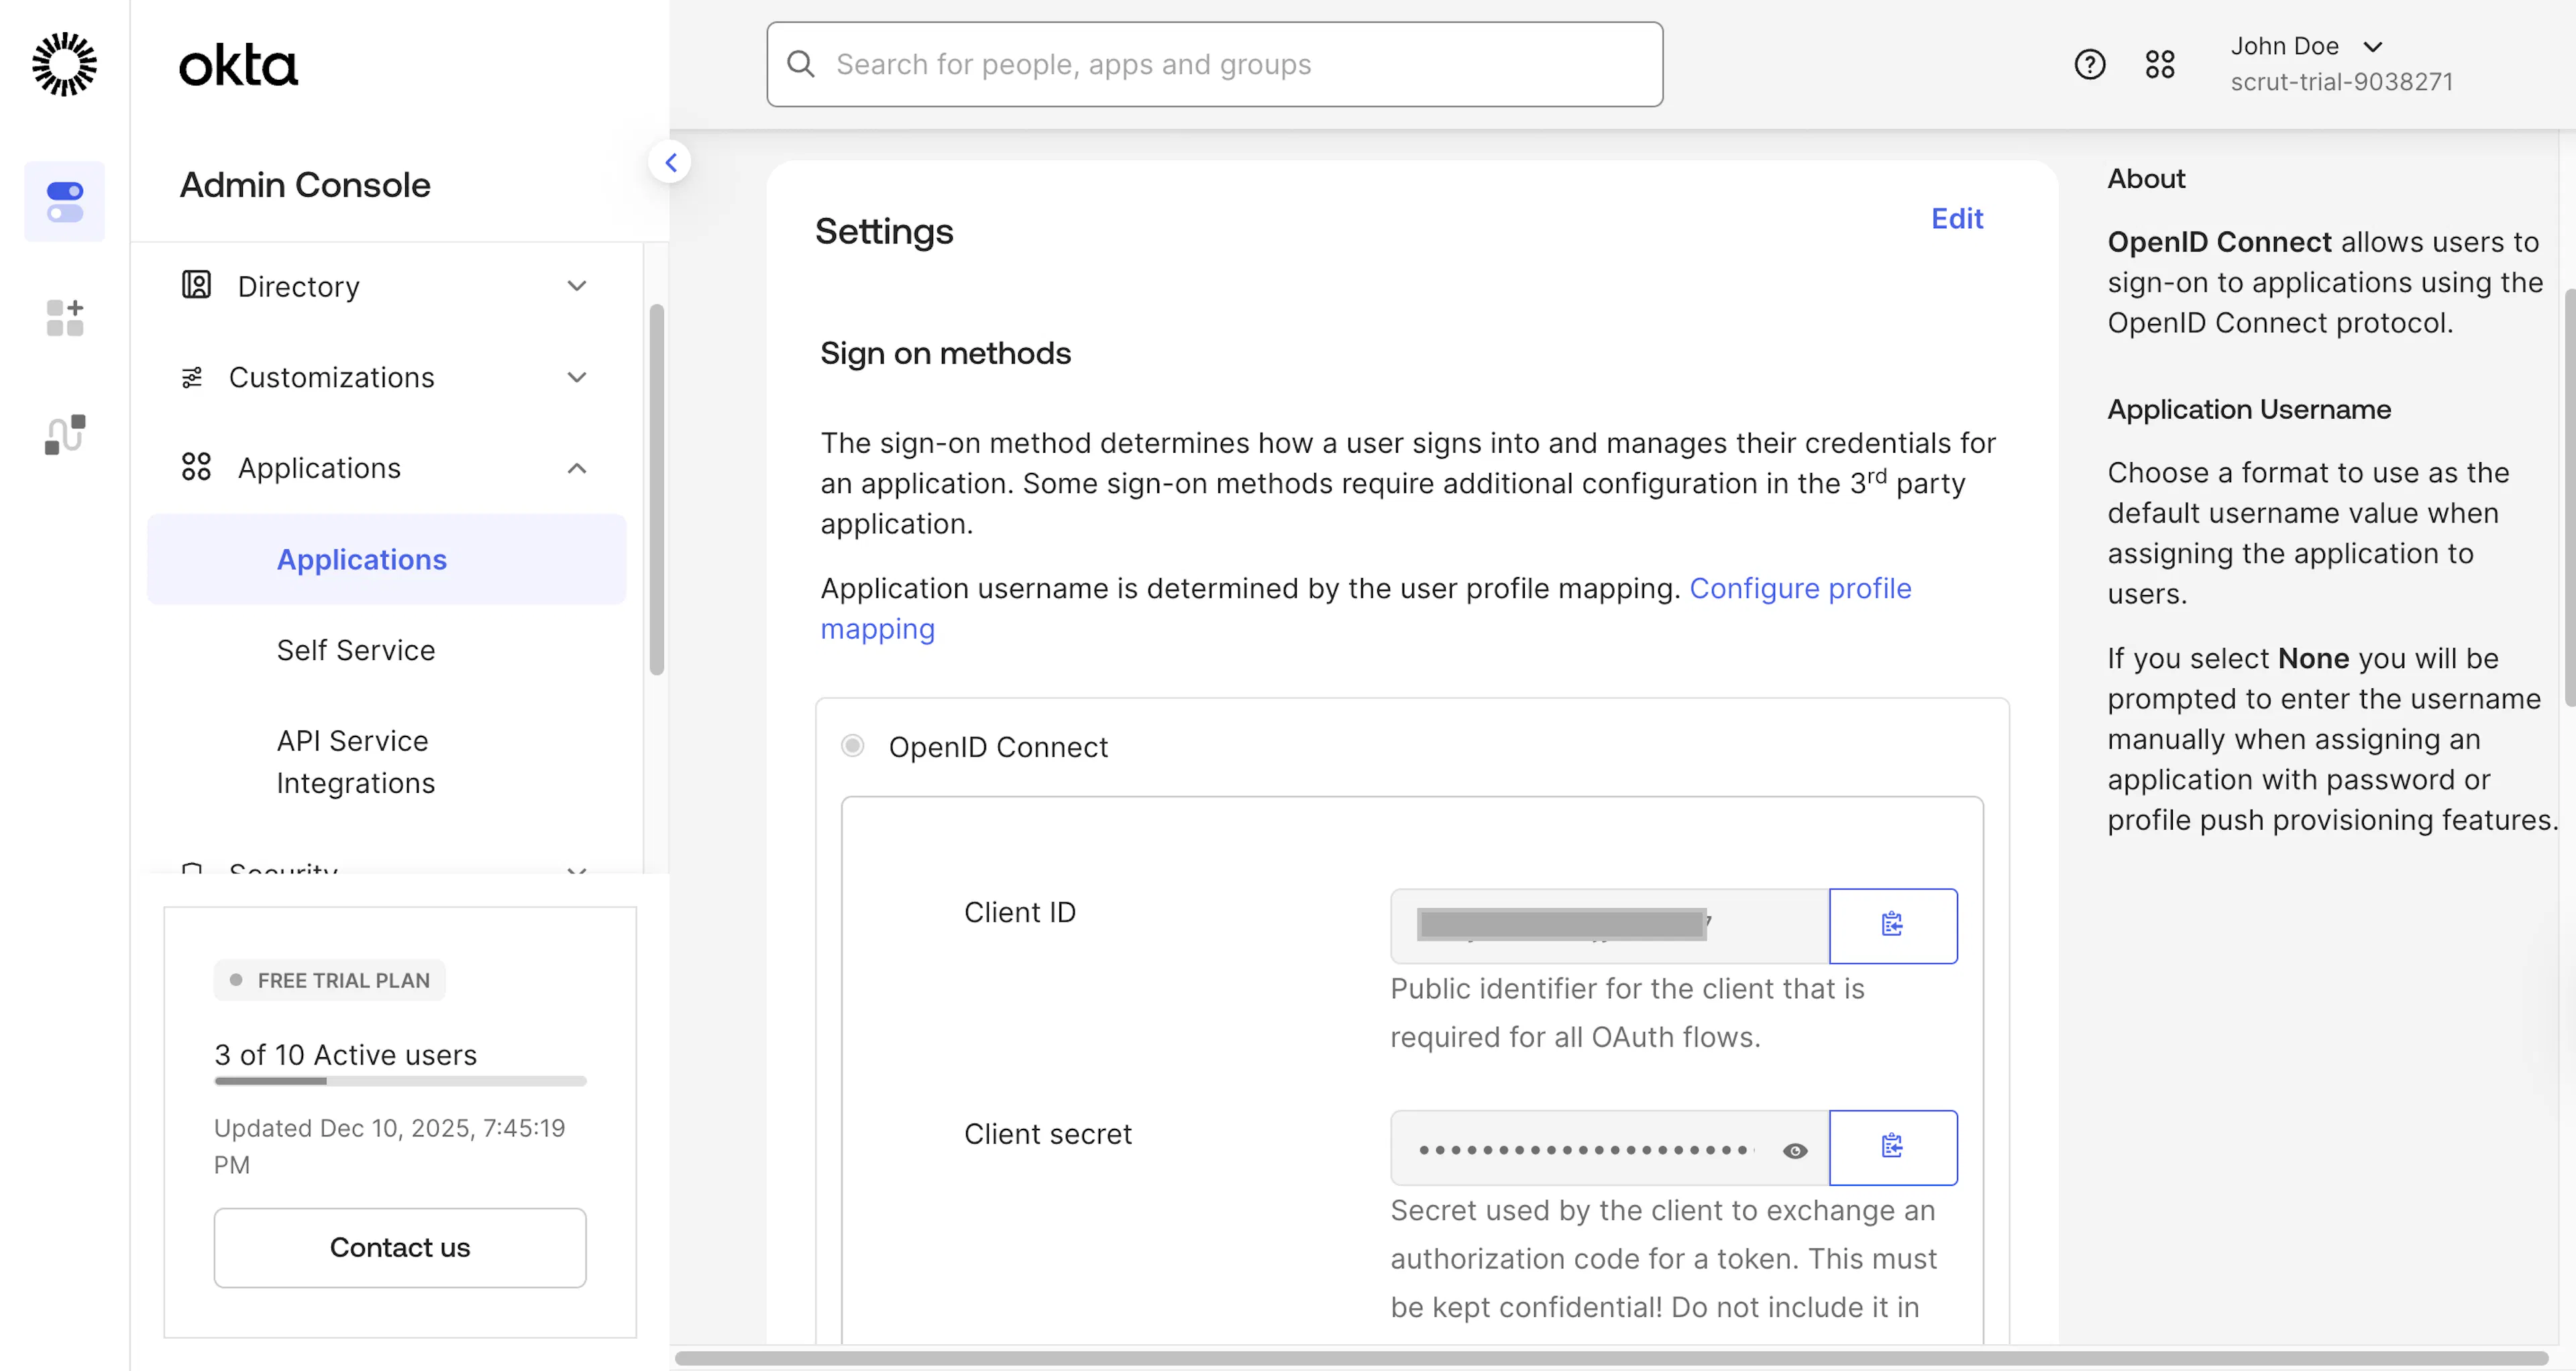
- Navigate to the Sign On tab and copy the Client ID and Client Secret.
- Save these details in a safe location. You’ll need to enter them in Scrut.
Step 4: Copy your Okta Domain
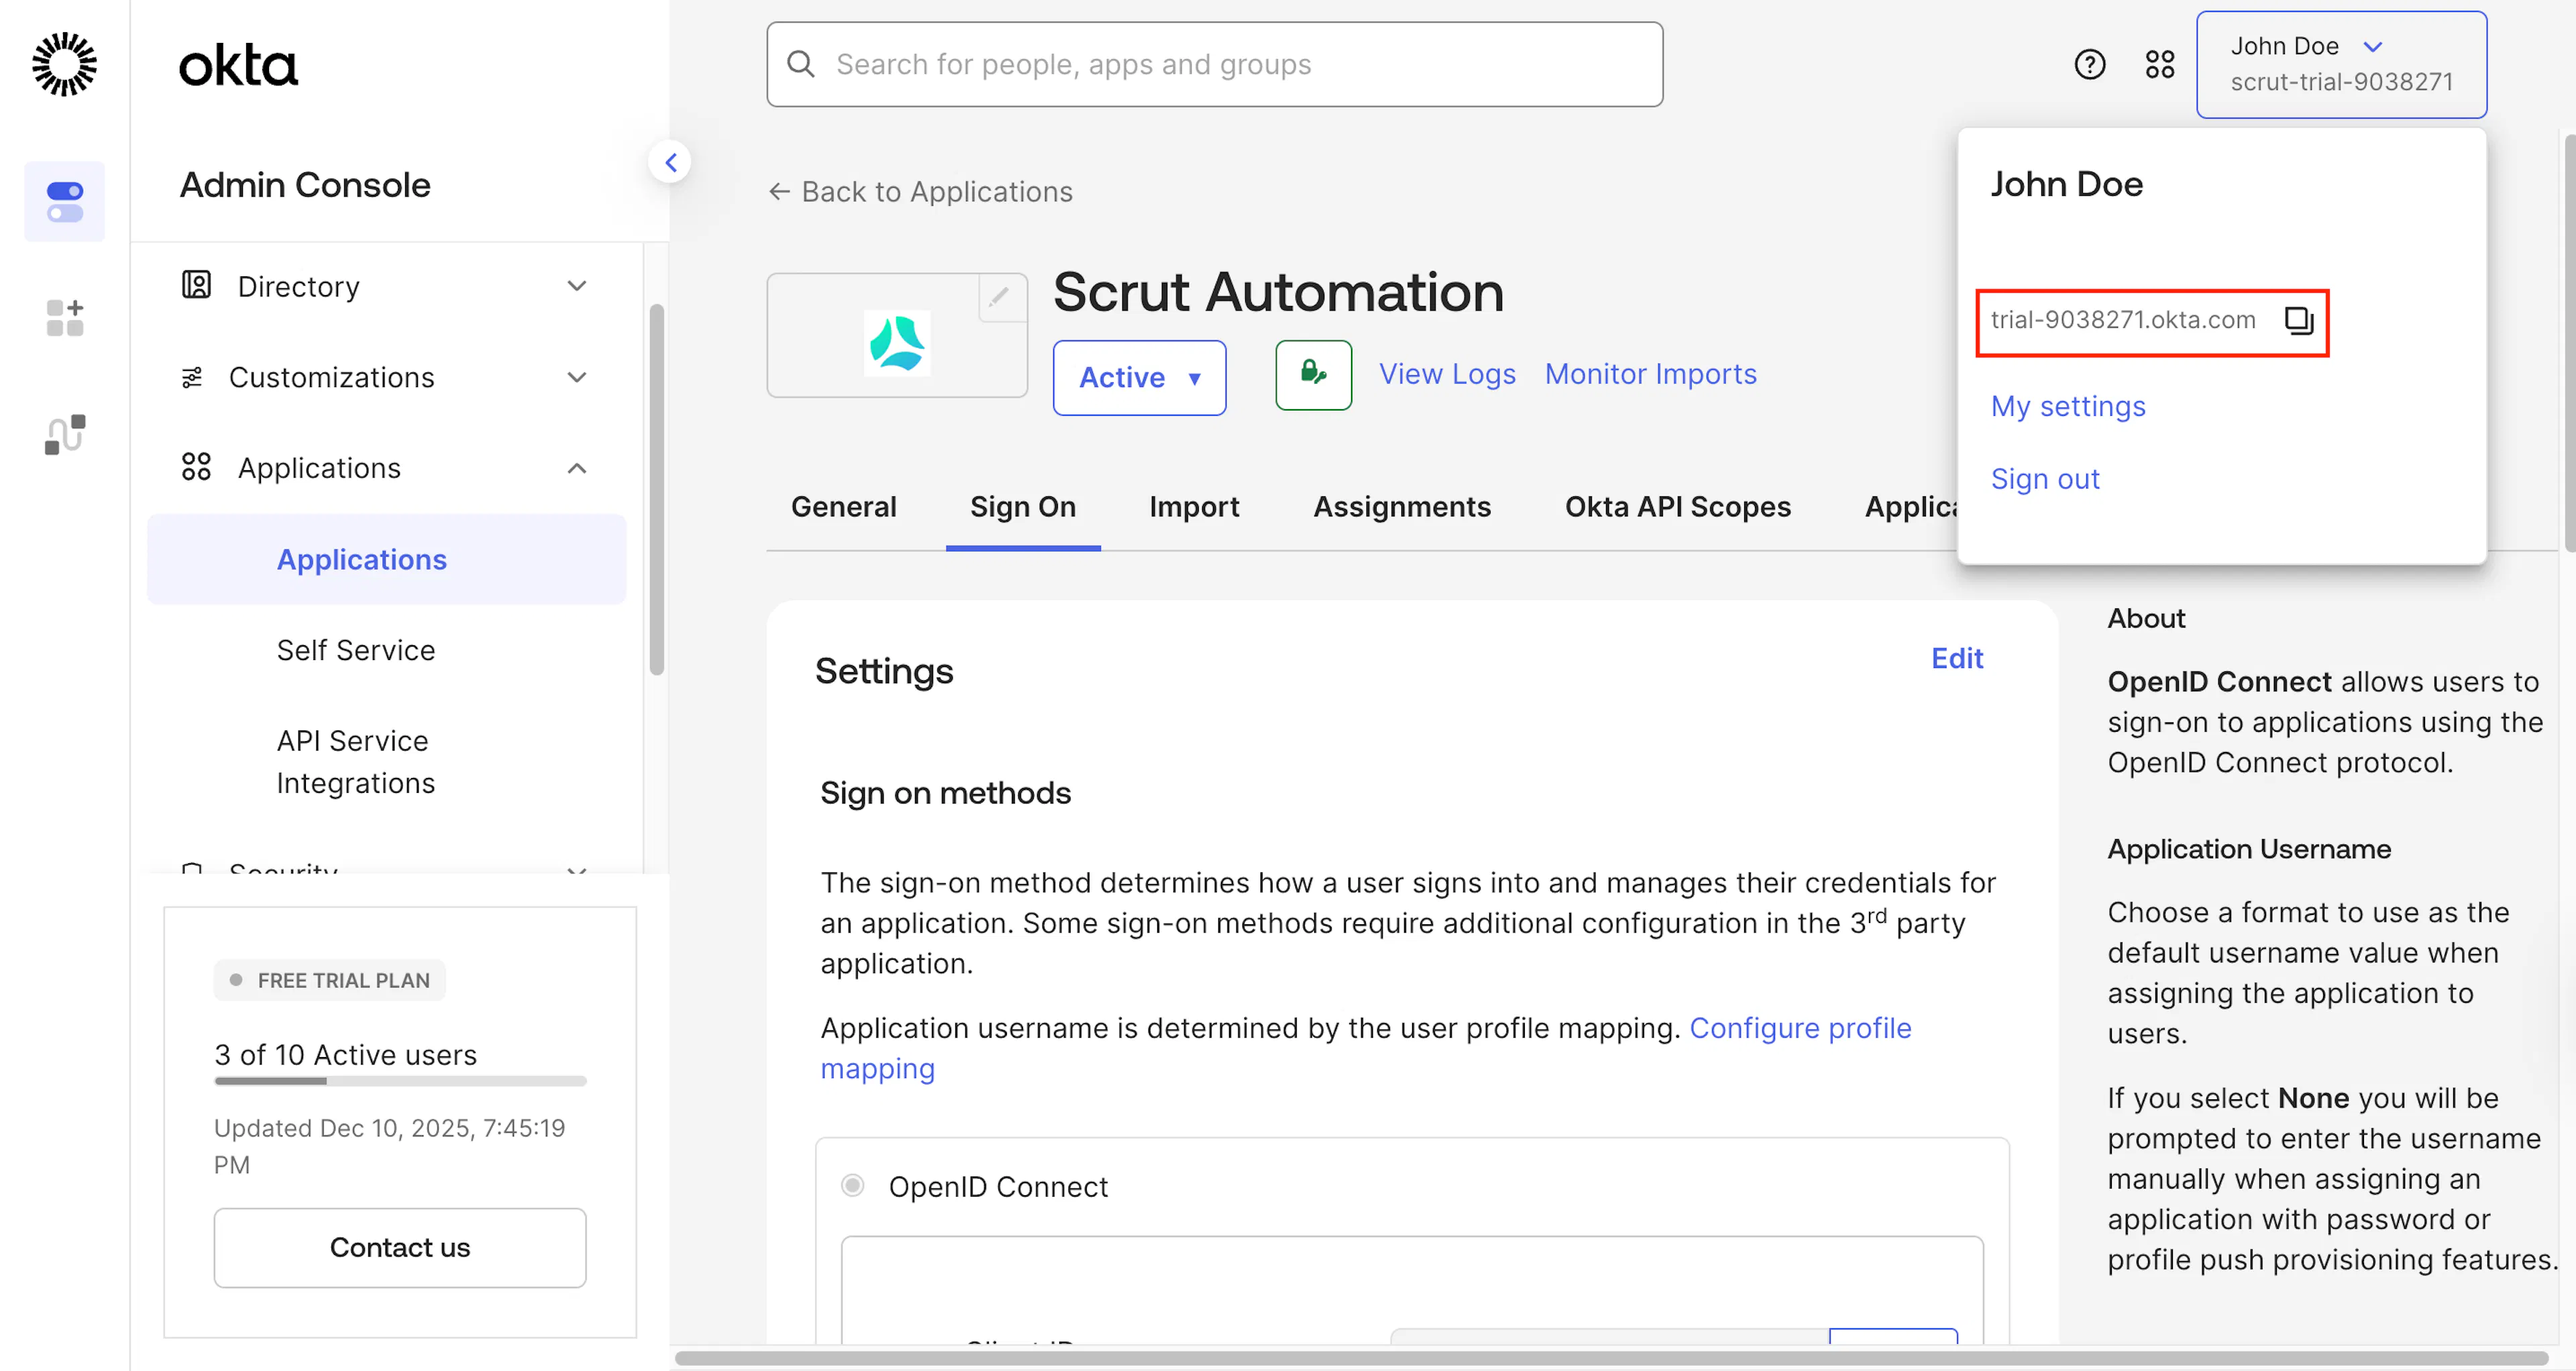
- Click your username in the top-right corner of the Admin Console to find and copy the Okta domain.
- Save it in a safe location. You’ll need to enter it in Scrut.
Step 5: Add Configuration Details in Scrut
-
Sign in to Scrut and click Integrations on the left navigation panel.
-
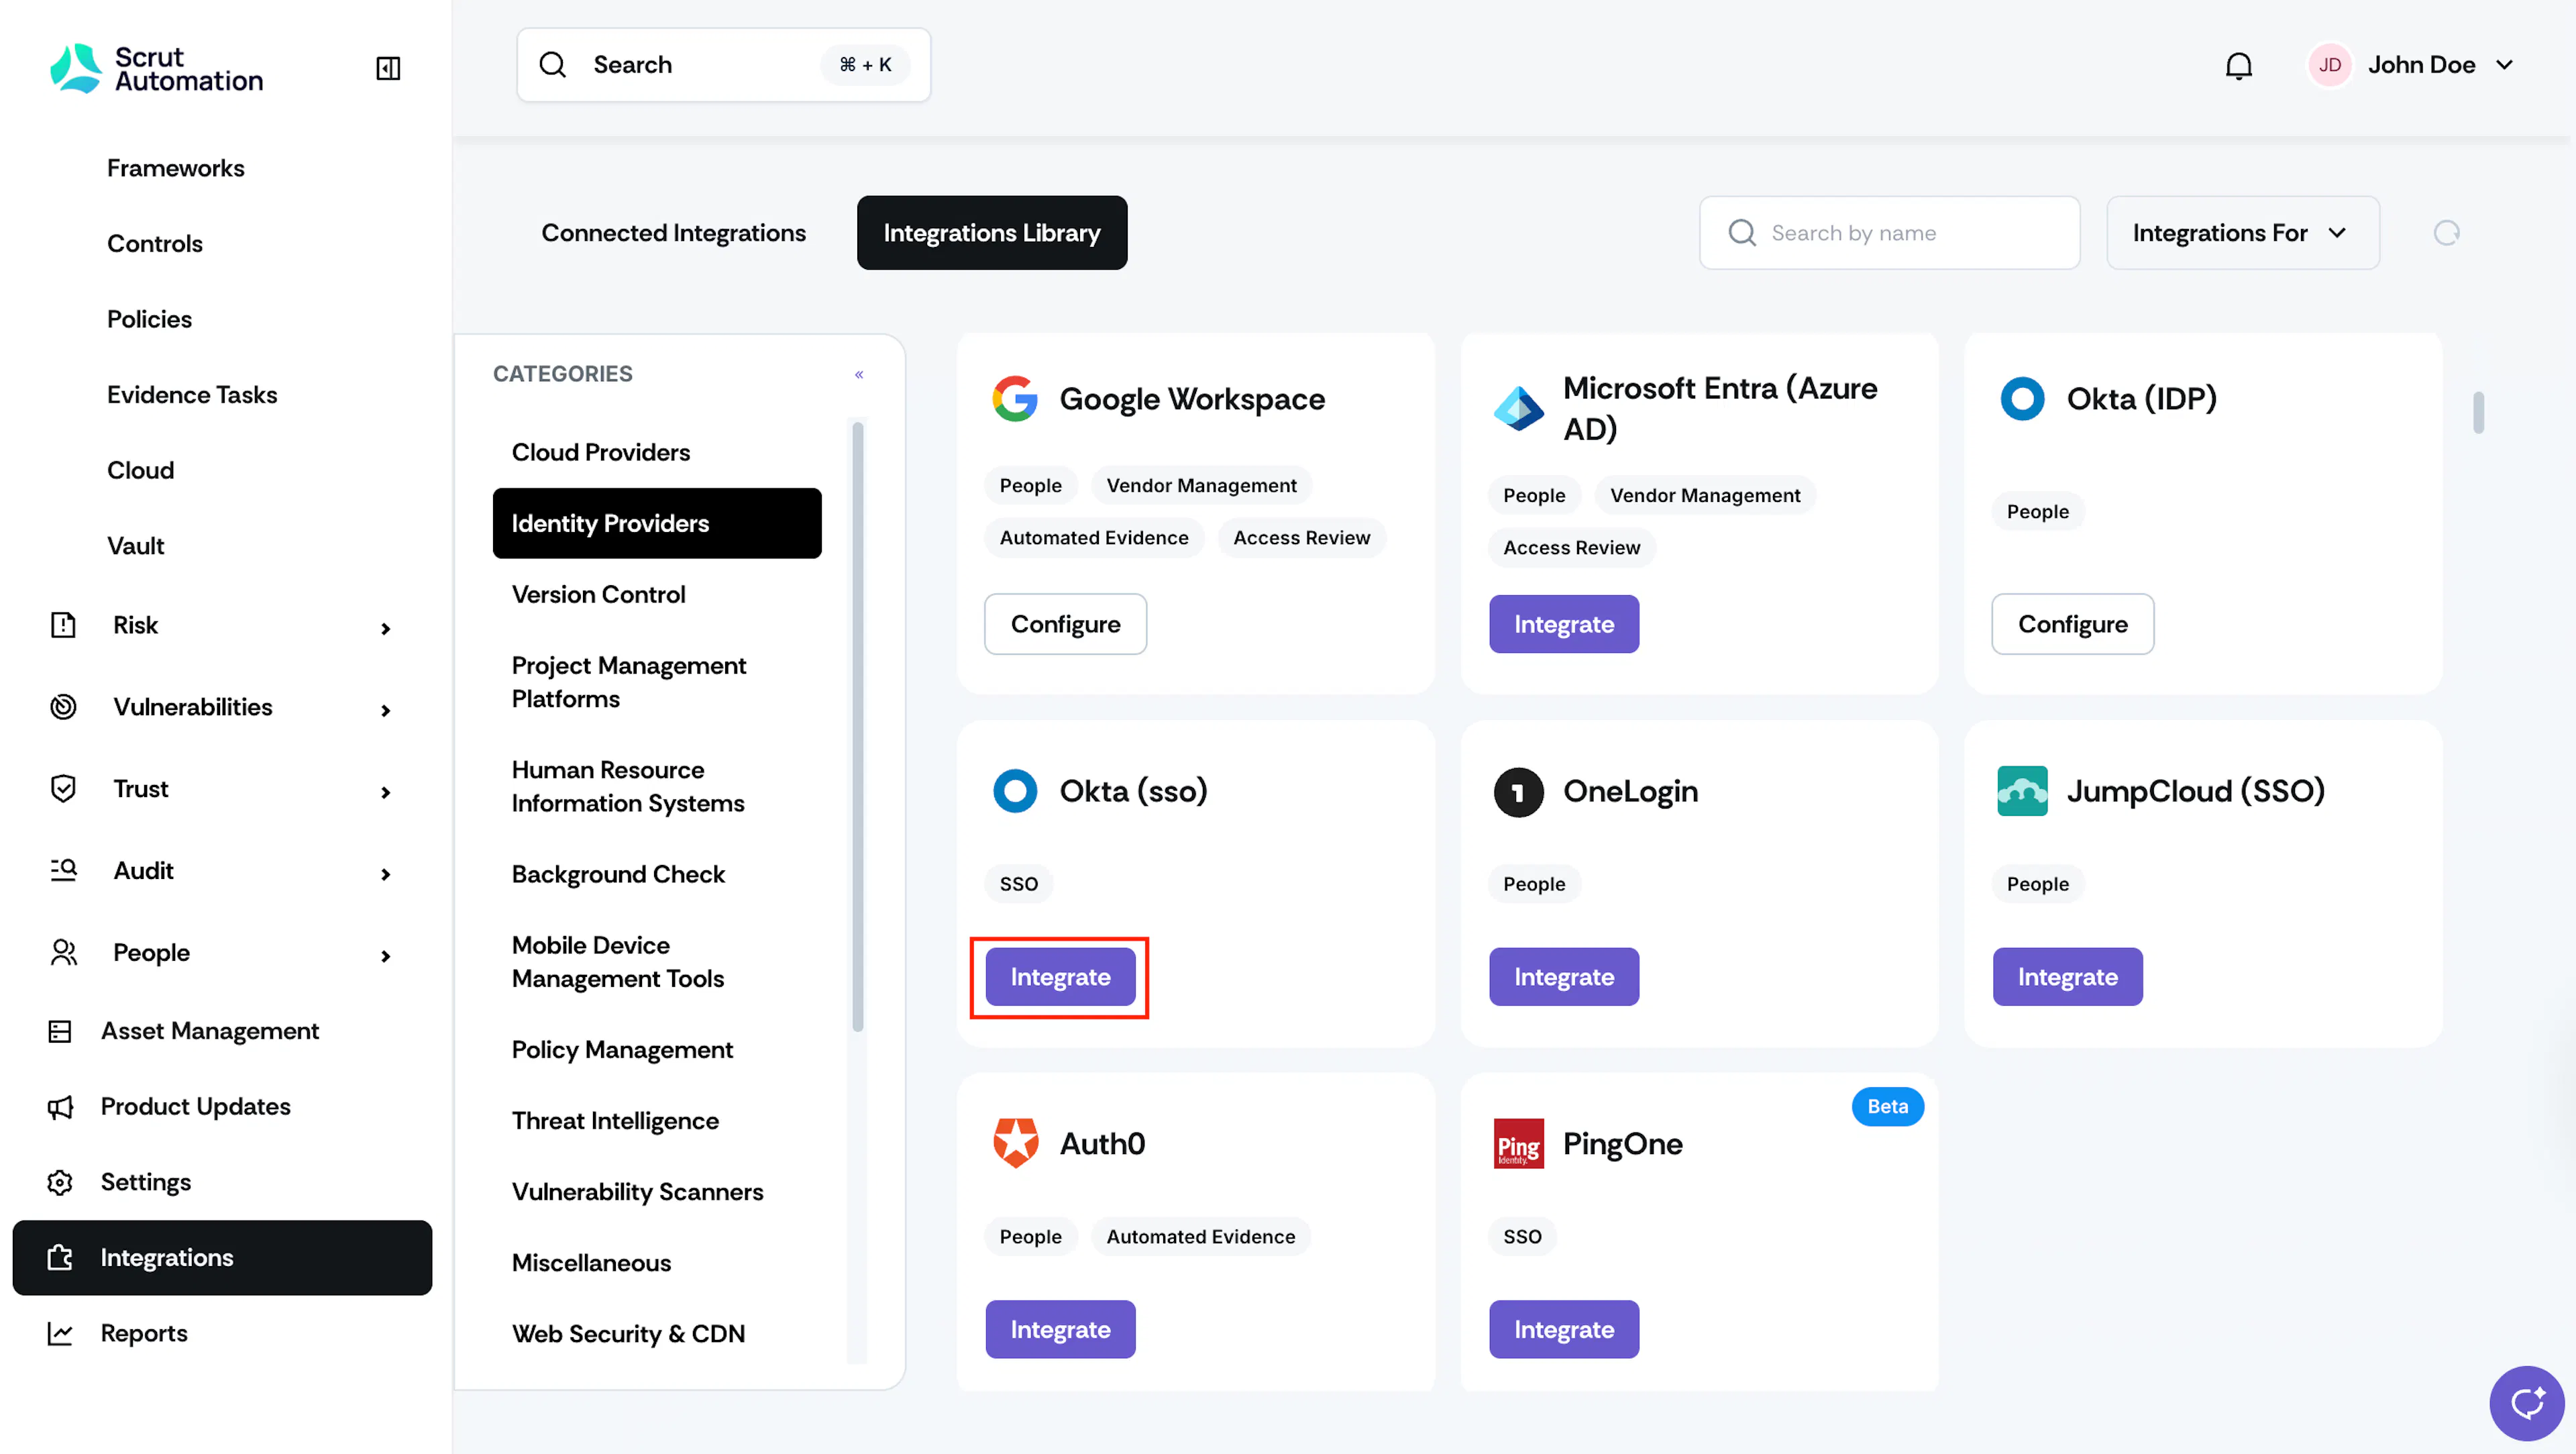
Navigate to the Integrations Library tab, choose Identity Providers in the Categories section.
-
Scroll to the Okta (SSO) tile and click Integrate.
-
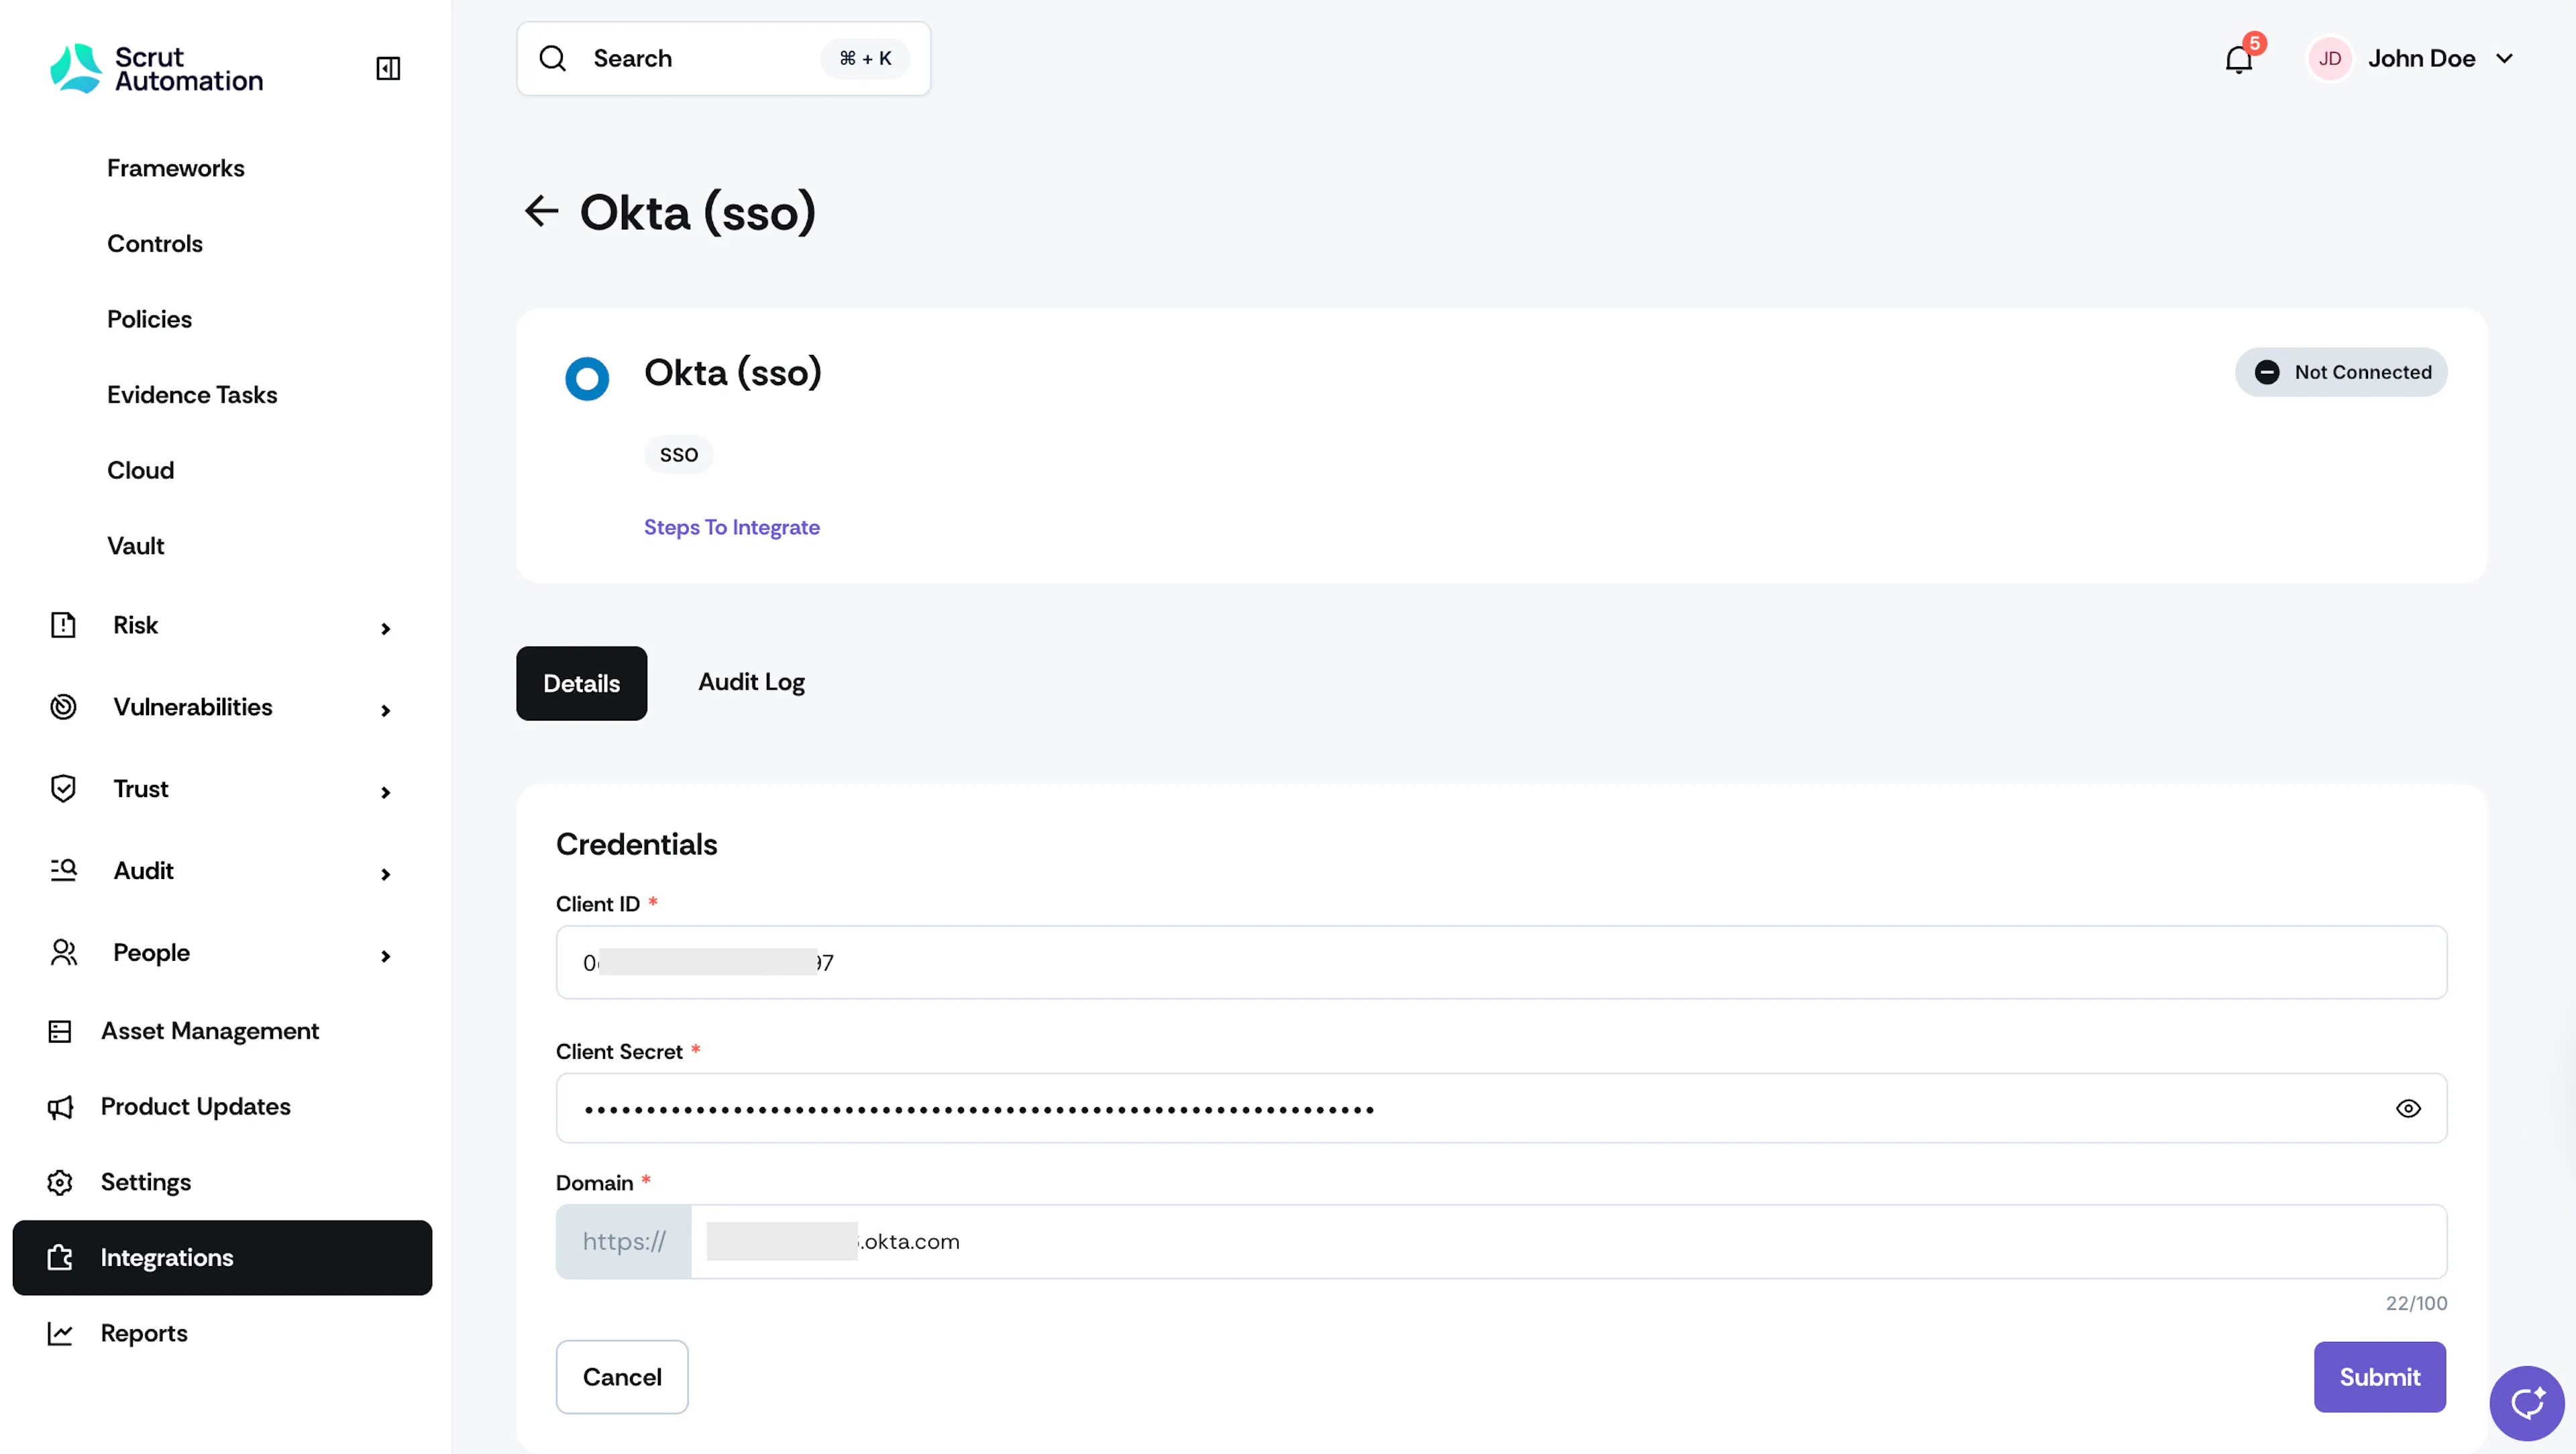
Enter the details you fetched in the previous step:
- Client ID
- Client Secret
- Okta Domain
-
Click Submit.
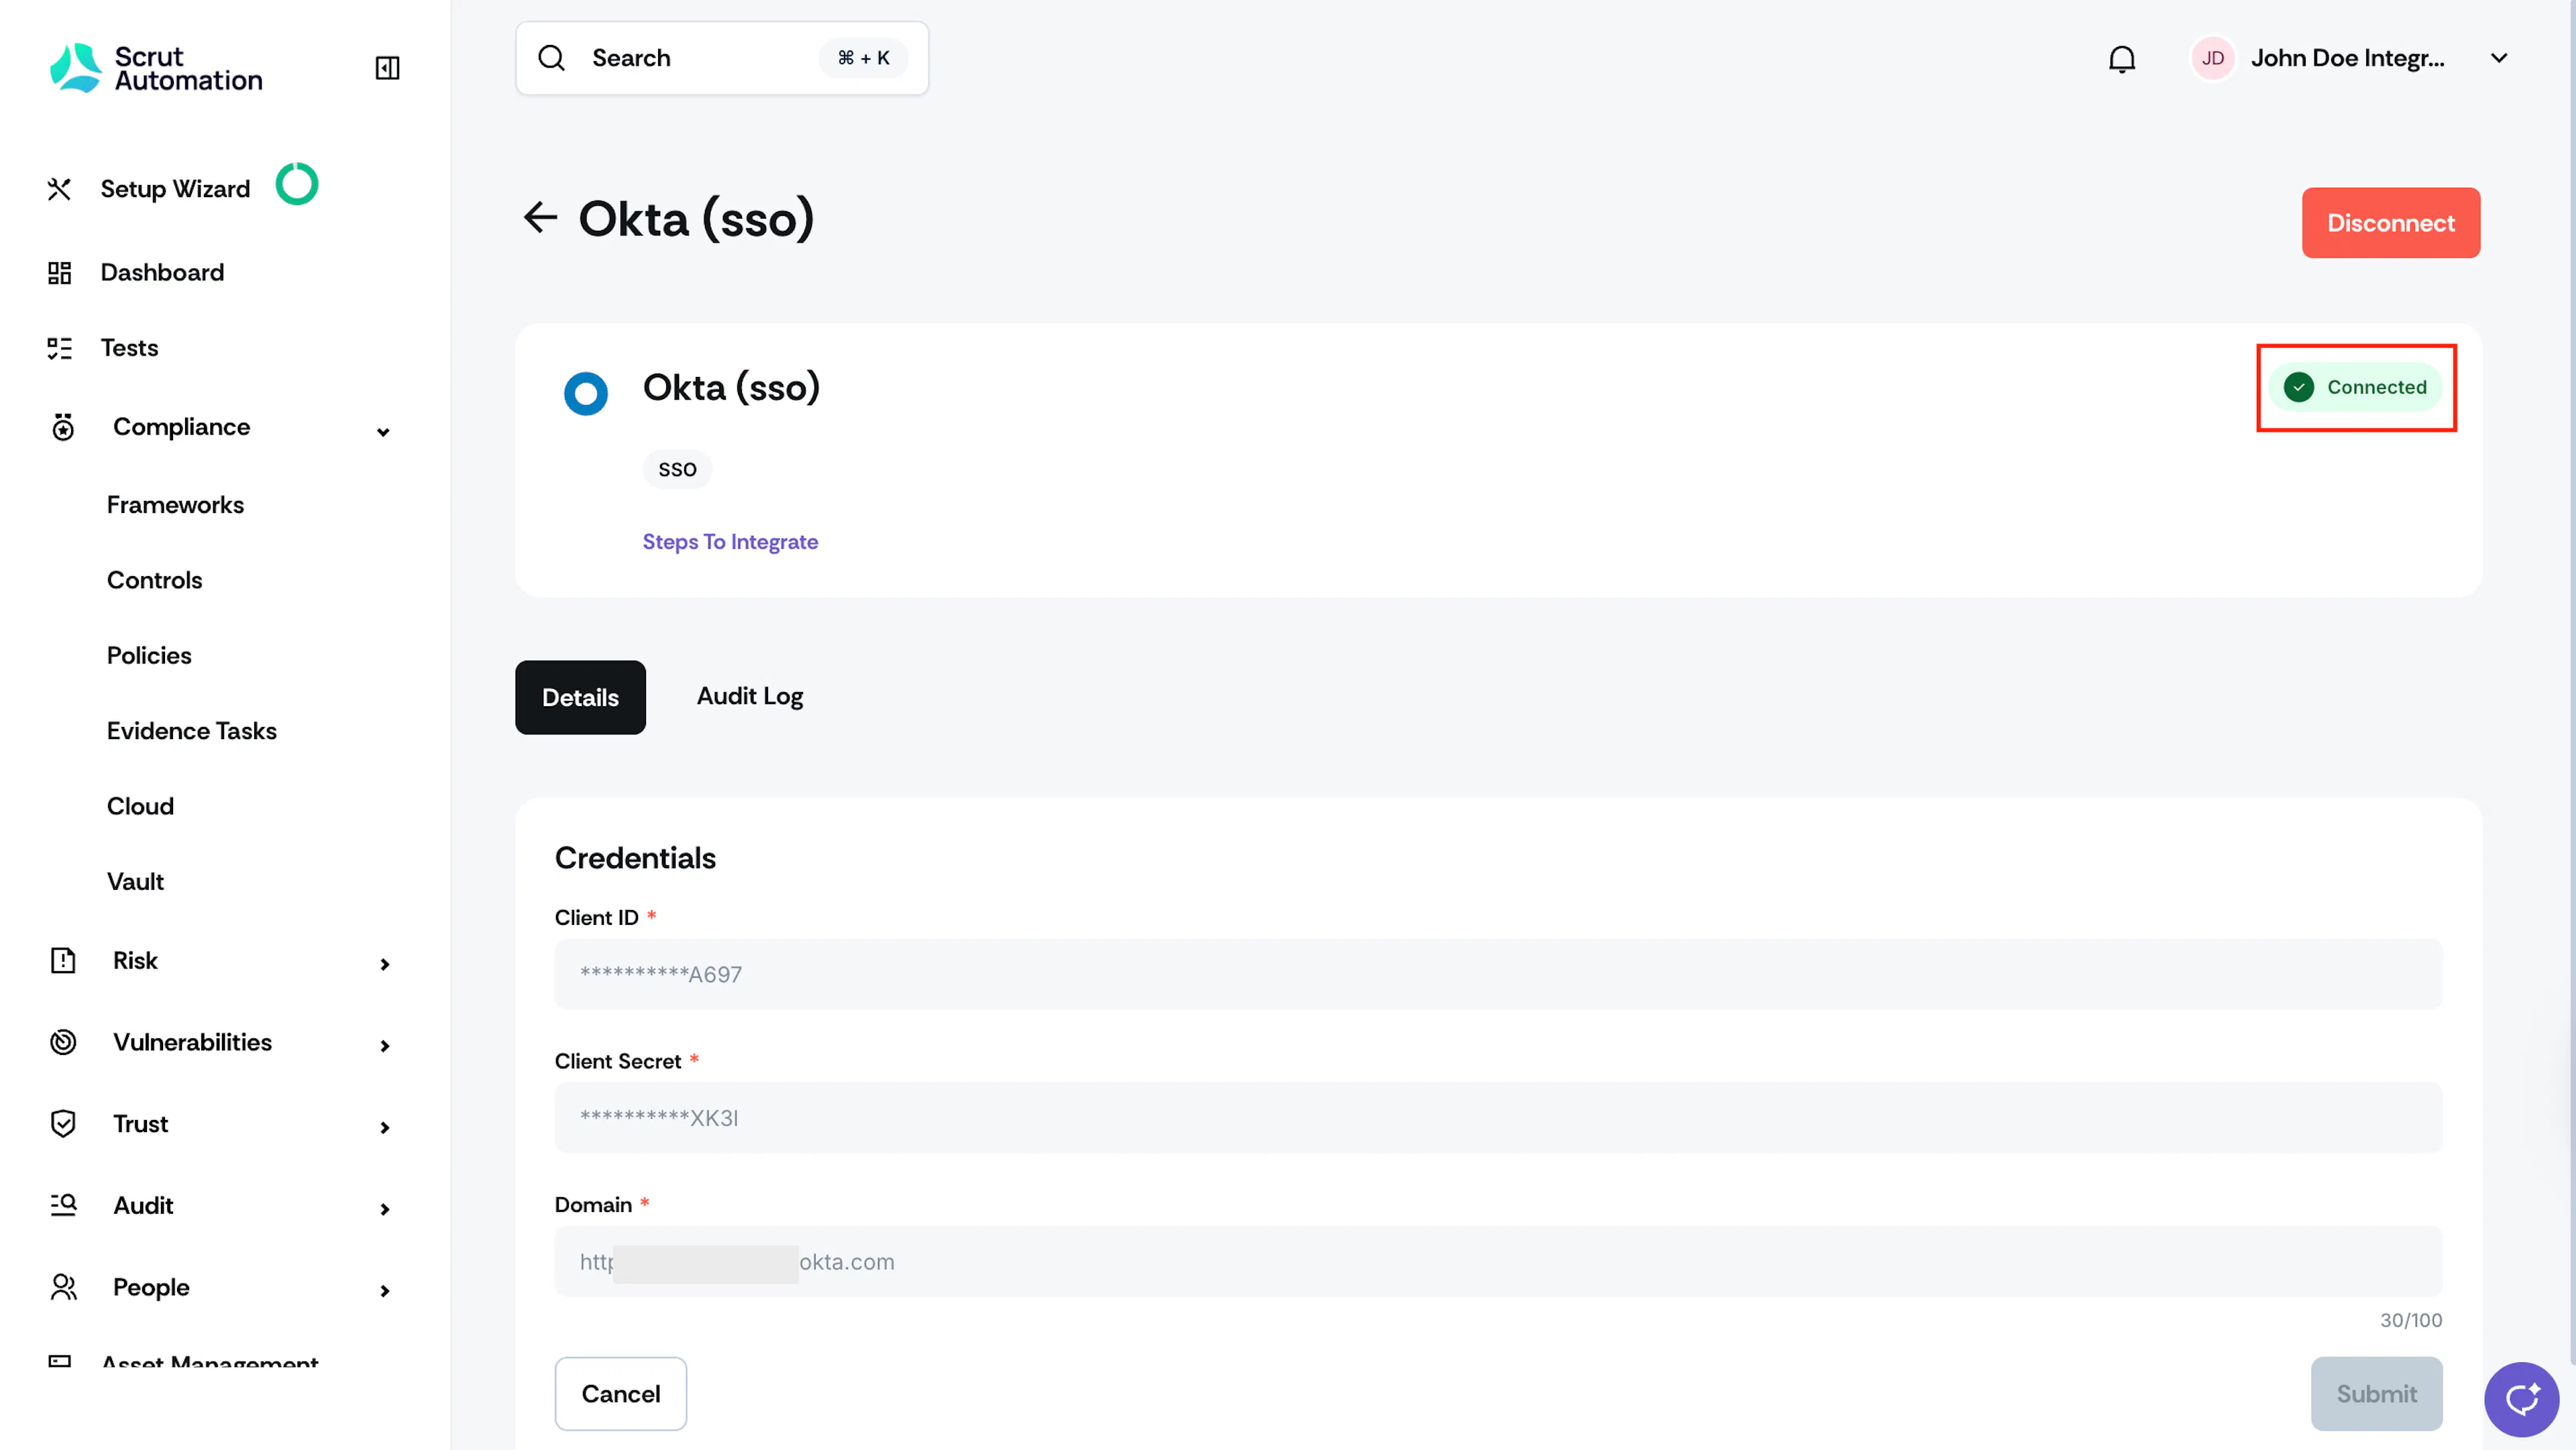
Watch for the success toast message and the Connected status flag indicator.
What Next?
Enable Okta SSO in Settings. This allows users and groups you selected in Okta to log in to Scrut via Okta (SSO).
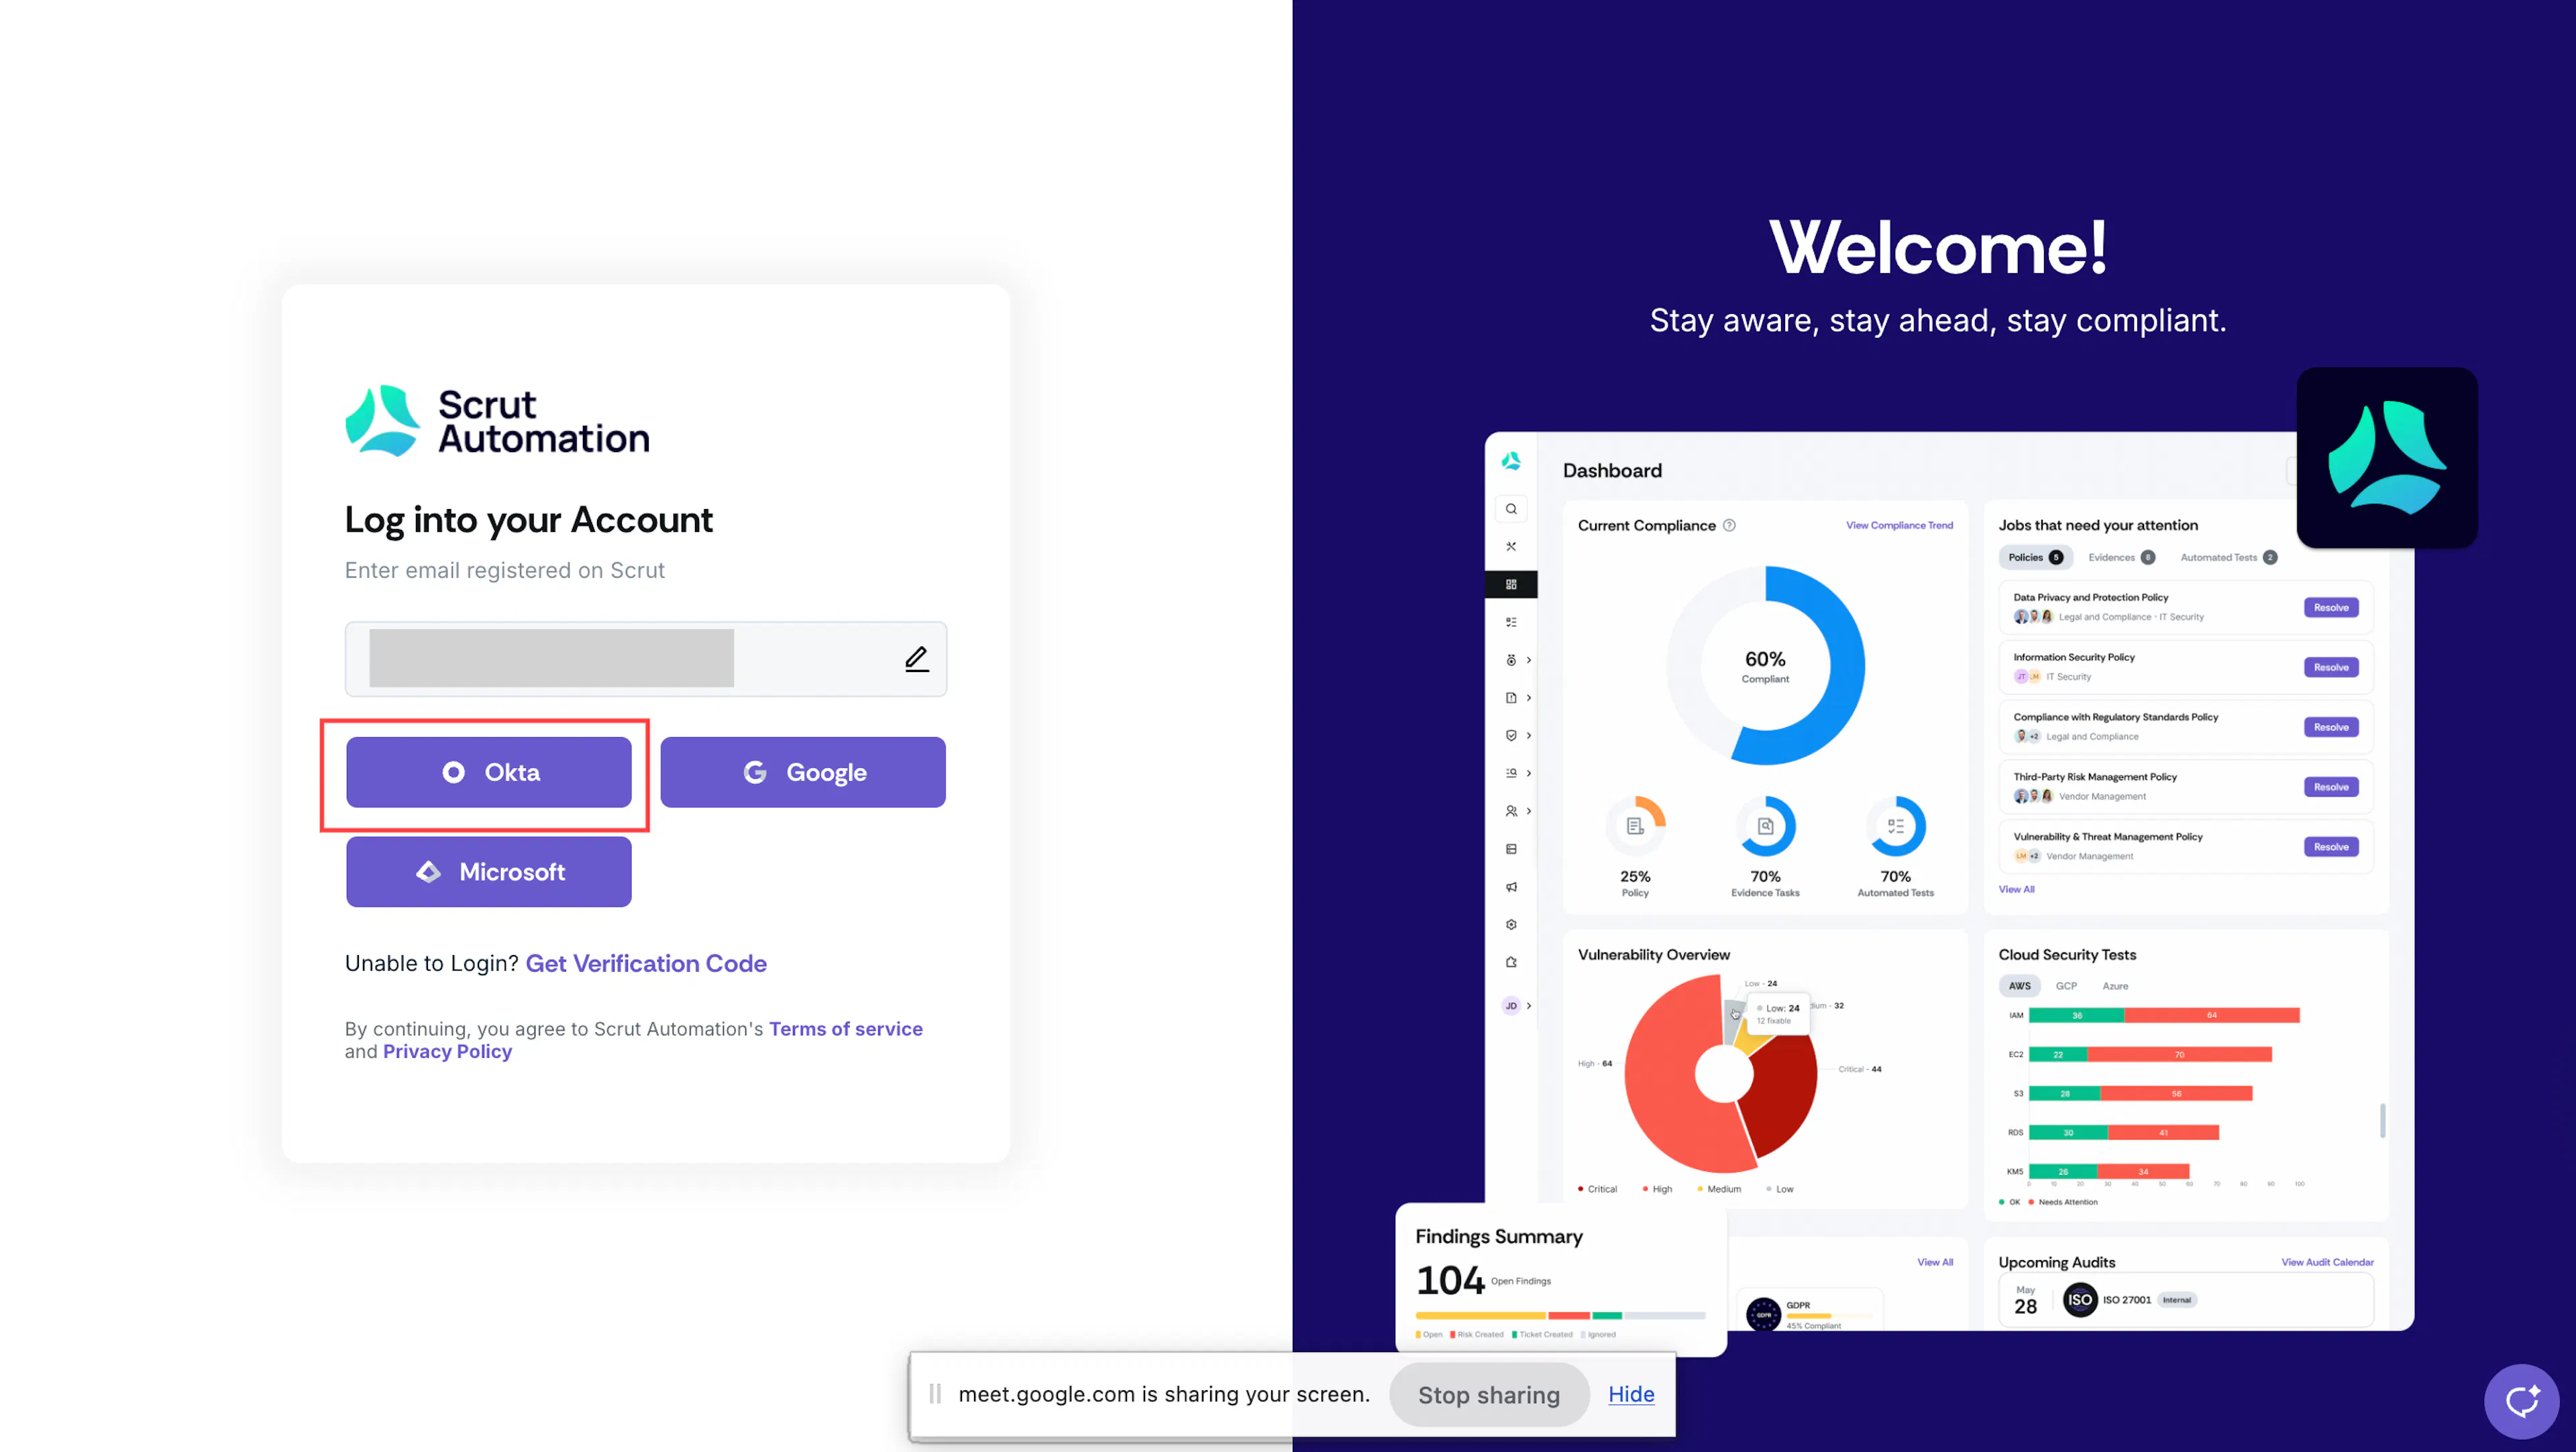
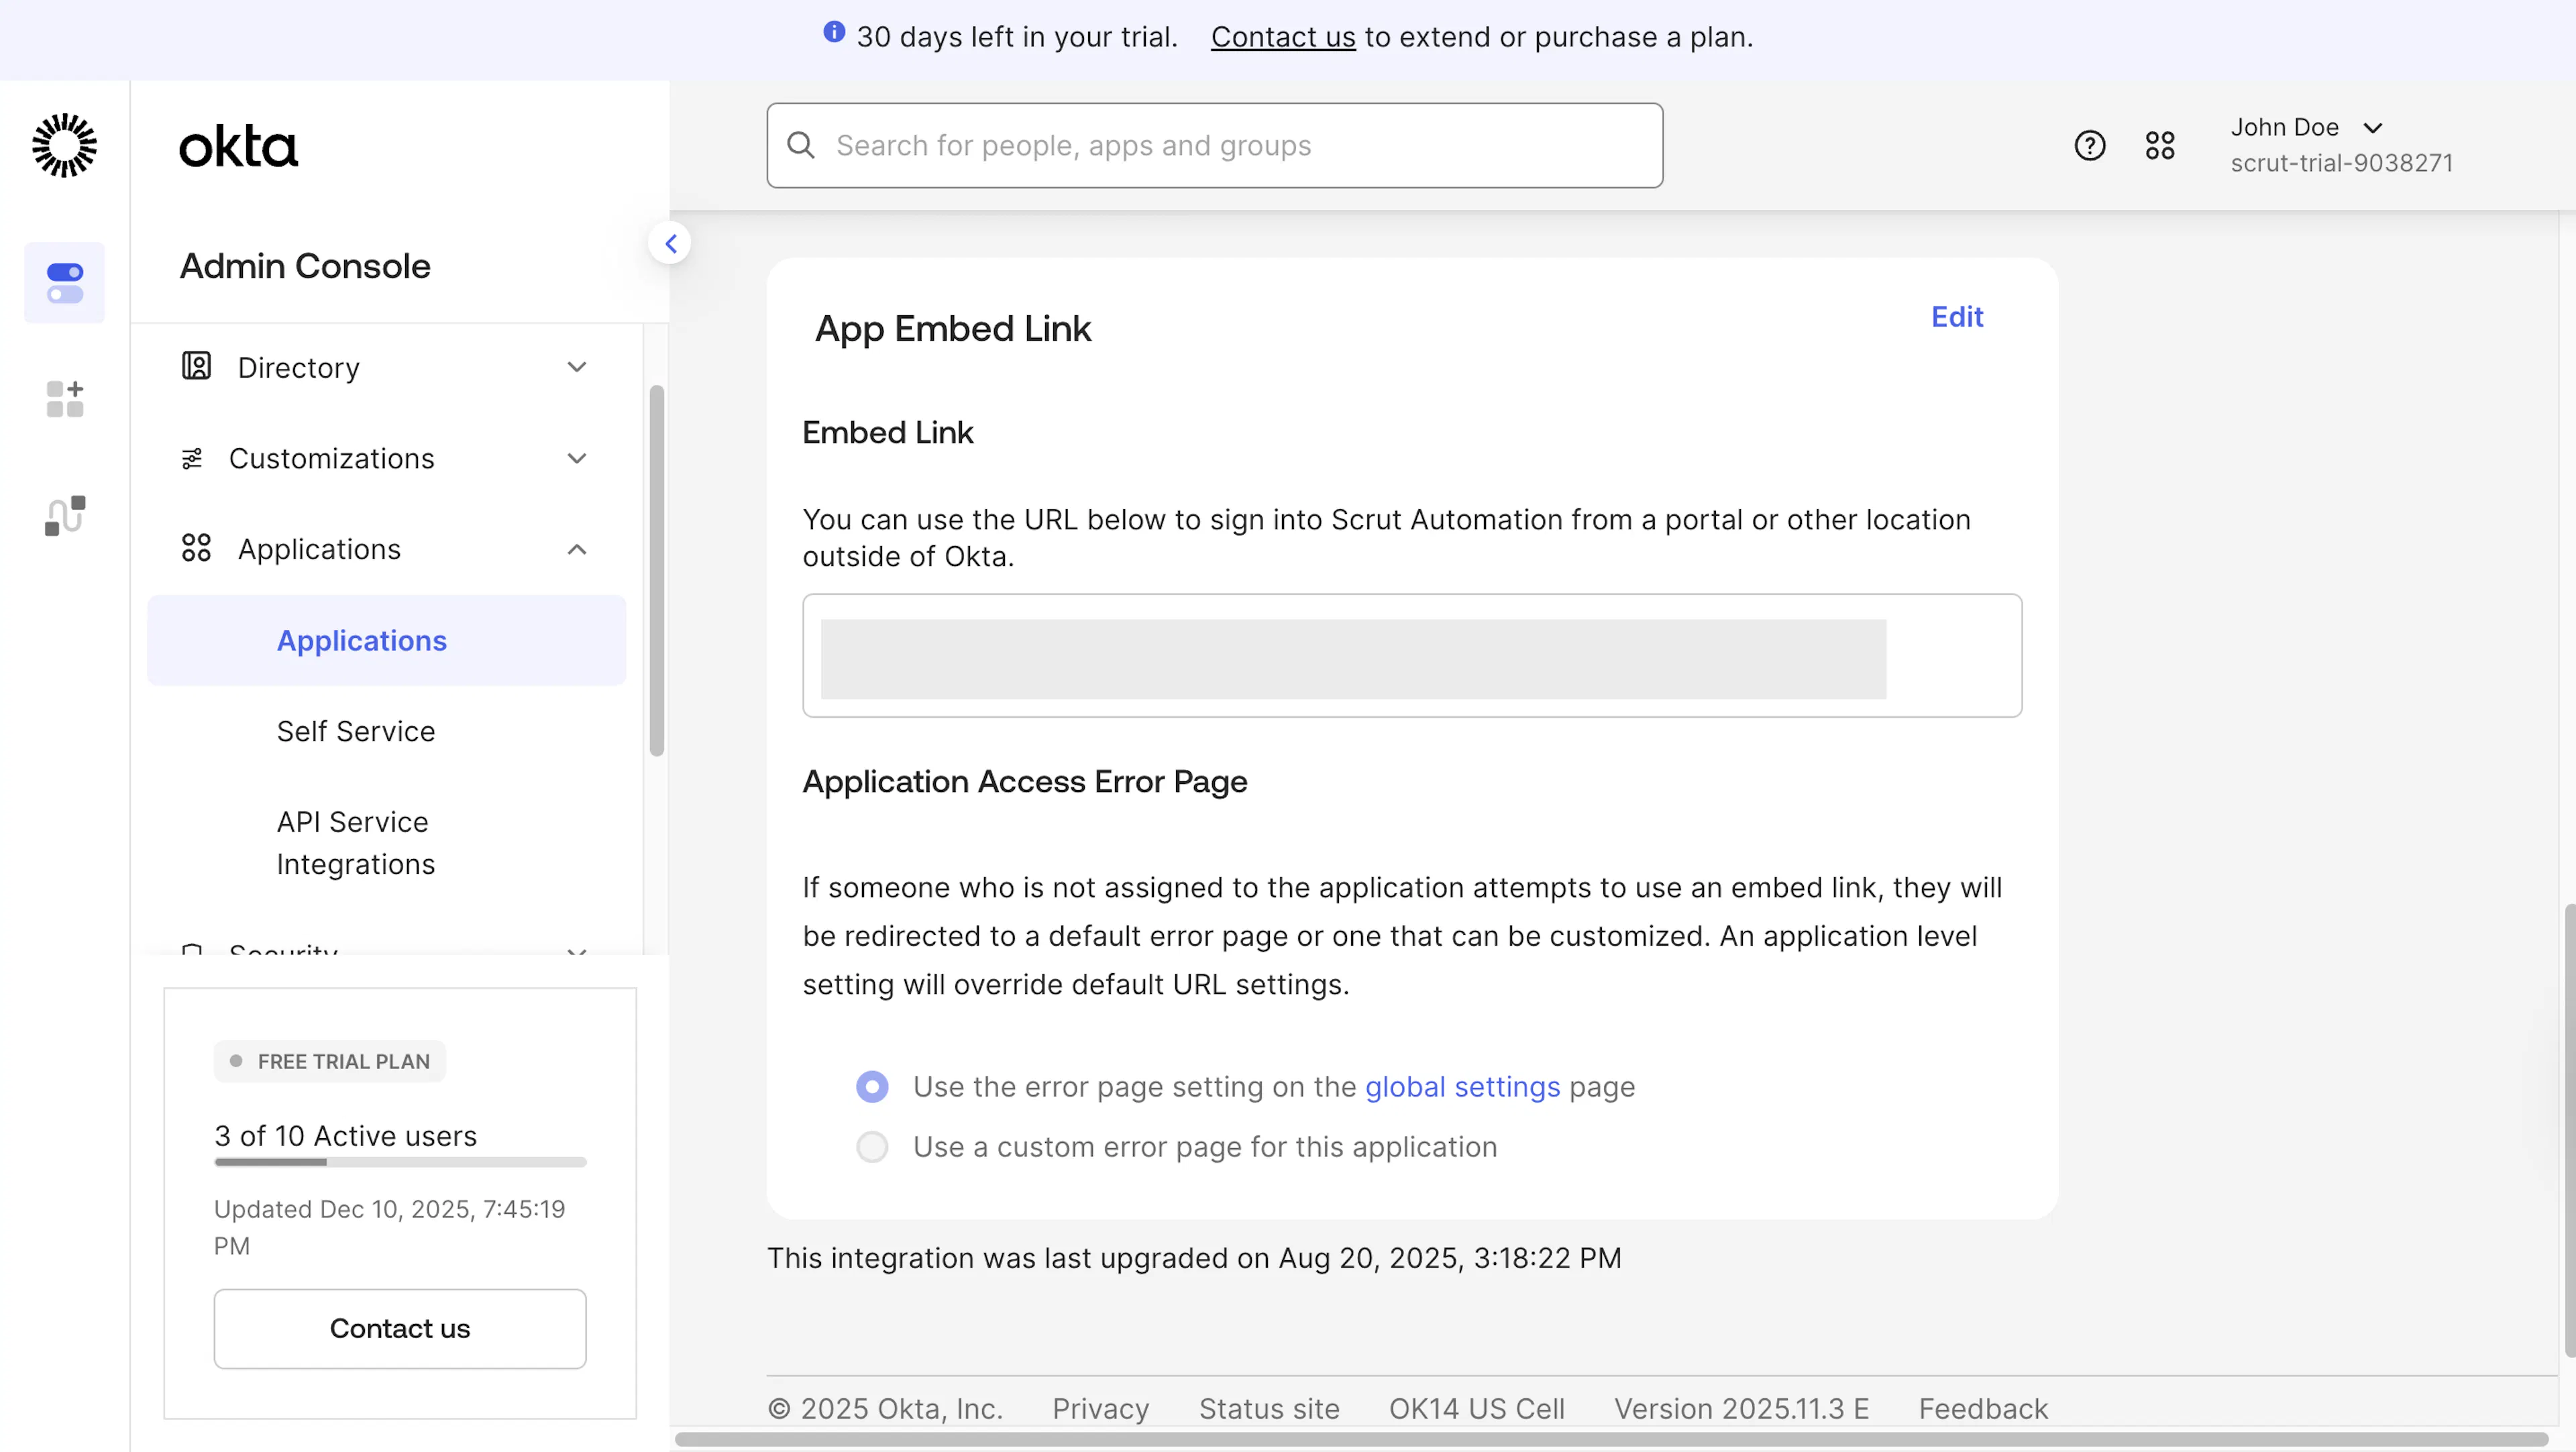
Optionally, users can use the AppEmbedLink found in the General tab of the Scrut Automation app in Okta to sign in to the platform.
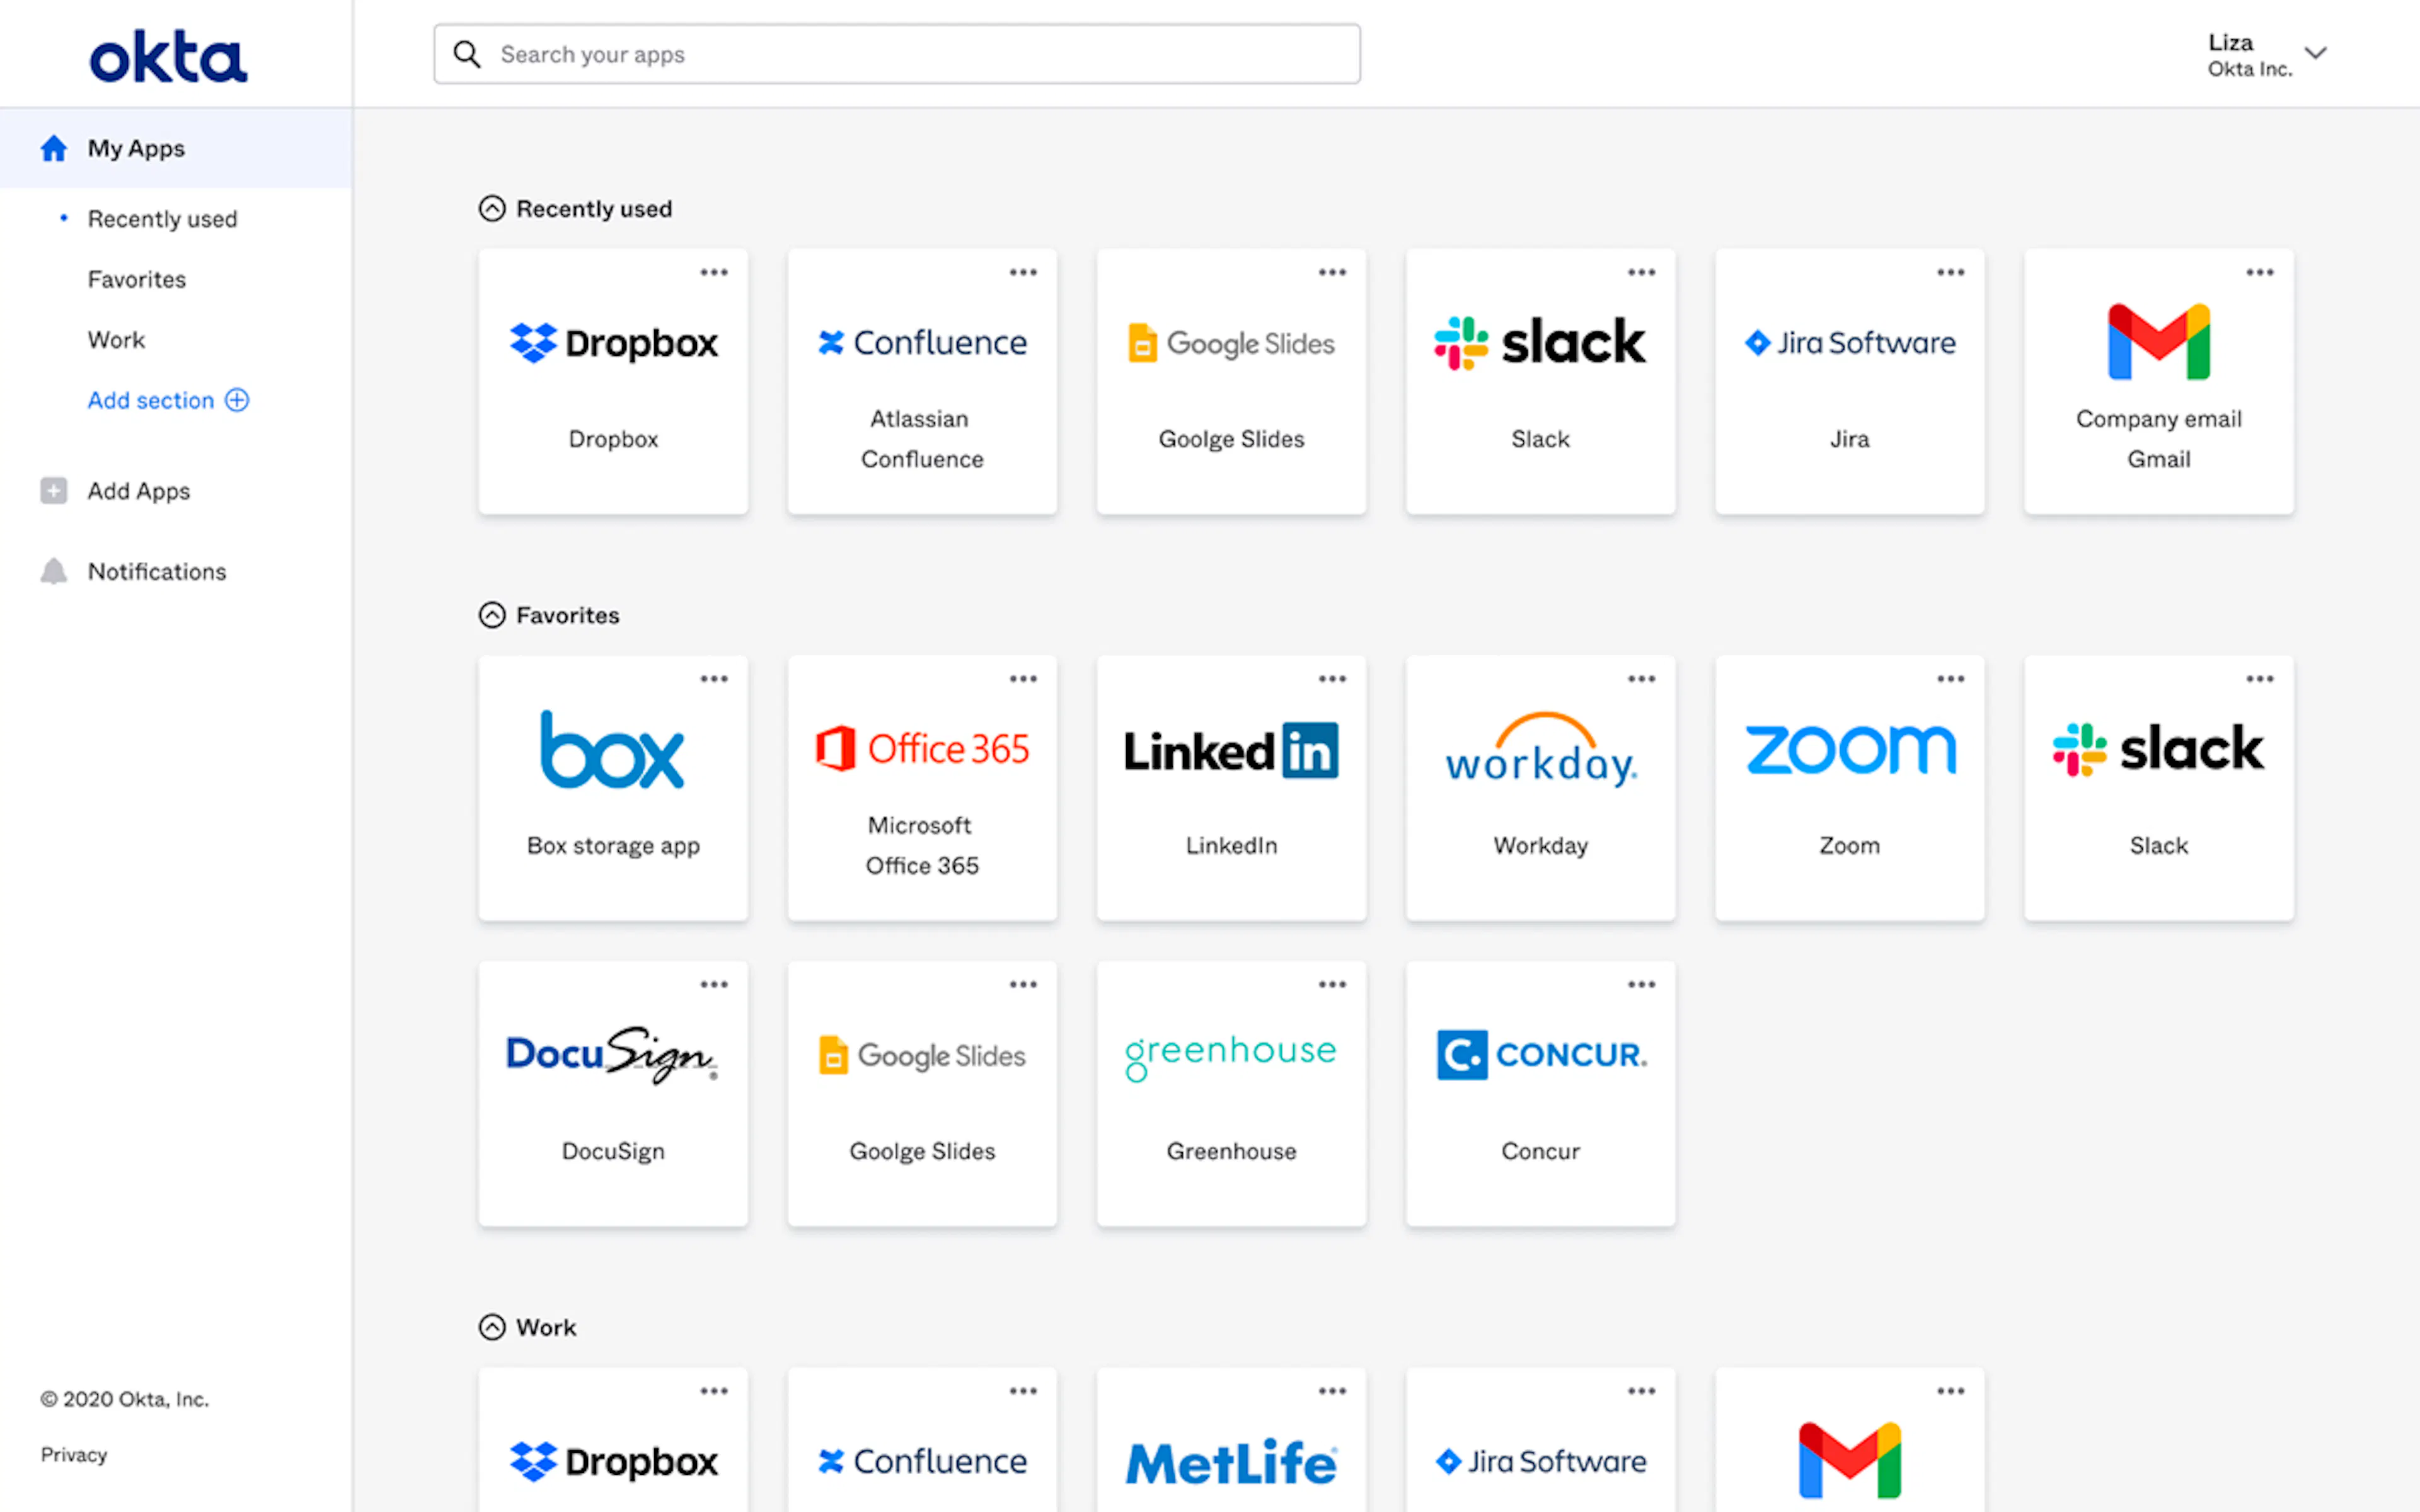
Additionally, users can add the Scrut Automation app to their End User Dashboard so everybody can launch from there.
Note:
The option to add the app to the End User dashboard is available only for premium Okta customers.