Create and Manage Workspaces
In this article, we explain how to create and manage workspaces in the partner console.
How To Create a New Workspace
To onboard a new customer:
-
Click Add Workspace.
-
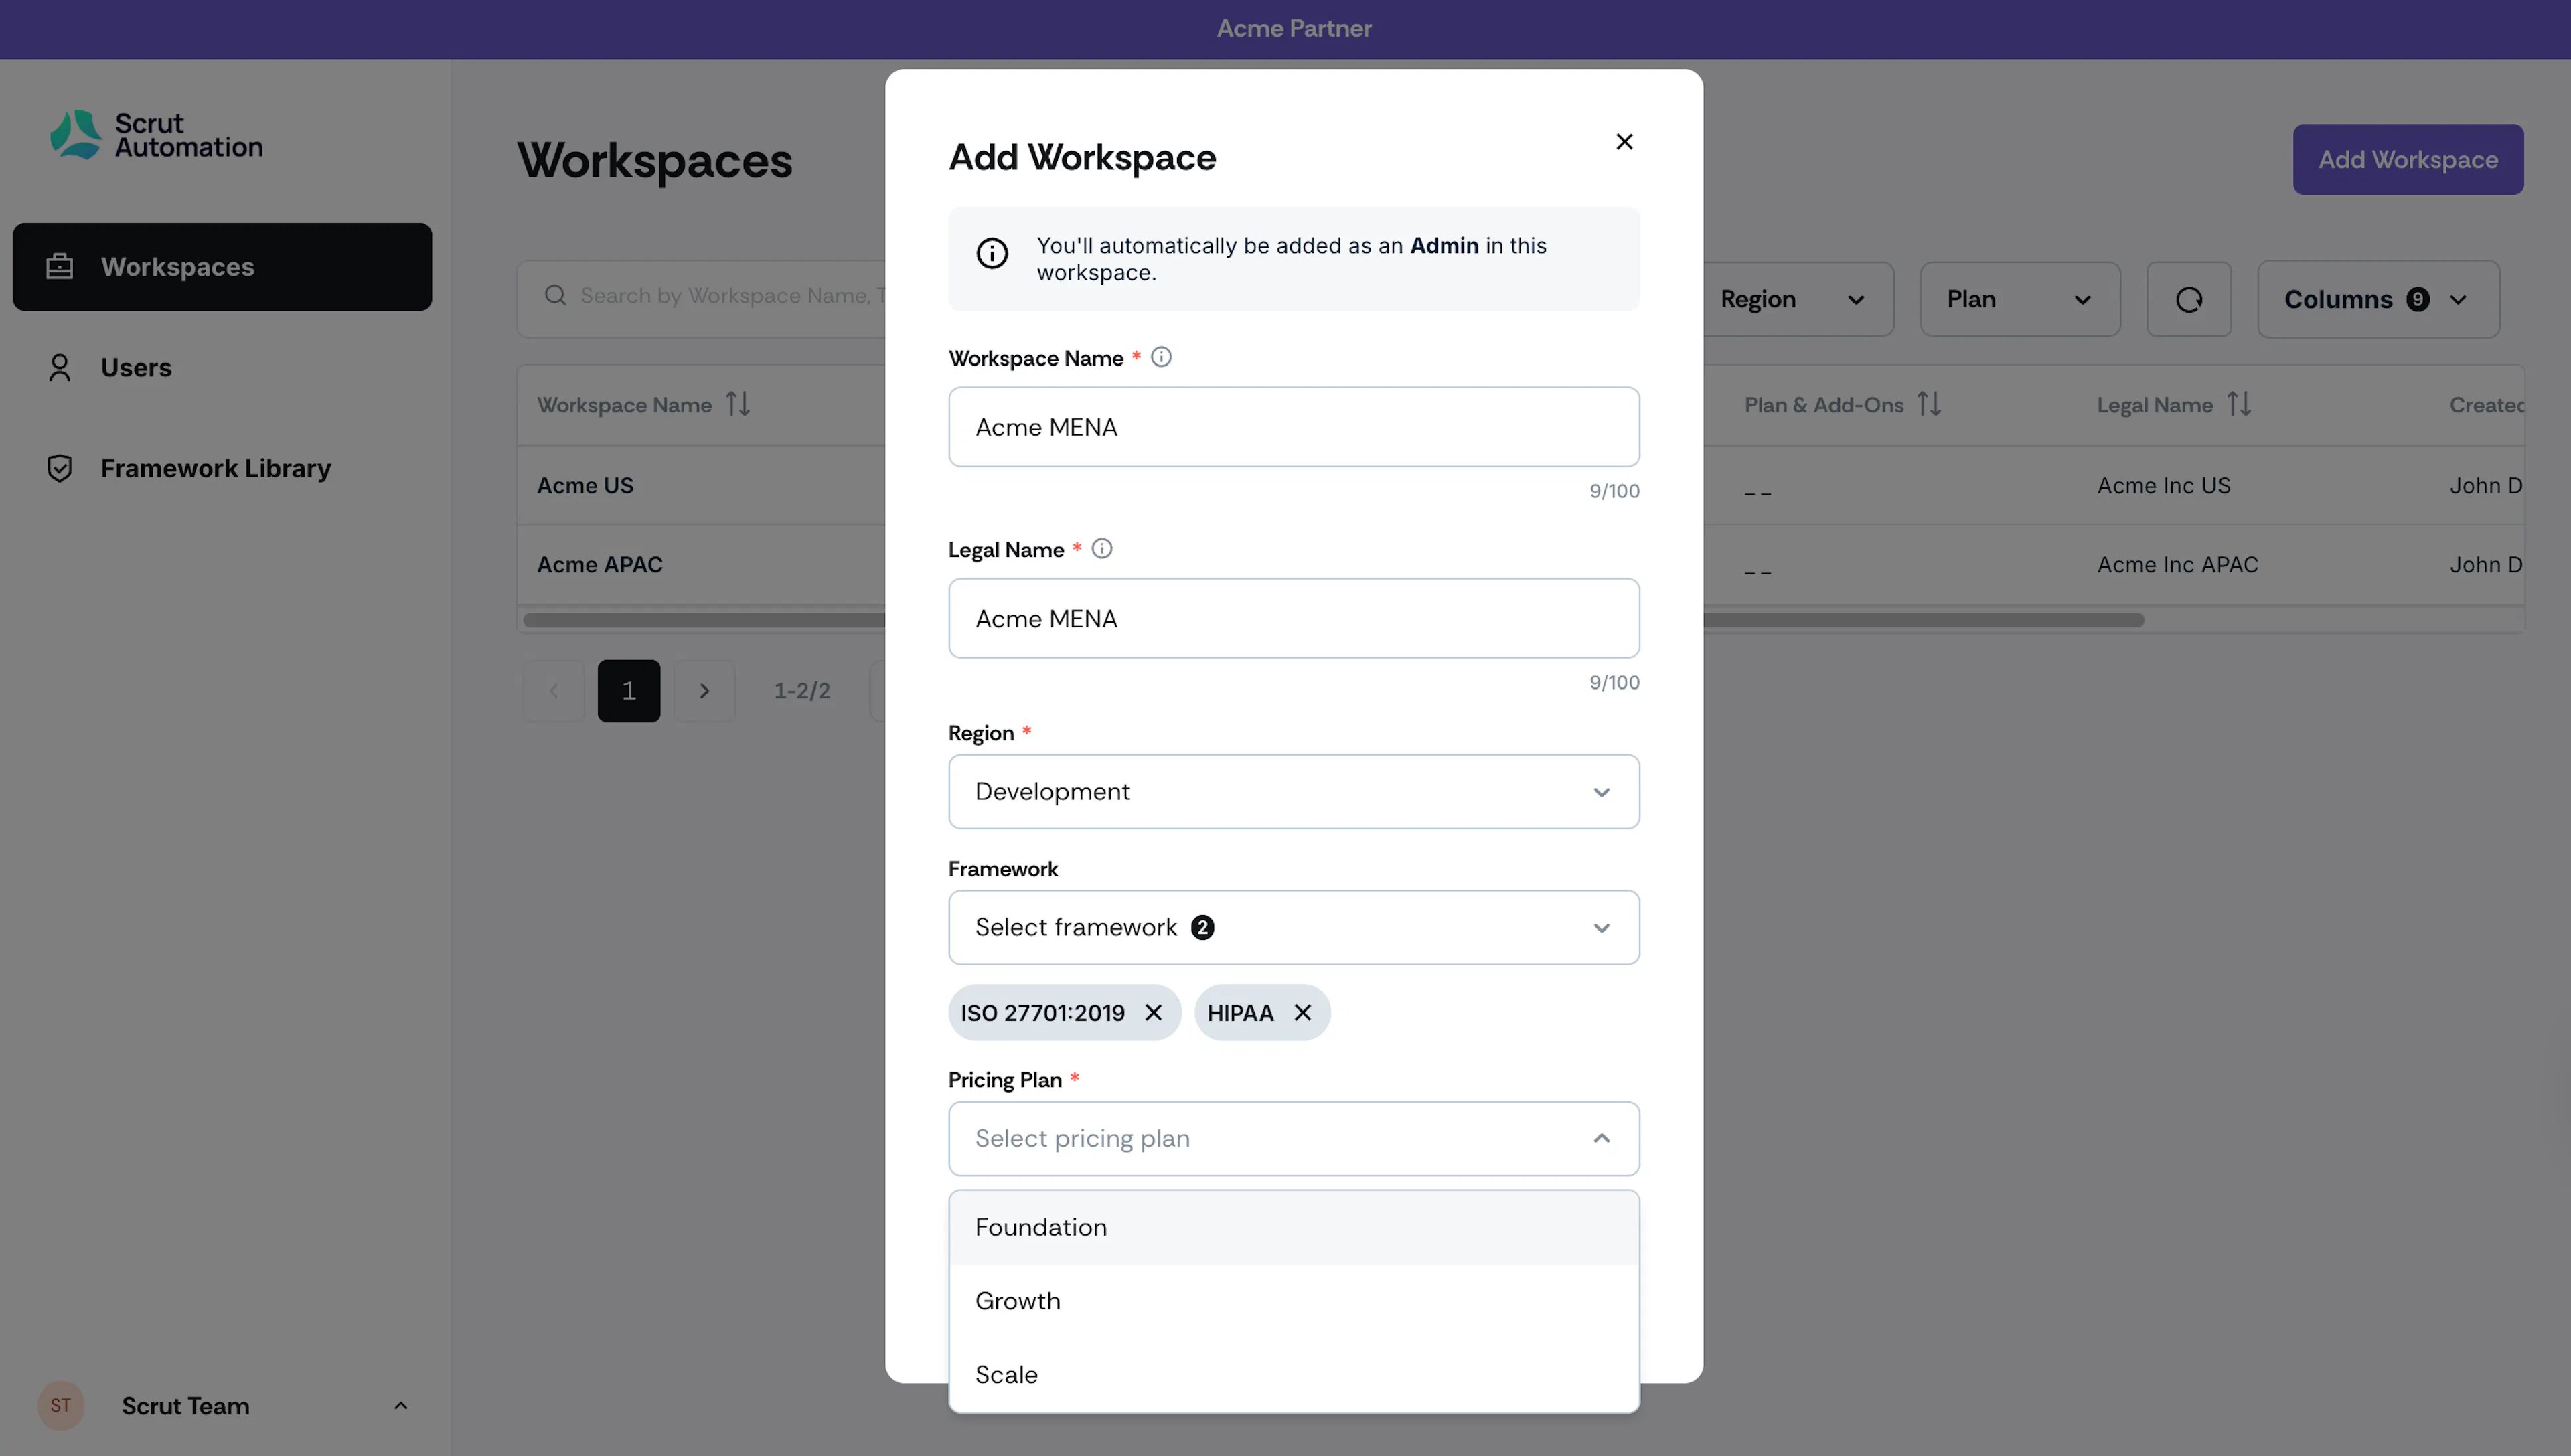
Fill in the required details:
-
Workspace Name: Enter a name for the workspace. This is how the workspace will appear in your Partner Portal.
-
Legal Name: Enter the customer's organization's legal name.
Note: Both the Workspace Name and Legal Name fields accept letters, numbers, spaces, and the following special characters: . (dot), , (comma), - (hyphen), _ (underscore), & (ampersand), ' (apostrophe), ( ) (parentheses), and / (forward slash). For example: Acme LLP (Canada), ABC Pvt. Ltd., O'Reilly, or Johnson & Johnson.
-
Region: Select the region where the customer's data will be hosted.
-
Framework: Select one or more compliance frameworks for this workspace. This is optional and can be updated later.
-
Pricing Plan: Select the pricing plan for this workspace. The available plans are Foundation, Growth, and Scale.
-
Add-ons: Select the add-ons to enable for this workspace. Turn on the toggle next to each add-on you want to include.
Note:
- You are automatically added as an Admin in any workspace you create.
- The Pricing Plan and Framework options available for a workspace are configured by your Scrut admin. For more options, contact your CSM. Alternatively, click Request Plan to upgrade.
-
-
Click Submit and wait a couple of minutes for the workspace to be created.
Heads Up!
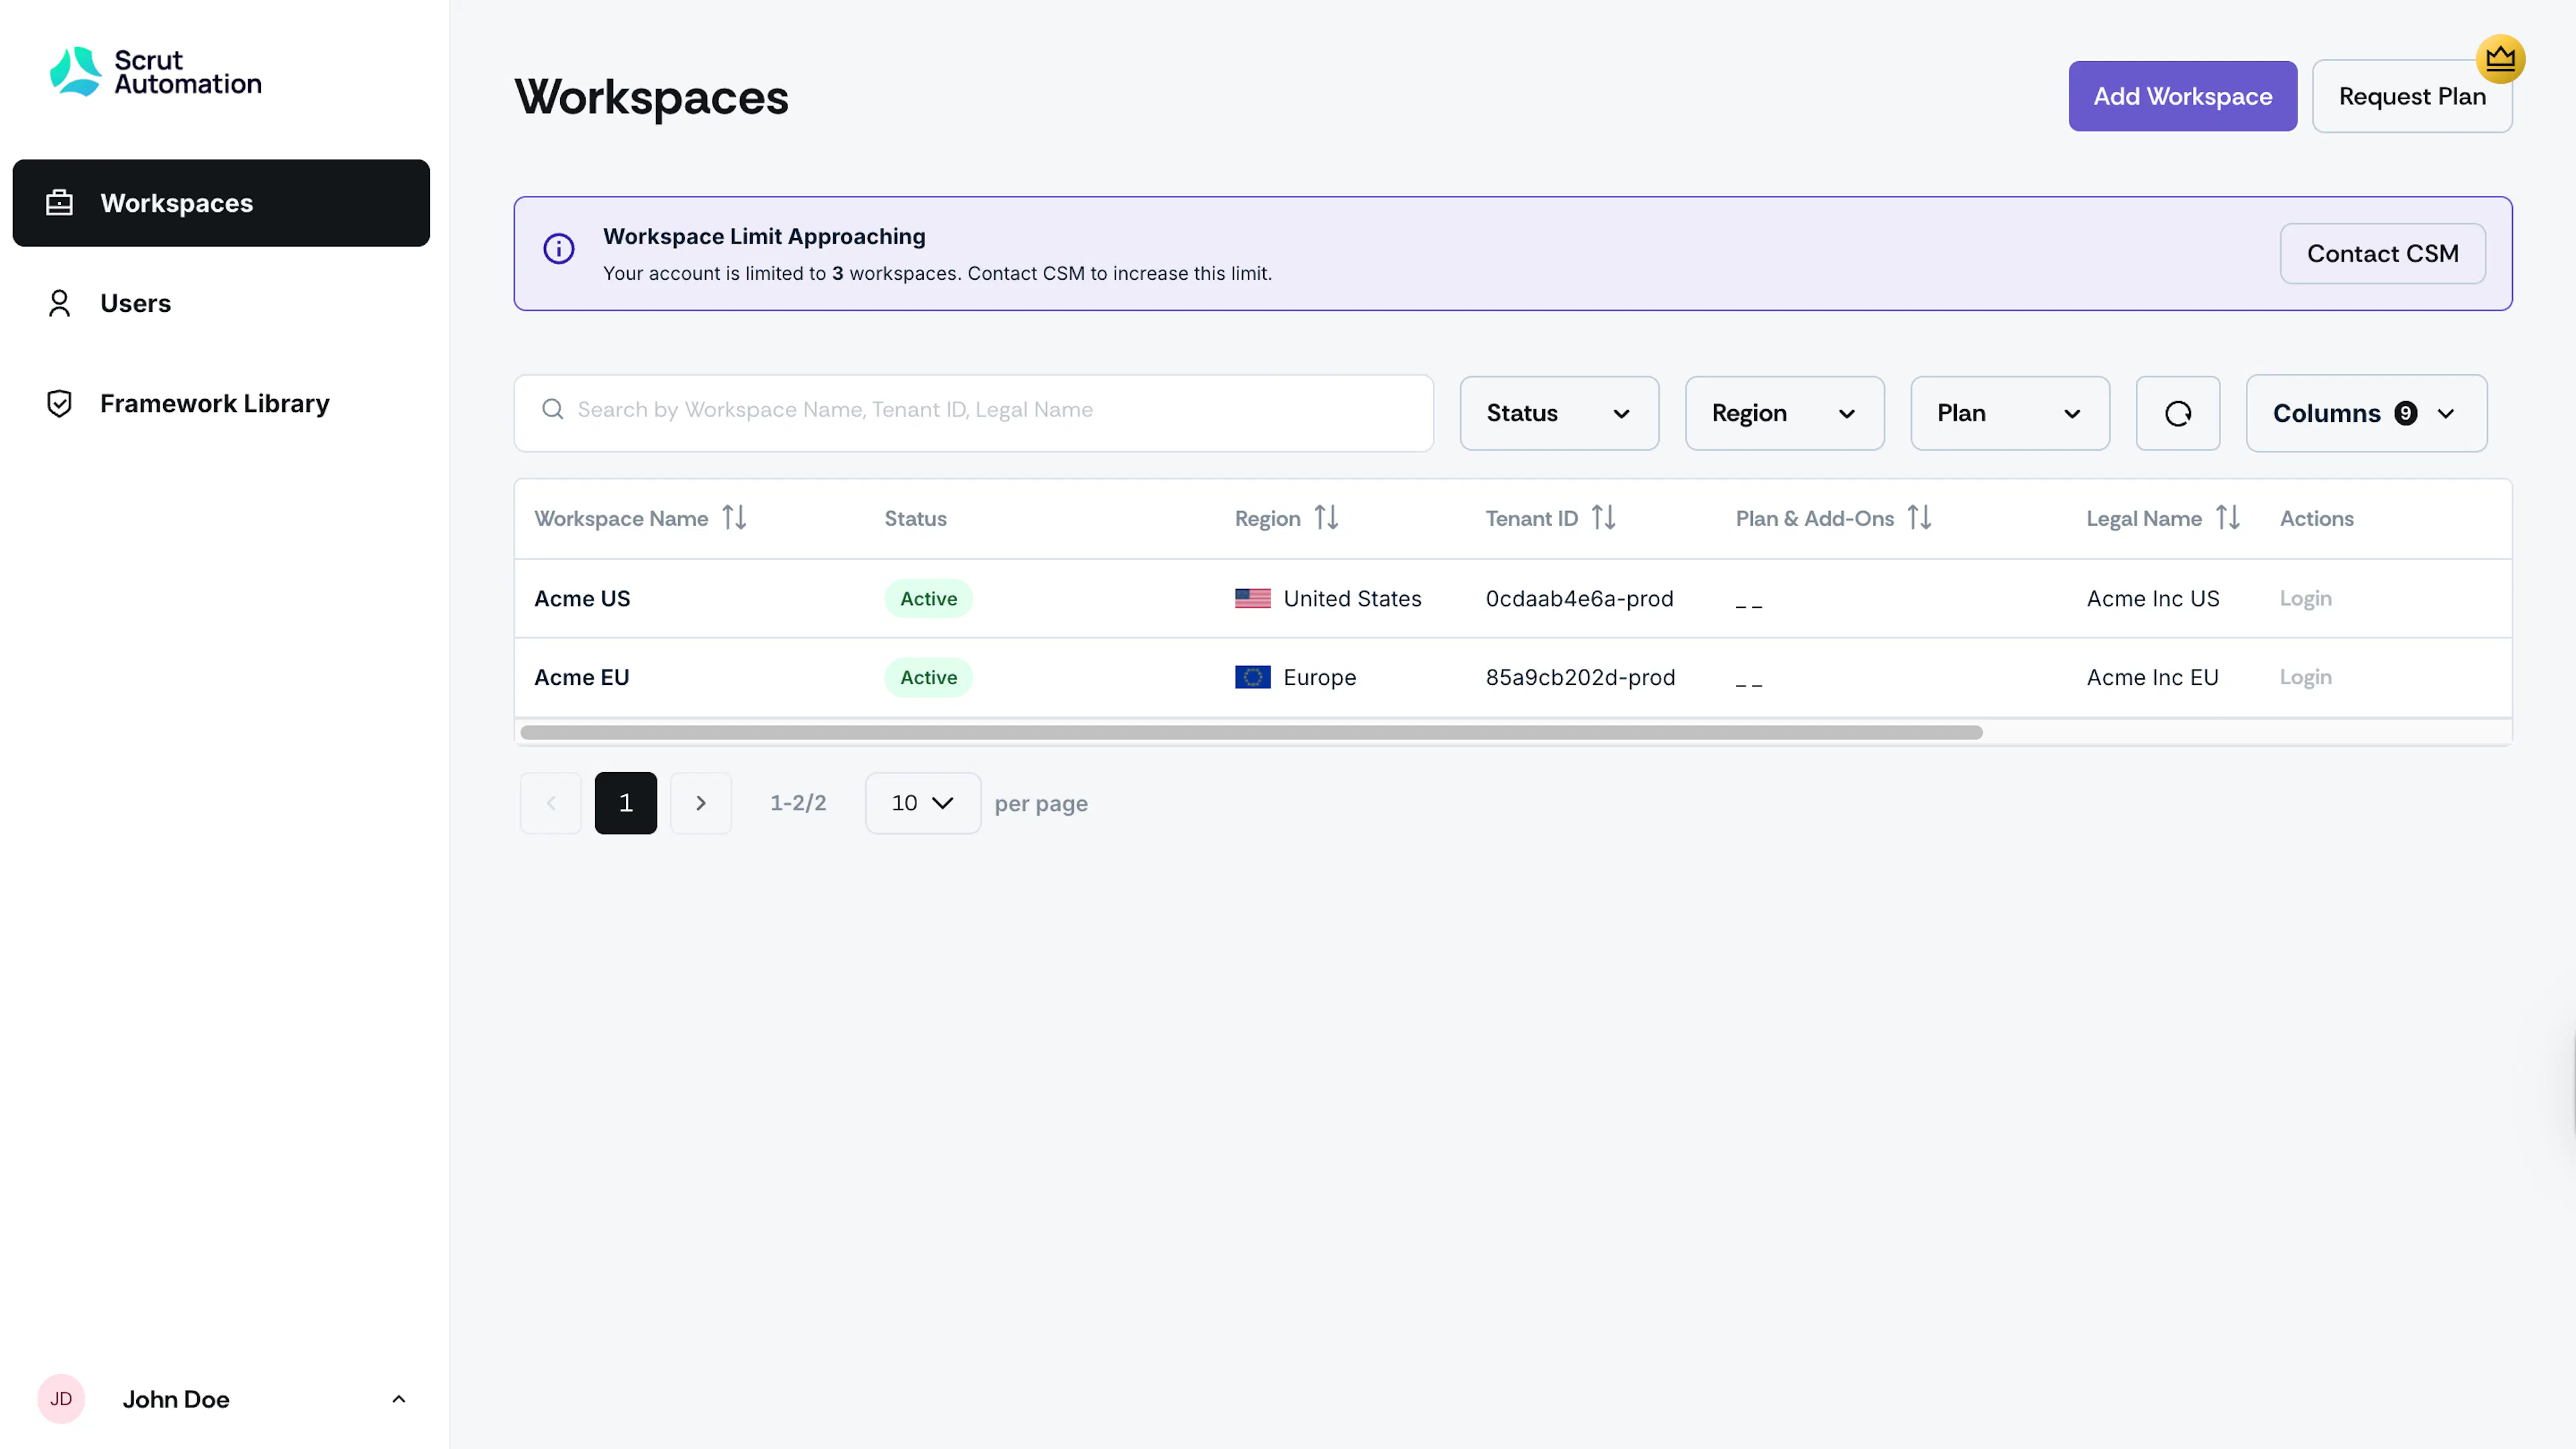
Each partner account has a limit on the number of workspaces that can be created. If you need to increase this limit to onboard more customers, click Contact CSM to reach out to your Scrut Customer Success Manager.
Managing Workspace Details
Once a workspace is created, click on it to view the workspace detail page.
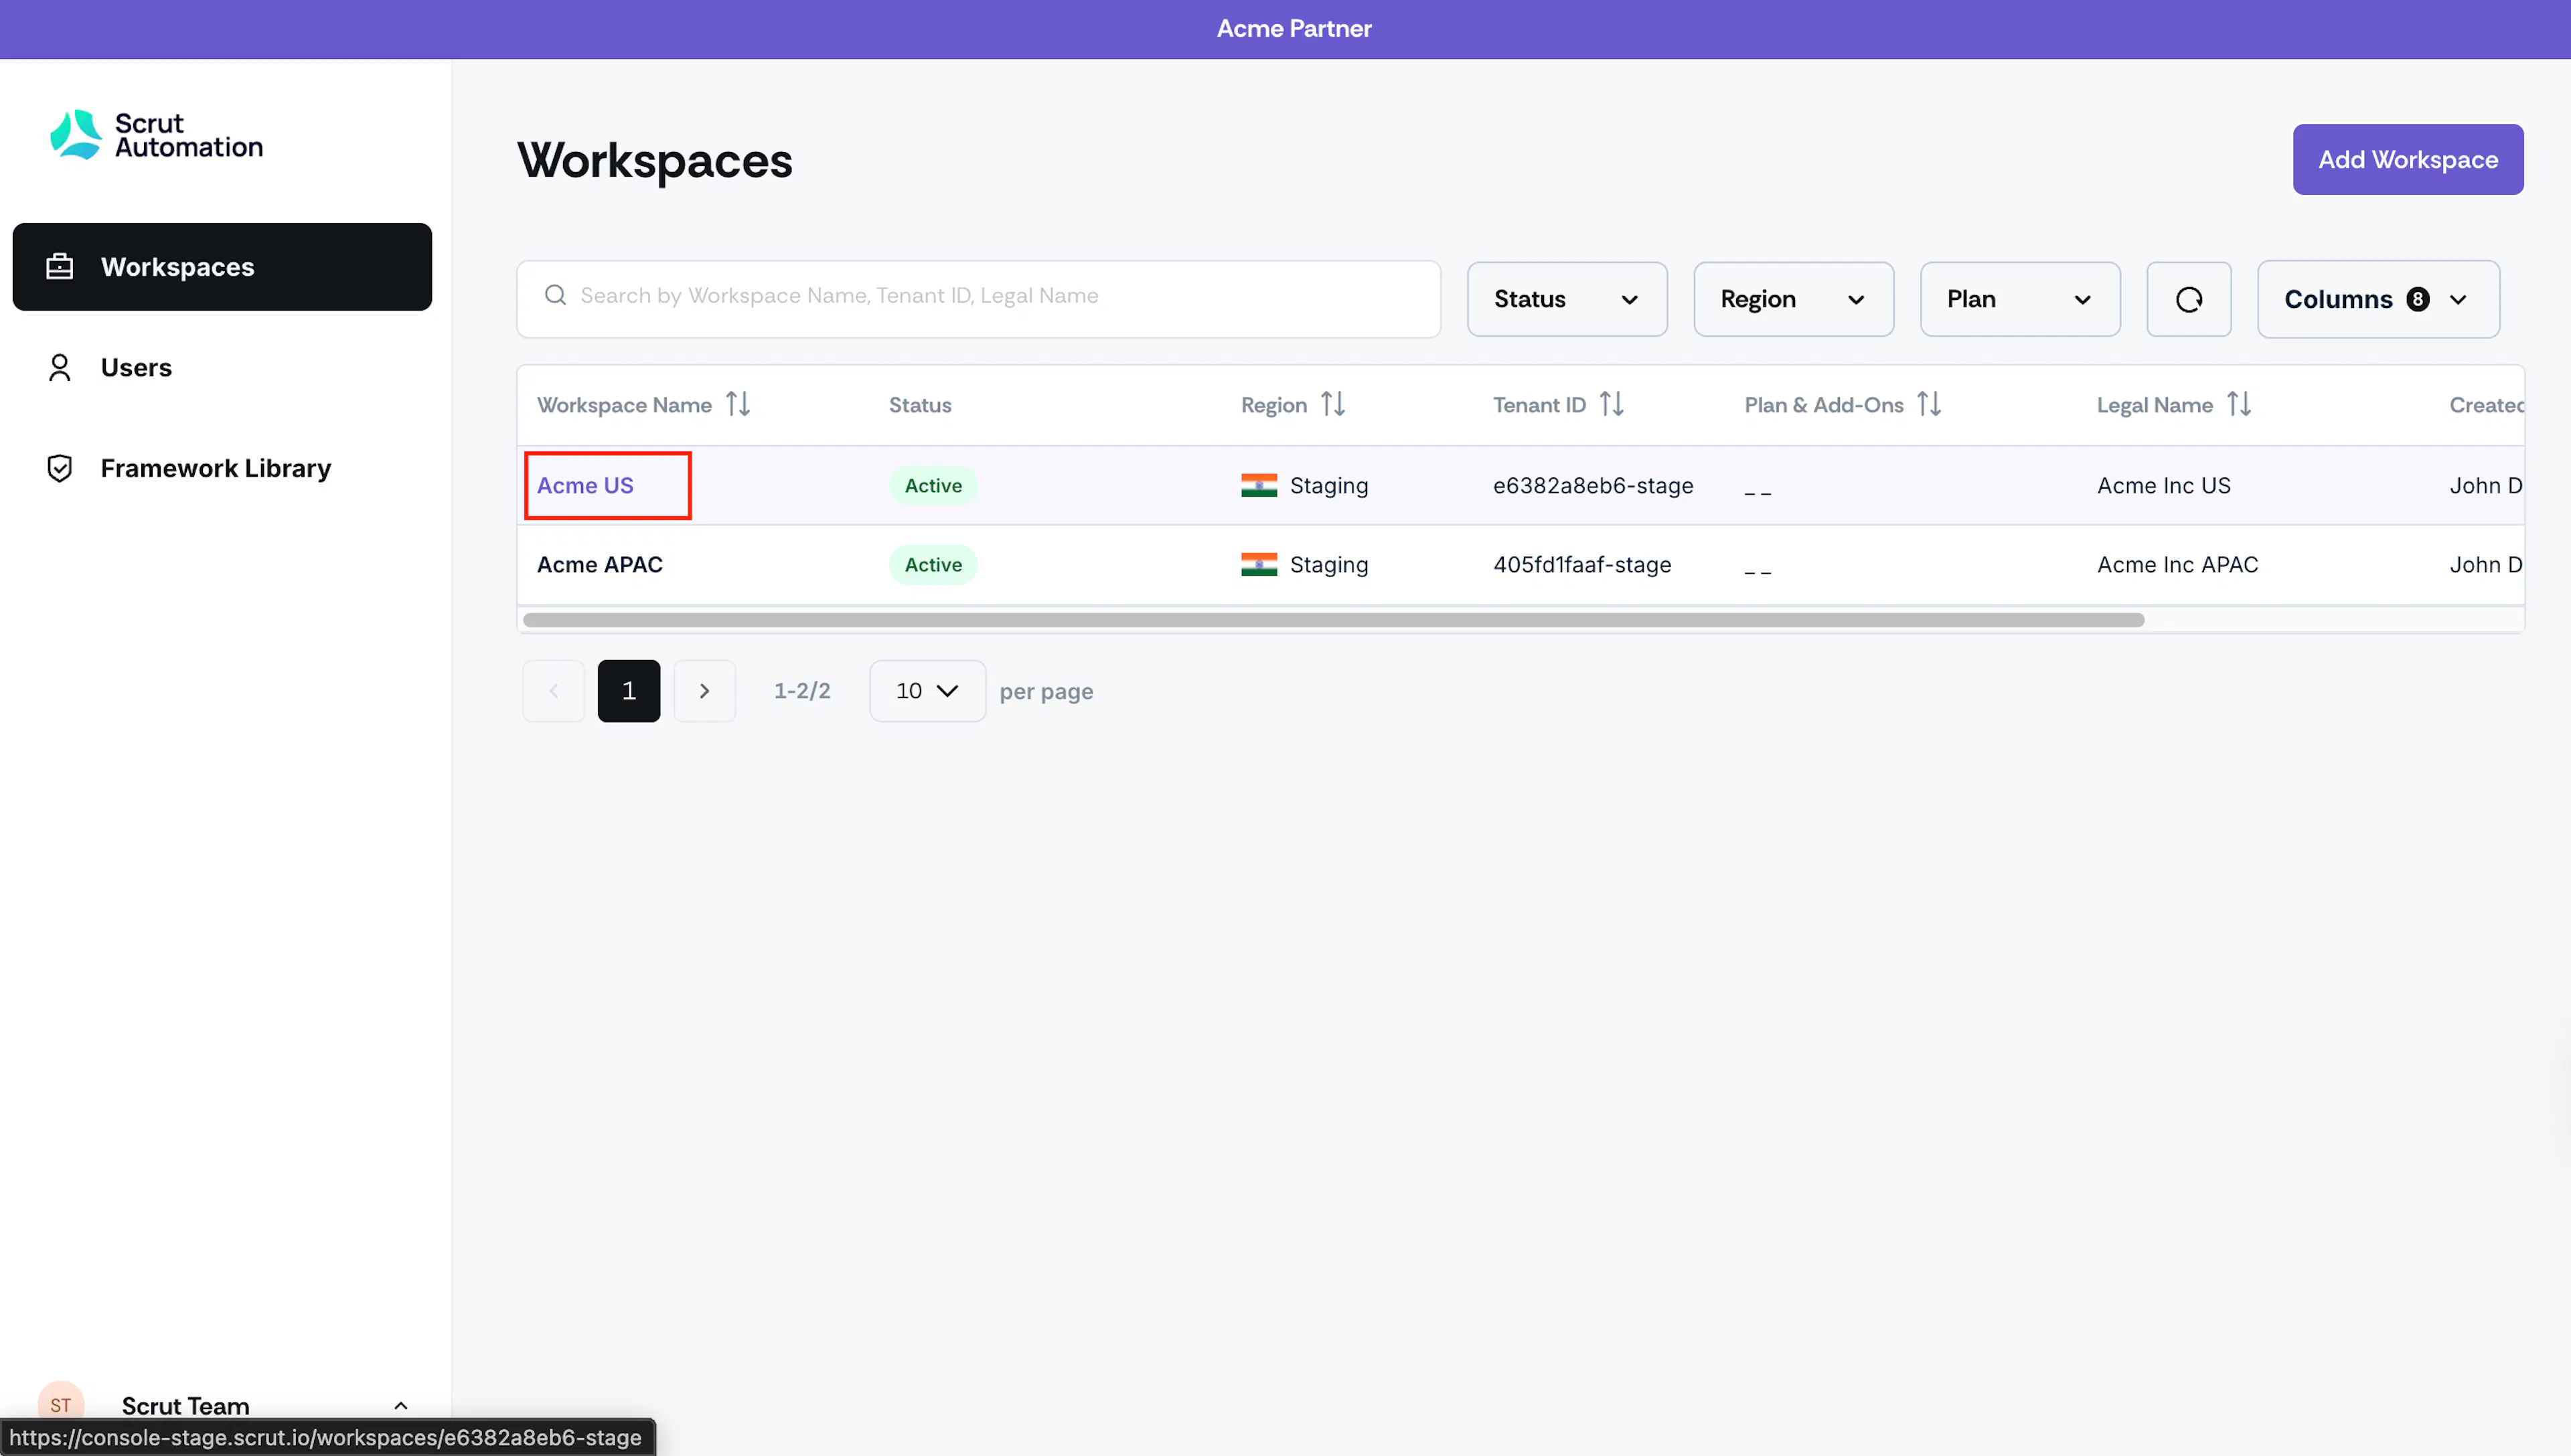
From here, you can:
Add Frameworks
-
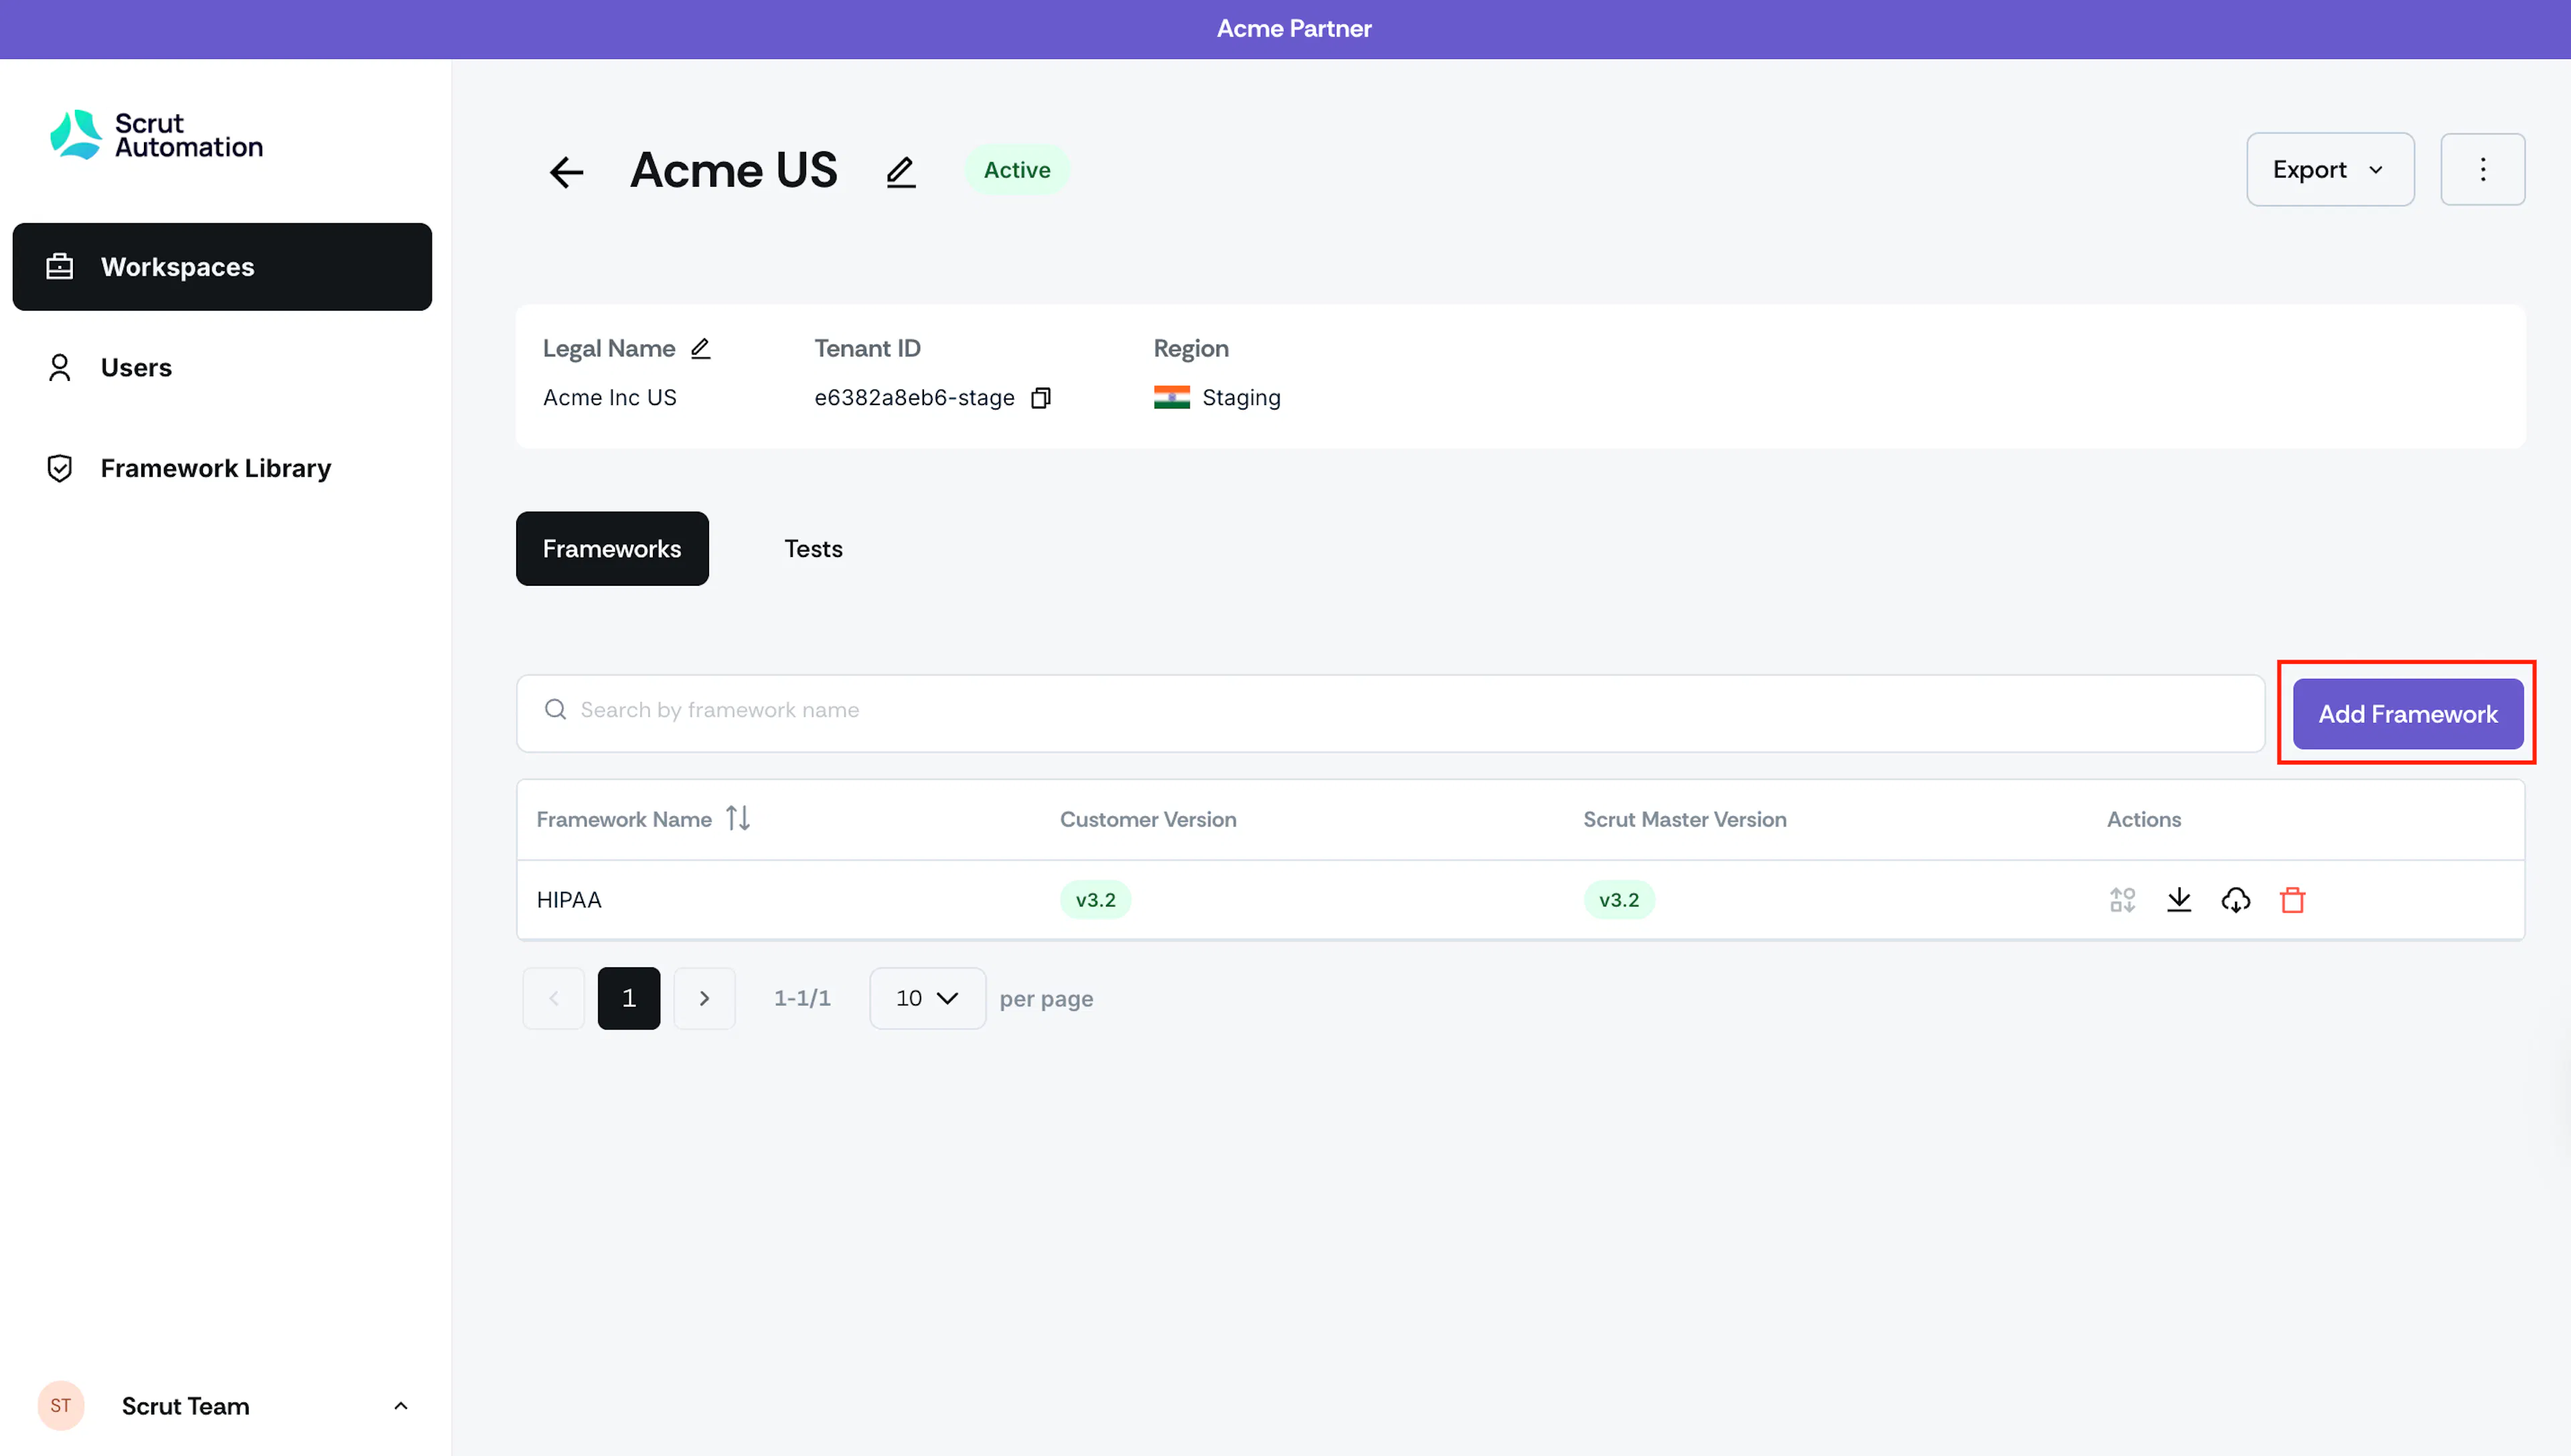
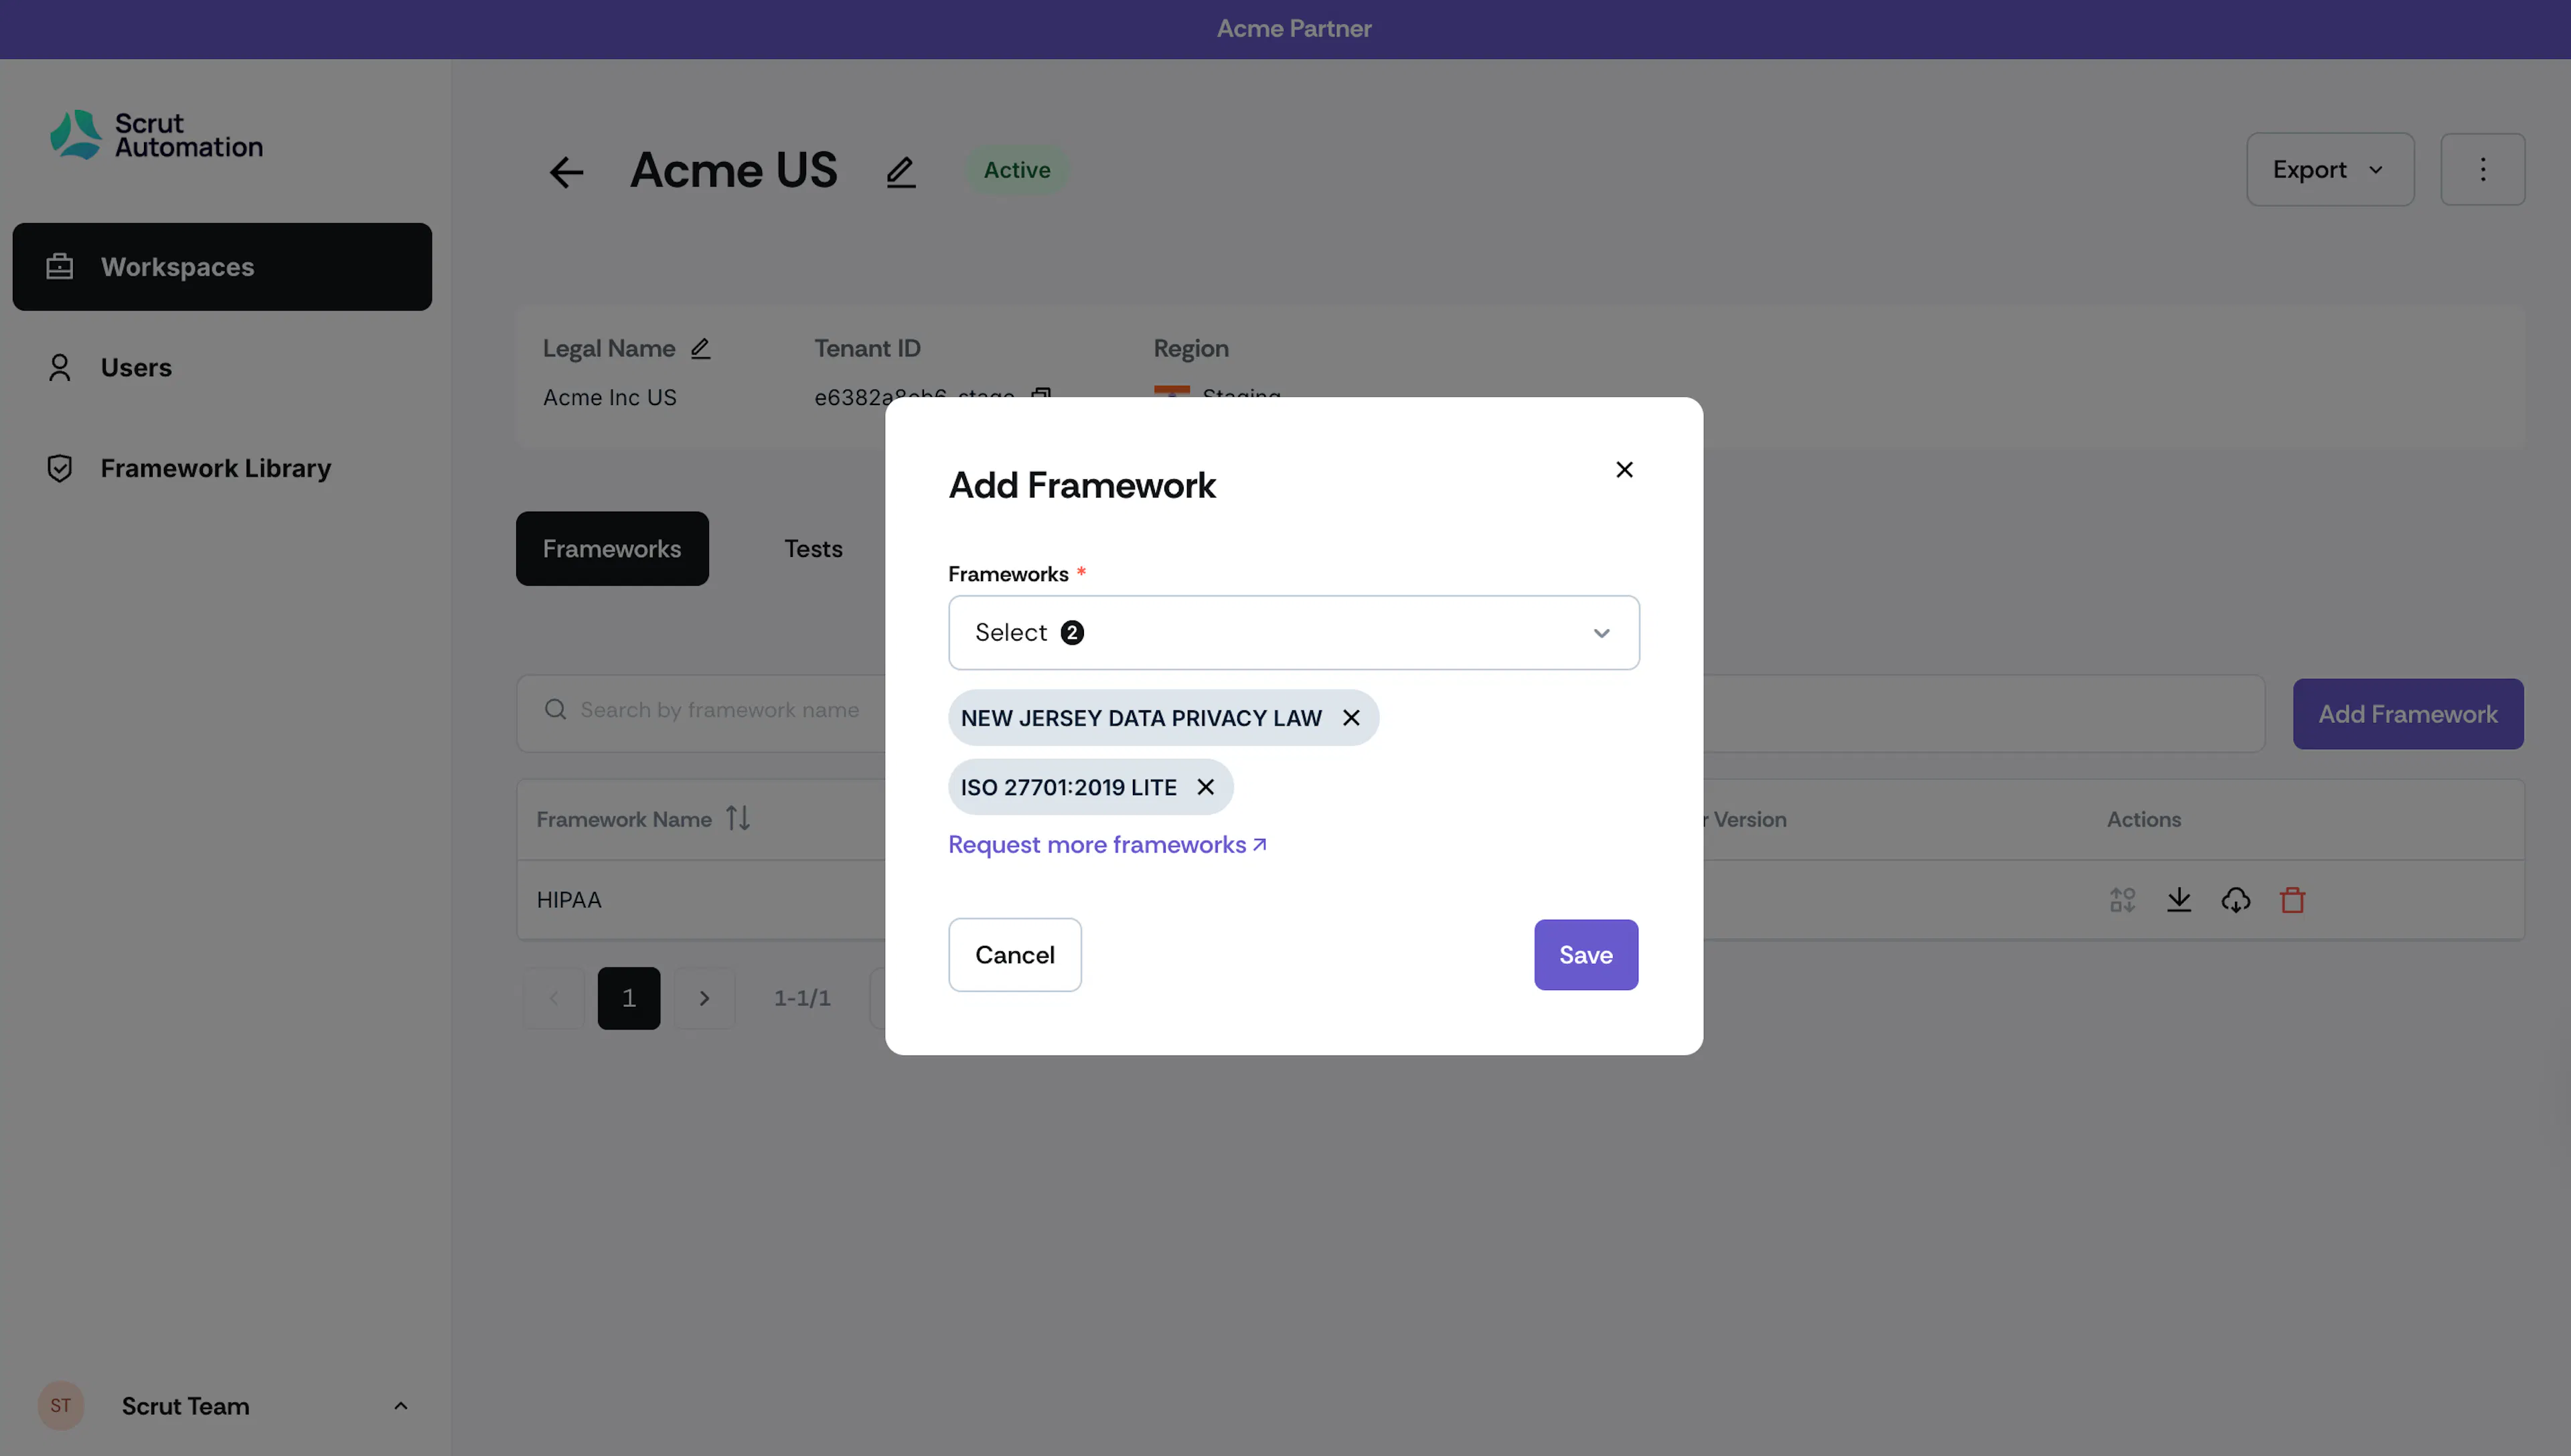
Click the Add Framework button and select the frameworks to add to the workspace.
-
Click Request more frameworks to contact your CSM to add additional frameworks not displayed here.
View Tests
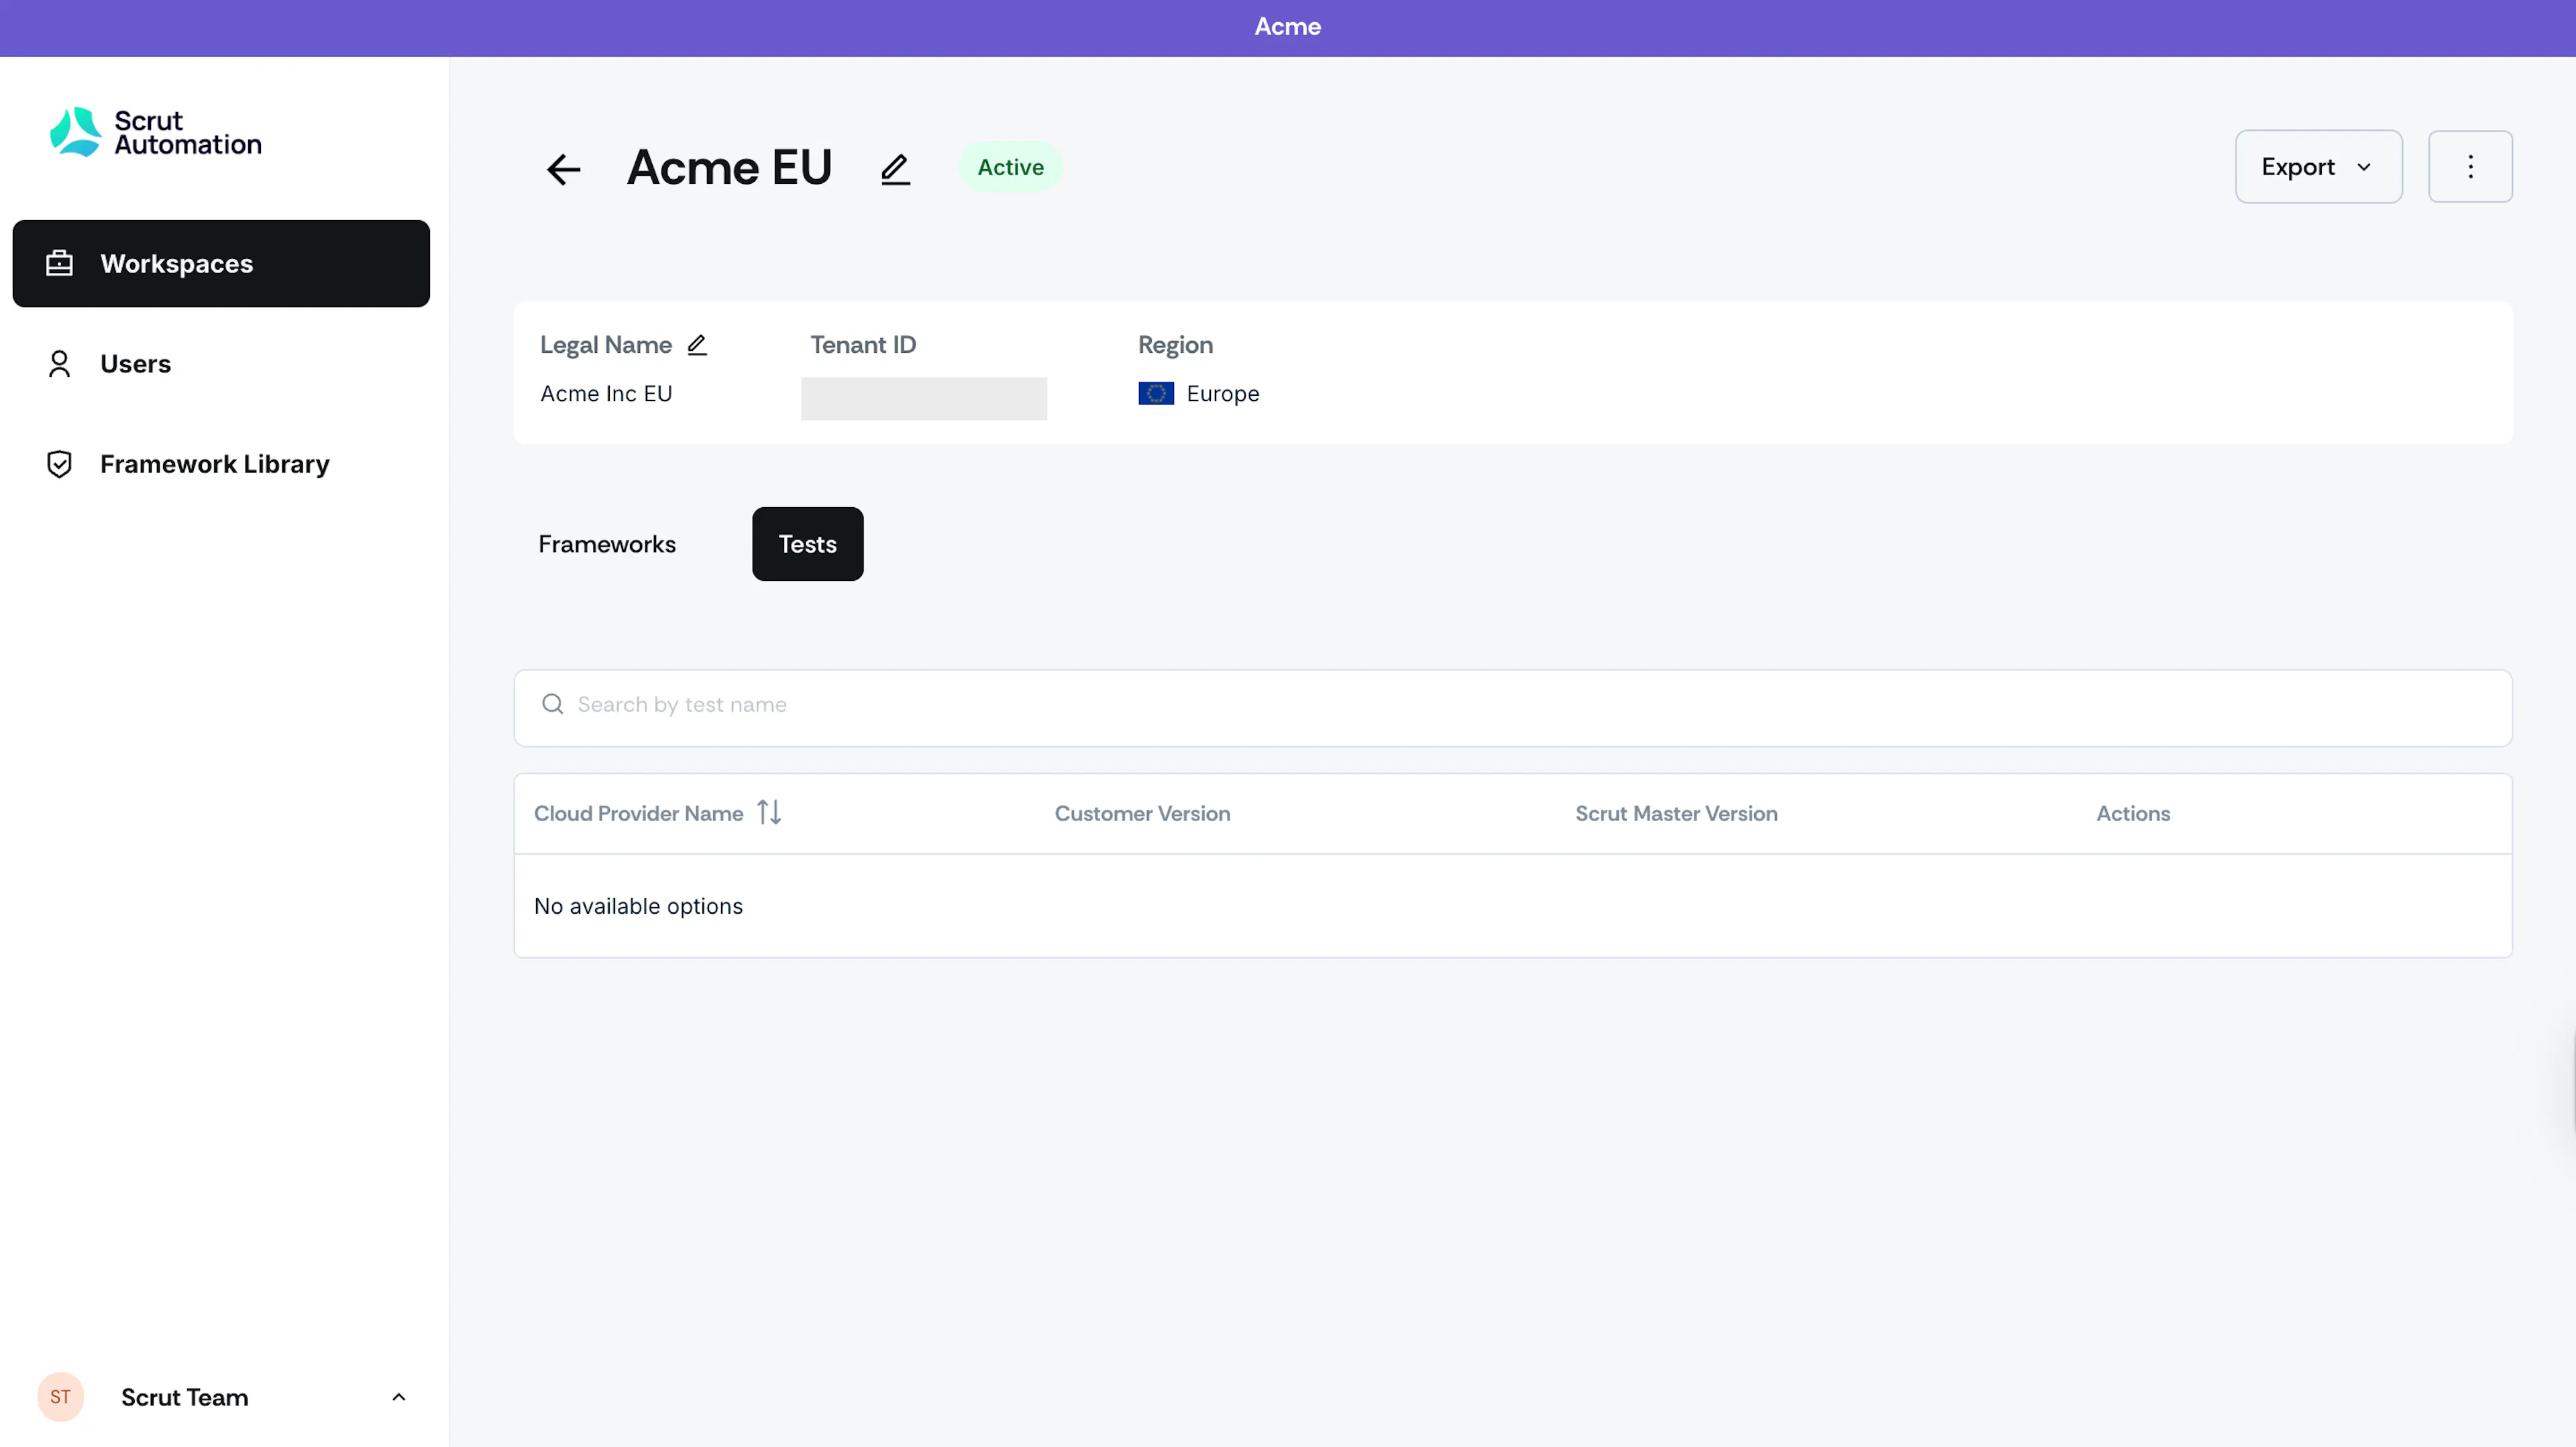
The workspace detail page also displays tests added to the customer account.
Heads Up!
Tests are visible here once AWS, Azure, or GCP is integrated in the workspace (customer account).
Deactivating & Deleting Workspaces
Deactivate a Workspace
-
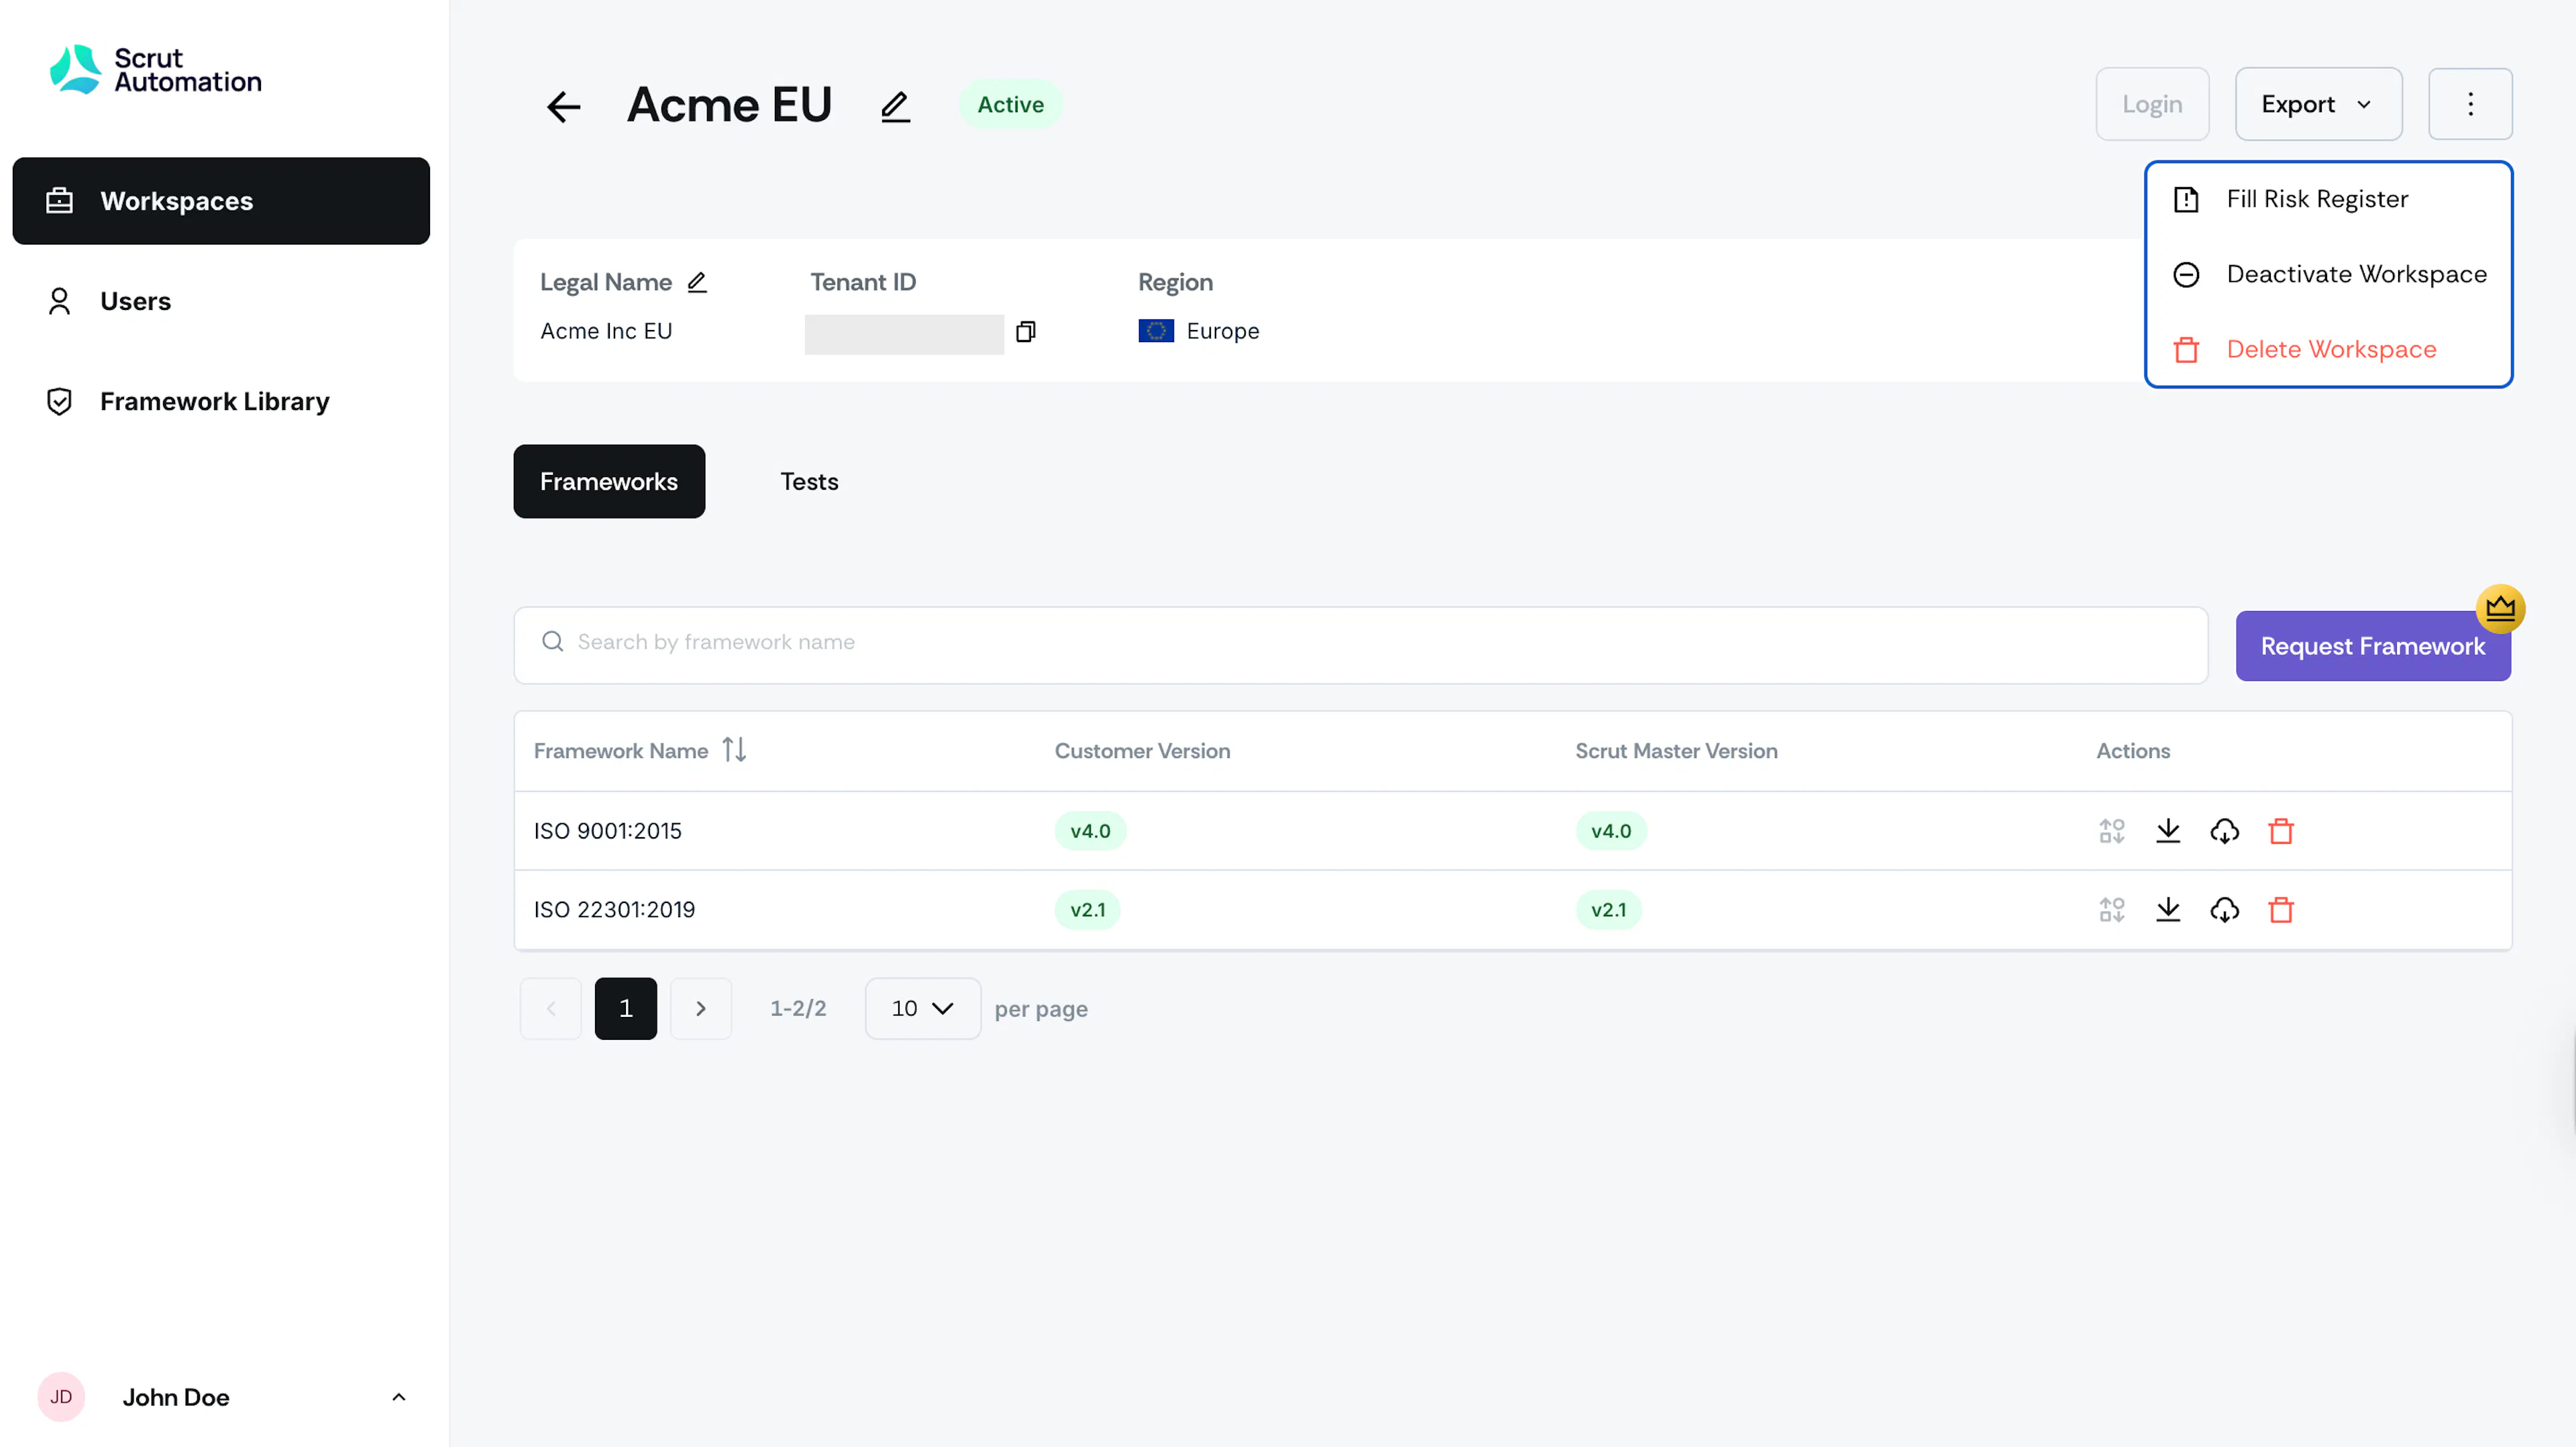
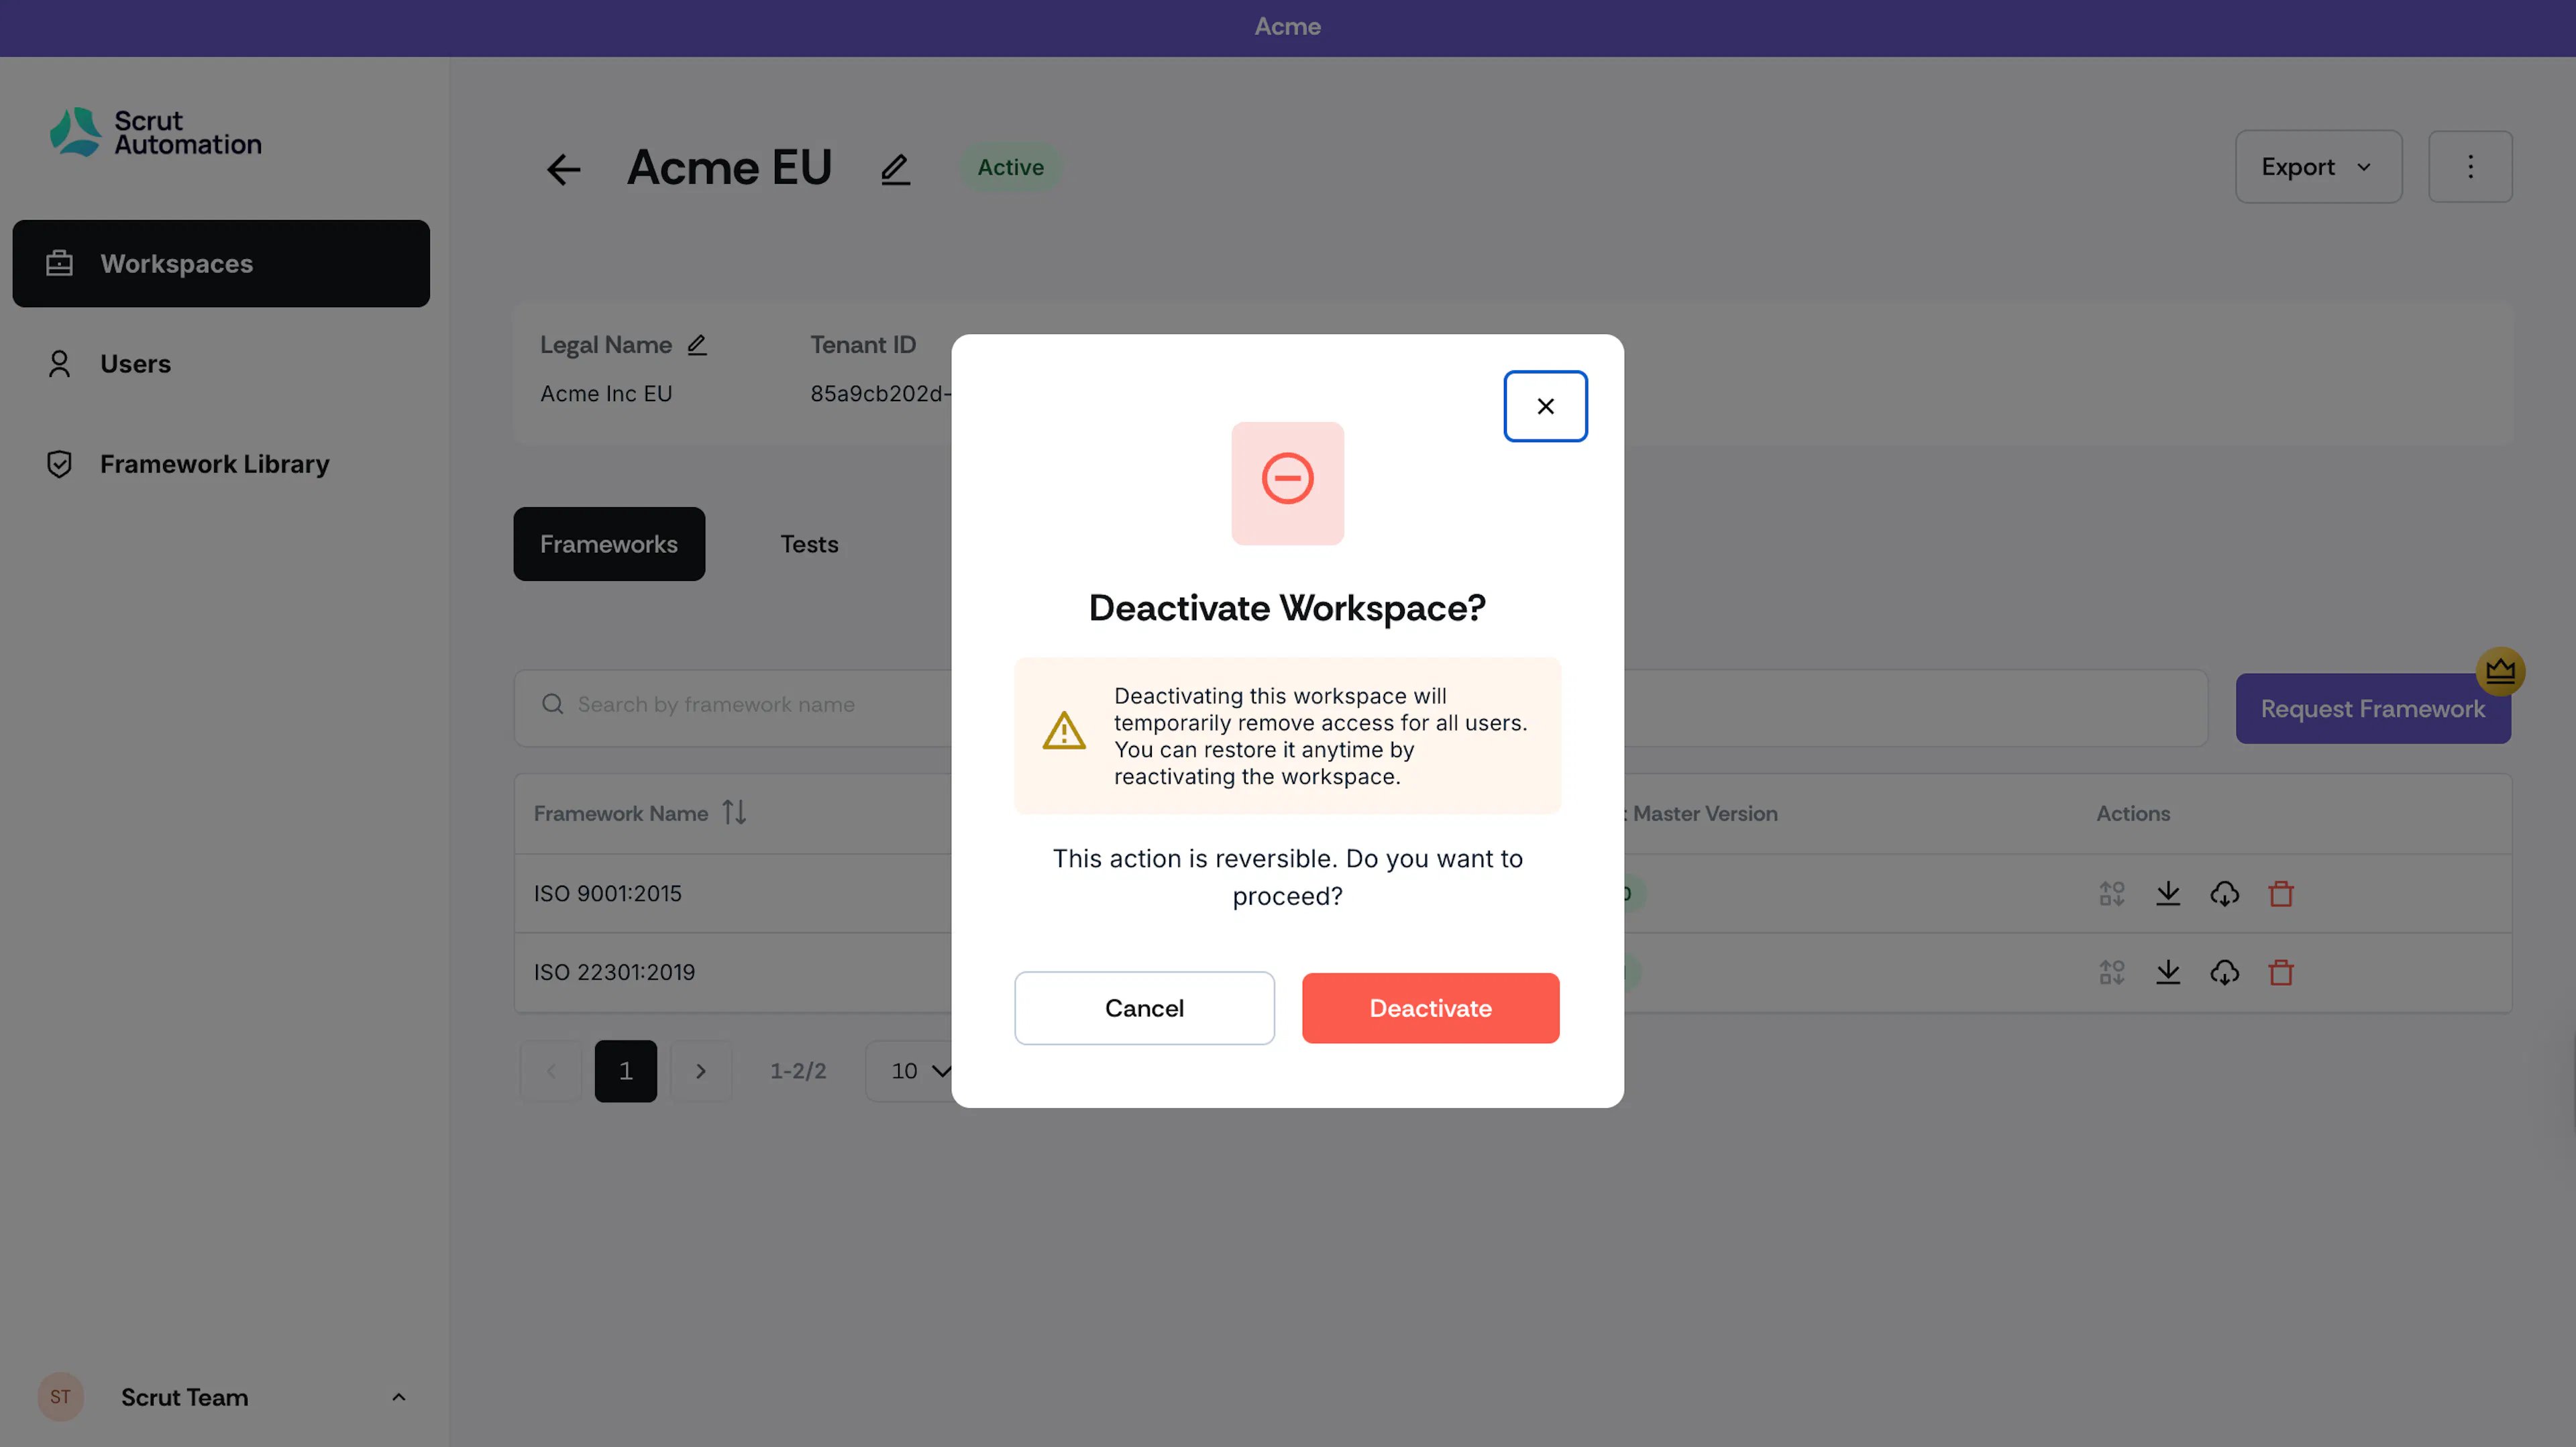
Log in to the Workspace Admin console and click the workspace you want to deactivate.
-
Click the three-dots icon on the top-right and select Deactivate Workspace.
Note:
Deactivating the workspace will temporarily remove access for all users. You can restore it anytime by reactivating it.
Delete a Workspace
Heads Up!
Deleting a workspace is permanent and removes all data associated with the account. So, proceed with caution.
-
Log in to the Workspace Admin console and click the workspace you want to delete.
-
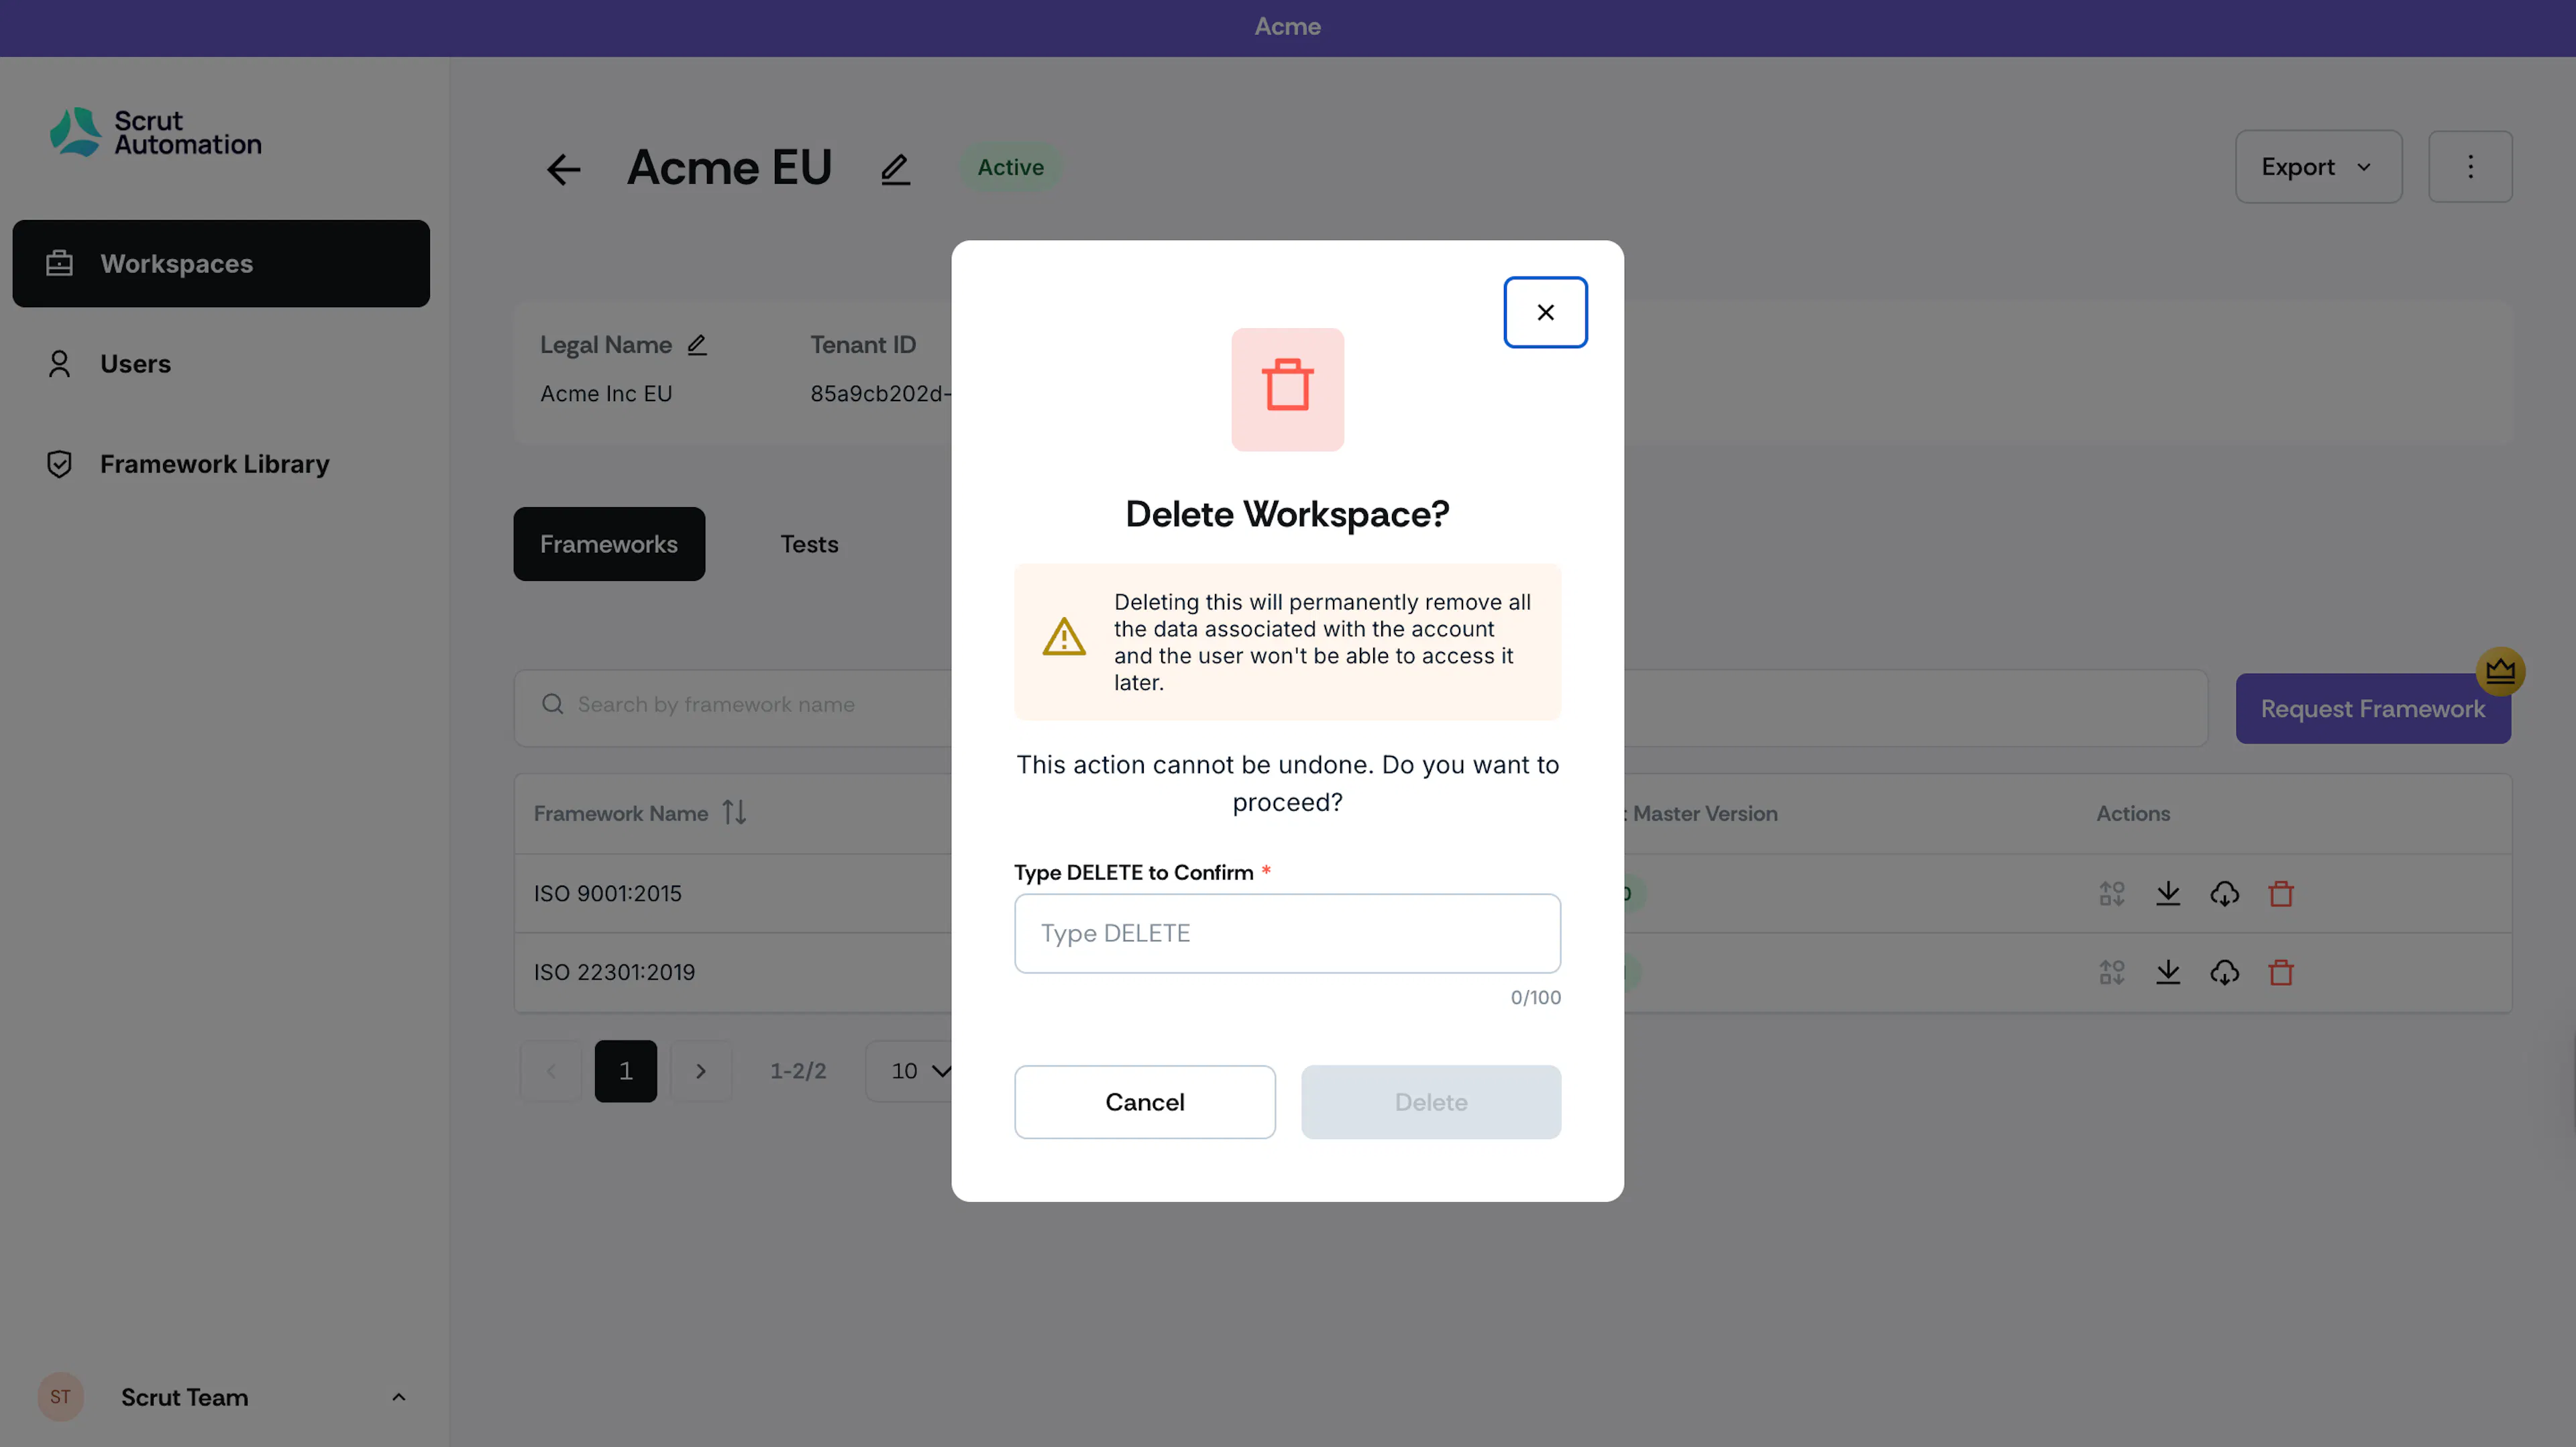
Click the three-dots icon on the top-right and select Delete Workspace.